How to Configure Load Balancer in Nginx with Least Connection
To Configure Load Balancer in Nginx with Least Connection
A load balancer, or server load balancer efficiently distributes network or application traffic across a number of servers. Whenever a server' s performance suffers due to excessive traffic or stops responding to requests, the load balancer will automatically switch the requests to a different server. In a nutshell, Load balancers improve the performance of networks and applications by automatically monitoring and managing application and network sessions.
It is really so simple to configure Load balancer in Nginx even with least connection, and this tutorial sheds light on the same process.
Least connection algorithm
In least connect the load balancer will send request to the server which has least number of active connections.
Load Balancer Configuration
Move into your NGINX configuration file location.
[root@www ~]# cd /etc/nginx/conf.d/
Create your own .conf file.
[root@www conf.d]# vim lb.conf
And in that file, you enter the following configuration.
upstream backend {
least_conn

       server 192.168.7.218
       server 192.168.7.219

        }

         server {
         listen 80
         server_name www.linuxhelp1.com

          location / {
          proxy_pass http://backend/test.html
                     }

         }
After that, check if the syntax is fine
[root@www conf.d]# nginx -t
If things are fine, you shall restart your nginx service
[root@www conf.d]# systemctl restart nginx
My webserver 1 has test.html file which is quite big compared to the test.html file in web server 2
Now, switch to your browser and provide Machine’ s (load balancer IP or domain name) for your Webserver 1.
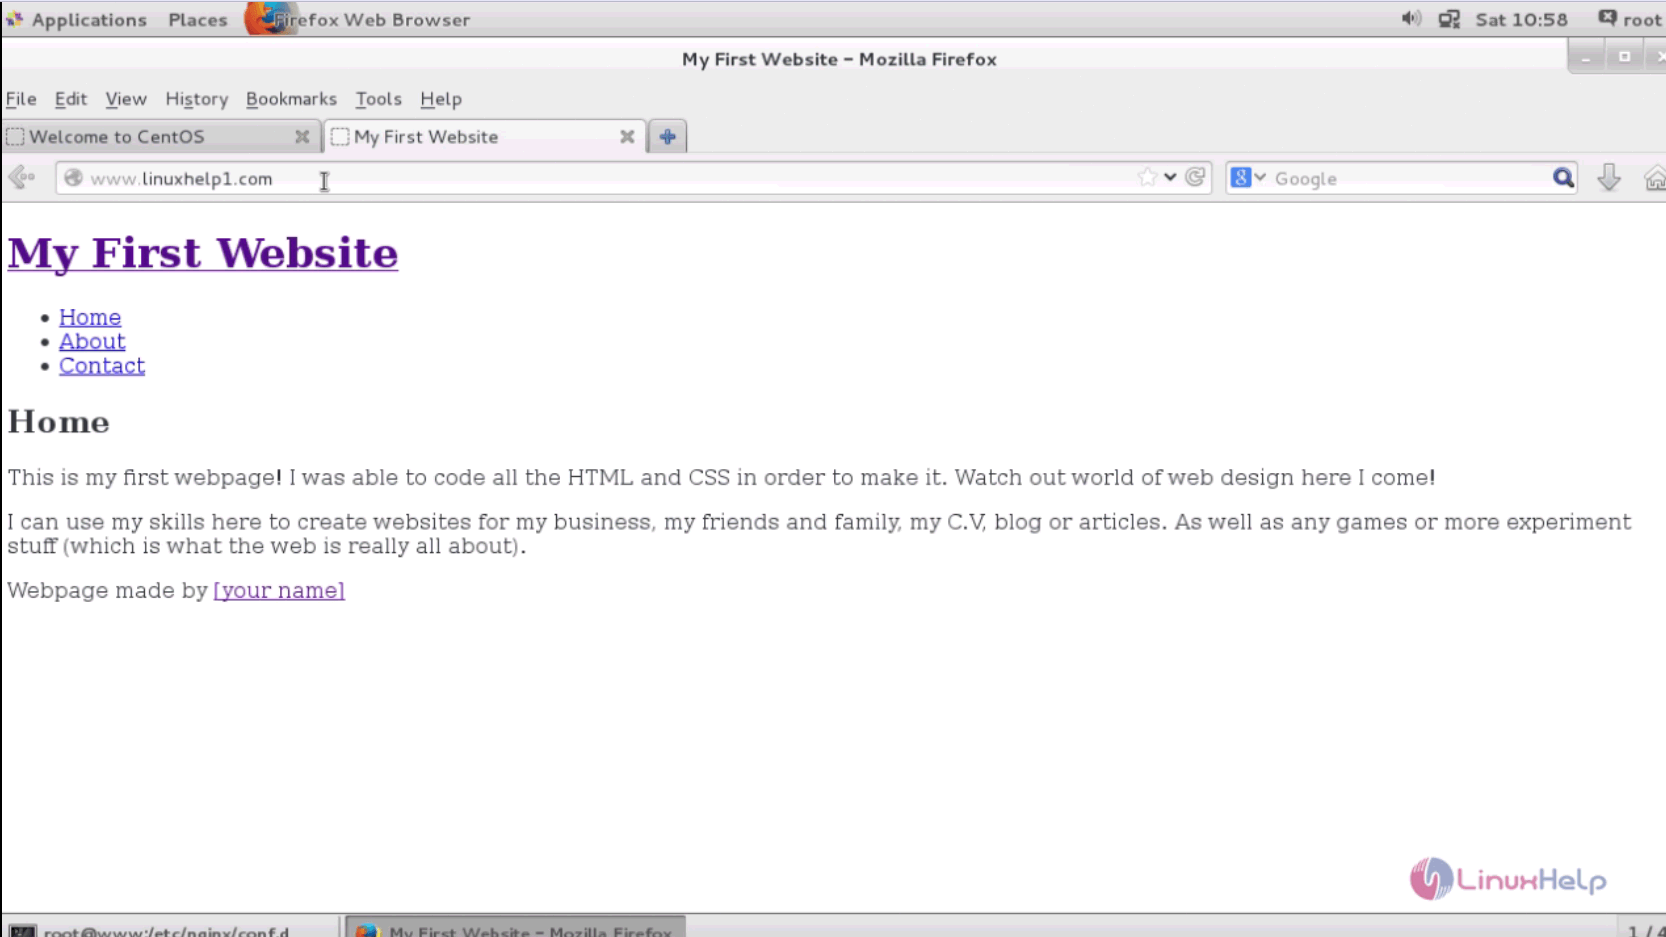
In another tab do the same as above for Webserver 2.

With the configuration of Load balancer in Nginx with Least connection comes to an end.
Comments ( 0 )
No comments available