How to Configure OpenNMS in Ubuntu
To Configure OpenNMS in Ubuntu
OpenNMS is an open Source network monitoring system that can be used for monitoring unlimited devices at a single instance. It detects the services or nodes automatically in your network. The procedures to configure OpenNMS in Ubuntu is explained in this article.
To Configure OpenNMS
Run the following command to update the repository.
root@linuxhelp:/home/user1# cat < <  EOF | sudo tee /etc/apt/sources.list.d/opennms.list
>  deb http://debian.opennms.org stable main
>  deb-src http://debian.opennms.org stable main
>  EOF
deb http://debian.opennms.org stable main
deb-src http://debian.opennms.org stable main
add OpenNMS key.
Then install OpenNMS by running the following command.
root@linuxhelp:/home/user1# wget -O - http://debian.opennms.org/OPENNMS-GPG-KEY | sudo apt-key add -
--2016-10-05 02:40:51--  http://debian.opennms.org/OPENNMS-GPG-KEY
Resolving debian.opennms.org (debian.opennms.org)... 104.236.160.233, 2604:a880:1:20::d6:7001
Connecting to debian.opennms.org (debian.opennms.org)|104.236.160.233|:80... connected.
HTTP request sent, awaiting response... 200 OK
Length: 1743 (1.7K)
Saving to: ‘ STDOUT’
-                                                  100%[================================================================================================================> ]   1.70K  --.-KB/s    in 0s
2016-10-05 02:40:52 (3.57 MB/s) - written to stdout [1743/1743]
OK
Once again run the update command.
root@linuxhelp:/home/user1# apt-get update
Hit:1 http://in.archive.ubuntu.com/ubuntu xenial InRelease
Get:2 http://security.ubuntu.com/ubuntu xenial-security InRelease [94.5 kB]
.
.
.
Get:10 http://debian.opennms.org stable/main i386 Packages [18.9 kB]
Fetched 235 kB in 4s (53.0 kB/s)
Reading package lists... Done
After updation, install PostgreSQL by running the following command.
root@linuxhelp:/home/user1# apt-get install postgresql
Reading package lists... Done
Building dependency tree
Reading state information... Done
.
.
.
Setting up postgresql (9.5+173) ...
Setting up postgresql-contrib-9.5 (9.5.4-0ubuntu0.16.04) ...
Setting up sysstat (11.2.0-1ubuntu0.1) ...
Creating config file /etc/default/sysstat with new version
update-alternatives: using /usr/bin/sar.sysstat to provide /usr/bin/sar (sar) in auto mode
Processing triggers for libc-bin (2.23-0ubuntu3) ...
Processing triggers for ureadahead (0.100.0-19) ...
Processing triggers for systemd (229-4ubuntu4) ...
Next lets permit the User Access to the database by editing the configuration file.
root@linuxhelp:/home/user1# nano /etc/postgresql/9.5/main/pg_hba.conf
Find the following lines:
local   all         all                                         local
host    all         all         127.0.0.1/32                    md5
host    all         all         ::1/128                         md5
And, replace local and md5 to trust which will finally look like the following:
local   all         all                                          trust
host    all         all         127.0.0.1/32                     trust
host    all         all         ::1/128                          trust
Then restart the postgresql service by running the following command.
root@linuxhelp:/home/user1# service postgresql restart
First add the repository by running the following command.
root@linuxhelp:/home/user1# add-apt-repository ppa:webupd8team/java
 Oracle Java (JDK) Installer (automatically downloads and installs Oracle JDK7 / JDK8 / JDK9). There are no actual Java files in this PPA.
&hellip
&hellip
gpg: keyring `/tmp/tmp8g7fexsl/secring.gpg'  created
gpg: keyring `/tmp/tmp8g7fexsl/pubring.gpg'  created
gpg: requesting key EEA14886 from hkp server keyserver.ubuntu.com
gpg: /tmp/tmp8g7fexsl/trustdb.gpg: trustdb created
gpg: key EEA14886: public key " Launchpad VLC"  imported
gpg: no ultimately trusted keys found
gpg: Total number processed: 1
gpg:               imported: 1  (RSA: 1)
OK
Next run the apt-get update command.
root@linuxhelp:/home/user1# apt-get update
Get:1 http://security.ubuntu.com/ubuntu xenial-security InRelease [94.5 kB]
Hit:2 http://in.archive.ubuntu.com/ubuntu xenial InRelease
Get:3 http://ppa.launchpad.net/webupd8team/java/ubuntu xenial InRelease [17.6 kB]
Get:4 http://in.archive.ubuntu.com/ubuntu xenial-updates InRelease [95.7 kB]
Ign:5 http://debian.opennms.org stable InRelease
Get:6 http://ppa.launchpad.net/webupd8team/java/ubuntu xenial/main amd64 Packages [2,840 B]
Hit:7 http://debian.opennms.org stable Release
Hit:8 http://in.archive.ubuntu.com/ubuntu xenial-backports InRelease
Get:9 http://ppa.launchpad.net/webupd8team/java/ubuntu xenial/main i386 Packages [2,840 B]
Get:10 http://ppa.launchpad.net/webupd8team/java/ubuntu xenial/main Translation-en [1,260 B]
Fetched 215 kB in 2s (75.5 kB/s)
Reading package lists... Done
root@linuxhelp:/home/user1# apt-get install oracle-java7-installer
Reading package lists... Done
Building dependency tree
Reading state information... Done
.
.
.
Oracle JDK 7 installed
update-alternatives: using /usr/lib/jvm/java-7-oracle/jre/lib/amd64/libnpjp2.so to provide /usr/lib/mozilla/plugins/libjavaplugin.so (mozilla-javaplugin.so) in auto mode
Oracle JRE 7 browser plugin installed
Setting up gsfonts-x11 (0.24) ...
Install local mail transfer agent by running the following command.
root@linuxhelp:/home/user1# apt-get install default-mta
Reading package lists... Done
Building dependency tree
&hellip
&hellip
Processing triggers for systemd (229-4ubuntu4) ...
Processing triggers for ufw (0.35-0ubuntu2) ...
Then run the following command to install OpenNMS.
root@linuxhelp:/home/user1# apt-get install opennms
Reading package lists... Done
Building dependency tree
Reading state information... Done
.
.
.
*** Installation complete.  You must still run the installer at
 *** $OPENNMS_HOME/bin/install to be sure your database is up
 *** to date before you start OpenNMS.  See the install guide at
 *** http://www.opennms.org/wiki/Installation:Debian and the
 *** release notes for details.

Setting up opennms-webapp-jetty (18.0.2-1) ...
Setting up opennms (18.0.2-1) ...
Processing triggers for ureadahead (0.100.0-19) ...
Processing triggers for systemd (229-4ubuntu4) ...
Create database for OpenNMS by running the following command.
root@linuxhelp:/home/user1# /usr/share/opennms/bin/install -dis
==============================================================================
OpenNMS Installer
==============================================================================
Configures PostgreSQL tables, users, and other miscellaneous settings.
.
.
.
- Running post-execution phase
  Removing backup /usr/share/opennms/etc/discovery-configuration.xml.zip
Finished in 0 seconds
Start OpenNMS service by running the following command.
root@linuxhelp:/home/user1# /etc/init.d/opennms start
Starting Open Network Management System: opennms
Started OpenNMS, but it has not finished starting up
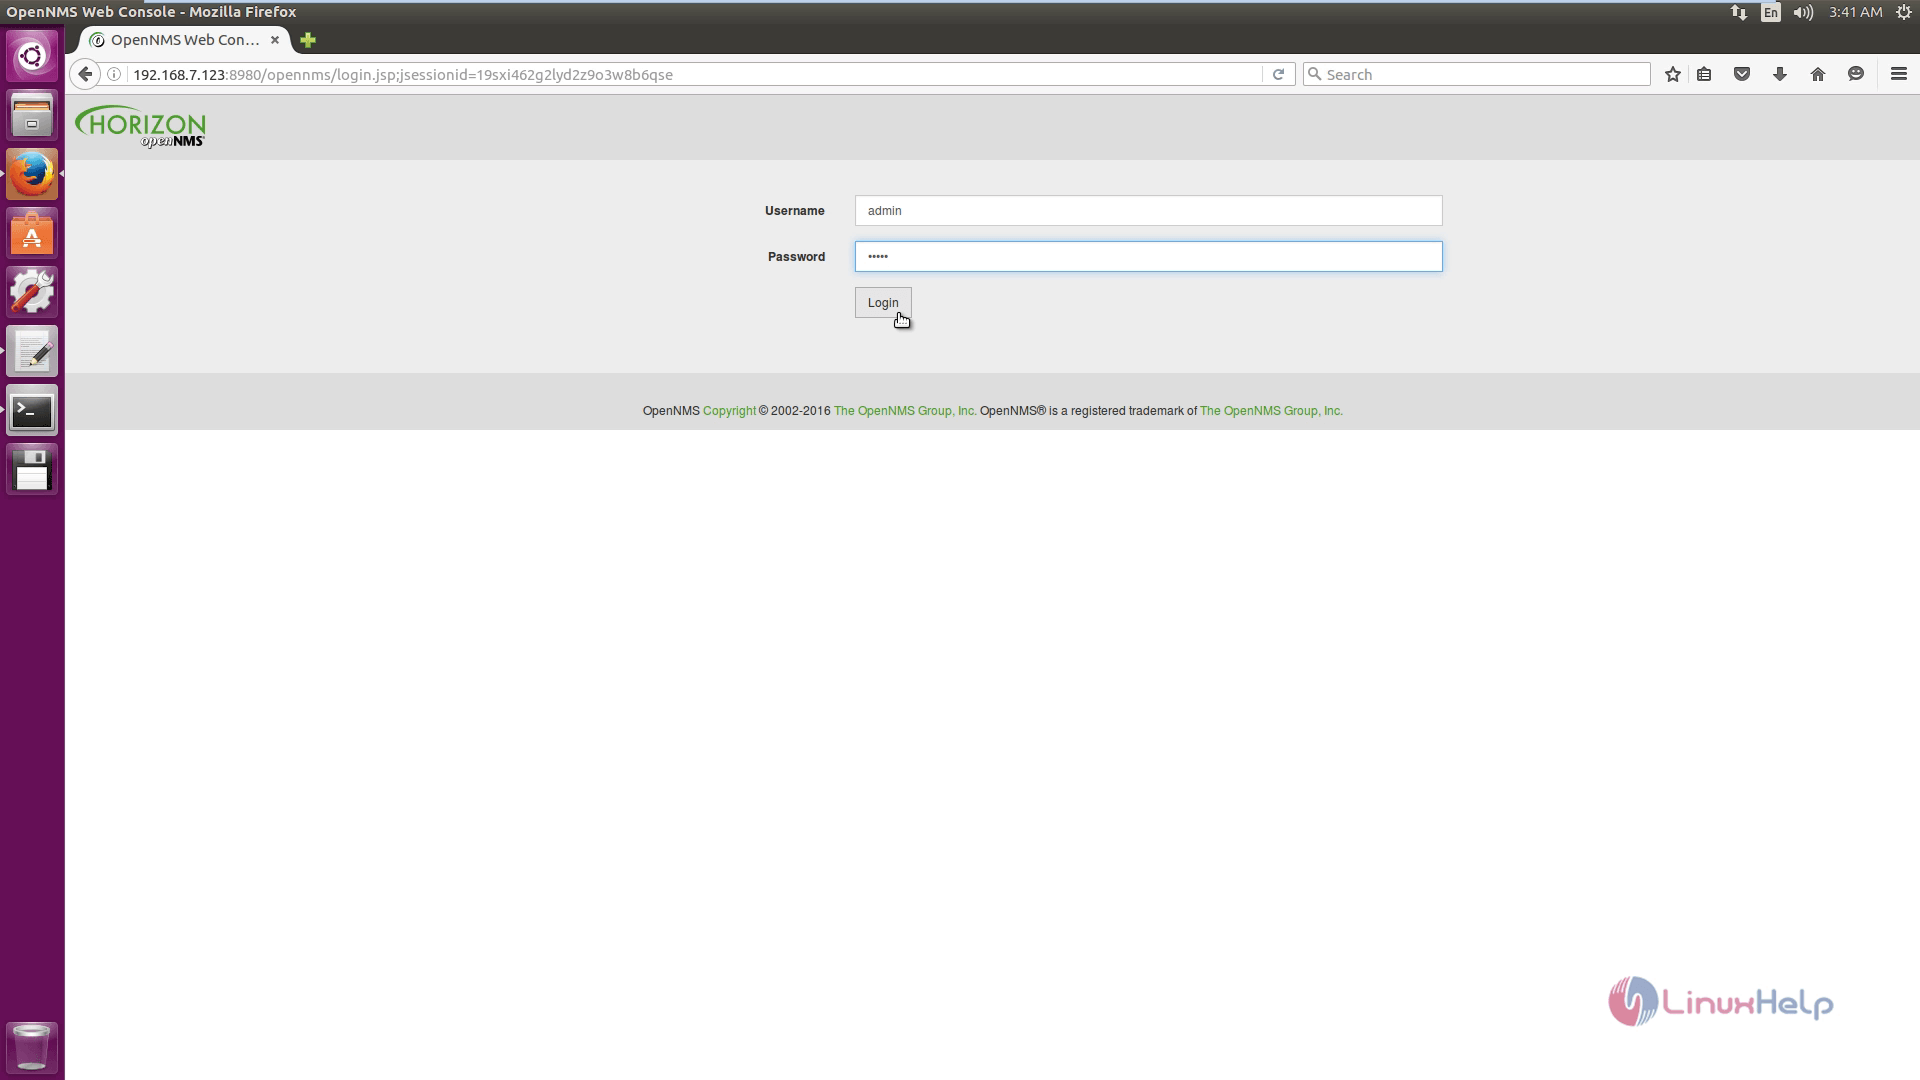
Now, open up your web browser and point it to http://< IP_address> /opennms. Then login into OpenNMS.

Comments ( 1 )