How to install Anchor CMS on Centos 7
To install Anchor CMS on CentOS 7
Anchor CMS is an open-source, lighter-weight and ultra-simple blogging system which is written in PHP and uses MySQL. It is used for markdown support, custom fields, themes, i18n compatibility and many more. In this tutorial, we will cover the installation of Anchor cms on CentOS 7.
Pre-requirements
- Install LAMP (Apache, php5.6, MariaDB-server)
In MariaDB (create a database, a database user and give privileges to the user)
- FOR PHP INSTALLATION
yum -y install php56w php56w-mysql php56w-pecl-zip php56w-xml php56w-mbstring php56w-gd
Installing Anchor CMS
Let' s download the Anchor cms from the terminal using the following command.
[root@linuxhelp1 ~]# wget https://github.com/anchorcms/anchor-cms/archive/0.12.3a.zip
--2018-04-16 03:07:42--  https://github.com/anchorcms/anchor-cms/archive/0.12.3a.zip
Resolving github.com (github.com)... 192.30.253.113, 192.30.253.112
Connecting to github.com (github.com)|192.30.253.113|:443... connected.
HTTP request sent, awaiting response... 302 Found
Location: https://codeload.github.com/anchorcms/anchor-cms/zip/0.12.3a [following]
--2018-04-16 03:07:45--  https://codeload.github.com/anchorcms/anchor-cms/zip/0.12.3a
Resolving codeload.github.com (codeload.github.com)... 192.30.253.120, 192.30.253.121
Connecting to codeload.github.com (codeload.github.com)|192.30.253.120|:443... connected.
HTTP request sent, awaiting a response... 200 OK
Length: unspecified [application/zip]
Saving to: ‘ 0.12.3a.zip’

    [      < =>                                                     ] 259,148      106KB/s   in 2.4s

2018-04-16 03:07:50 (106 KB/s) - ‘ 0.12.3a.zip’  saved [259148]
After downloading we have to extract the download directory.
[root@linuxhelp1 ~]# ls
0.12.3a.zip      Desktop    Downloads             Music     Public     Videos
anaconda-ks.cfg  Documents  initial-setup-ks.cfg  Pictures  Templates
Use the following command to Unzip the downloaded package.
[root@linuxhelp1 ~]# unzip 0.12.3a.zip
Archive:  0.12.3a.zip
6f6e696f8b8f67ea13cf354496e2d380dd0841fd
   creating: anchor-cms-0.12.3a/
   creating: anchor-cms-0.12.3a/.github/
  inflating: anchor-cms-0.12.3a/.github/CONTRIBUTING.md
  inflating: anchor-cms-0.12.3a/.github/ISSUE_TEMPLATE.md
  inflating: anchor-cms-0.12.3a/.github/PULL_REQUEST_TEMPLATE.md
  inflating: anchor-cms-0.12.3a/.gitignore
   creating: anchor-cms-0.12.3a/anchor/
  inflating: anchor-cms-0.12.3a/anchor/composer_check.php
   creating: anchor-cms-0.12.3a/anchor/config/
.
.
.
 inflating: anchor-cms-0.12.3a/themes/default/header.php
   creating: anchor-cms-0.12.3a/themes/default/img/
  inflating: anchor-cms-0.12.3a/themes/default/img/categories.png
 extracting: anchor-cms-0.12.3a/themes/default/img/favicon.png
  inflating: anchor-cms-0.12.3a/themes/default/img/og_image.gif
 extracting: anchor-cms-0.12.3a/themes/default/img/search.png
   creating: anchor-cms-0.12.3a/themes/default/js/
  inflating: anchor-cms-0.12.3a/themes/default/js/main.js
  inflating: anchor-cms-0.12.3a/themes/default/page.php
  inflating: anchor-cms-0.12.3a/themes/default/posts.php
  inflating: anchor-cms-0.12.3a/themes/default/search.php
Let' s rename the directory as an anchor for easy accessing.
[root@linuxhelp1 ~]# ls
0.12.3a.zip      anchor-cms-0.12.3a  Documents  initial-setup-ks.cfg  Pictures  Templates
anaconda-ks.cfg  Desktop             Downloads  Music                 Public    Videos

[root@linuxhelp1 ~]# mv anchor-cms-0.12.3a/ anchor
Next, let' s move the anchor directory into the /var/www/html directory.
[root@linuxhelp1 ~]# mv anchor /var/www/html/
Now navigate to /var/www/html directory.
[root@linuxhelp1 ~]# cd /var/www/html/
[root@linuxhelp1 html]# ls
anchor
We have to change ownership and permission for the anchor directory with the help of following commands.
[root@linuxhelp1 html]# chown -R apache:apache anchor/
[root@linuxhelp1 html]# chmod -R 775 anchor/
We have to configure a virtual host for anchor cms so let' s create a file named anchor.conf.
[root@www html]# cd /etc/httpd/conf.d
[root@www conf.d]# vim anchor.conf
< virtualhost *:80>
servername  www.linuxhelp1.com
Documentroot  /var/www/html/anchor/
< Directory /var/www/html/anchor/>
AllowOverride
order allow,deny
allow from all
< /Directory>
< /virtualhost>
After adding the virtual host we have to restart your apache web server.
[root@linuxhelp1 html]# systemctl restart httpd.service
Next, we need to Install Composer. The composer is a dependency manager for PHP with which you can install packages using the following command.
[root@linuxhelp1 html]# curl -sS https://getcomposer.org/installer | php
All settings correct for using Composer
Downloading...

Composer (version 1.6.4) successfully installed to: /var/www/html/composer.phar
Use it: php composer.phar
And then move composer.phar in to the /user/locl/bin location.
[root@linuxhelp1 html]# mv composer.phar /usr/local/bin/composer
Now, go to anchor directory and install the composer.
 [root@www conf.d]# cd /var/www/html/anchor/
 [root@linuxhelp1 anchor]# composer install
Loading composer repositories with package information
Installing dependencies (including require-dev) from lock file
Warning: The lock file is not up to date with the latest changes in composer.json. You may be getting outdated dependencies. Run update to update them.
Package operations: 4 installs, 0 updates, 0 removals
  - Installing indigophp/hash-compat (v1.1.0): Downloading (100%)
  - Installing ircmaxell/password-compat (v1.0.4): Downloading (100%)
  - Installing ircmaxell/security-lib (1.0.0): Downloading (100%)
  - Installing ircmaxell/random-lib (v1.1.0): Downloading (100%)
Generating autoload files
After that, we have to make an entry to the hosts file.
linuxhelp sites-available # vim /etc/hosts
< give your local ip address>    <  give your domain name>
Again, we need to restart apache web server to make the changes effect.
[root@linuxhelp1 html]# systemctl restart httpd.service
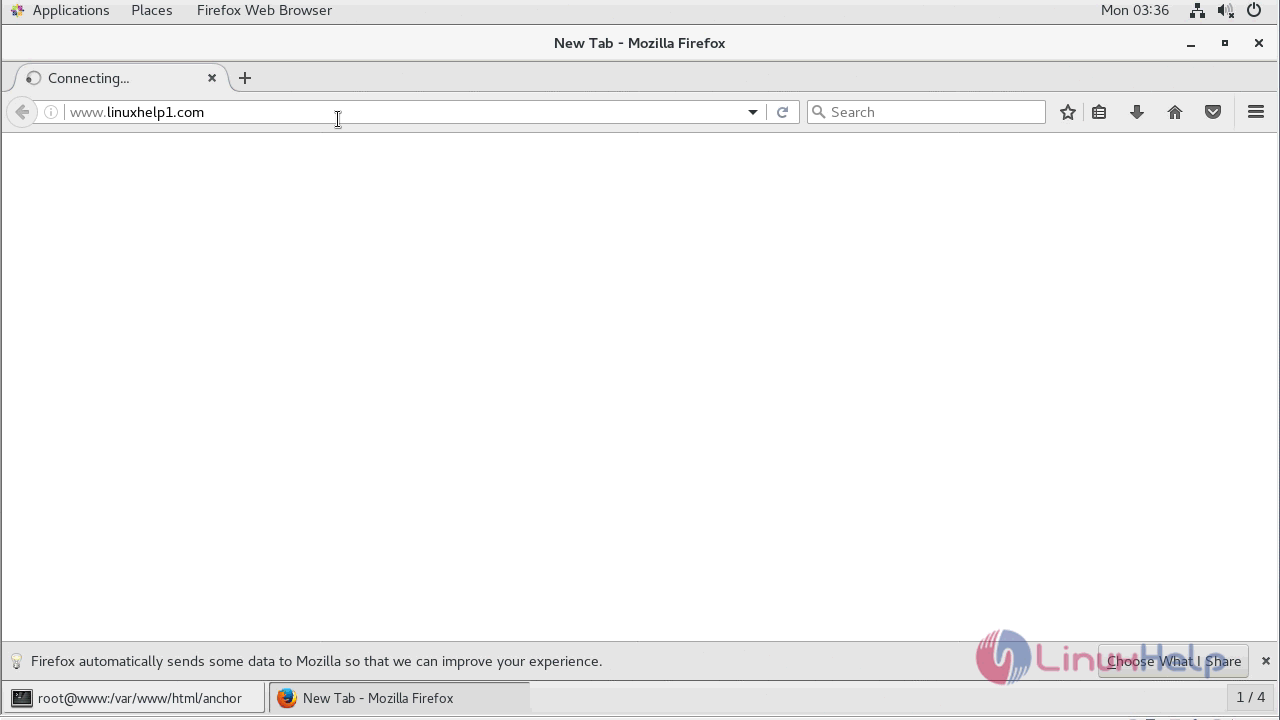
After restarting apache server you can proceed for further installation graphically from the browser. Go to the browser and enter the following URL: http://< ip-address> or http://< domain-name> .
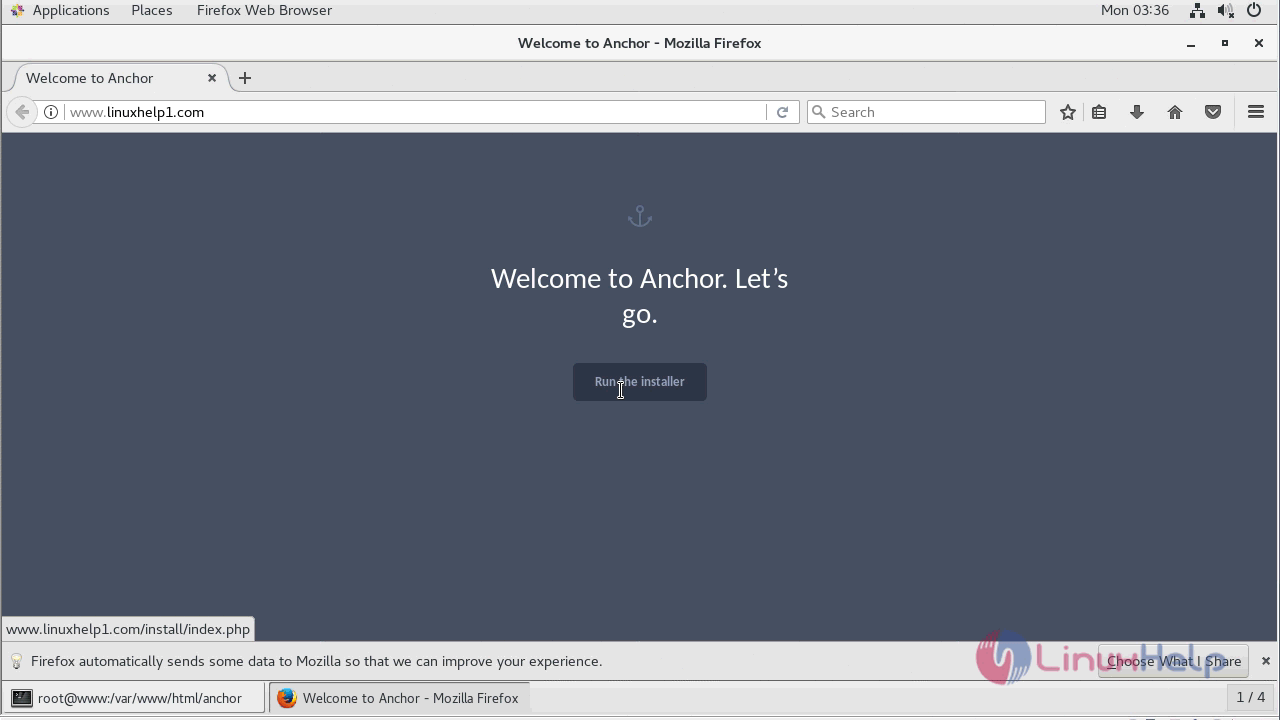
An installer page will appear where you have to start the installation by clicking Run the installer.
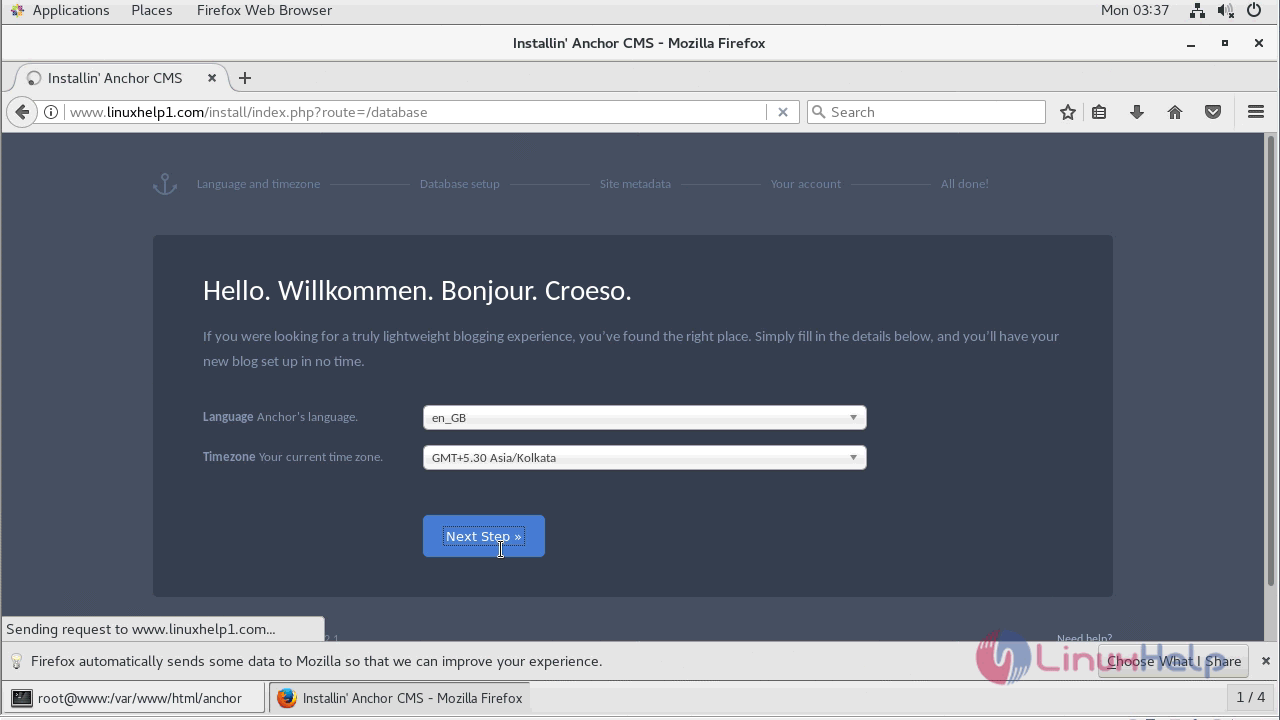
At next window, you have to choose the Anchor' s language and the time zone. once done click Next Step.
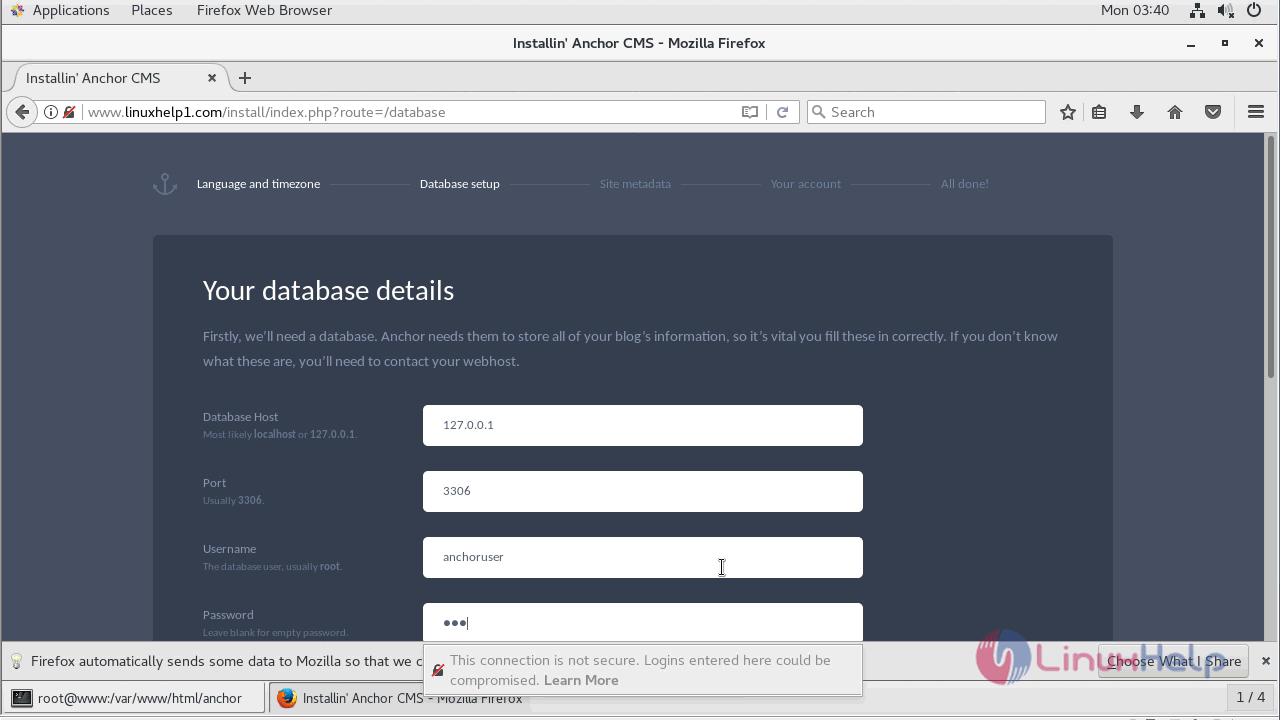
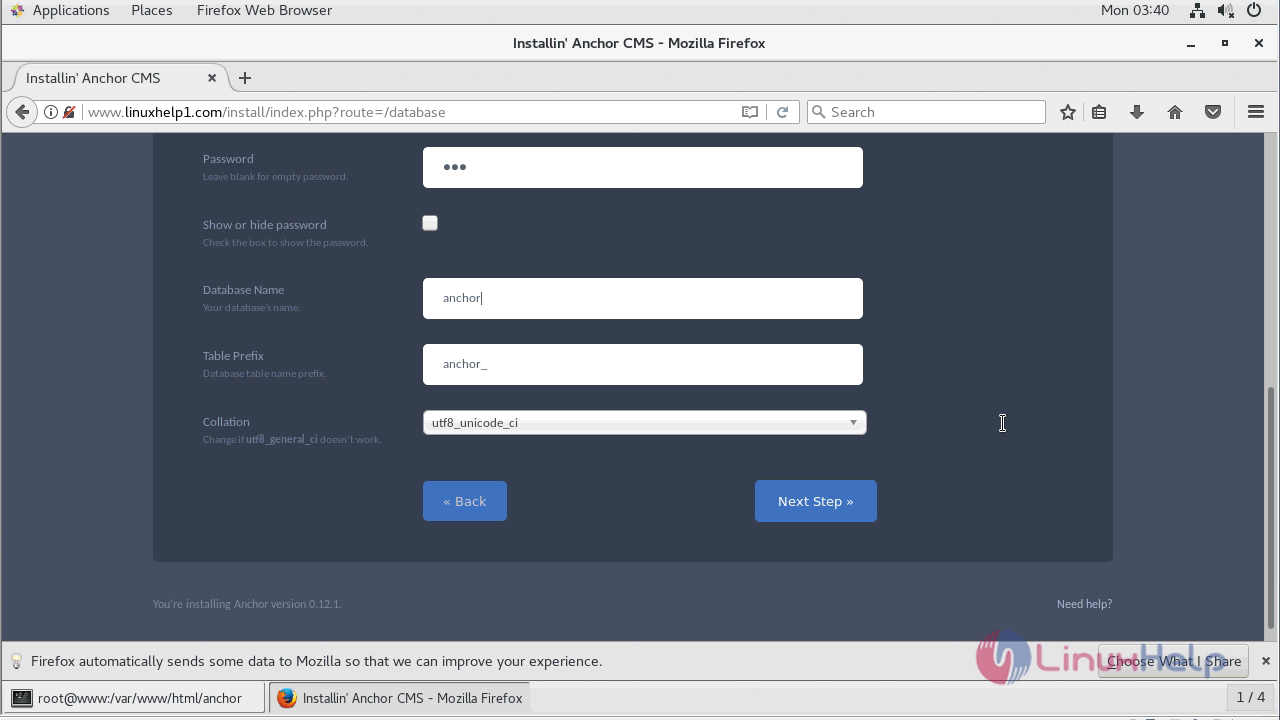
And then enter the database details to proceed further.
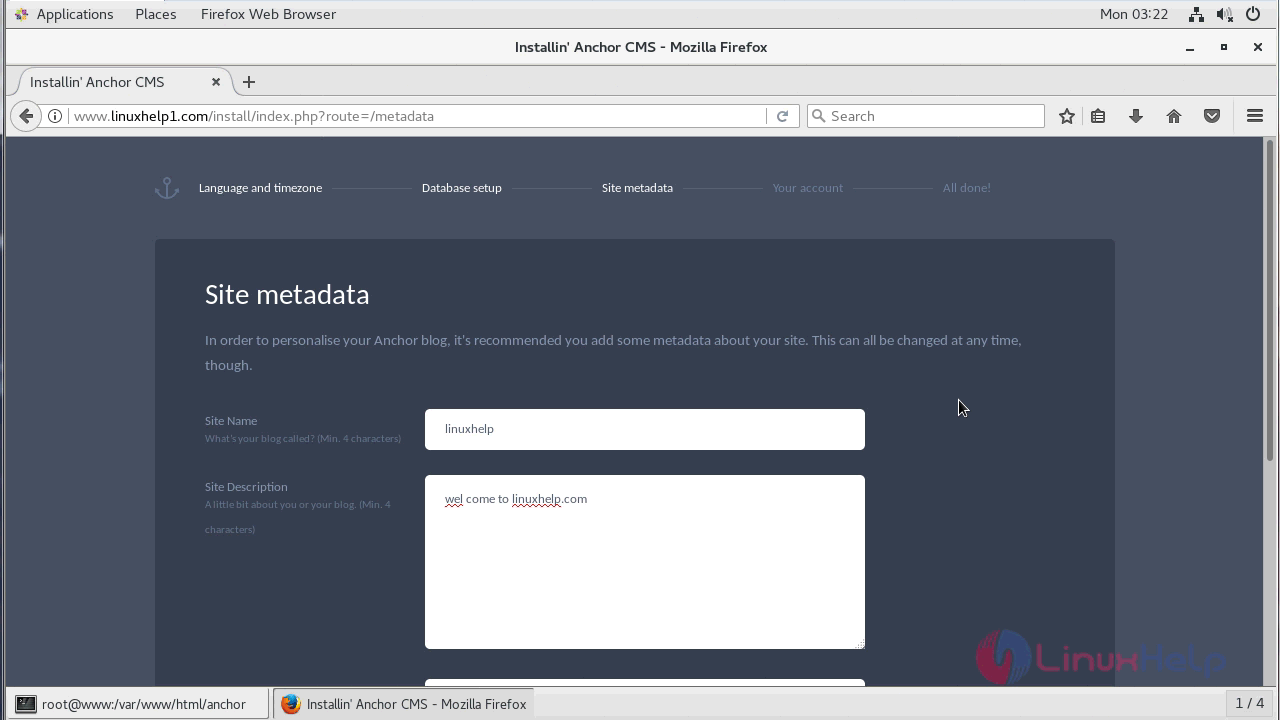
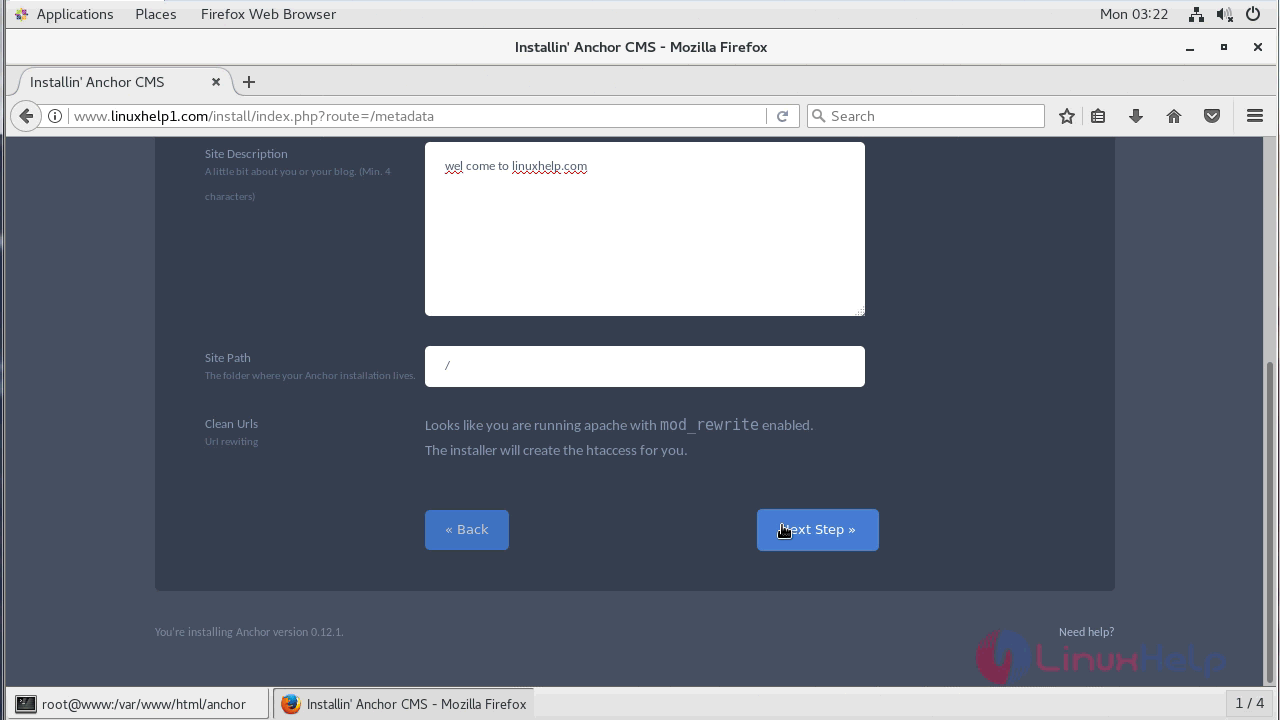
Next, we need to configure Site metadata i.e) site name and description.
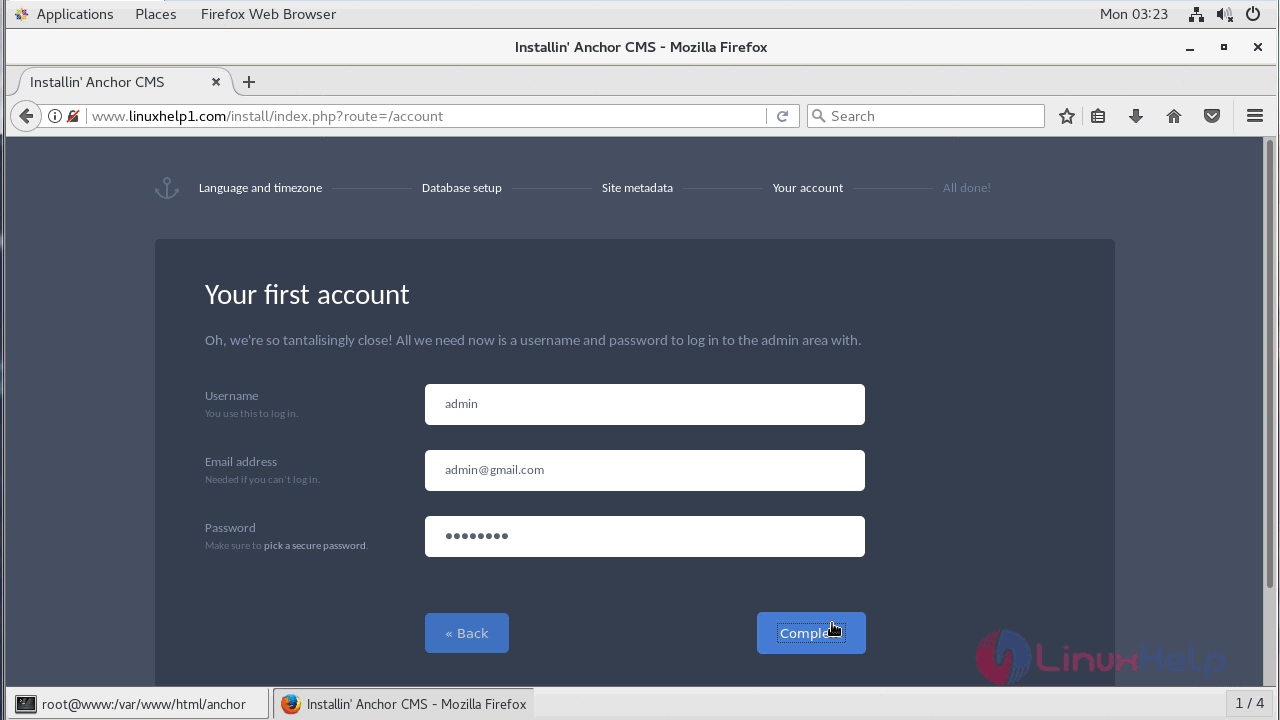
Once the metadata is configured setup the admin account and complete the installation.
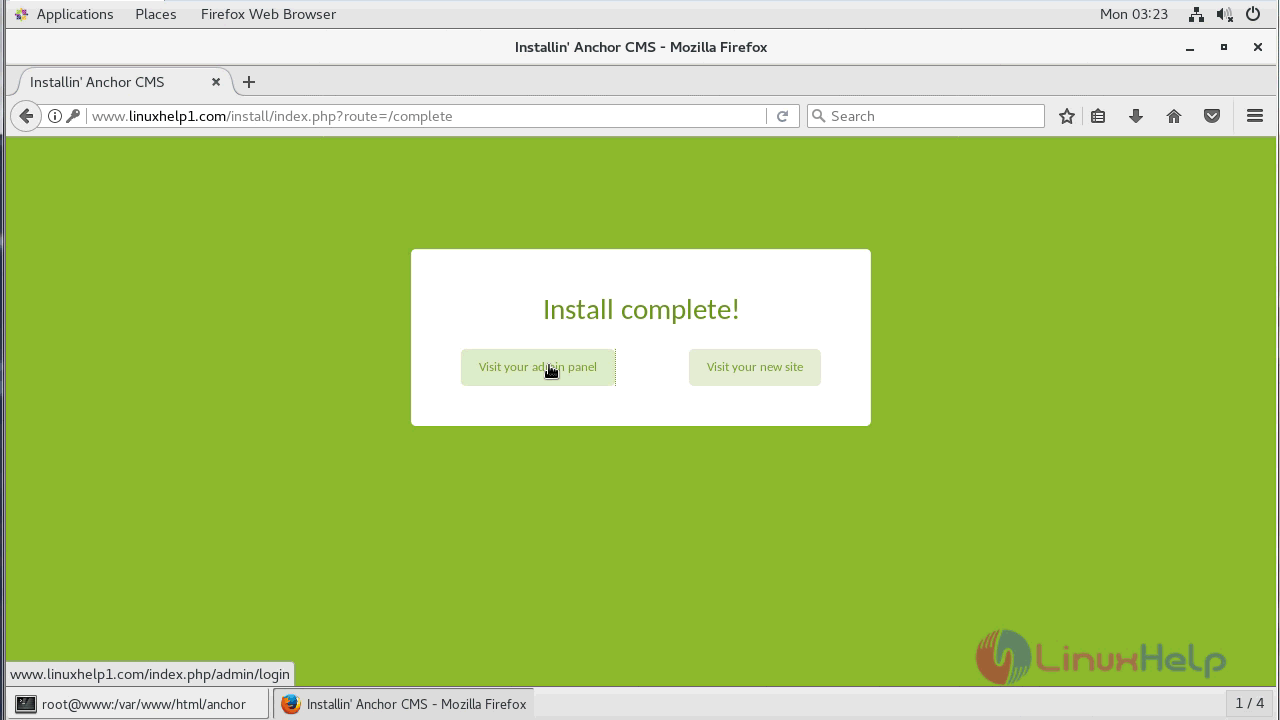
After Completing you will see the following status page from where you can visit the admin panel.
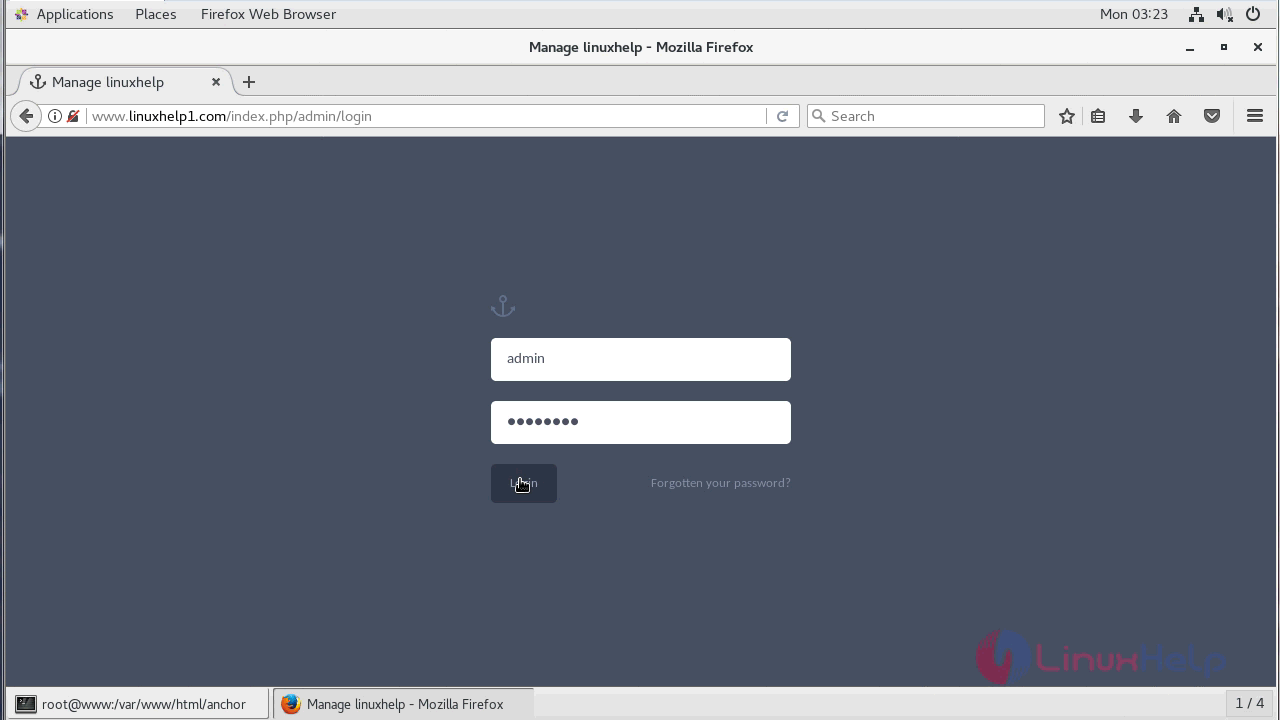
Enter the admin credentials and log in.
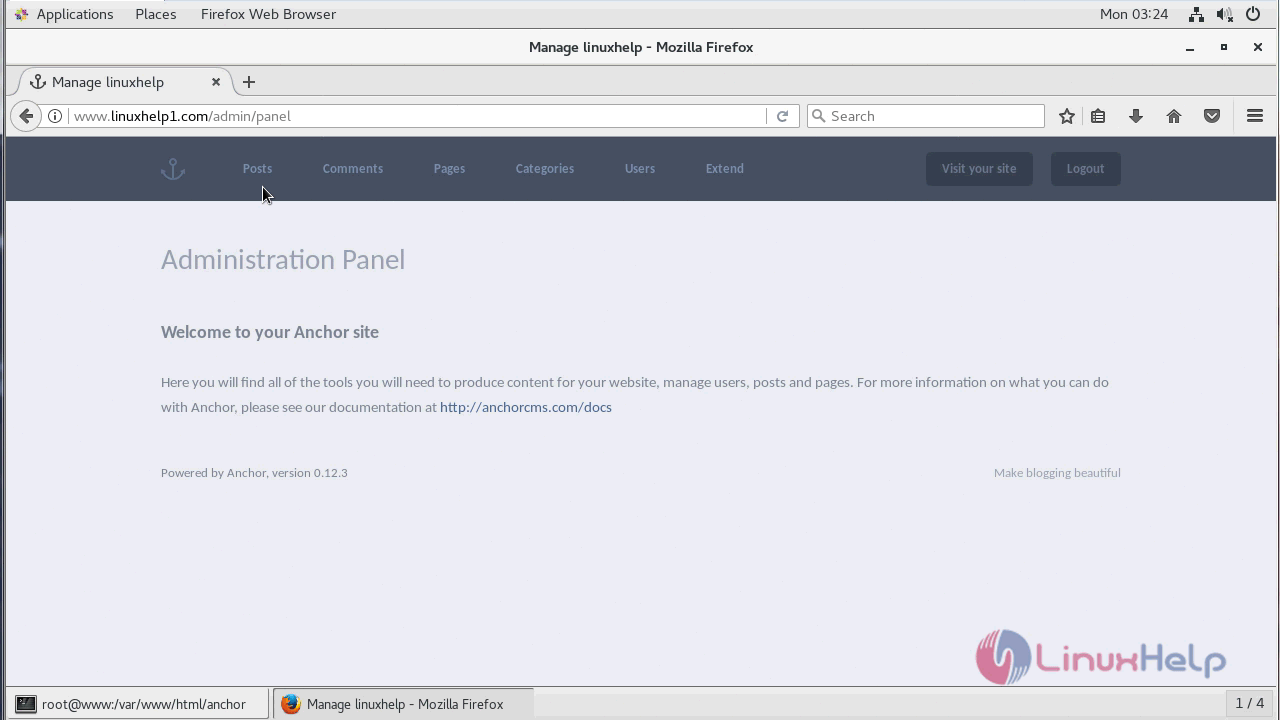
And you will see the admin panel of the anchor cms as shown in the following image.
With this, the method to install Anchor cms on Centos 7 comes to an end.
Comments ( 0 )
No comments available