How to install and configure Piwik on Linux mint-18.3
To install and configure Piwik on Linux mint-18.3
Piwik is an open source project with advanced privacy features that can be executed on your own server. Those who own a website probably know what “ web analytics” refers to. It’ s a general term indicating the study of the impact of a website on its users. A business based on Internet services, like e-commerce, needs to find statistical information about people who visit the site, and this data is provided by web analytics software. According to W3Techs, the most used is Google Analytics. But, if you don’ t want to use a remote-hosted service, you may want to give Piwik a chance. In this tutorial, we will cover the installation of Piwik on linuxmint 18.3
Prerequisites
If your server is up and running, you probably already have the LAMP stack,
- Webservers such as Apache, Nginx, IIS, or others
- PHP 5.5.9 (recommended PHP 7)
- MySQL > 5.7, or MariaDB
- PHP extensions: php5-curl php5-gd php5-cli php5-geoip php5-mysql
Installation
Navigate to the apache document root directory
linuxhelp user # cd /var/www/html/
And then Download the latest version of Piwik through the terminal as follows
linuxhelp html # wget http://builds.piwik.org/latest.zip
--2018-02-19 03:49:33--  http://builds.piwik.org/latest.zip
Resolving builds.piwik.org (builds.piwik.org)... 185.31.40.177, 2a00:b6e0:1:200:177::1
Connecting to builds.piwik.org (builds.piwik.org)|185.31.40.177|:80... connected.
HTTP request sent, awaiting response... 200 OK
Length: 18517598 (18M) [application/zip]
Saving to: ‘ latest.zip’

latest.zip                   100%[=============================================> ]  17.66M  1.02MB/s    in 19s

2018-02-19 03:49:52 (966 KB/s) - ‘ latest.zip’  saved [18517598/18517598]
After Downloading extract the downloaded package
linuxhelp html # unzip latest.zip
Archive:  latest.zip
  creating: piwik/
  inflating: piwik/SECURITY.md
  inflating: piwik/LEGALNOTICE
  creating: piwik/tests/
  inflating: piwik/tests/README.md
  creating: piwik/config/
  inflating: piwik/config/global.php
  inflating: piwik/config/manifest.inc.php
  inflating: piwik/config/global.ini.php
.
.
  inflating: piwik/plugins/MobileMessaging/Controller.php
  inflating: piwik/plugins/MobileMessaging/SMSProvider.php
  creating: piwik/plugins/MobileMessaging/templates/
  inflating: piwik/plugins/MobileMessaging/templates/credentials.twig
  inflating: piwik/plugins/MobileMessaging/templates/SMSReport.twig
  inflating: piwik/plugins/MobileMessaging/templates/index.twig
  inflating: piwik/plugins/MobileMessaging/templates/macros.twig
  inflating: piwik/plugins/MobileMessaging/templates/reportParametersScheduledReports.twig
  inflating: How to install Matomo.html
Next, you need to change ownership and permission of the Piwik Directory as follows
linuxhelp html # chown -R www-data.www-data /var/www/html/piwik
linuxhelp html # chmod -R 0755 /var/www/html/piwik/tmp
And then create a database for Piwik and configure as follows
linuxhelp user # mysql -u root -p
Enter password:
Welcome to the MySQL monitor.  Commands end with   or g.
Your MySQL connection id is 7
Server version: 5.7.21-0ubuntu0.16.04.1 (Ubuntu)

Copyright (c) 2000, 2018, Oracle and/or its affiliates. All rights reserved.

Oracle is a registered trademark of Oracle Corporation and/or its
affiliates. Other names may be trademarks of their respective
owners.

Type ' help '  or ' h'  for help. Type ' c'  to clear the current input statement.

mysql>  CREATE DATABASE piwikdb
Query OK, 1 row affected (0.00 sec)

mysql>  GRANT ALL PRIVILEGES ON piwikdb.* TO ' piwikuser' @' localhost'  IDENTIFIED BY ' 123'
Query OK, 0 rows affected, 1 warning (0.00 sec)

mysql>  FLUSH PRIVILEGES
Query OK, 0 rows affected (0.00 sec)

mysql>  exit
Bye
Finally, restart the apache2 to make the changes effect
linuxhelp user # systemctl restart apache2
Next, you need to create a virtual host file for Piwik
linuxhelp user # vim /etc/apache2/sites-available/piwik.conf
[..]
< VirtualHost *:80>
ServerName  www.linuxhelp1.com
DocumentRoot  /var/www/html/piwik

< Directory  /var/www/html/piwik/>
AllowOverride All
Allow from all
< /Directory>

< /Virtualhost>
Restart the apache2 again to make the changes effect
linuxhelp user # systemctl restart apache2
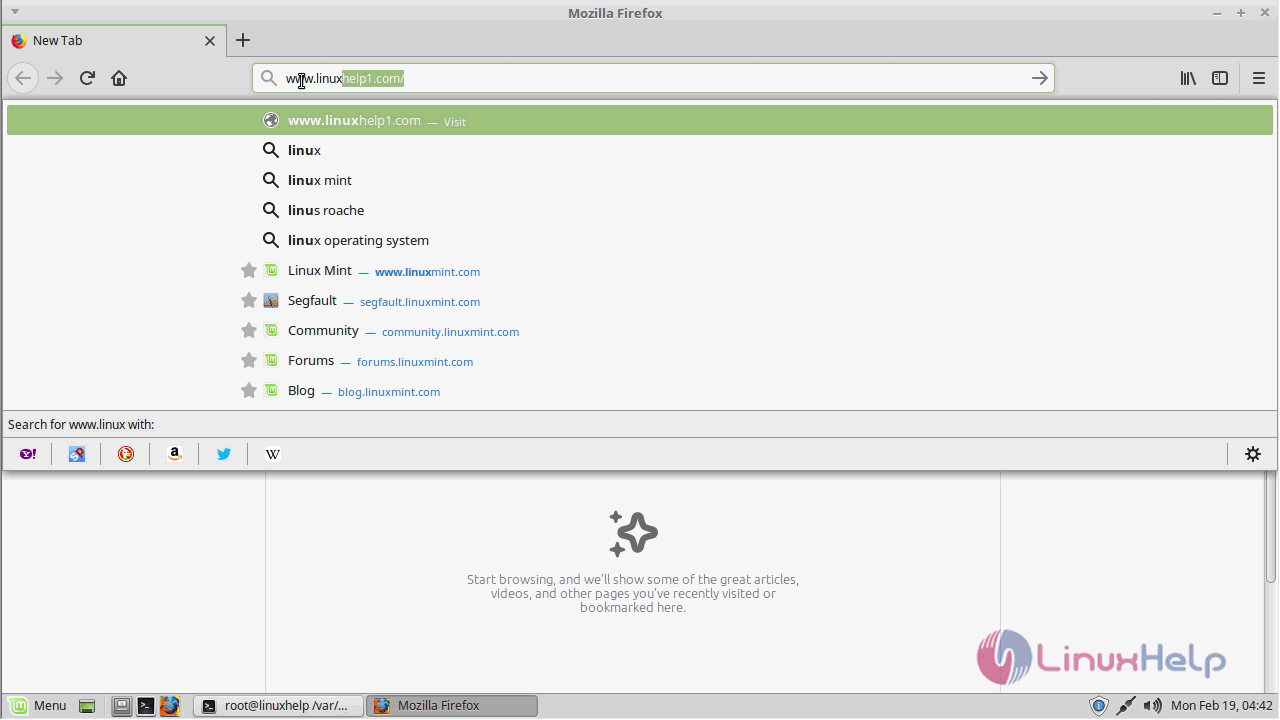
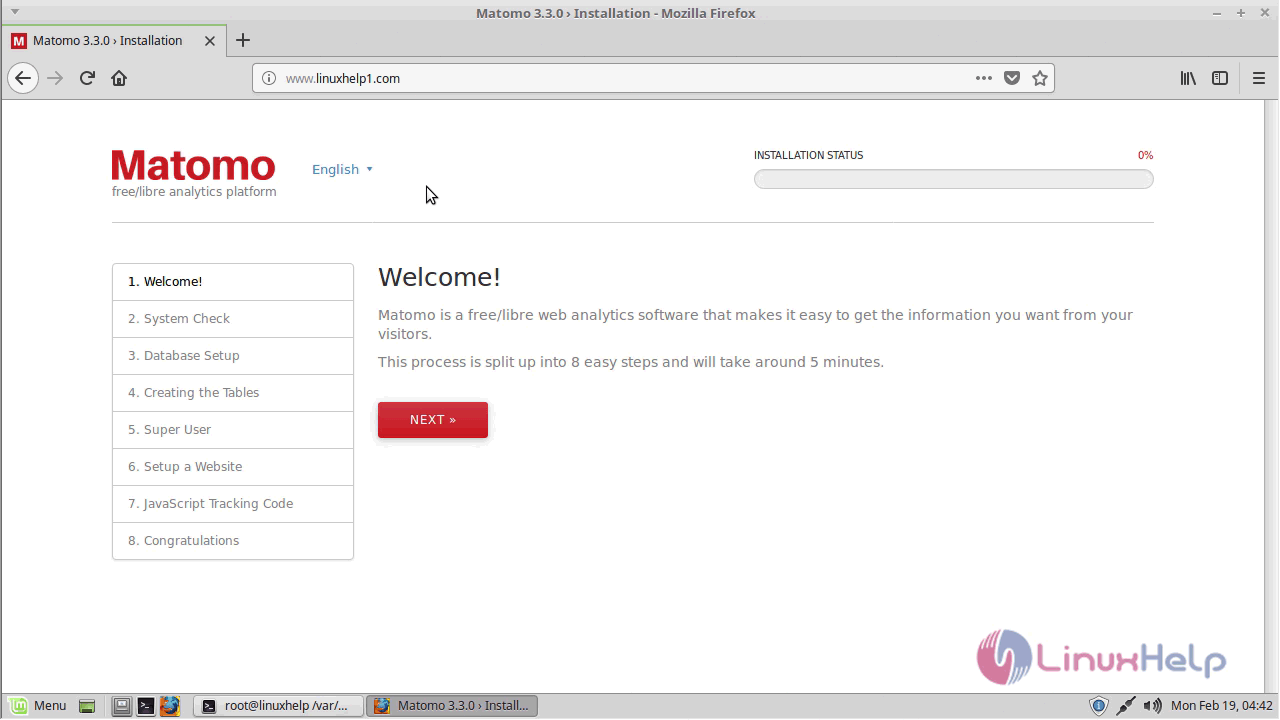
Now you can proceed the further installation and configuration from the browser by navigating to the following URL: http://< ipaddress or domain name >
You will see the welcome page as shown in below screen
The configuration of Piwik will start with the system check
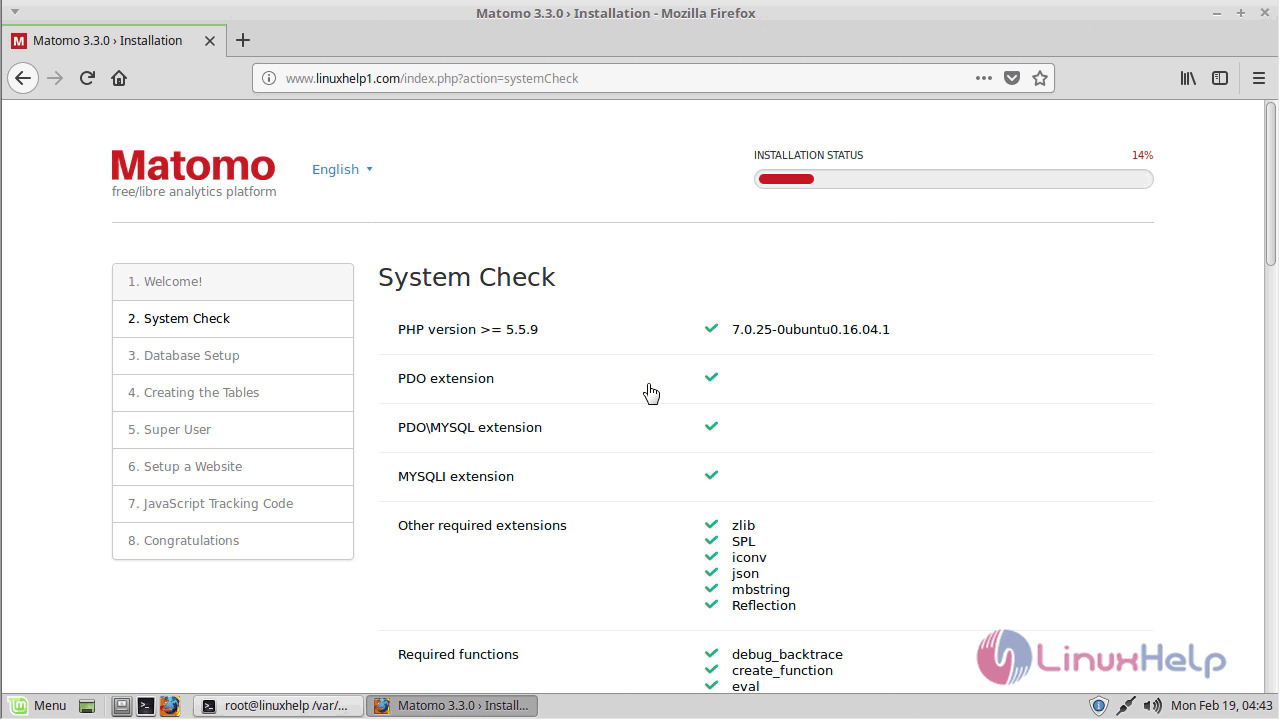
Once system check is done and after all the requirements met proceed for the Database setup
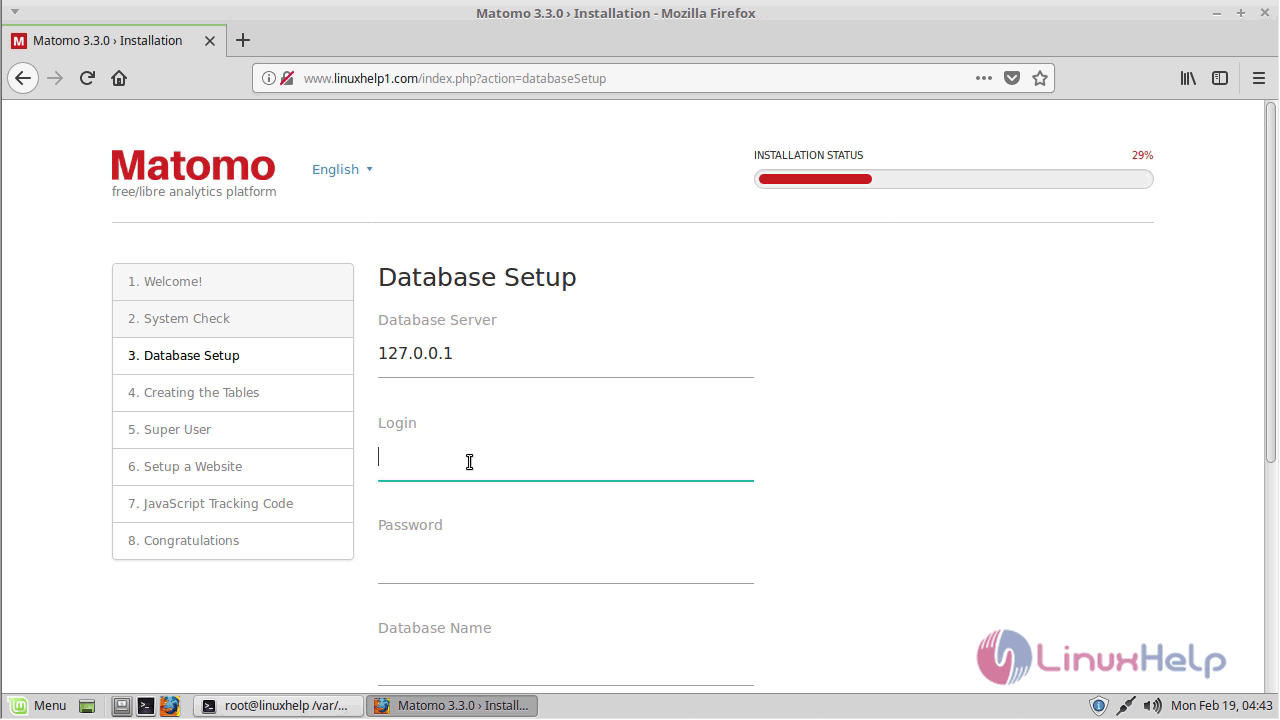
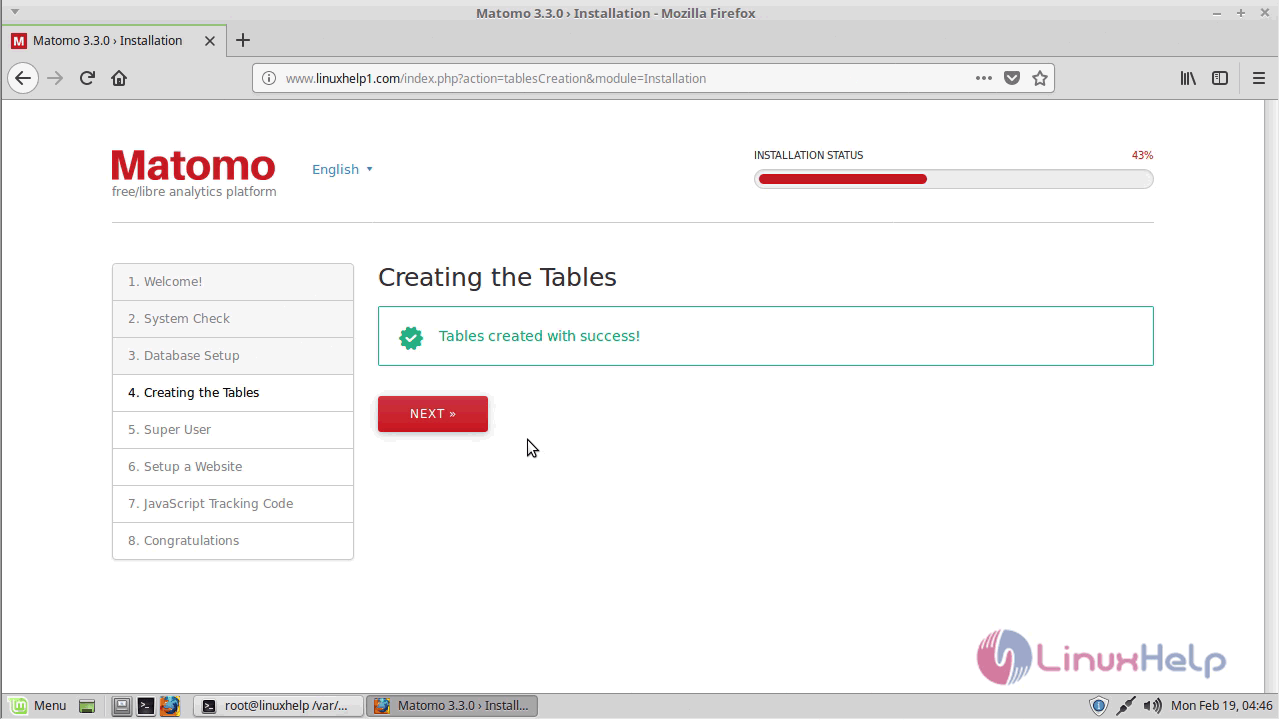
After Db setup you need to create a table as follows
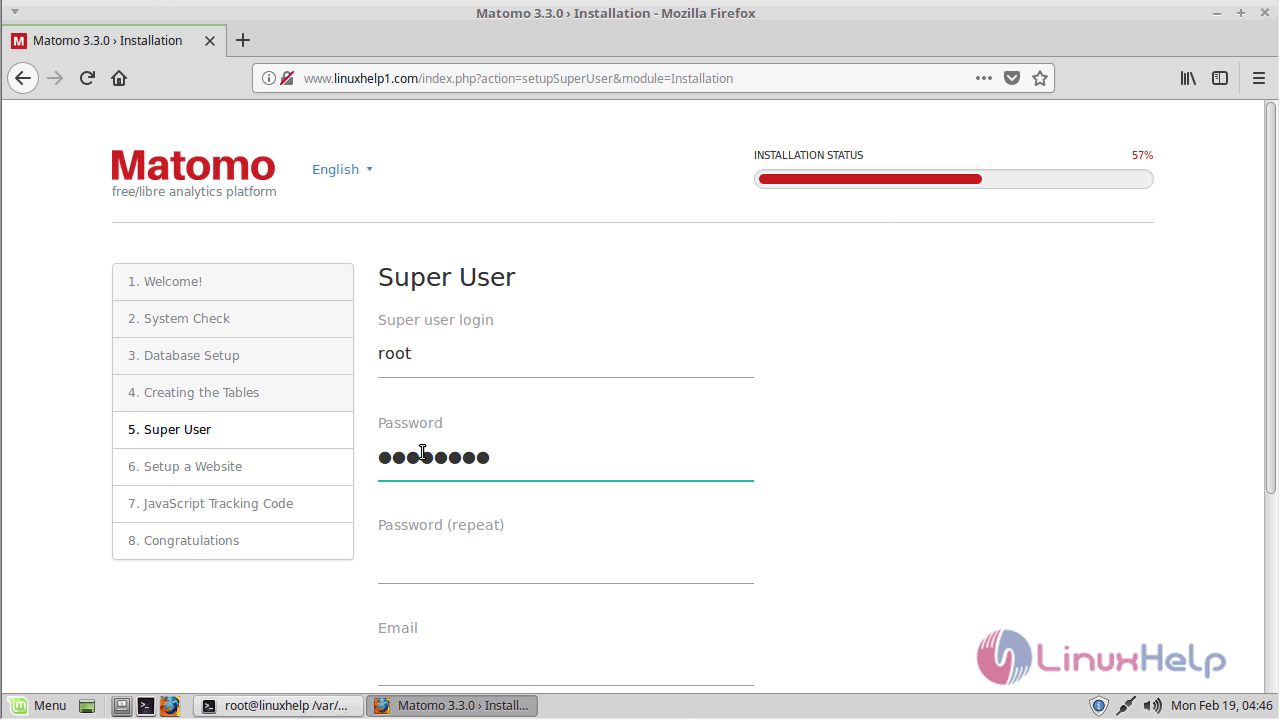
And the setup the superuser accounts and configure them
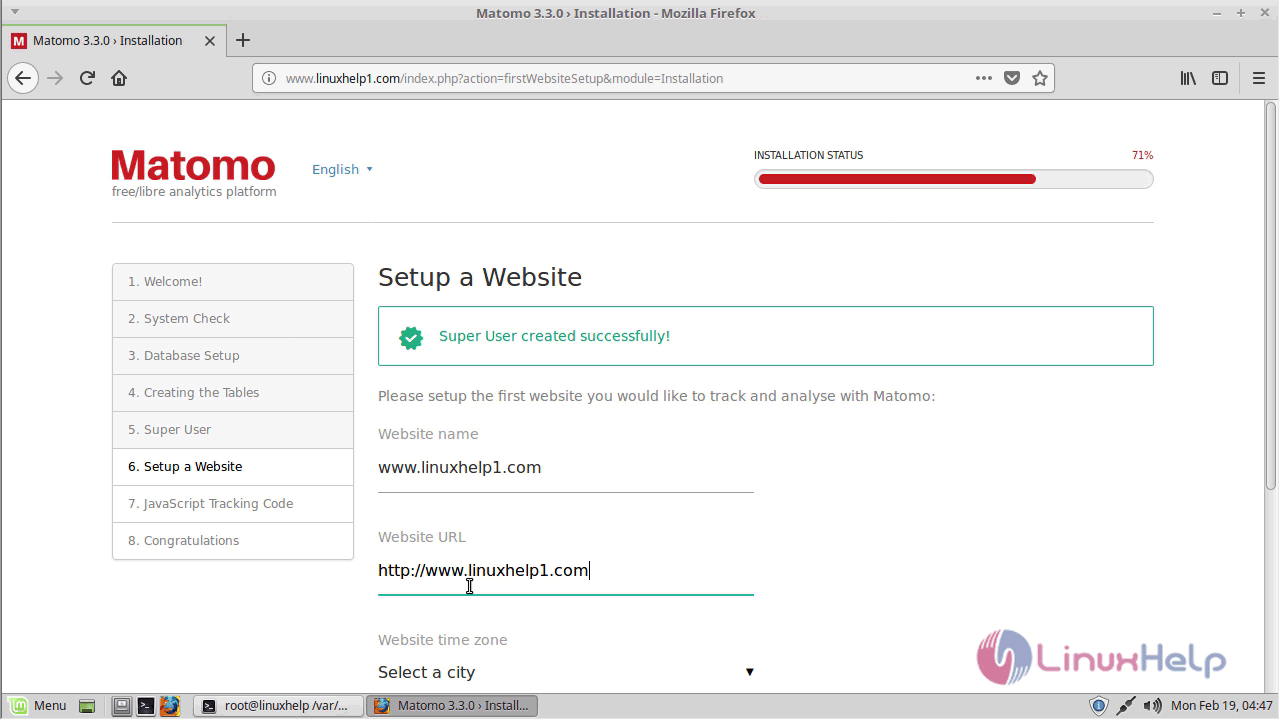
next, you can setup your website information here
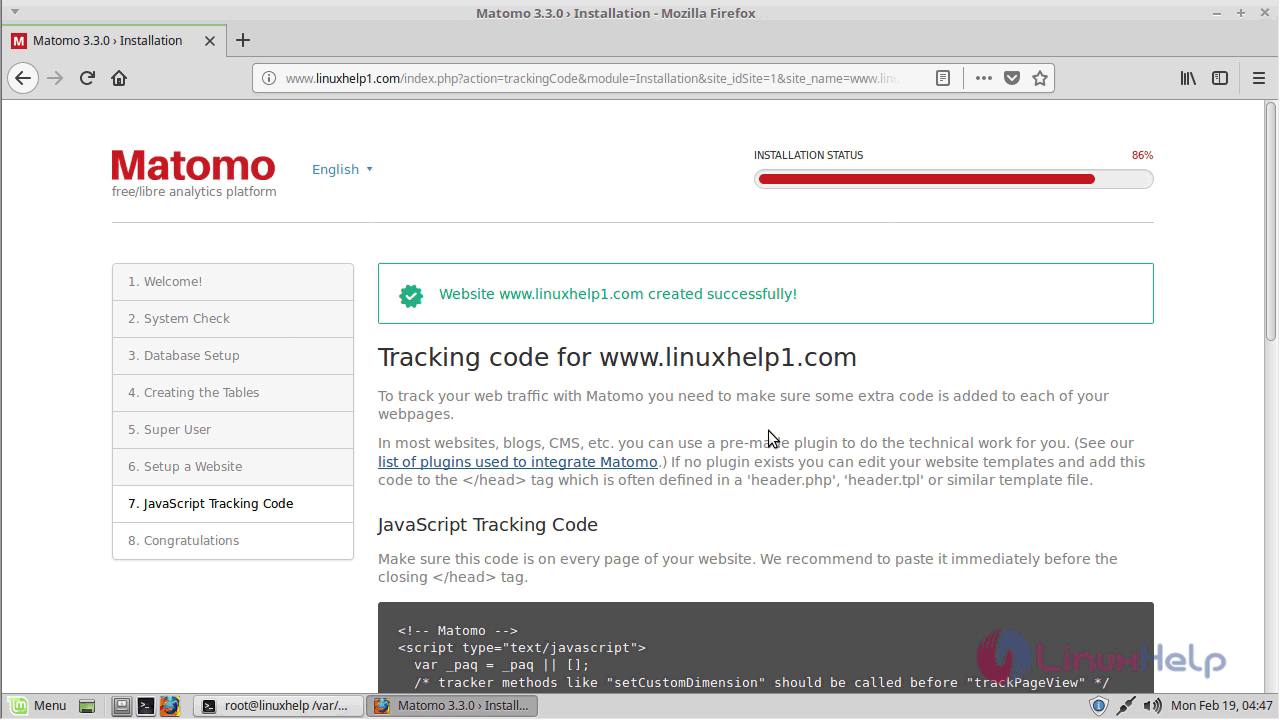
After the website setup, you will receive the tracking code which is used to track your website details
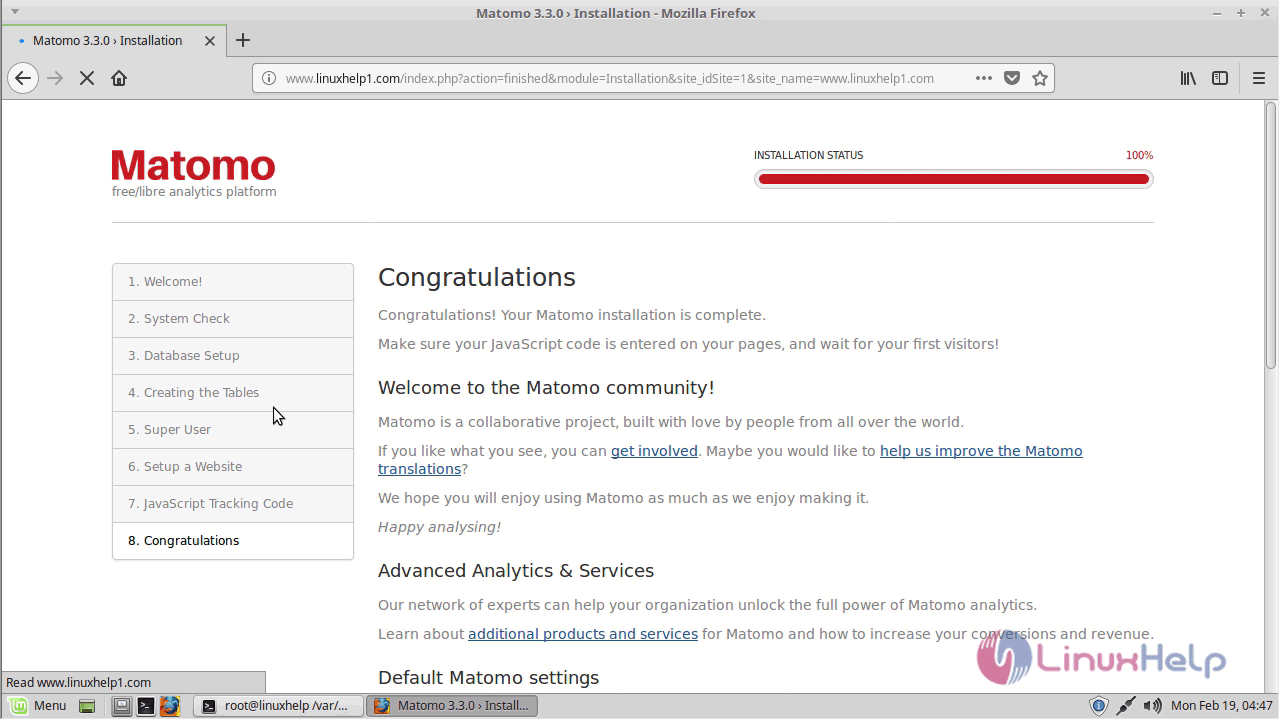
You will see the following screen after the successful configuration and setup
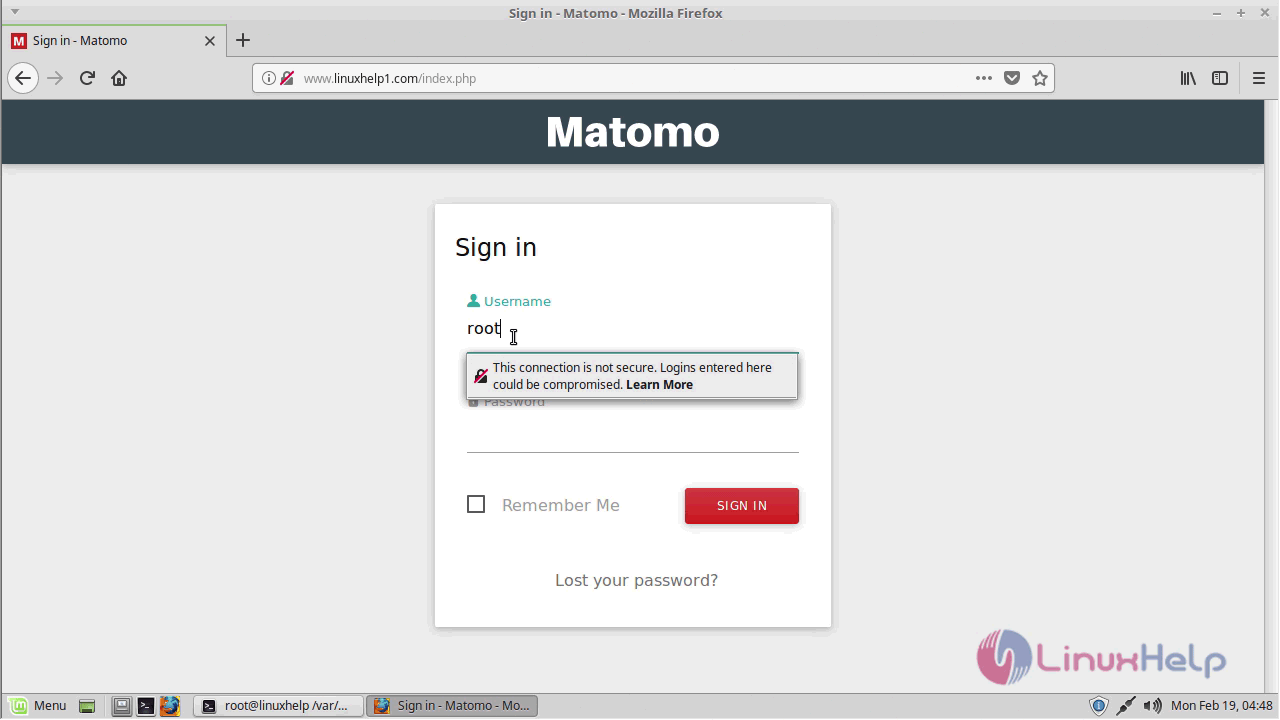
Next, log in your account using the account details which is created during setup
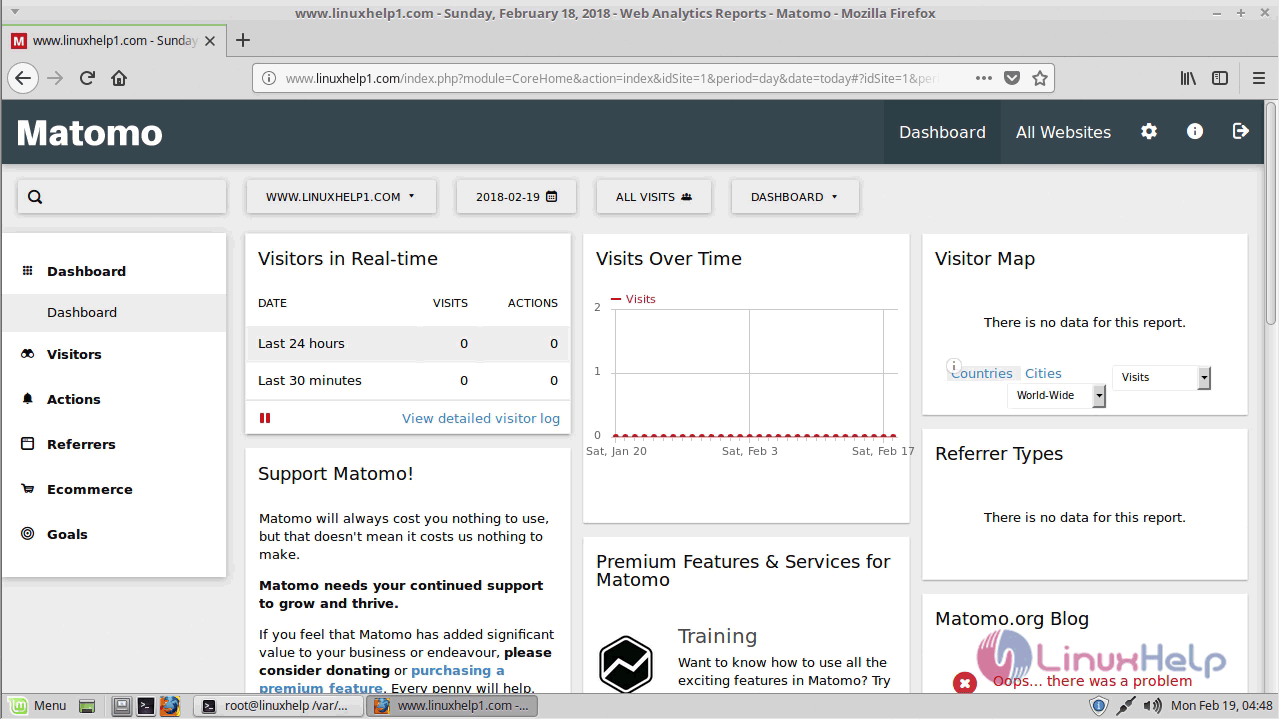
Abd then after the successful login you can now view an analysis of your site as shown here.
with this, the method to install and configure Piwik on Linux mint-18.3 comes to an end.
Comments ( 0 )
No comments available