How to install Concrete5 CMS in Ubuntu
To install Concrete5 CMS in Ubuntu
Concrete5 is an open source content management system. It is used for creating and deploying website in a easier way and the user does not require any technical skills to deploy a website. It is programmed in PHP language. Installation of Concrete5 CMS in Ubuntu is explained in this article.
Features
- Easy Text editor.
- You can add pages anywhere,preview it before publishing and update anywhere
- Supports bulk upload and manipulate images.
- Editable toolbar with the customized the site.
To install Concrete5 CMS
Before installing Concrete5, install LAMP server.
To know how to install LAMP visit,
https://www.linuxhelp.com/how-to-install-lamp-setup-in-ubuntu-15-10/
Next install the dependency packages by using the following command.
root@linuxhelp:/home/user1/Desktop# apt-get install unzip php5-gd
Reading package lists... Done
Building dependency tree
.
.
.
php5_invoke: Enable module gd for cli SAPI
php5_invoke: Enable module gd for apache2 SAPI
Setting up unzip (6.0-13ubuntu3.2) ...
Processing triggers for libapache2-mod-php5 (5.6.4+dfsg-4ubuntu6.4) ...
You can download the concrete5 cms package from its official link,
https://www.concrete5.org/
Move the downloaded package to /var/www/html location.
root@linuxhelp:/home/user1/Downloads# mv concrete5.7.5.8.zip /var/www/html/
root@linuxhelp:/home/user1/Downloads# cd /var/www/html/
Extract the downloaded package by utilizing the following command
root@linuxhelp:/var/www/html# unzip concrete5.7.5.8.zip
Archive:  concrete5.7.5.8.zip
   creating: concrete5.7.5.8/
   creating: concrete5.7.5.8/application/
   creating: concrete5.7.5.8/application/attributes/
   creating: concrete5.7.5.8/application/authentication/
.
.
.
inflating: concrete5.7.5.8/LICENSE.TXT
   creating: concrete5.7.5.8/packages/
  inflating: concrete5.7.5.8/robots.txt
   creating: concrete5.7.5.8/updates/
rename the extracted directory to concrete5
Now invoke the mv command to rename the extracted package.
root@linuxhelp:/var/www/html# mv concrete5.7.5.8 concrete5
root@linuxhelp:/var/www/html# ls -l
total 41796
drwxr-xr-x 3 root  root      4096 Oct 12 12:16 ./
drwxr-xr-x 3 root  root      4096 Oct 12 11:49 ../
drwxr-xr-x 6 root  root      4096 May 23 07:50 concrete5/
-rw-rw-r-- 1 user1 user1 42770728 Oct 12 12:14 concrete5.7.5.8.zip
-rw-r--r-- 1 root  root     11321 Oct 12 11:49 index.html
root@linuxhelp:/var/www/html# cd concrete5
Enable the rewrite modules.
root@linuxhelp:/var/www/html/concrete5# a2enmod rewrite
Enabling module rewrite.
To activate the new configuration, restart your apache services.
root@linuxhelp:/var/www/html/concrete5# service apache2 restart
Once the restart is finished, open and edit the php.ini file.
root@linuxhelp:/var/www/html/concrete5# nano /etc/php5/apache2/php.ini
cgi.fix_pathinfo=1
Enable this line by removing the semi colon
Now restart the Apache web server.
root@linuxhelp:/var/www/html/concrete5# service apache2 restart
Then configure MySql for Concrete5 CMS
root@linuxhelp:/var/www/html/concrete5# mysql -u root -p
Enter password:
Welcome to the MySQL monitor.  Commands end with   or g.
Your MySQL connection id is 10
Server version: 5.6.28-0ubuntu0.15.04.1 (Ubuntu)
Copyright (c) 2000, 2015, Oracle and/or its affiliates. All rights reserved.
Oracle is a registered trademark of Oracle Corporation and/or its
affiliates. Other names may be trademarks of their respective
owners.
Type ' help '  or ' h'  for help. Type ' c'  to clear the current input statement.
mysql>  CREATE DATABASE concrete5
Query OK, 1 row affected (0.06 sec)
mysql>  GRANT ALL PRIVILEGES ON concrete5.* TO ' concr5' @' localhost'  IDENTIFIED BY ' password'
Query OK, 0 rows affected (0.14 sec)
mysql>  FLUSH PRIVILEGES
Query OK, 0 rows affected (0.03 sec)
mysql>  exit
Bye
After adding the MySQL, change the ownership for concrete5 directory.
root@linuxhelp:/var/www/html/concrete5# chown -R www-data:www-data /var/www/html/concrete5
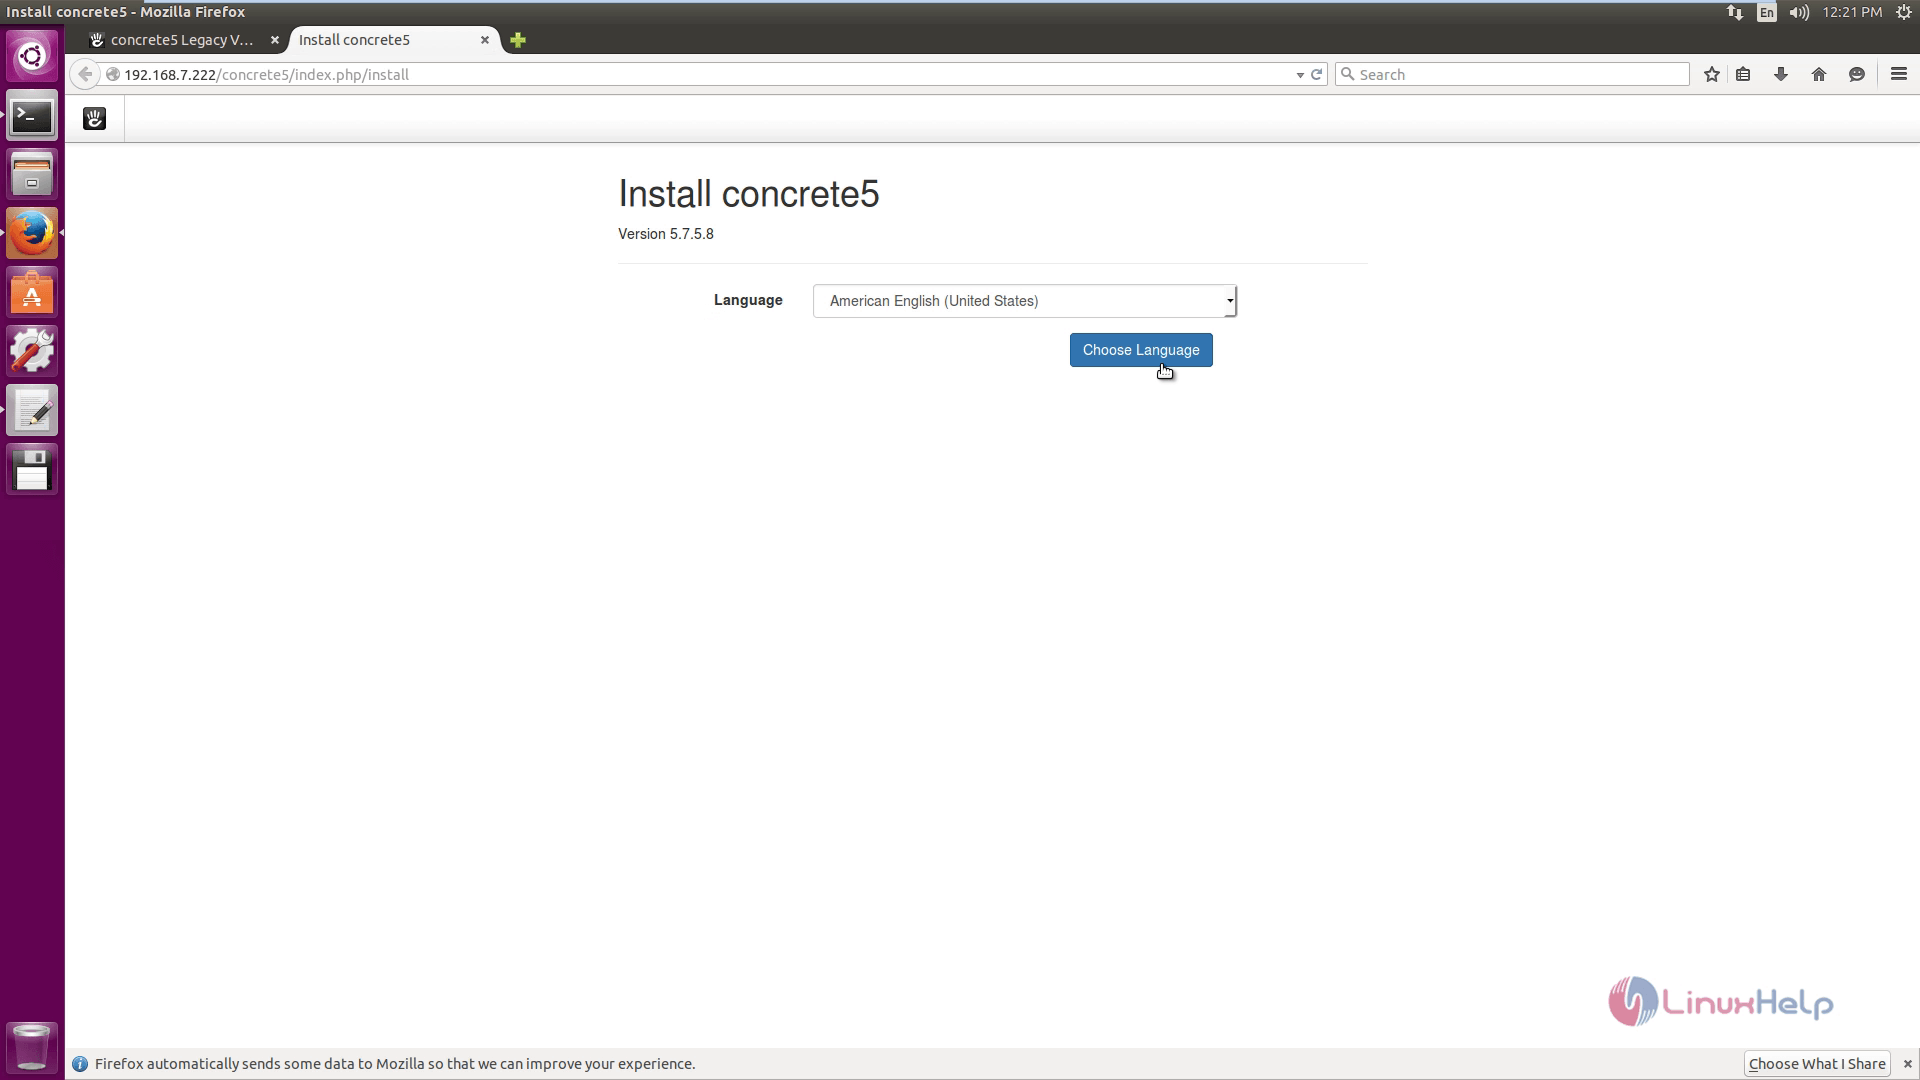
Open the web browser and navigate to http://< IP_address> /concrete5
Choose your preferred language
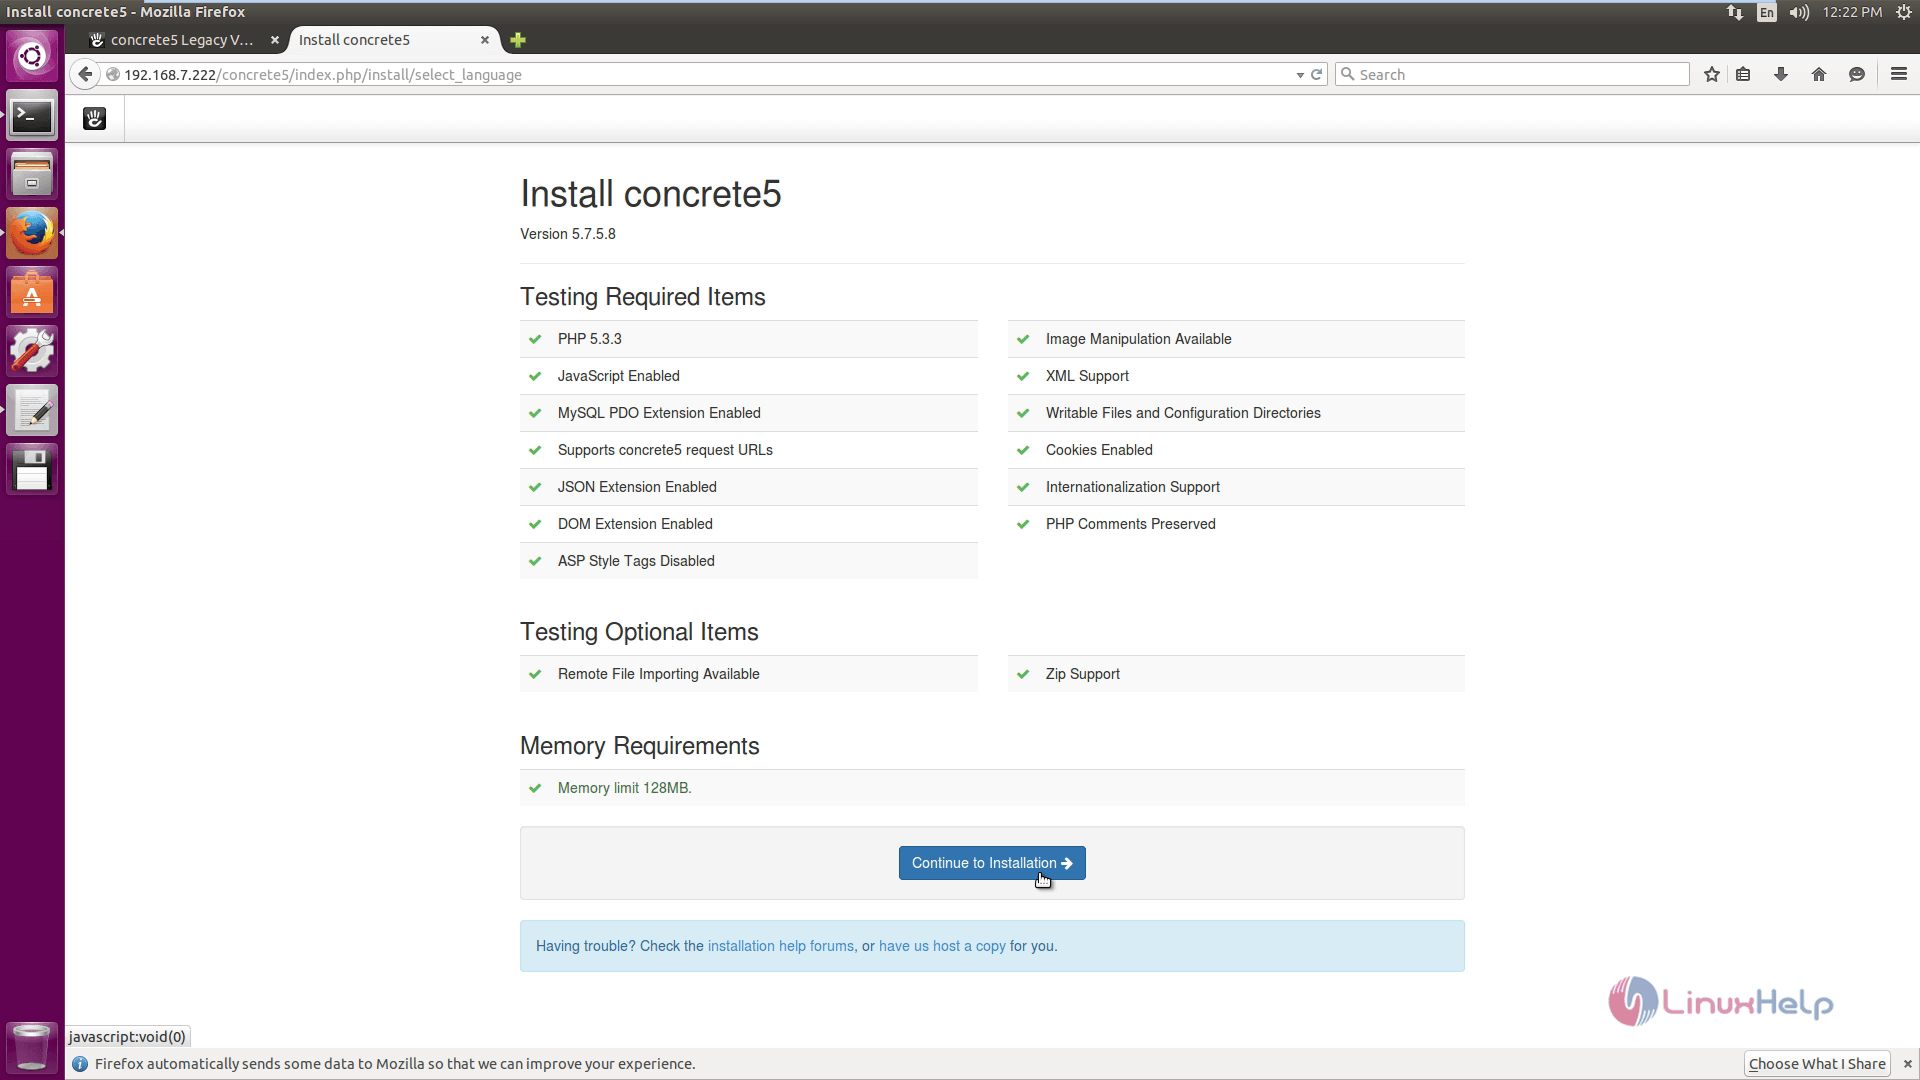
Verify the test environment ans click Continue to installation.
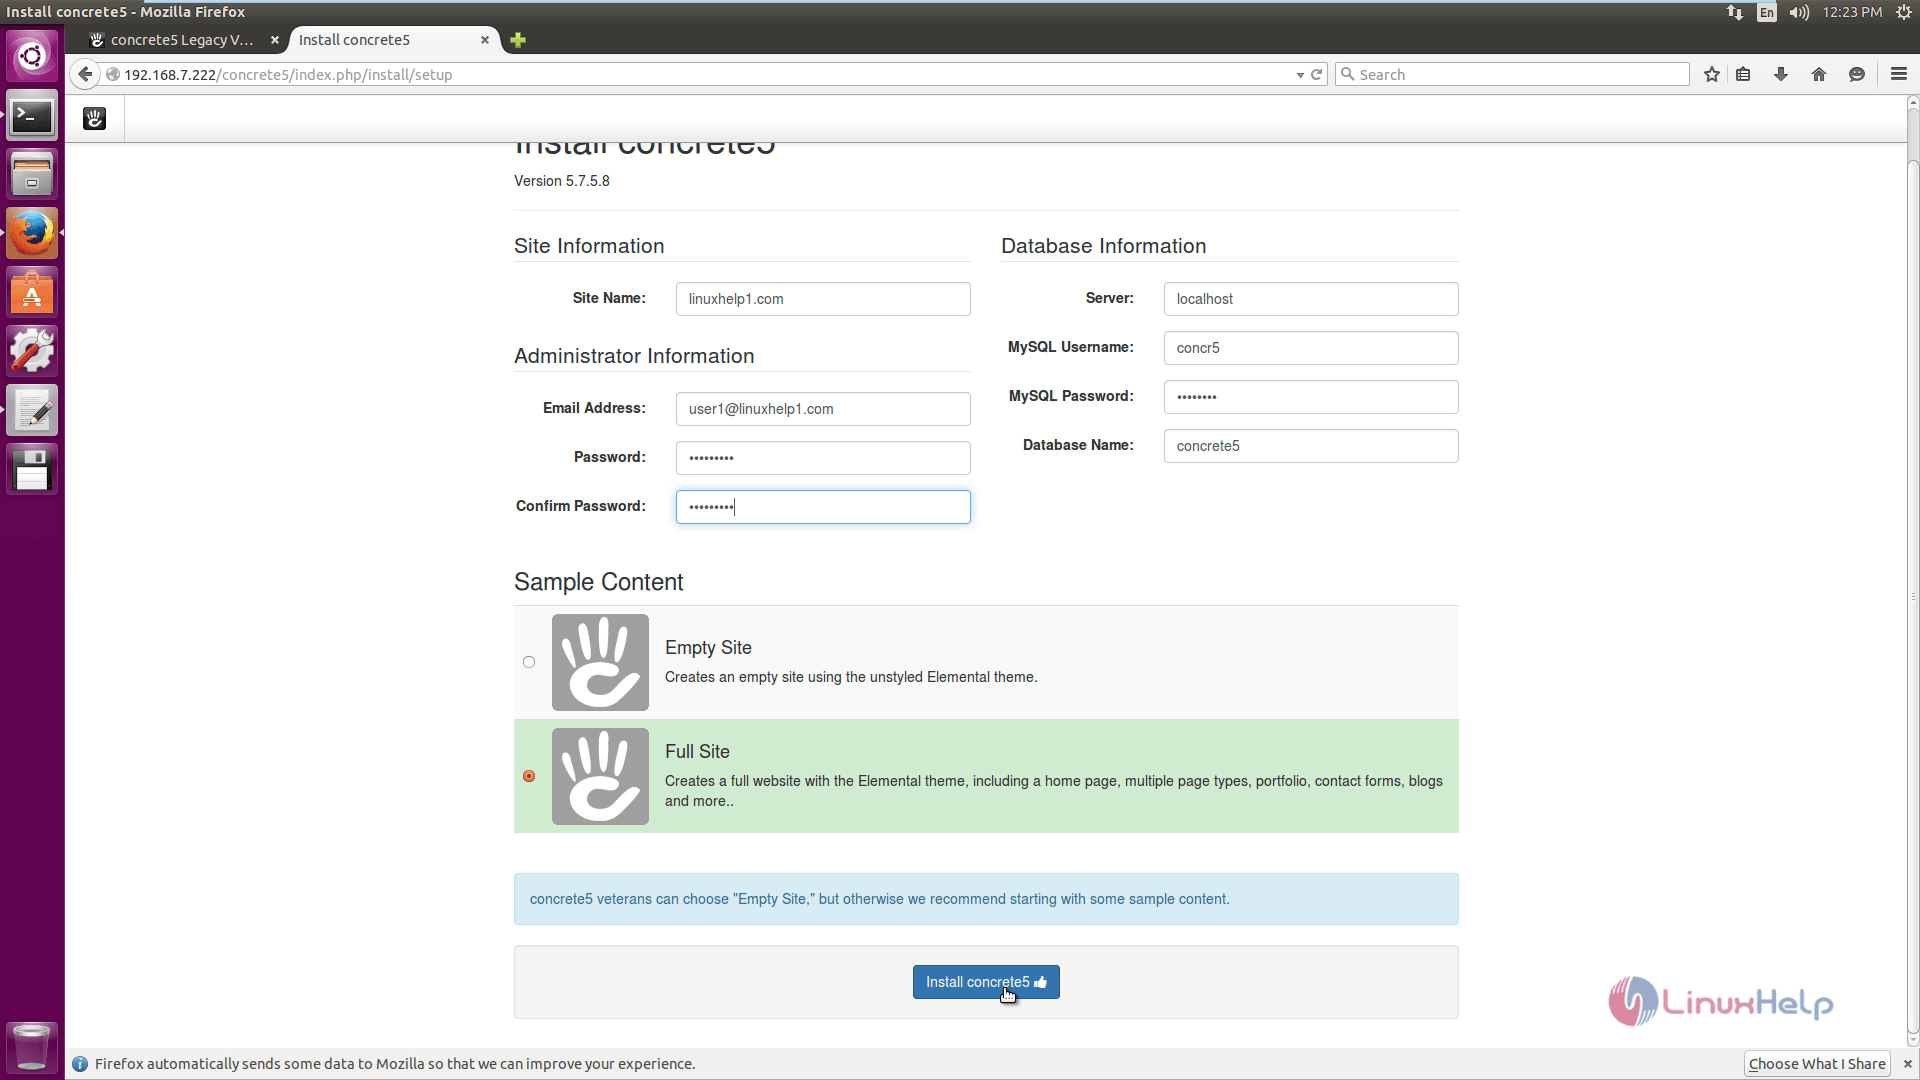
Enter the site and database information.
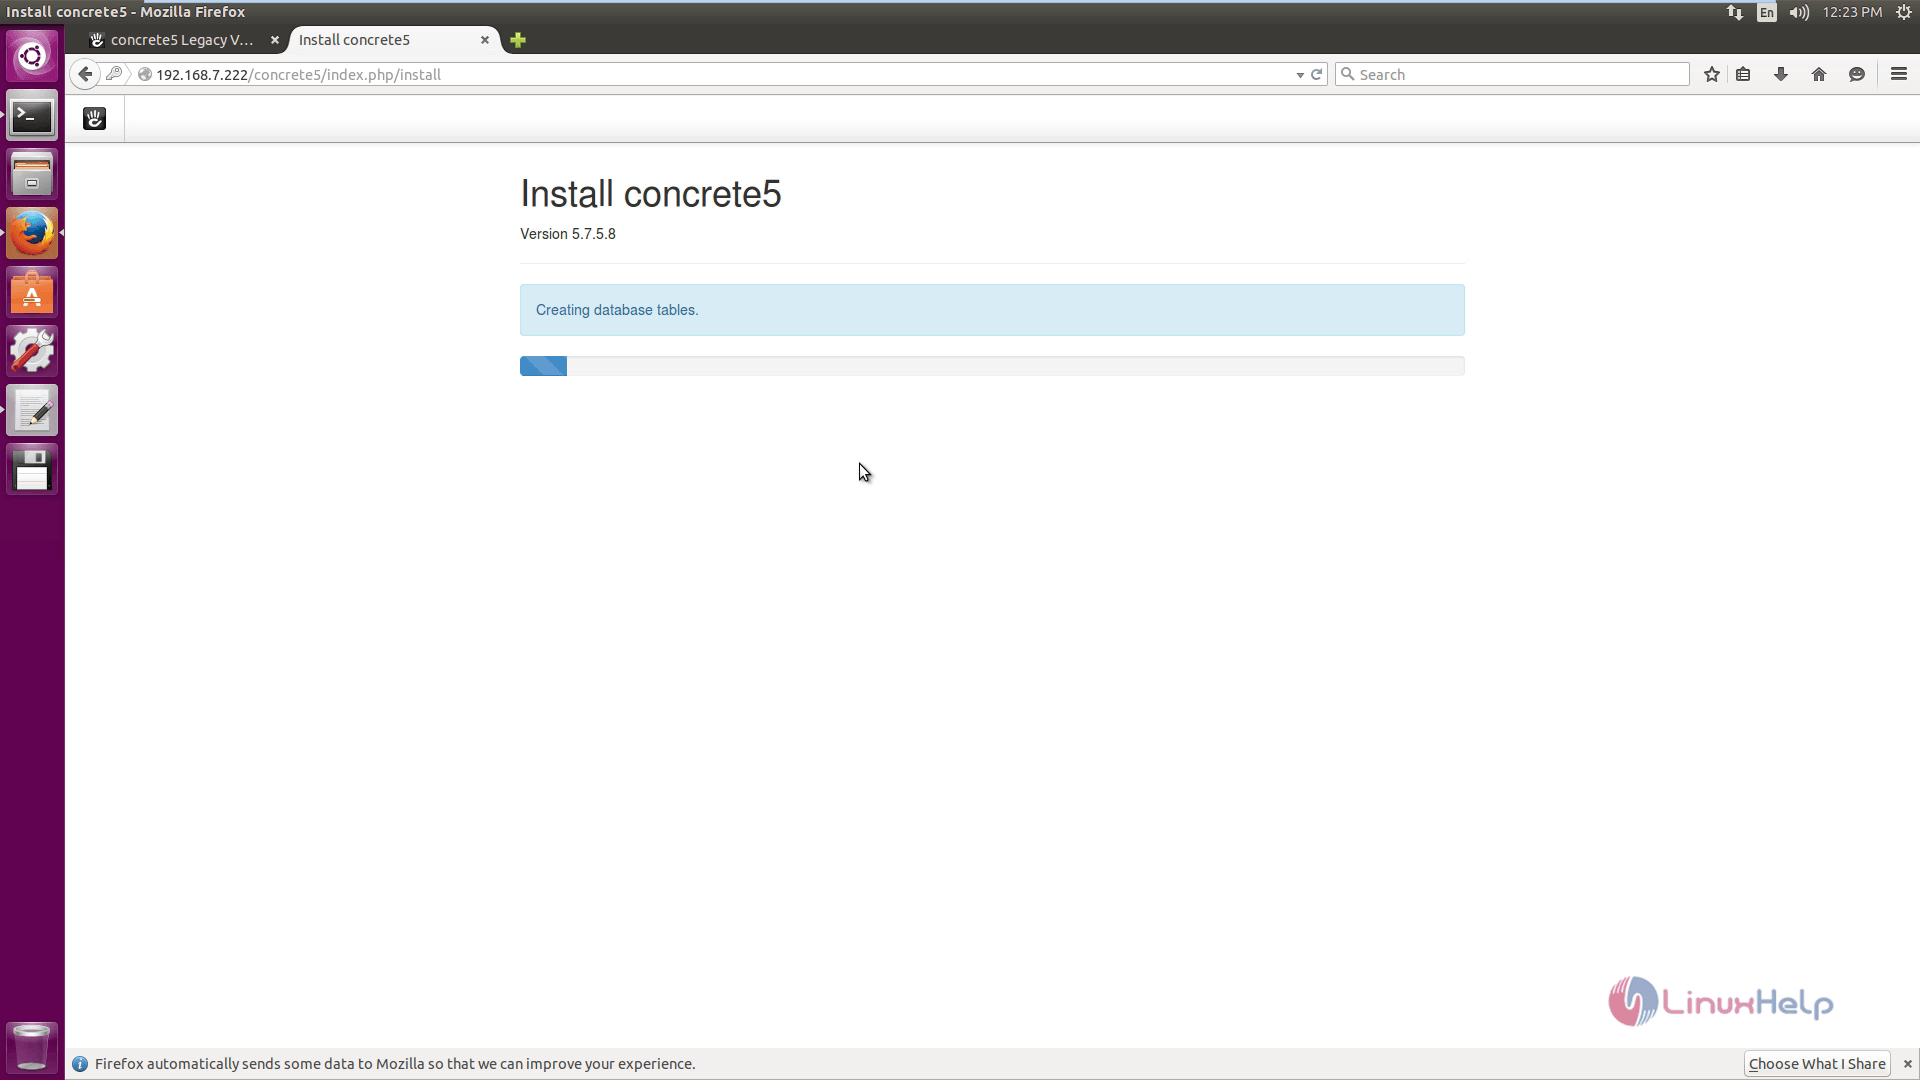
Installation progress started.


Comments ( 0 )
No comments available