How to install Directus CMS on CentOS 7
To install Directus CMS on CentOS 7
Directus is a free and open source headless content management system written in Backbone.js that provides a feature-rich environment for fast development and management of custom database schemas. It is used to manage the content and providing a feature-rich environment for rapid development and management of custom database schemas. This tutorial covers the installation procedure of Directus CMS on CentOS 7.
Pre-Requisite
LAMP Stack
- Apache
- MariaDB
- PHP 7 along with dependencies (mod_php71w php71w-cli php71w-common php71w-gd php71w-mbstring php71w-mcrypt php71w-mysqlnd php71w-xml)
Installation procedure
To proceed with the installation procedure, download the latest version of the Directus from GitHub repository by executing the following command.
[root@linuxhelp ~]# git clone https://github.com/directus/directus.git /var/www/html/directus
Cloning into ' /var/www/html/directus' ...
remote: Counting objects: 79430, done.
remote: Compressing objects: 100% (79/79), done.
remote: Total 79430 (delta 12), reused 71 (delta 7), pack-reused 79299
Receiving objects: 100% (79430/79430), 39.05 MiB | 1.03 MiB/s, done.
Resolving deltas: 100% (54302/54302), done.
Composer is a dependency manager for PHP with which you can install packages. Run the following command to download composer in the target system.
[root@linuxhelp ~]# curl -sS https://getcomposer.org/installer | php
All settings correct for using Composer
Downloading...

Composer (version 1.5.2) successfully installed to: /root/composer.phar
Use it: php composer.phar
Rename the composer.phar by executing the following command.
[root@linuxhelp ~]# mv composer.phar /usr/local/bin/composer
Move to the newly created directus directory.
[root@linuxhelp ~]# cd /var/www/html/directus/
Next install the composer by executing the following command.
[root@linuxhelp directus]# composer install
Loading composer repositories with package information
Updating dependencies (including require-dev)
Package operations: 27 installs, 0 updates, 0 removals
  - Installing zendframework/zend-stdlib (3.1.0): Downloading (100%)
  - Installing zendframework/zend-db (dev-directus 6bedd69): Cloning 6bedd69fb1
  - Installing directus/migrations (dev-master 5a0a884): Cloning 5a0a8843de
  - Installing paragonie/random_compat (v2.0.10): Downloading (100%)
  - Installing guzzlehttp/promises (v1.3.1): Downloading (100%)
  - Installing psr/http-message (1.0.1): Downloading (100%)
.
.
.
.
intervention/image suggests installing intervention/imagecache (Caching extension for the Intervention Image library)
phpunit/phpunit-mock-objects suggests installing ext-soap (*)
phpunit/php-code-coverage suggests installing ext-xdebug (> =2.0.5)
phpunit/phpunit suggests installing phpunit/php-invoker (~1.1)
Writing lock file
Generating autoload files
Provide the Owner permission and file execution permission by running the set of following commands.
[root@linuxhelp directus]# chown -R apache:apache /var/www/html/
[root@linuxhelp directus]# chmod -R 777 /var/www/html/
Open the php configuration file using vim editor and make the following changes in the file. Save and exit the file.
[root@linuxhelp directus]# vim /etc/php.ini

date.timezone = Asia/kolkata
memory_limit = 512M
upload_max_filesize = 200M
post_max_size = 200M
Open the Apache configuration file and make the following changes in the file. Save and exit the file.
[root@linuxhelp directus]# vim /etc/httpd/conf/httpd.conf
ServerName 192.168.7.165:80
DirectoryIndex index.html index.php
< Directory " /var/www/html" >
    #
    # Possible values for the Options directive are " None" , " All" ,
    # or any combination of:
.
.
.
.
AllowOverride All
Restart the Apache service.
[root@linuxhelp directus]# systemctl restart httpd
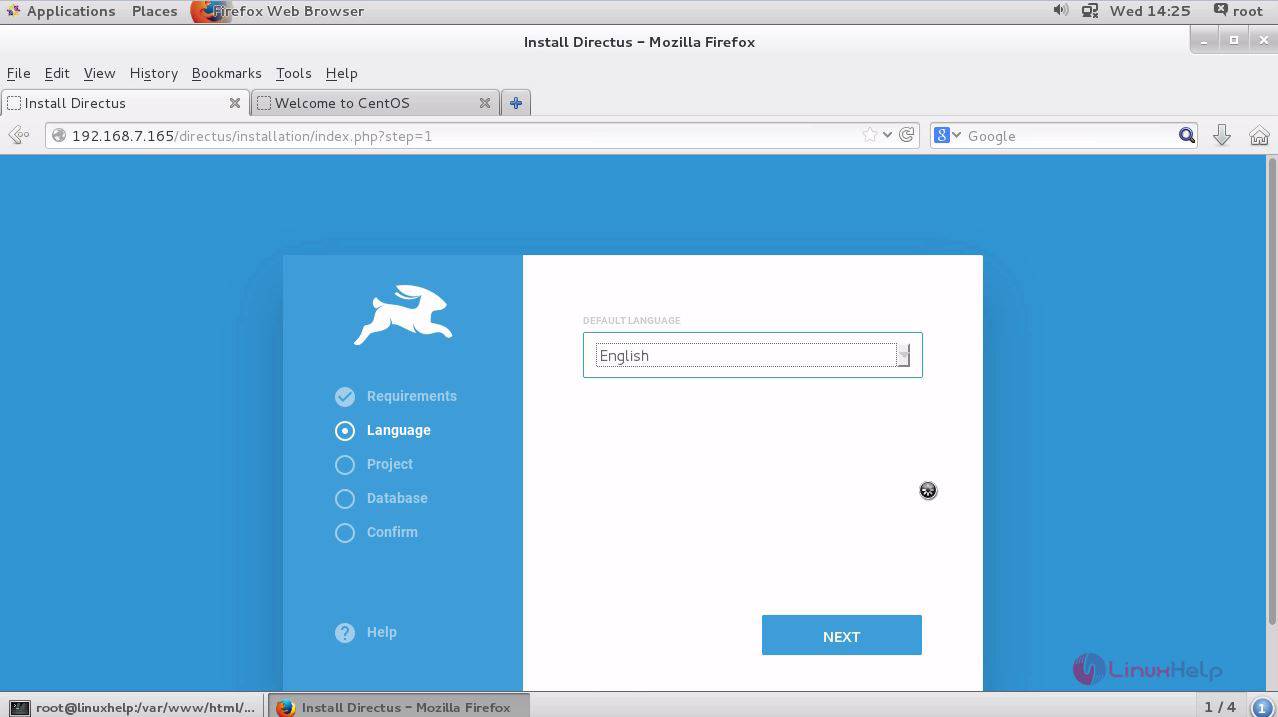
Switch over to the browser and it will lead to the Directus installation page. Select the required language and click next.
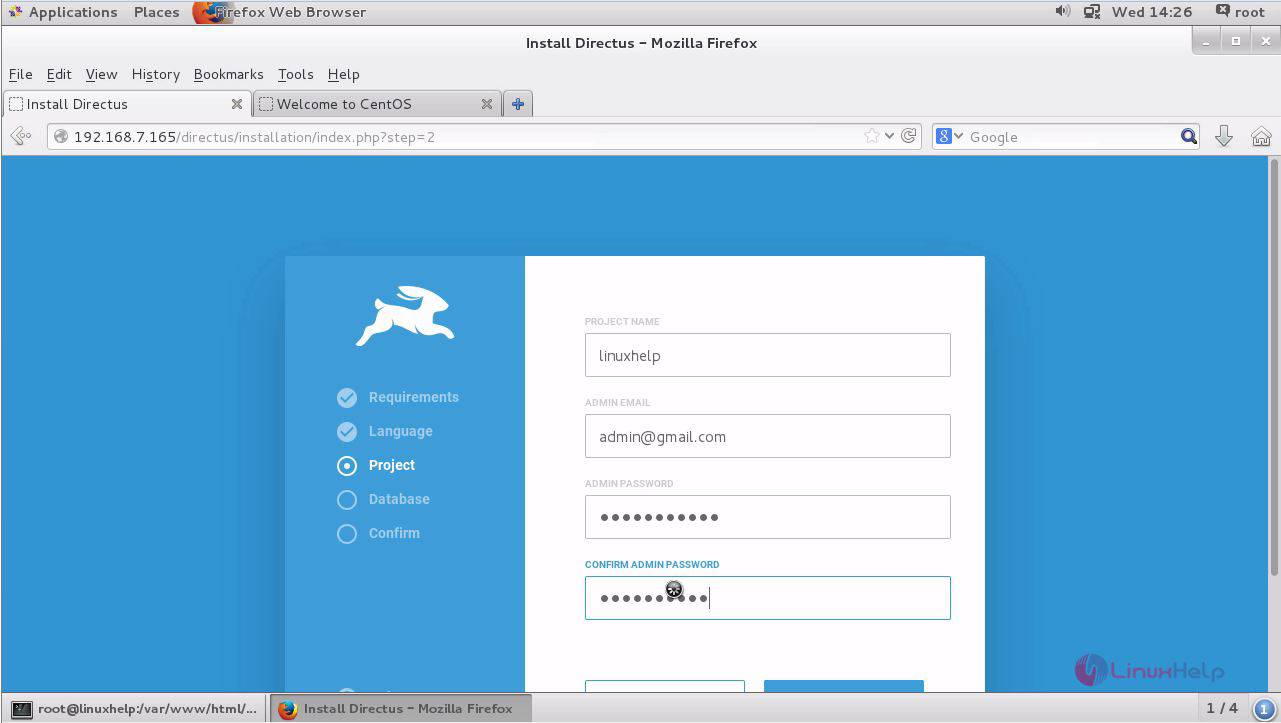
Enter the admin details such as project name, admin email and password.
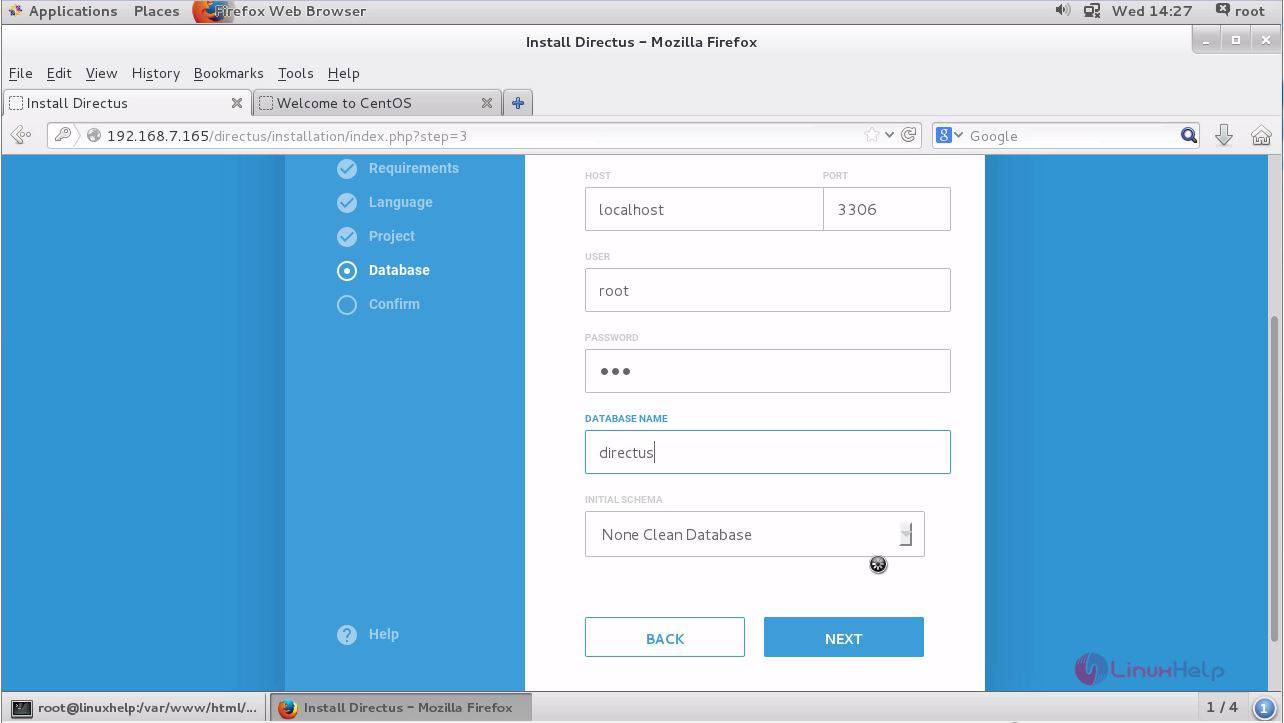
Enter the database details and click next.
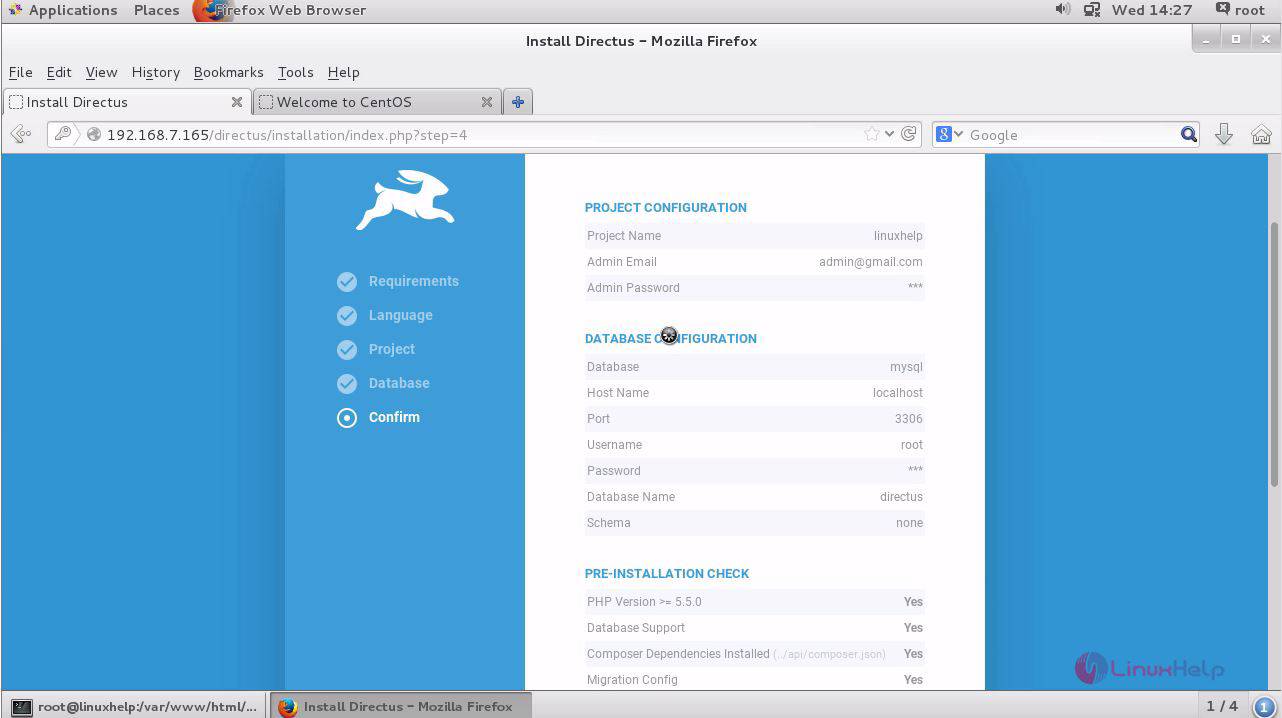
This window shows the list of configuration changes that we have done and also the pre-installation checks.
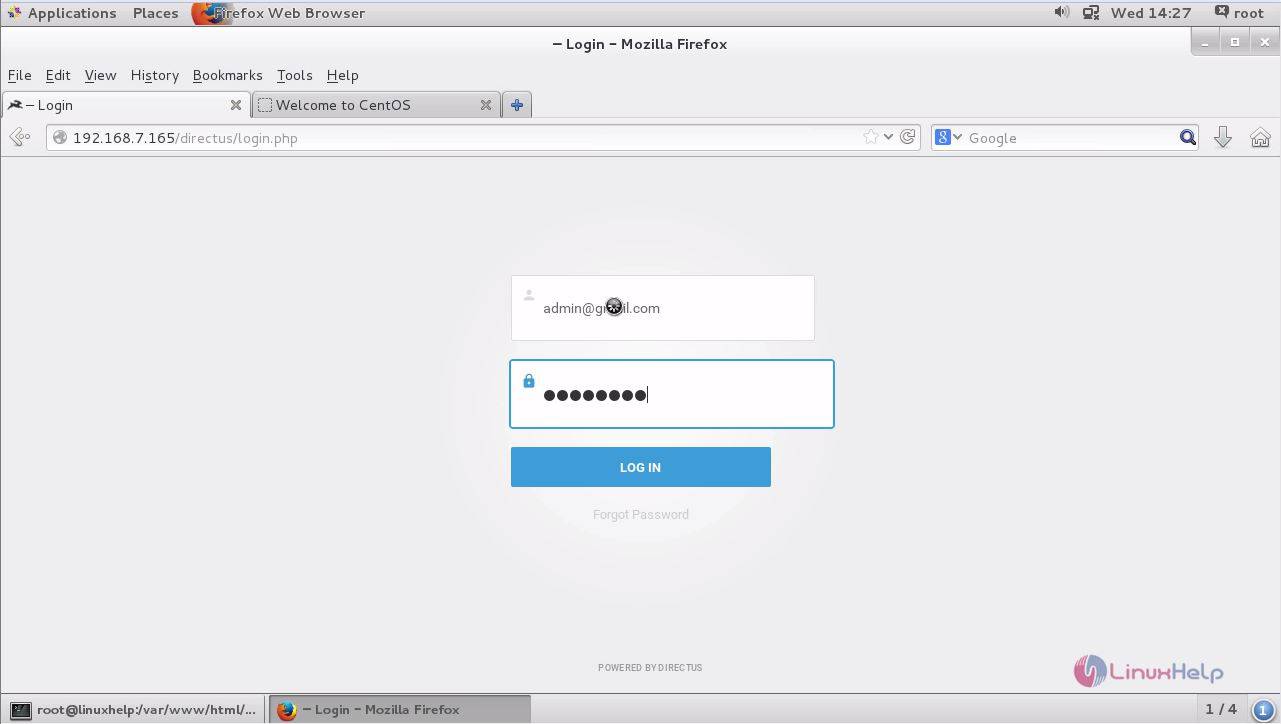
The installation is complete. Now enter the admin credentials to login to Directus CMS.
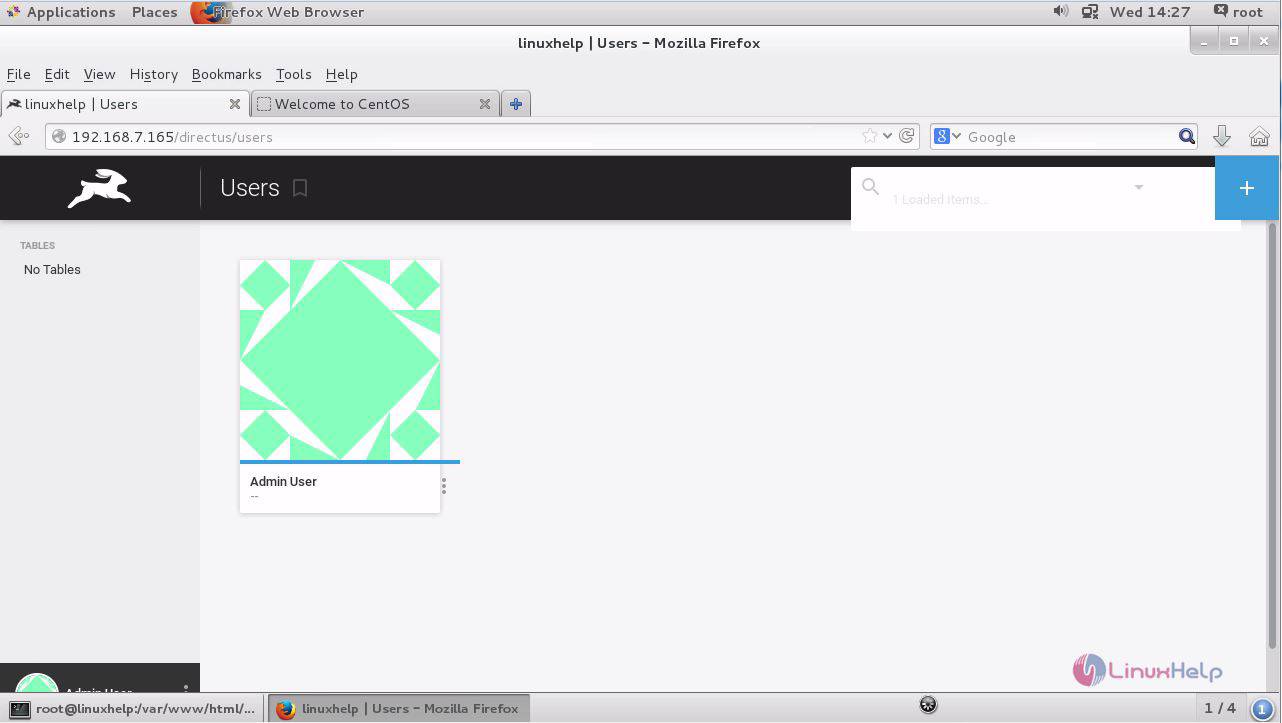
The Directus CMS is logged in and now you can see the users in the system as shown below.
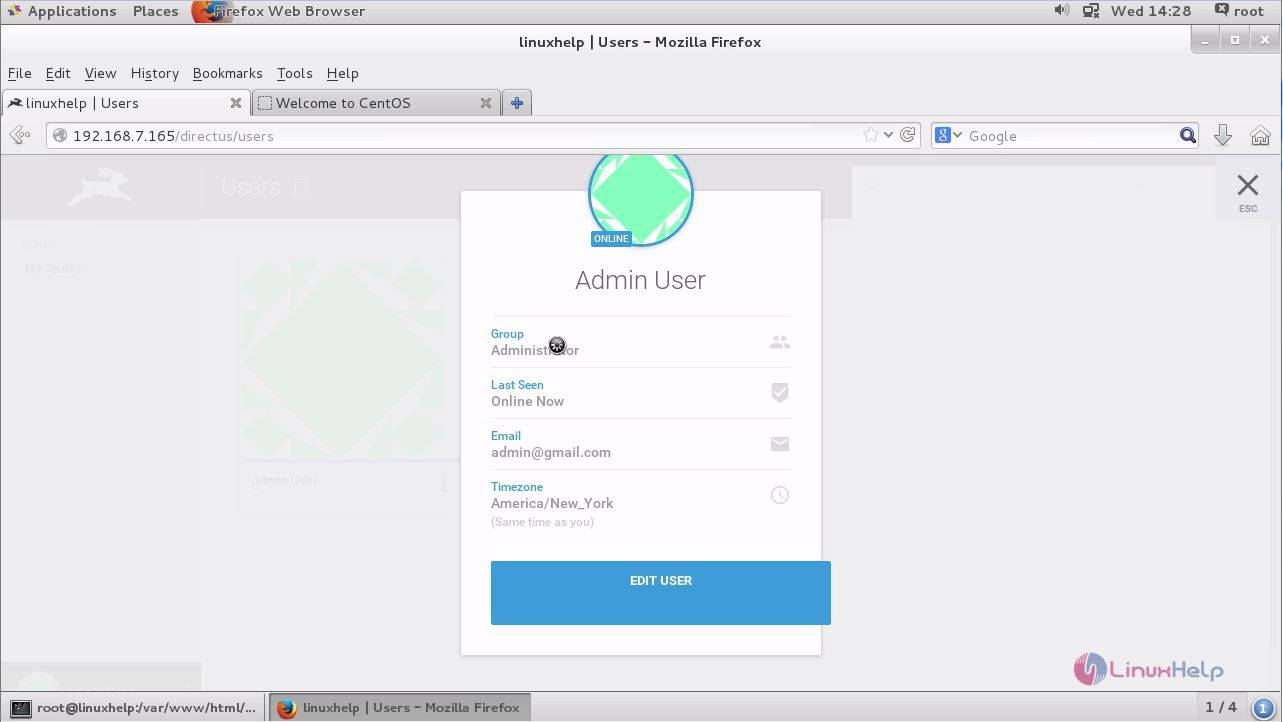
Set the admin user' s details by clicking edit user option.
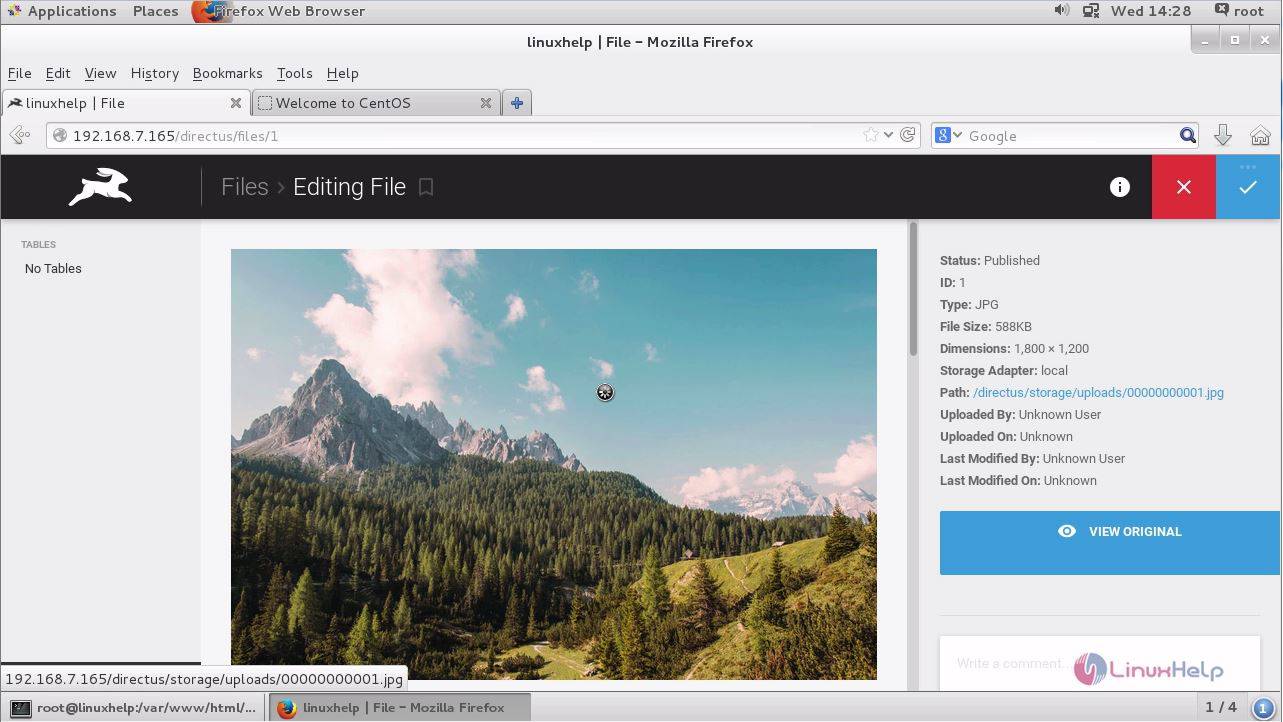
The file is now edited and you can use the Directus CMS for various CMS functions.
Thus the installation procedure of Directus CMS on CentOS 7 is done successfully.
Comments ( 0 )
No comments available