How to install Dolphin pro on linuxmint-18.03
To install Dolphin pro on linuxmint-18.03
Dolphin Pro is a social networking website software platform written in PHP, using a MySQL database. In this tutorial, we will see the installation of Dolphin pro on Linux mint 18.3
Pre-requirements
Install LAMP (Apache, php5.6, mariadb-server)
In MariaDB (create database, user and give privileges to the user)
FOR PHP INSTALLATION:
apt-get install python-software-properties
add-apt-repository ppa:ondrej/php
apt-get update
apt-get install php5.6-mysql php5.6-curl php5.6-json php5.6-cgi php5.6 libapache2-mod-php5.6 php5.6-mcrypt php5.6-xmlrpc php5.6-gd php5.6-mbstring php5.6
php5.6-common  php5.6-xmlrpc php5.6-soap  php5.6-xml php5.6-intl  php5.6-cli  php5.6-ldap php5.6-zip php5.6-readline php5.6-imap php5.6-tidy php5.6-recode php5.6-sq php5.6-intl
Installation
Download Dolphin pro package by using wget command.
linuxhelp ~ # wget https://sourceforge.net/projects/boonex-dolphin/files/latest/download?source=directory --no-check-certificate
--2018-07-07 15:54:47--  https://sourceforge.net/projects/boonex-dolphin/files/latest/download?source=directory
Resolving sourceforge.net (sourceforge.net)... 216.105.38.13
Connecting to sourceforge.net (sourceforge.net)|216.105.38.13|:443... connected.
HTTP request sent, awaiting response... 302 Found
.
.
.
Length: 30947706 (30M) [application/octet-stream]
Saving to: ‘;download?source=directory’;

download?source=director 100%[=================================>]  29.51M   438KB/s    in 94s

2018-07-07 15:56:24 (320 KB/s) - ‘;download?source=directory’; saved [30947706/30947706]
Extract the download file by using the unzip command.
linuxhelp ~ # unzip download?source=directory
Archive:  download?source=directory
   creating: Dolphin-v.7.3.5/
  inflating: Dolphin-v.7.3.5/.htaccess
  inflating: Dolphin-v.7.3.5/about_us.php
  inflating: Dolphin-v.7.3.5/activation_email.php
   creating: Dolphin-v.7.3.5/administration/
  inflating: Dolphin-v.7.3.5/administration/.htaccess
.
.
.
  inflating: Dolphin-v.7.3.5/xmlrpc/lib/compat/is_scalar.php
  inflating: Dolphin-v.7.3.5/xmlrpc/lib/compat/var_export.php
  inflating: Dolphin-v.7.3.5/xmlrpc/lib/compat/version_compare.php
  inflating: Dolphin-v.7.3.5/xmlrpc/lib/xmlrpc.inc
  inflating: Dolphin-v.7.3.5/xmlrpc/lib/xmlrpc_wrappers.inc
  inflating: Dolphin-v.7.3.5/xmlrpc/lib/xmlrpcs.inc
  inflating: Dolphin-v.7.3.5/xmlrpc/r.php
Change ownership and permission of the dolphin directory as follows.
linuxhelp ~ # ls
Dolphin-v.7.3.5  download?source=directory
linuxhelp ~ # chown -R www-data:www-data Dolphin-v.7.3.5/
linuxhelp ~ # chmod -R 775 Dolphin-v.7.3.5/
Move the extracted directory into the /html location.
linuxhelp ~ # mv Dolphin-v.7.3.5/ /var/www/html/
Create a new virtual host configuration for accessing the dolphin pro.
linuxhelp ~ # cd /etc/apache2/sites-available/
linuxhelp sites-available # vim dolphin.conf
<VirtualHost *:80>
ServerName www.linuxhelp1.com
DocumentRoot /var/www/html/Dolphin-v.7.3.5/
<Directory /var/www/html/Dolphin-v.7.3.5/>
AllowOverride All
Order allow,deny
allow from all
</Directory>
</VirtualHost>
Enable the dolphin.conf file.
linuxhelp sites-available # a2ensite dolphin.conf
Enabling site dolphin.
To activate the new configuration, you need to run:
  service apache2 reload
Enable the rewire modules.
linuxhelp sites-available # a2enmod rewrite
Enabling module rewrite.
To activate the new configuration, you need to run:
  service apache2 restart
Entry to the host file.
linuxhelp sites-available # vim /etc/hosts
<give your ip>   <give your localip>
Restart the Apache web server.
linuxhelp sites-available # systemctl restart apache2.service
Now you can proceed the further installation and configuration from the browser by navigating to the following URL: http://<ipaddress or domain name
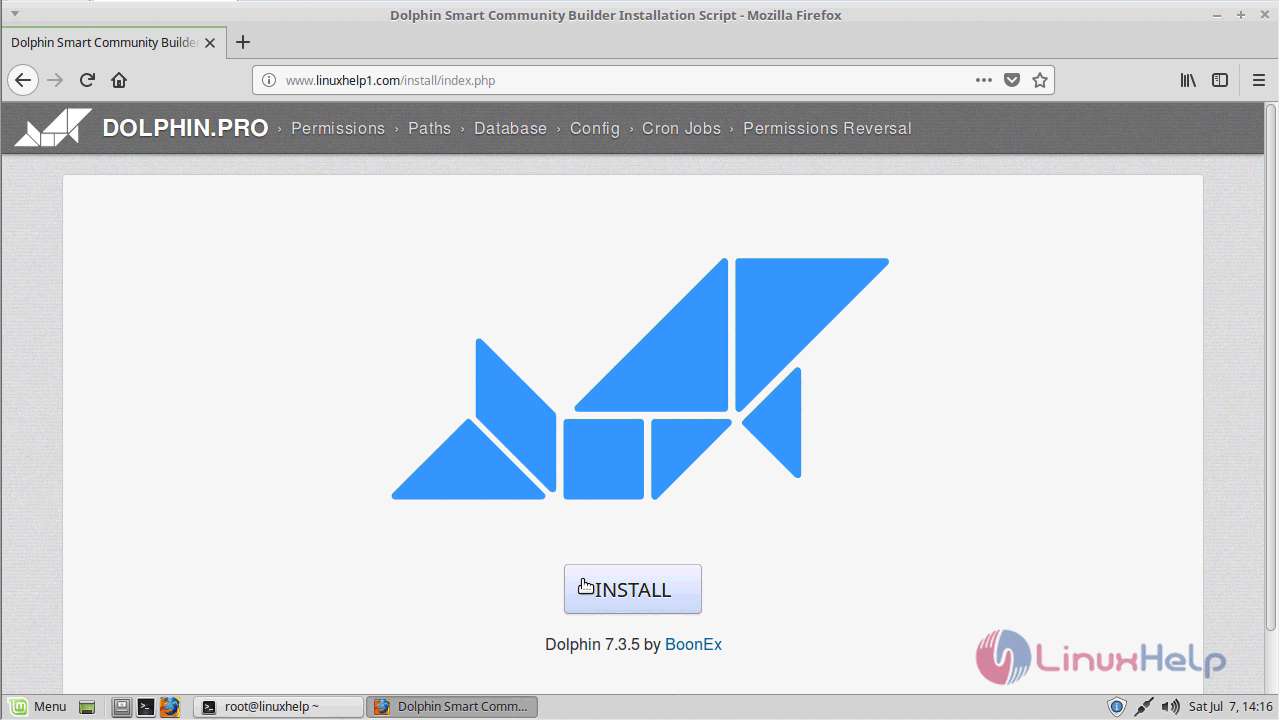
Click the 'Install' option to start the installation.
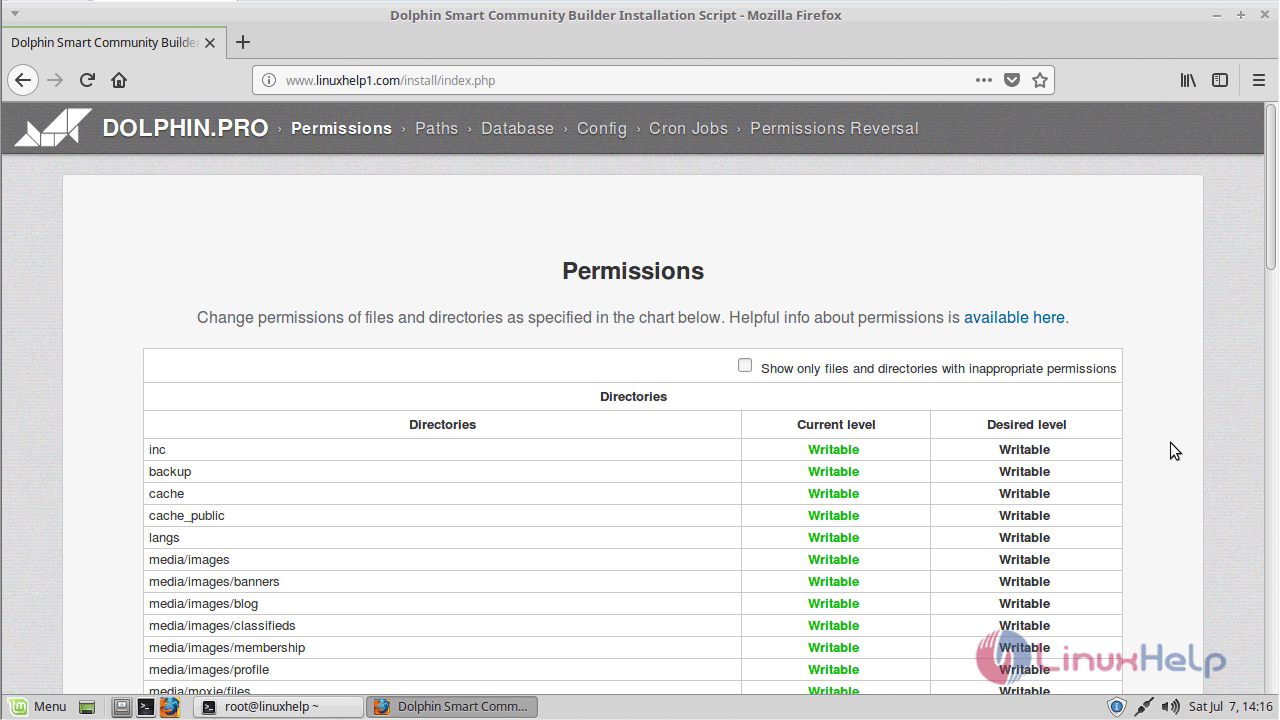
Verify the File permission and old files and directories and make changes if any.
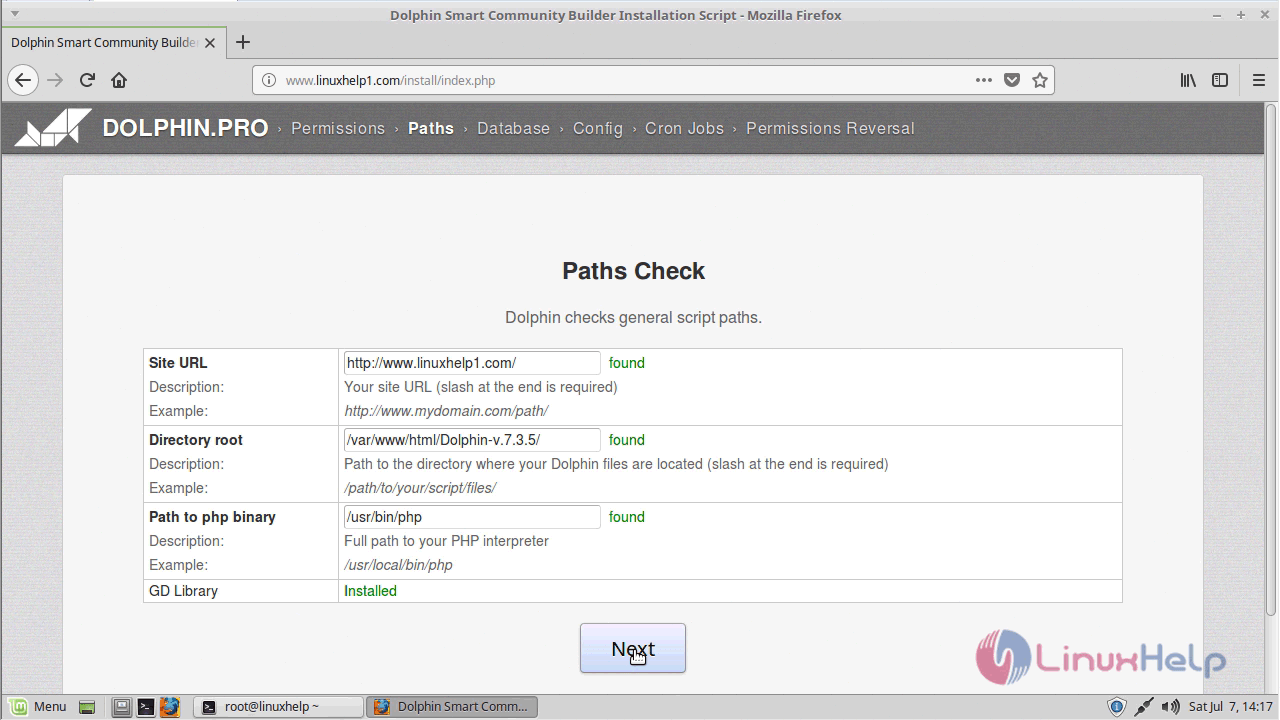
Check the paths.
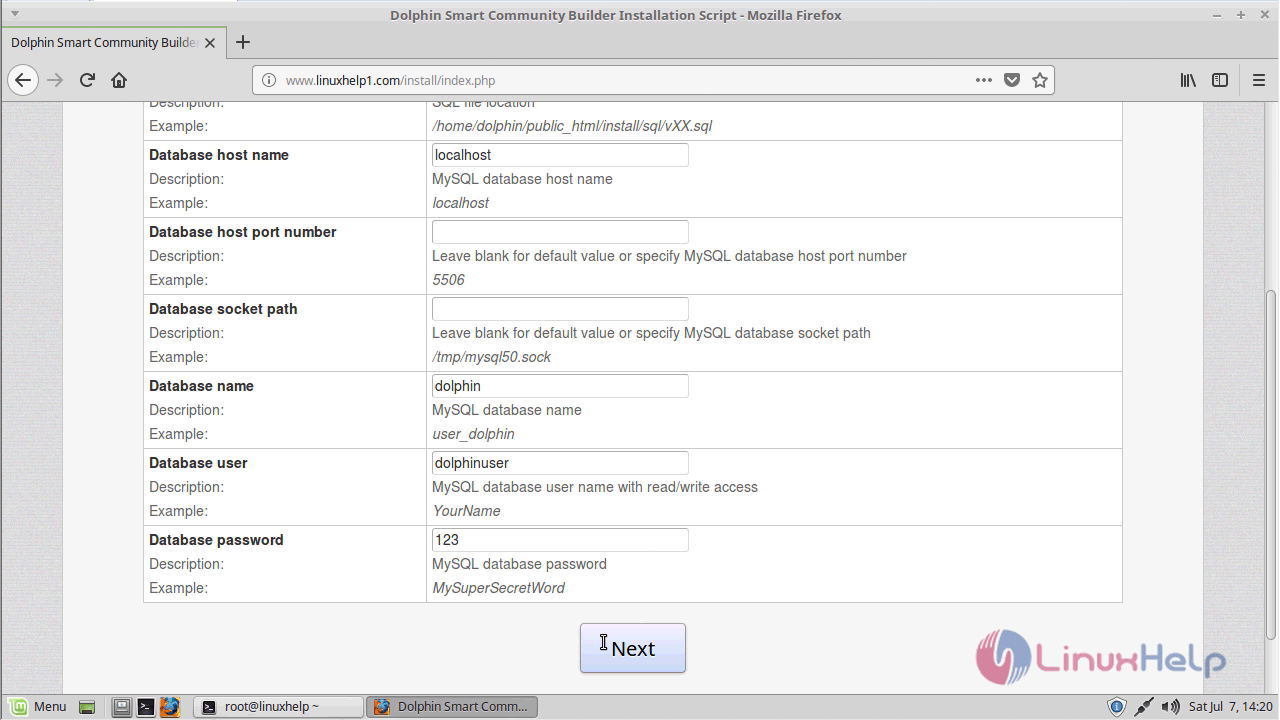
Configure the database setup as follows
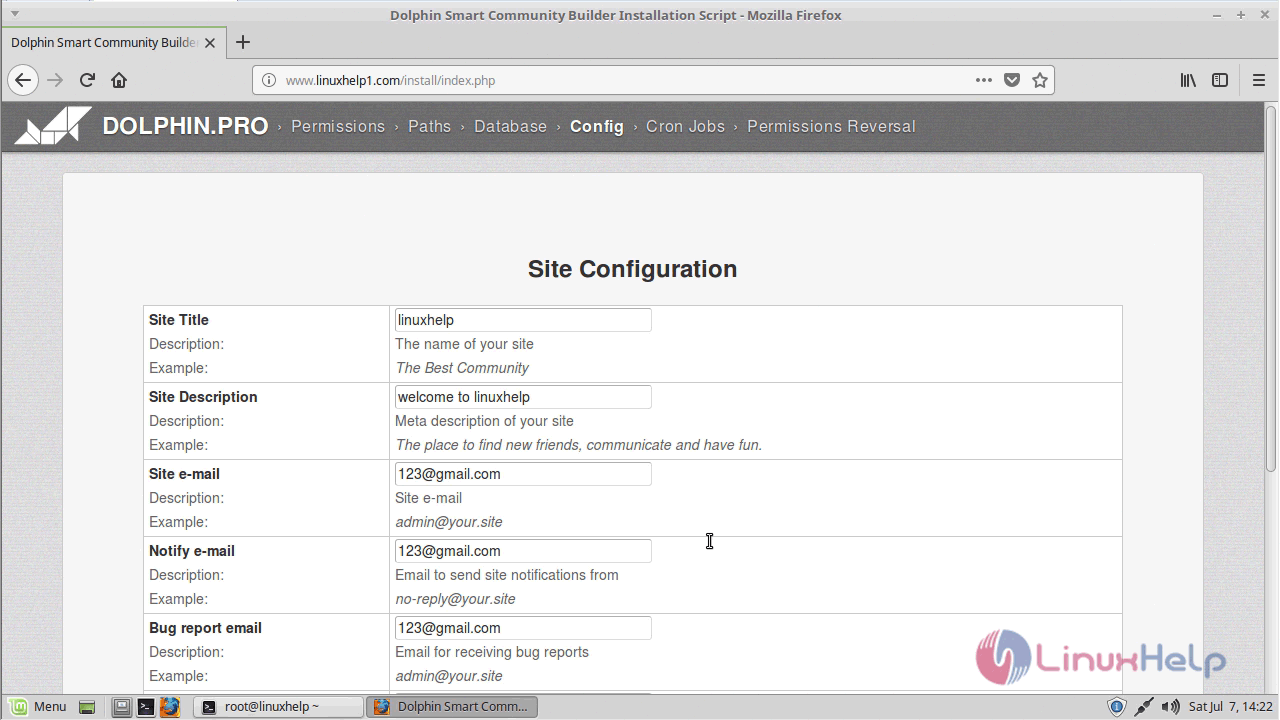
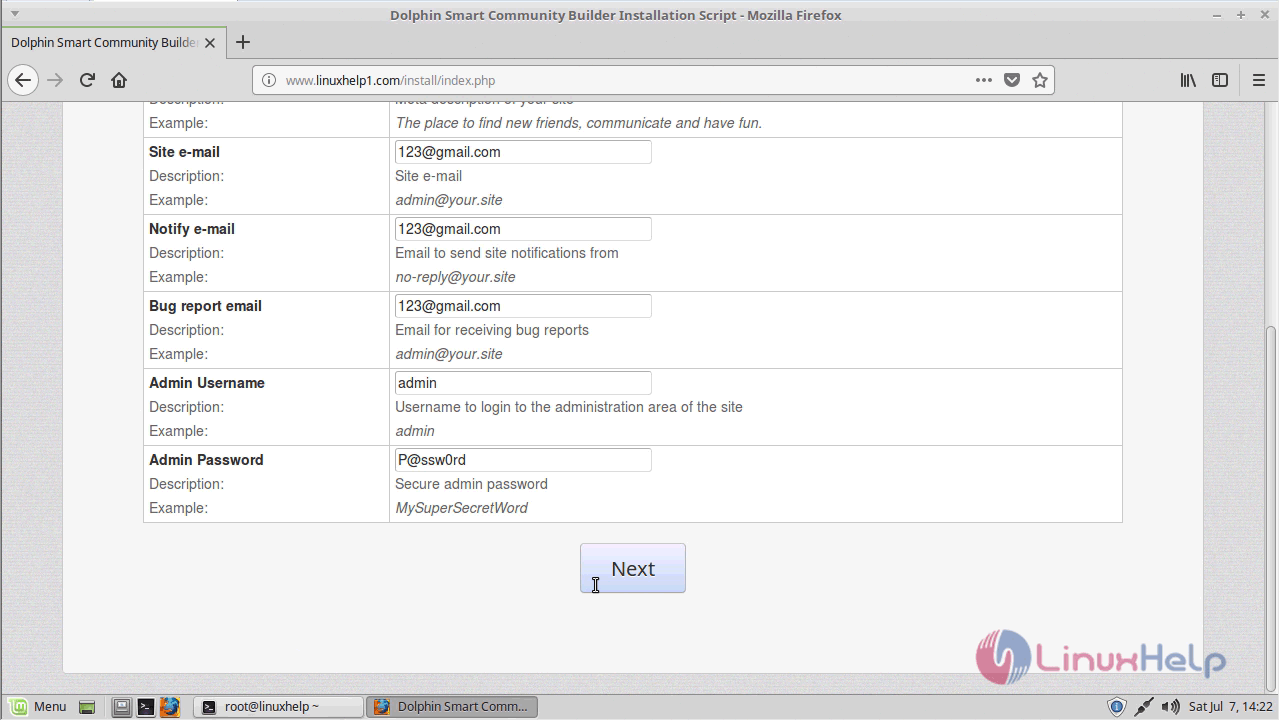
Configure the site information
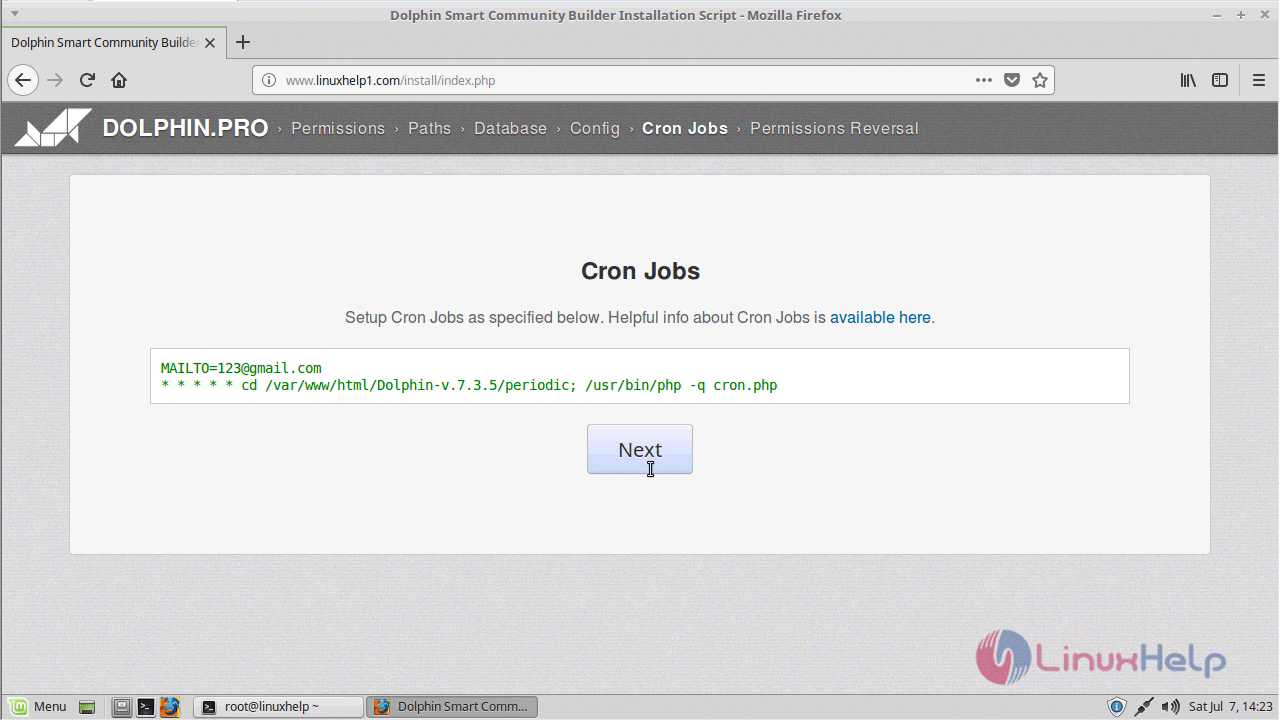
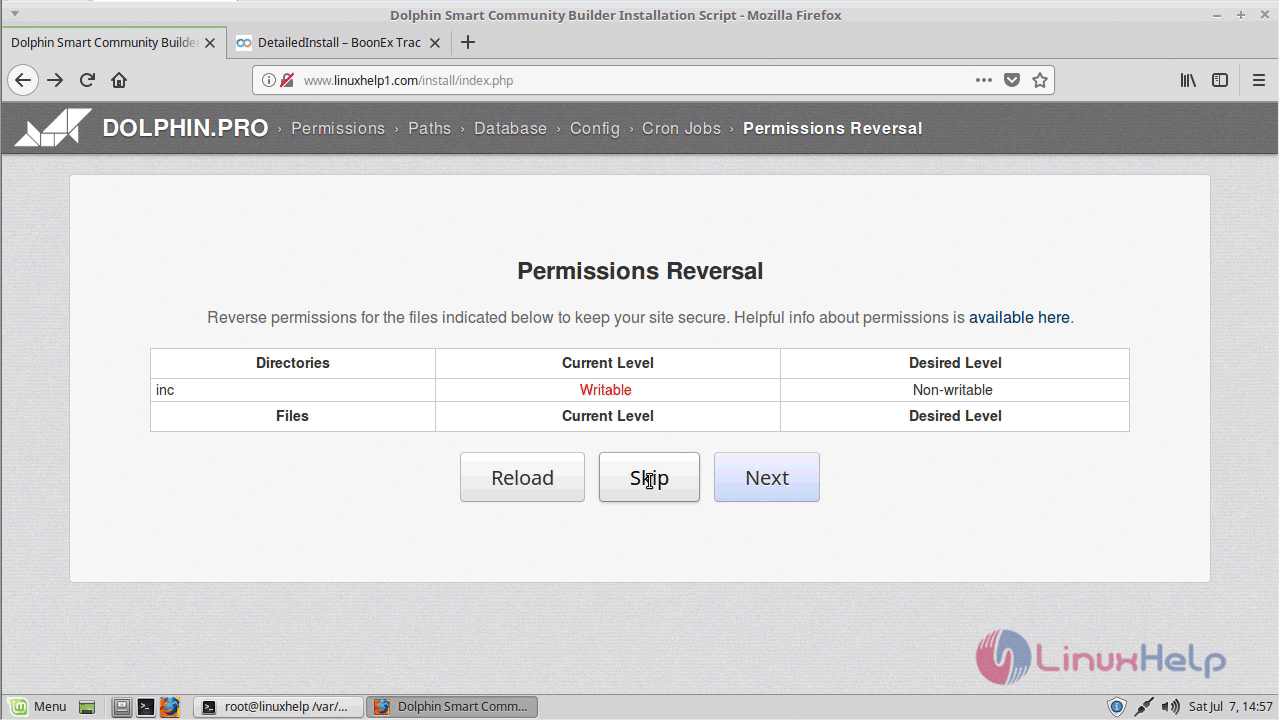
You need to setup a Cron job as specified below.
Permission reversal so here click ‘;skip’;.
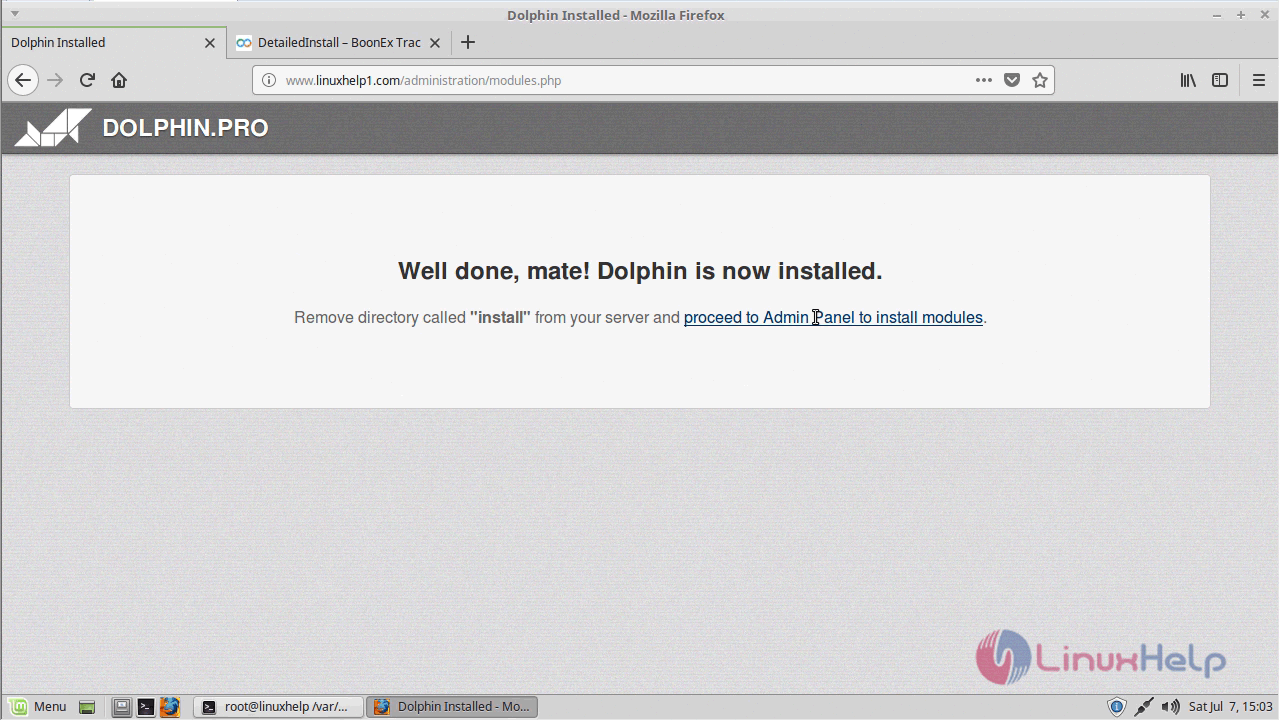
After the successful installation. Now remove or rename the install directory for secure installation, after making a secure installation access the admin panel.
linuxhelp Dolphin-v.7.3.5 # mv install  install.bkp
linuxhelp Dolphin-v.7.3.5 # systemctl restart apache2.service
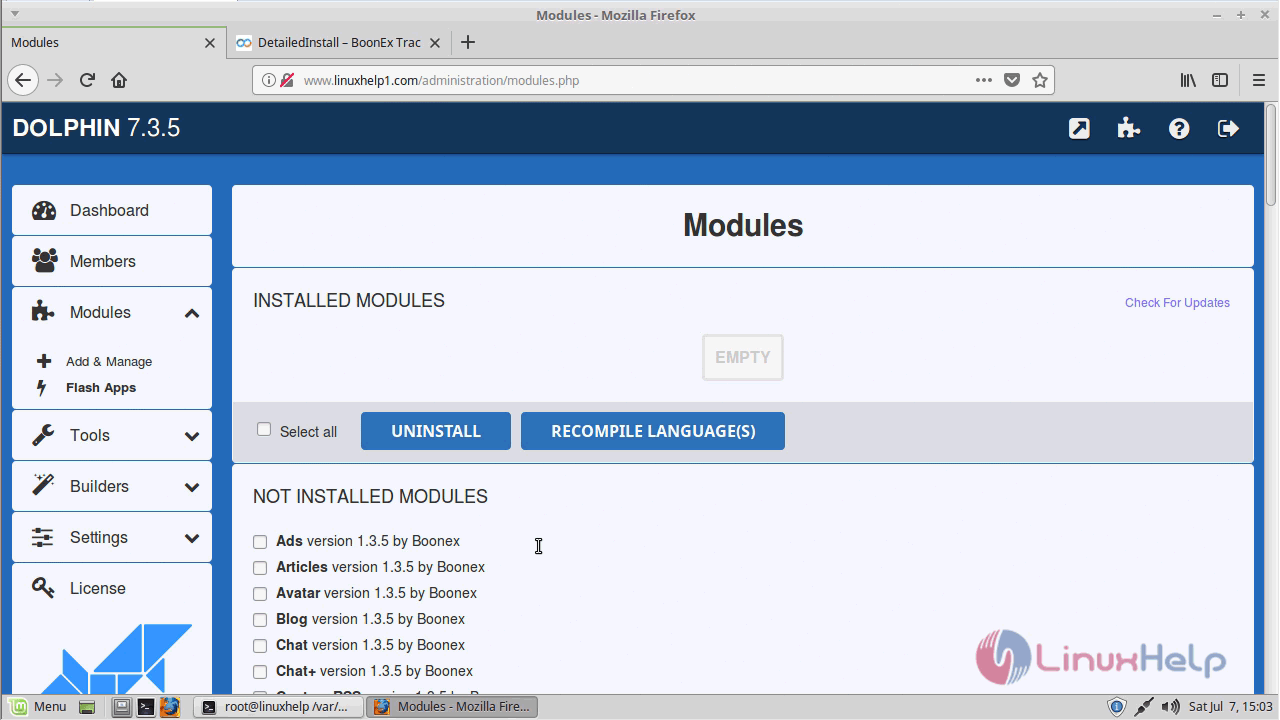
You will see the admin dashboard of Dolphin as shown below
With this, the method to install Dolphin pro on linuxmint-18.03 comes to an end
Comments ( 0 )
No comments available