How to install E107 CMS with Nginx on CentOS 6.9
To Install E107 CMS with Nginx on CentOS 6.9
In our previous post we have seen about the installation of E107 CMS on CentOS 6.9. For watching the mentioned tutorial, click on the https://www.linuxhelp.com/how-to-install-e107-cms-on-centos-6-9/. Now we are going to see about the installation procedure of E107 CMS with Nginx on CentOS 6.9. E107 is an open-source Content Management Tool for website pages which is built based on PHP and MySQL. E107 can be easily customized by its users. It doesn' t require any prior knowledge on major programming languages in order to build a website. IT fully supports CSS3, HTML5, jQuery and FontAwesome. It is simple, flexible enough to meet the needs of a novice to a professional website user.
Pre-Requisite
Before starting the installation procedure, check whether the target system has been installed with the LEMP environment for the e107 to work in. Create a MySQL database and an user with all privileges granted.
Installation procedure
To proceed with the installation procedure, enter into HTML location by running the cd command.
[root@linuxhelp11 ~]# cd /usr/share/nginx/html
Next create a new directory for E107 by running the mkdir command.
[root@linuxhelp11 html]# mkdir e107
Now download the package of E107 in the terminal by executing the wget command followed by the download link.
[root@linuxhelp11 html]# wget https://svwh.dl.sourceforge.net/project/e107/e107/e107%20v2.0/e107_2.0_full.zip
--2017-09-27 03:06:35--  https://svwh.dl.sourceforge.net/project/e107/e107/e107%20v2.0/e107_2.0_full.zip
Resolving svwh.dl.sourceforge.net... 72.5.72.15, 2606:c680:0:b:3830:34ff:fe66:6663
Connecting to svwh.dl.sourceforge.net|72.5.72.15|:443... connected.
HTTP request sent, awaiting response... 200 OK
Length: 7055730 (6.7M) [application/octet-stream]
Saving to: “ e107_2.0_full.zip”
100%[======================================> ] 7,055,730    862K/s   in 9.1s

2017-09-27 03:06:45 (753 KB/s) - “ e107_2.0_full.zip”  saved [7055730/7055730]
Extract the downloaded package by running the unzip command.
[root@linuxhelp11 html]# unzip e107_2.0_full.zip -d e107
Archive:  e107_2.0_full.zip
  inflating: e107/README.md
  inflating: e107/banner.php
  inflating: e107/class2.php
  inflating: e107/comment.php
  inflating: e107/contact.php
.
.
inflating: e107/user.php
  inflating: e107/userposts.php
  inflating: e107/usersettings.php
Next edit the php configuration file and make changes in the timezone. Save and exit the file.
[root@linuxhelp11 html]# vim /etc/php.ini
date.timezone = Asia/Kolkata
Edit the php-fpm configuration file using vim editor and make the following changes in the file. Save and exit the file.
[root@linuxhelp11 html]# vim /etc/php-fpm.d/www.conf

listen = /var/run/php-fpm/php-fpm.sock
listen.owner = nginx
listen.group = nginx
user = nginx
group = nginx
Configure the Nginx configuration file and enter the contents in the file. Save and exit the file.
[root@linuxhelp11 html]# vim /etc/nginx/conf.d/default.conf

index index.html index.php
location ~ .php {
    fastcgi_index index.php
    fastcgi_split_path_info ^(.+.php)(.*)$
    include /etc/nginx/fastcgi_params
    fastcgi_pass unix:/var/run/php-fpm/php-fpm.sock
    fastcgi_param SCRIPT_FILENAME $document_root$fastcgi_script_name
  }
Change the ownership of file in the HTML location.
[root@linuxhelp11 html]# chown -R nginx:nginx /usr/share/nginx/html
Change the permission of file in the HTML location.
[root@linuxhelp11 html]# chmod -R 775 /usr/share/nginx/html
Restart the php-fpm service.
[root@linuxhelp11 html]#  service php-fpm restart
Stopping php-fpm:                                          [  OK  ]
Starting php-fpm:                                          [  OK  ]
Restart the Nginx service
[root@linuxhelp11 html]# service nginx restart
Stopping nginx:                                            [  OK  ]
Starting nginx:                                            [  OK  ]
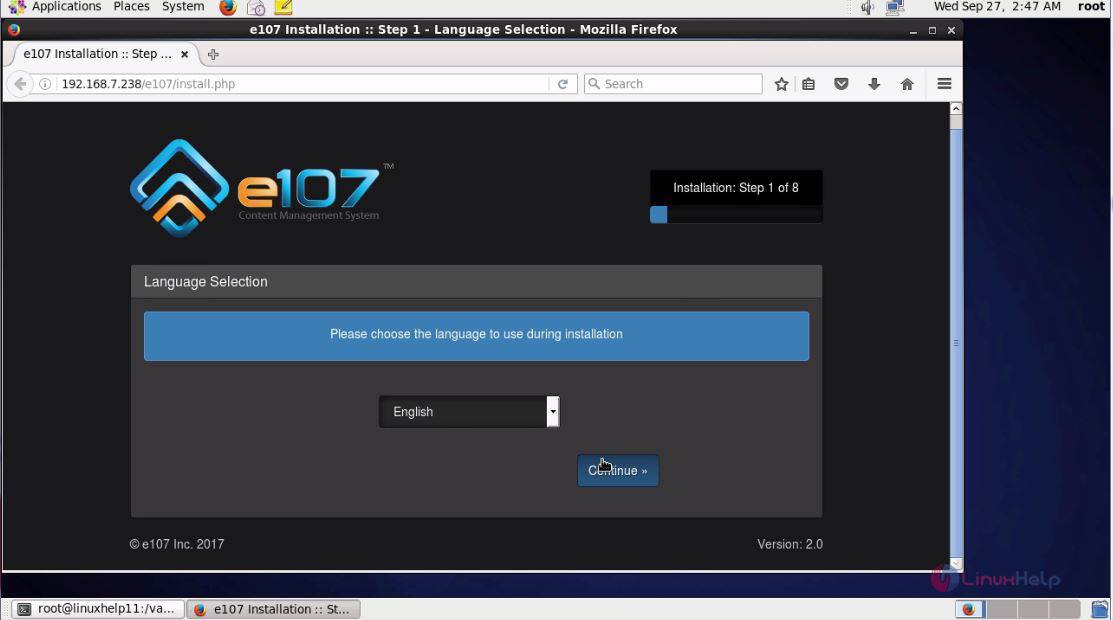
Switch over to the browser and enter the URL as http://machine-ip/e107. The installation setup of E107 appears on the screen. choose the required language and click continue.
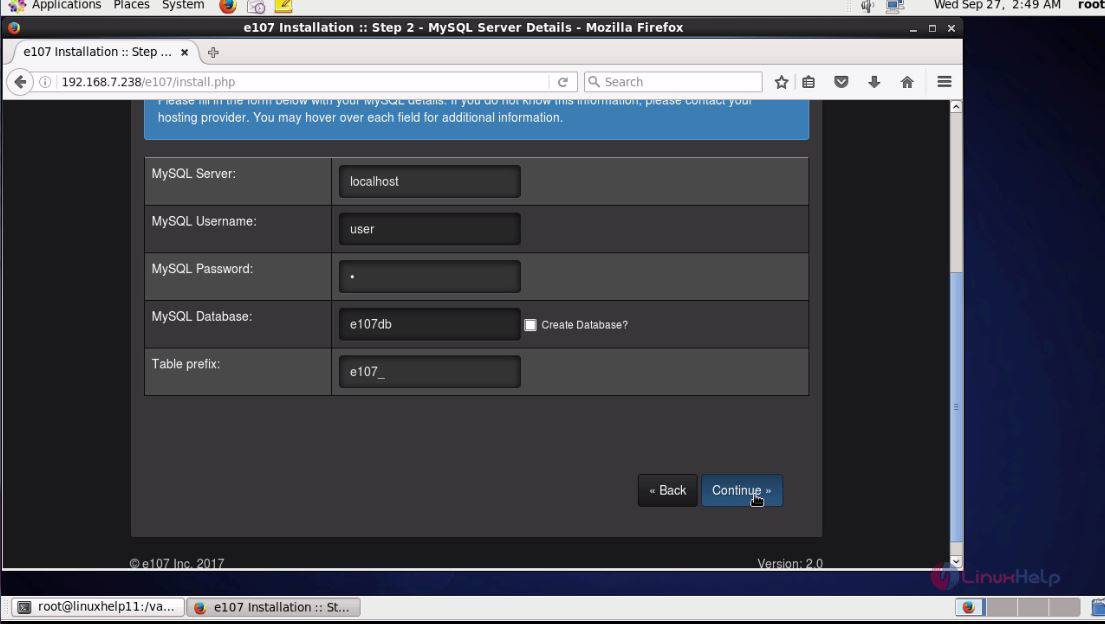
Enter the required database details and give continue.
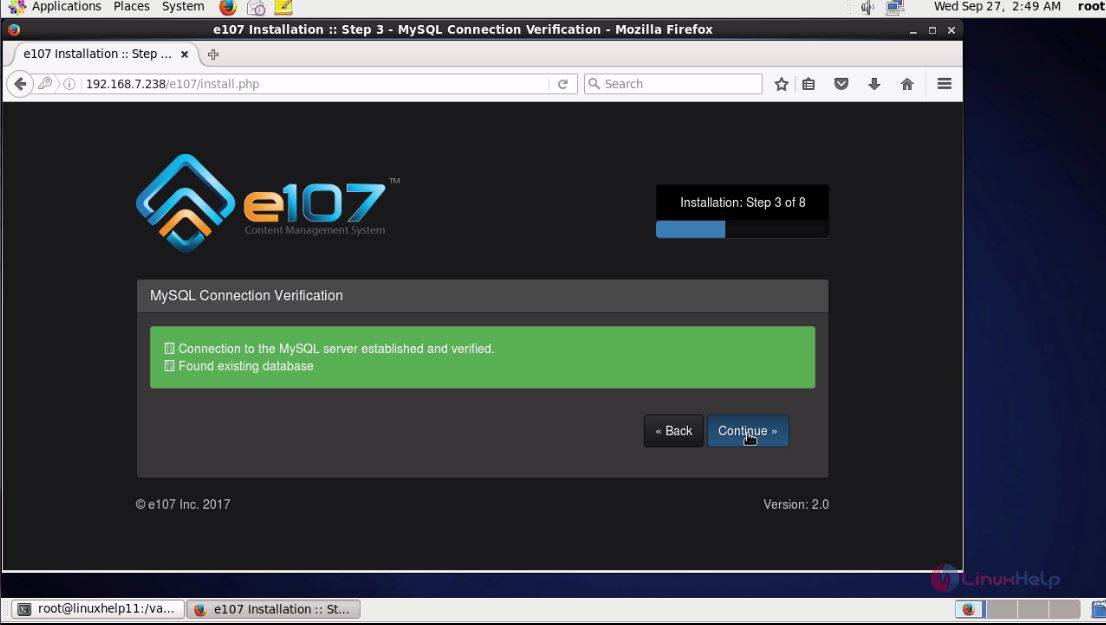
The verification for MySQL is undergoing and it is successfully done. Click continue to next step.
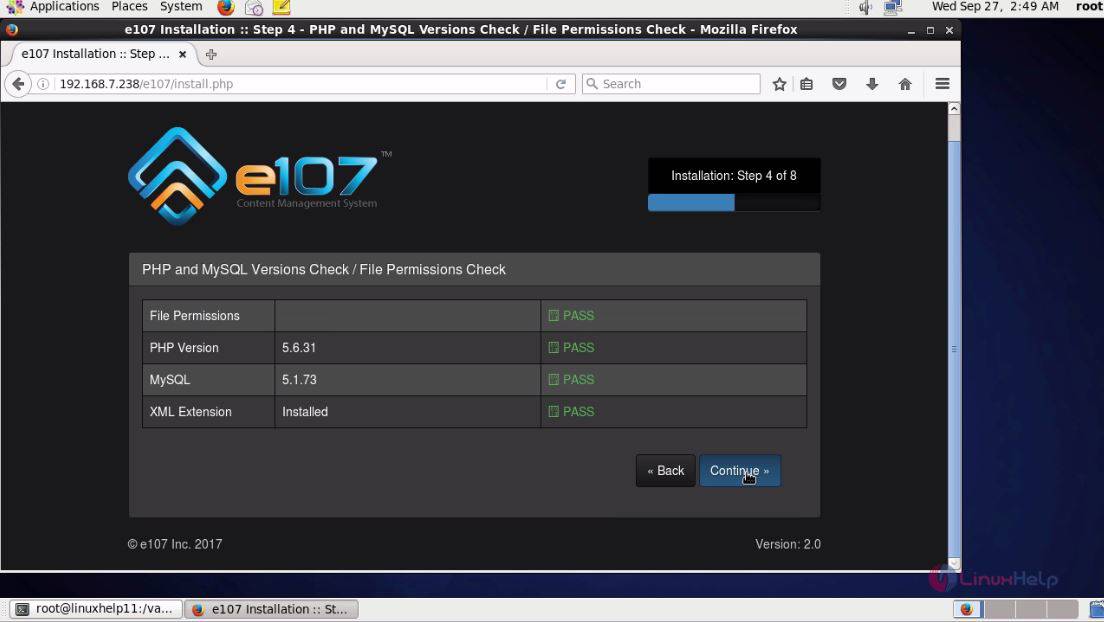
Next the installation procedure leads to the list of System check and click continue.
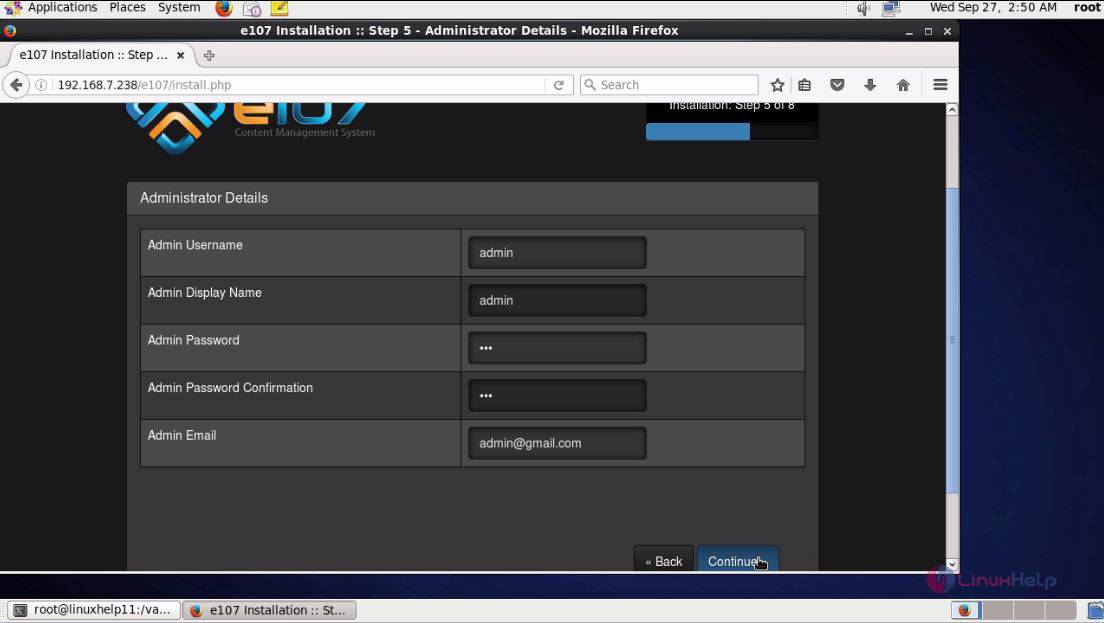
Fill the admin details and click continue option.
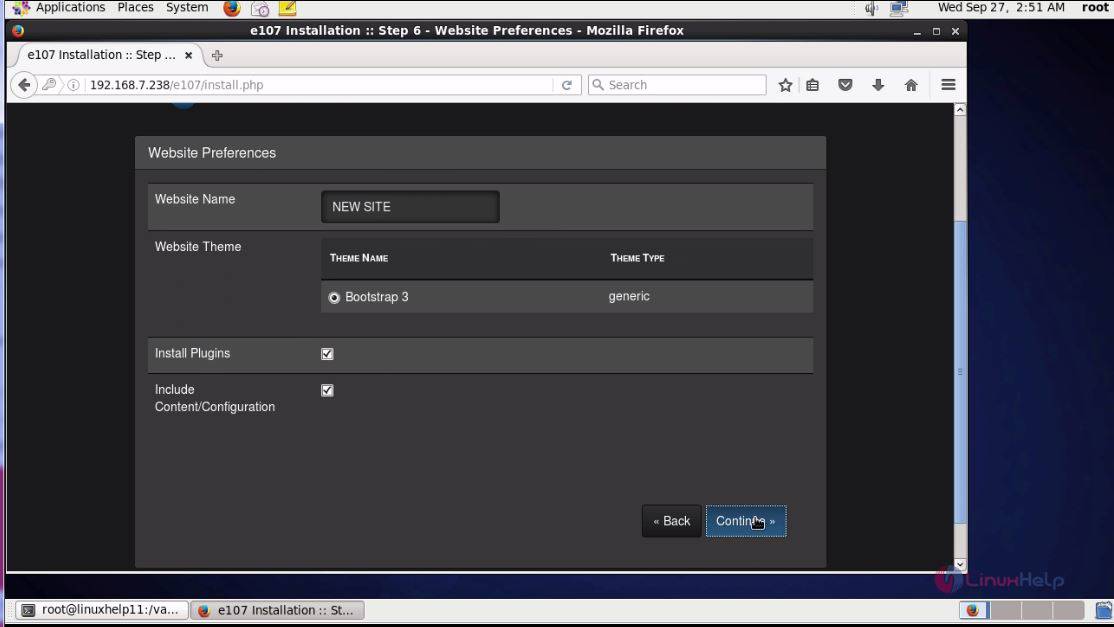
Next enter the site preferences and click continue.
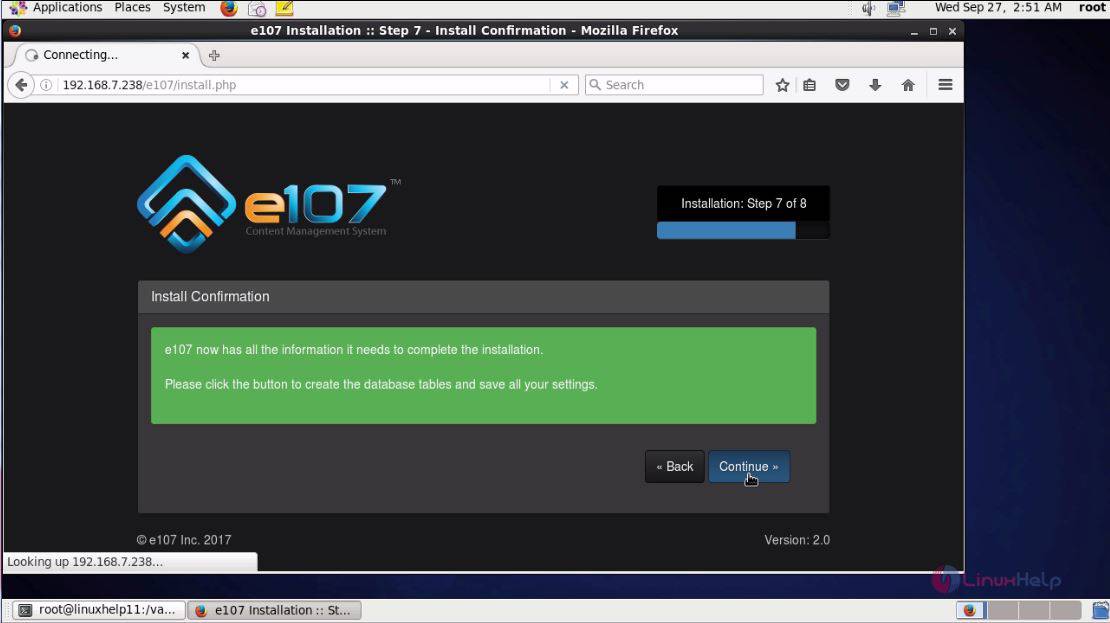
All the required details are done, next the installation wizard prompts for the confirmation before starting the installation process. Click continue.
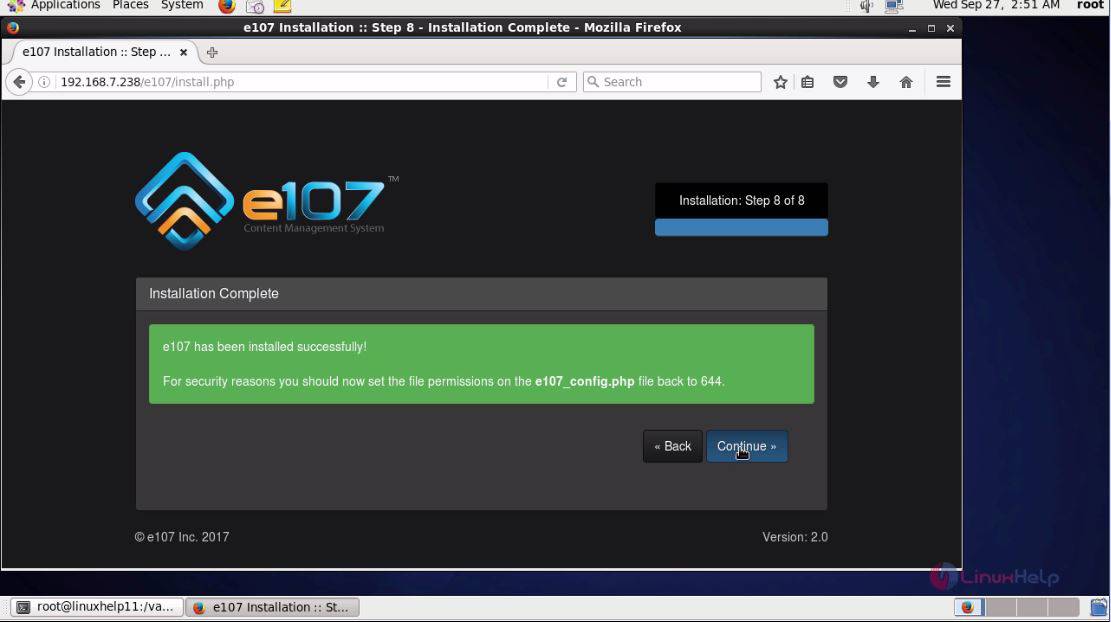
The installation is now complete and now click continue.
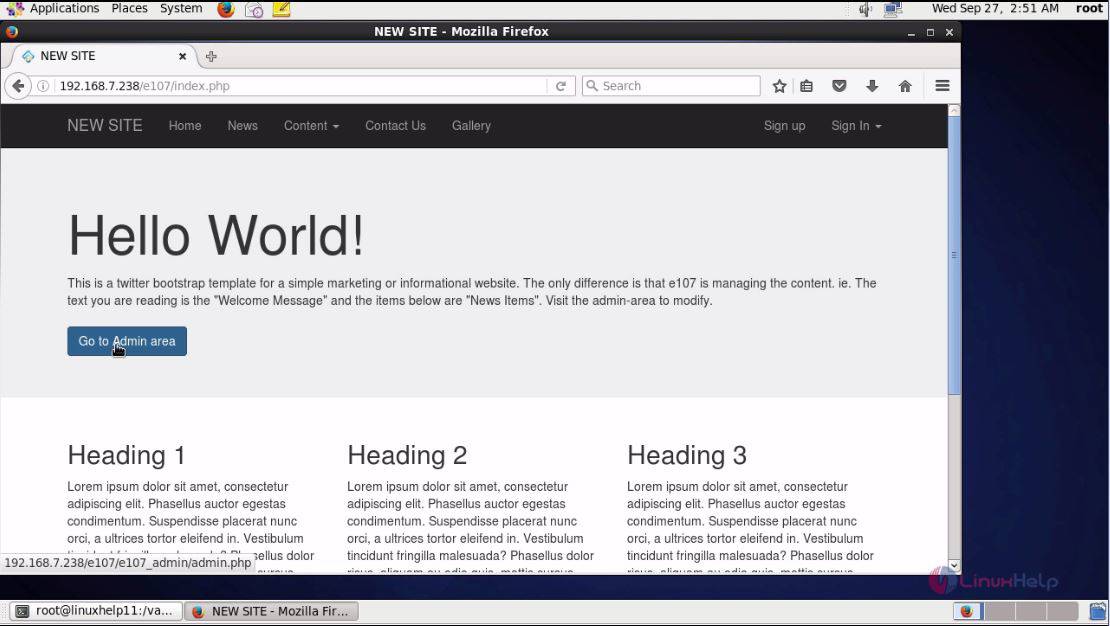
The demo page appears on the screen and then click Go to Admin area to lead to the administration page.
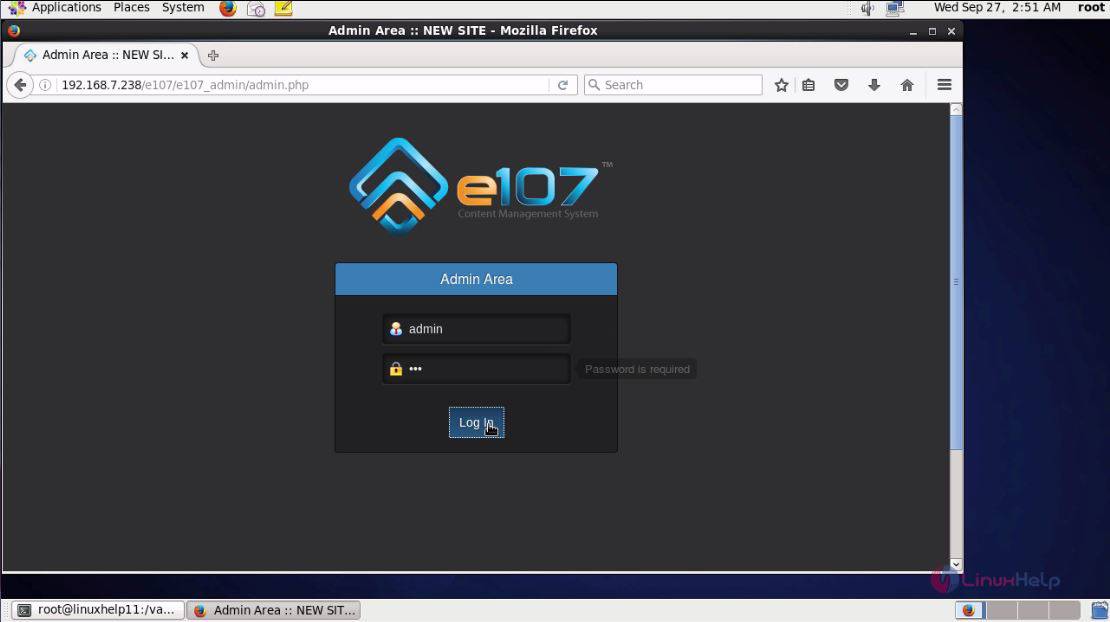
Enter the required admin credentials and click login.
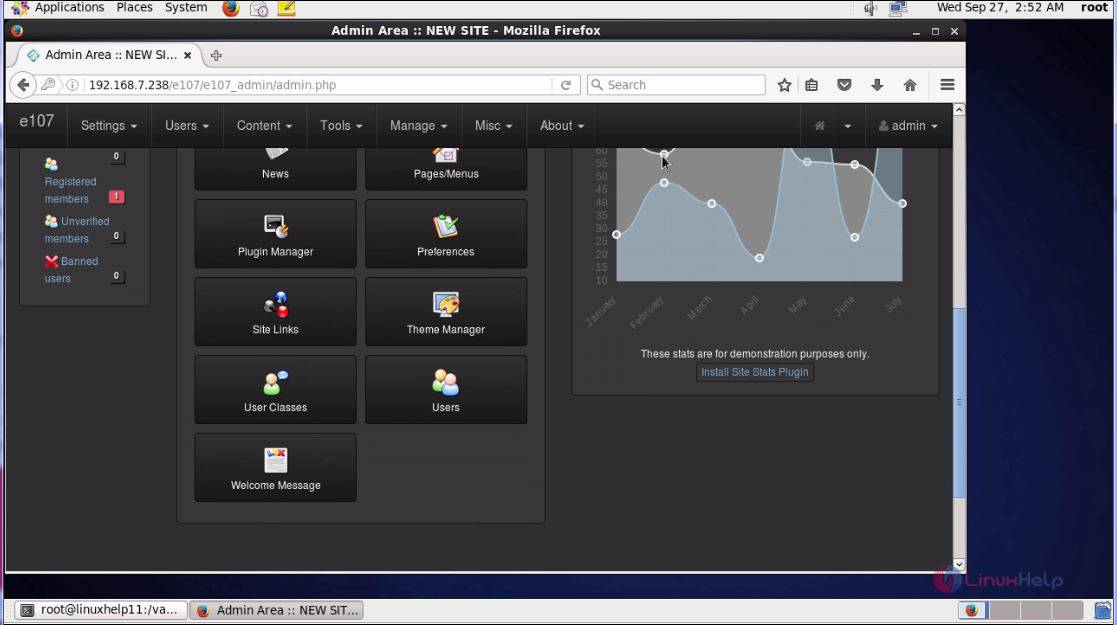
The admin page of E107 is now displayed on the screen.
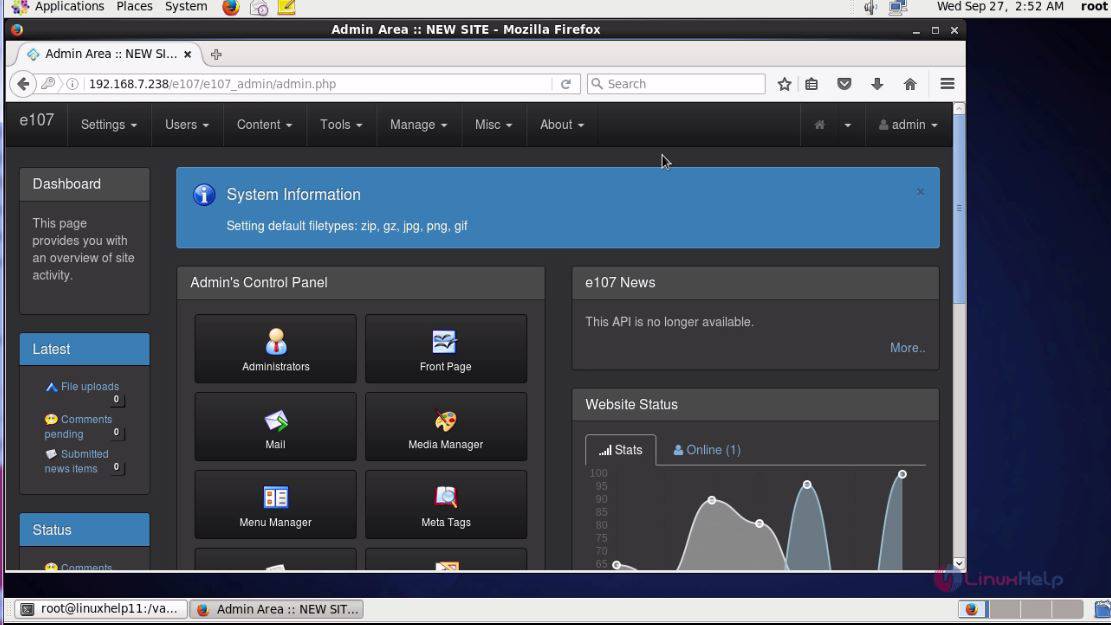
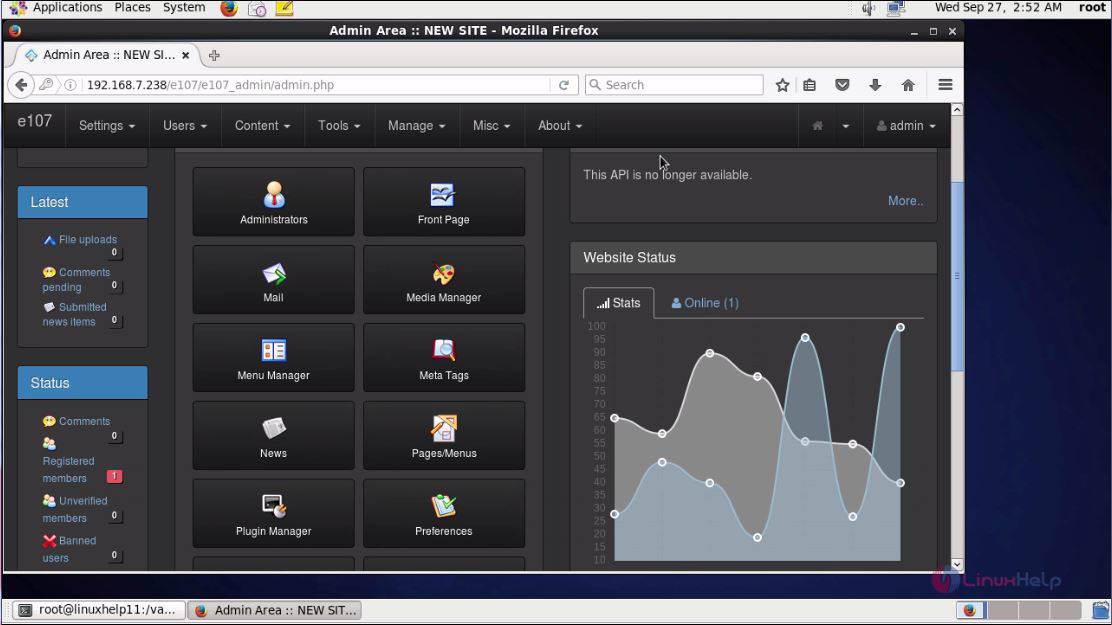
The dashboard contains a plethora of menus that can be widely used for creating and maintaining the website.
This concludes the installation procedure of E107 with Nginx on CentOS 6.9.
Comments ( 0 )
No comments available