How to install Foreman in CentOS
To Install and Configure Foreman on Centos
Foreman is an open source application to configure, manage and monitor servers to perform tasks using the tools like puppet, chef and ansible. We will discuss about foreman with puppet tool in this article.
Set up a DNS Server or create entry in /etc/hosts file as follows.
[root@linuxhelp ~]# cat /etc/hosts
127.0.0.1   localhost localhost.localdomain localhost4 localhost4.localdomain4
::1         localhost localhost.localdomain localhost6 localhost6.localdomain6

192.168.5.64    linuxhelp.example.com    linuxhelp
Run the following command to enable repositories.
[root@linuxhelp ~]# rpm -ivh http://yum.puppetlabs.com/puppetlabs-release-el-7.noarch.rpm
Retrieving http://yum.puppetlabs.com/puppetlabs-release-el-7.noarch.rpm
warning: /var/tmp/rpm-tmp.8PW6vV: Header V4 RSA/SHA1 Signature, key ID 4bd6ec30: NOKEY
Preparing...                          ################################# [100%]
Updating / installing...
   1:puppetlabs-release-7-12          ################################# [100%]
[root@linuxhelp ~]# yum -y install epel-release http://yum.theforeman.org/releases/1.11/el7/x86_64/foreman-release.rpm
Loaded plugins: fastestmirror, langpacks
Loading mirror speeds from cached hostfile
 * base: mirrors.nhanhoa.com
 * extras: centos-hn.viettelidc.com.vn
 * updates: mirrors.nhanhoa.com
foreman-release.rpm                                                                                                  |  15 kB  00:00:00
Examining /var/tmp/yum-root-yAts7l/foreman-release.rpm: foreman-release-1.11.3-1.el7.noarch
Marking /var/tmp/yum-root-yAts7l/foreman-release.rpm to be installed
Resolving Dependencies
-->  Running transaction check
--->  Package epel-release.noarch 0:7-6 will be installed
--->  Package foreman-release.noarch 0:1.11.3-1.el7 will be installed
.
.
.
Installed:
  epel-release.noarch 0:7-6                                      foreman-release.noarch 0:1.11.3-1.el7

Complete!
Utilise the following command to install the foreman installer.
[root@linuxhelp ~]# yum install foreman-installer -y
Loaded plugins: fastestmirror, langpacks
Loading mirror speeds from cached hostfile
 * base: mirrors.nhanhoa.com
 * epel: epel.mirror.net.in
 * extras: mirror.tadu.vn
 * updates: mirrors.nhanhoa.com
Resolving Dependencies
-->  Running transaction check
--->  Package foreman-installer.noarch 1:1.11.3-1.el7 will be installed
-->  Processing Dependency: rubygem-kafo > = 0.7.1 for package: 1:foreman-installer-1.11.3-1.el7.noarch
.
.
.
little-plugger.noarch 0:1.1.3-20.el7  rubygem-logging.noarch 0:1.8.2-3.el7
  rubygem-mime-types.noarch 0:1.19-3.el7       rubygem-multi_json.noarch 0:1.10.1-3.el7      rubygem-netrc.noarch 0:0.7.7-7.el7
  rubygem-oauth.noarch 0:0.4.7-8.el7           rubygem-powerbar.noarch 0:1.0.11-11.el7       rubygem-rest-client.noarch 0:1.6.7-4.el7

Complete!
Execute the following command to install foreman.
[root@linuxhelp ~]# foreman-installer
Installing             Done                                               [100%] [........................................................]
  Success!
  * Foreman is running at https://linuxhelp.example.com
      Initial credentials are admin / jqzmMfcfrQDhDwes
  * Foreman Proxy is running at https://linuxhelp.example.com:8443
  * Puppetmaster is running at port 8140
  The full log is at /var/log/foreman-installer/foreman.log
Enable the following ports in the firewall.
Port          Protocol        Requires
53          tcp            DNS Server
67,68              udp            DHCP Server
69          udp            TFTP Server
80          tcp            HTTP Server
443          tcp            HTTPS Server
3000          tcp            HTTP access to foreman web UI
3306          tcp            MYSQL Database
5910-5930         tcp            Server VNC Consoles
5432          tcp            PostgresQL Database
8140          tcp            Puppet Master
8443          tcp            Smart Proxy for foreman
[root@linuxhelp ~]# firewall-cmd --permanent --add-port=53/tcp
success
[root@linuxhelp ~]# firewall-cmd --permanent --add-port=67-69/udp
success
[root@linuxhelp ~]# firewall-cmd --permanent --add-port=80/tcp
success
[root@linuxhelp ~]# firewall-cmd --permanent --add-port=443/tcp
success
[root@linuxhelp ~]# firewall-cmd --permanent --add-port=3000/tcp
success
[root@linuxhelp ~]# firewall-cmd --permanent --add-port=3306/tcp
success
[root@linuxhelp ~]# firewall-cmd --permanent --add-port=5910-5930/tcp
success
[root@linuxhelp ~]# firewall-cmd --permanent --add-port=5432/tcp
success
[root@linuxhelp ~]# firewall-cmd --permanent --add-port=8140/tcp
success
[root@linuxhelp ~]# firewall-cmd --permanent --add-port=8443/tcp
success
[root@linuxhelp ~]# firewall-cmd --reload
success
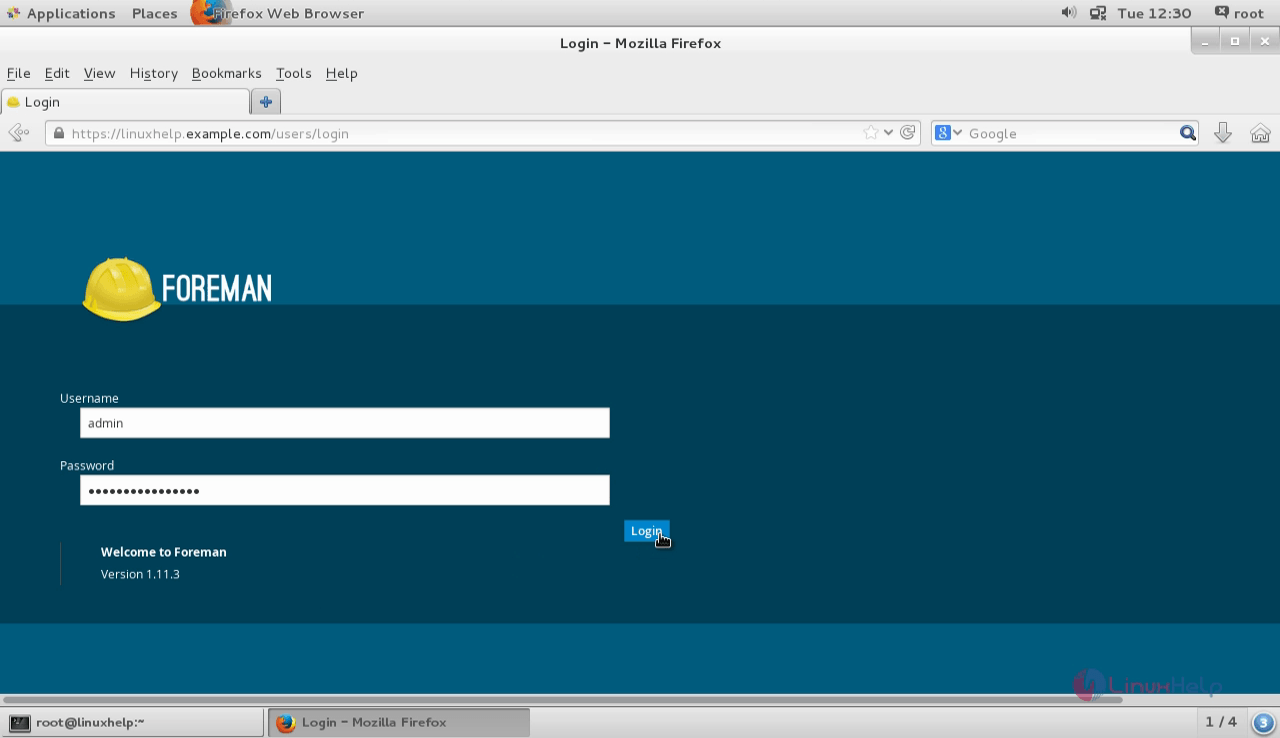
Open your browser and navigate to https://< hostname>
Then Login with the user credentials that was generated during the installation.
Now open your terminal to configure a host by running the following command.
[root@linuxhelp ~]# puppet agent -td --server=linuxhelp.example.com
Debug: Evicting cache entry for environment ' production'
Debug: Caching environment ' production'  (ttl = 0 sec)
Debug: Evicting cache entry for environment ' production'
Debug: Caching environment ' production'  (ttl = 0 sec)
Debug: Evicting cache entry for environment ' production'
Debug: Caching environment ' production'  (ttl = 0 sec)
Debug: Evicting cache entry for environment ' production'
Debug: Caching environment ' production'  (ttl = 0 sec)
.
.
.
Debug: Storing state
Debug: Stored state in 0.17 seconds
Notice: Finished catalog run in 0.35 seconds
Debug: Using cached connection for https://linuxhelp.example.com:8140
Debug: Caching connection for https://linuxhelp.example.com:8140
Debug: Closing connection for https://linuxhelp.example.com:8140
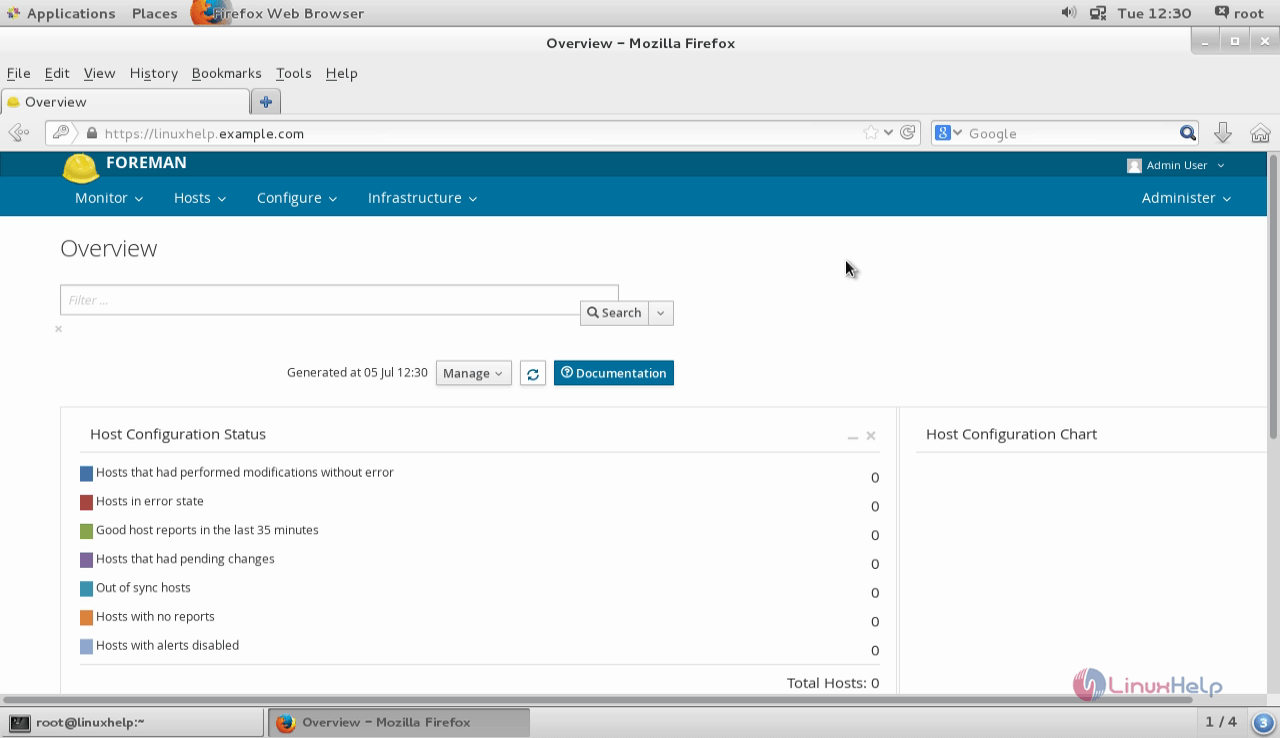
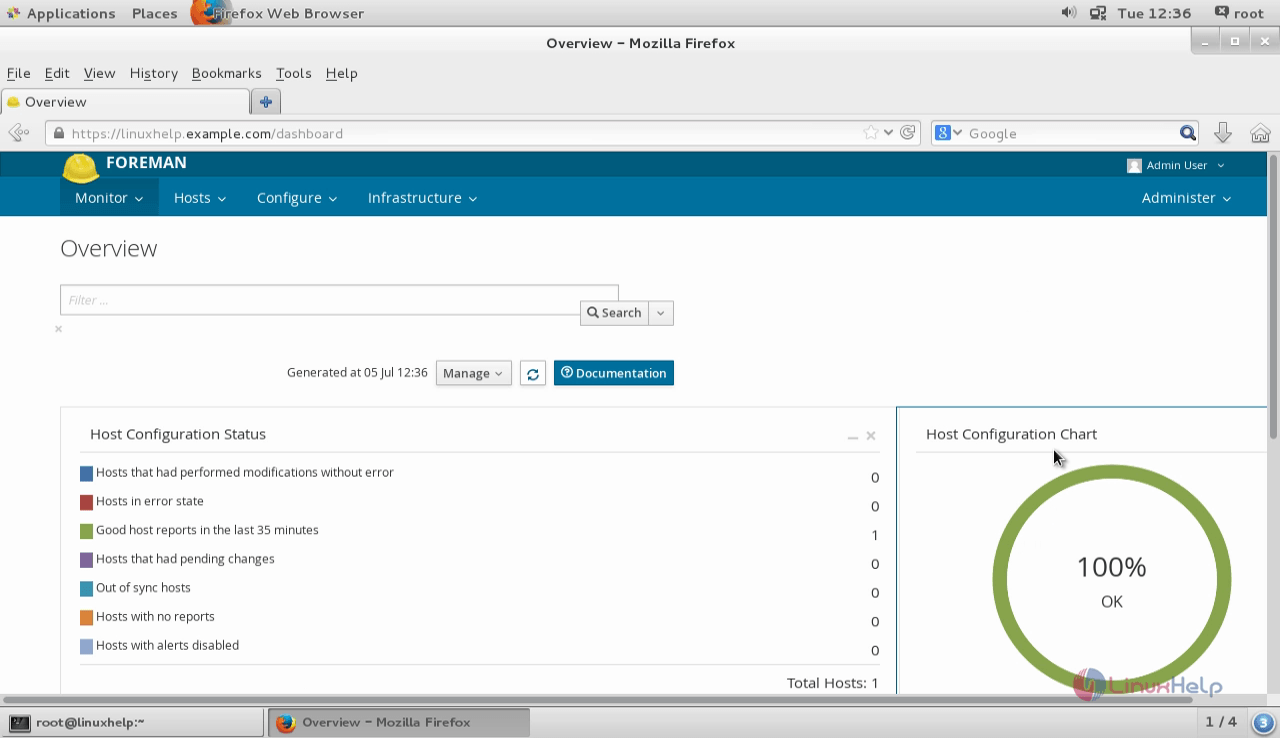
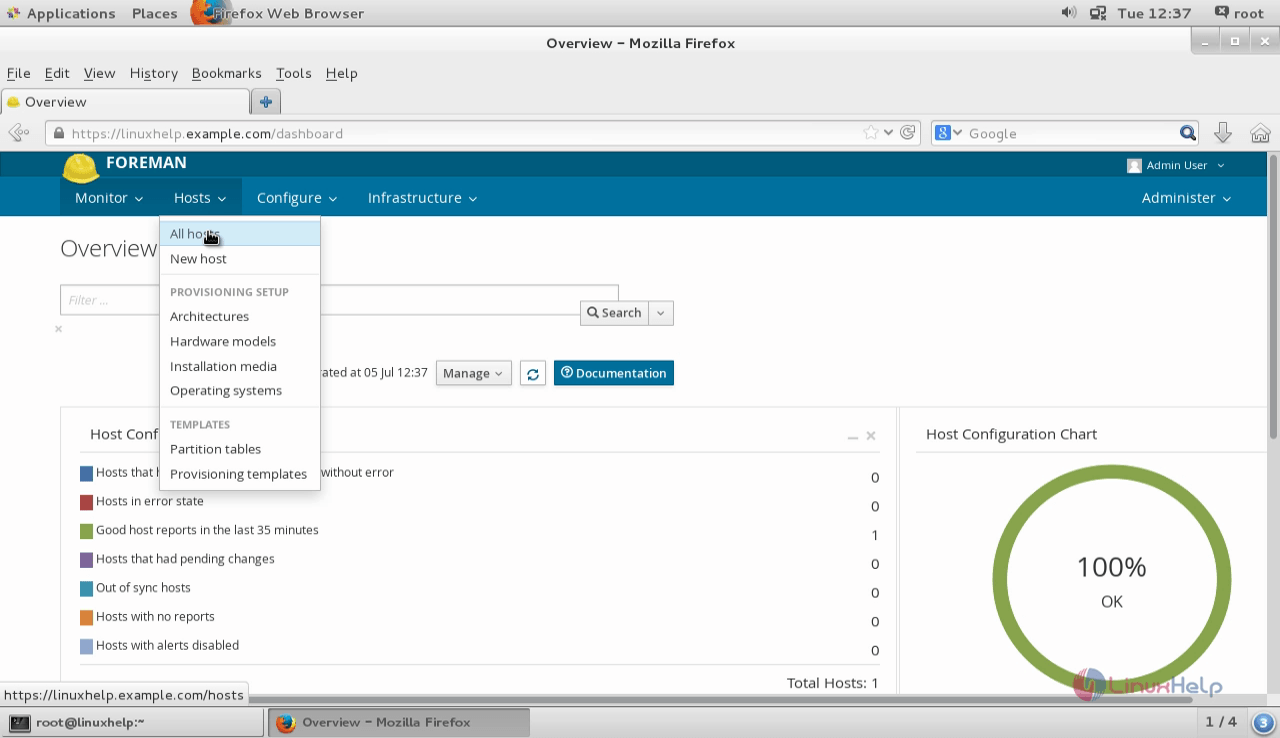
Open the browser and click reload button to view the Host Configuration Chart now.
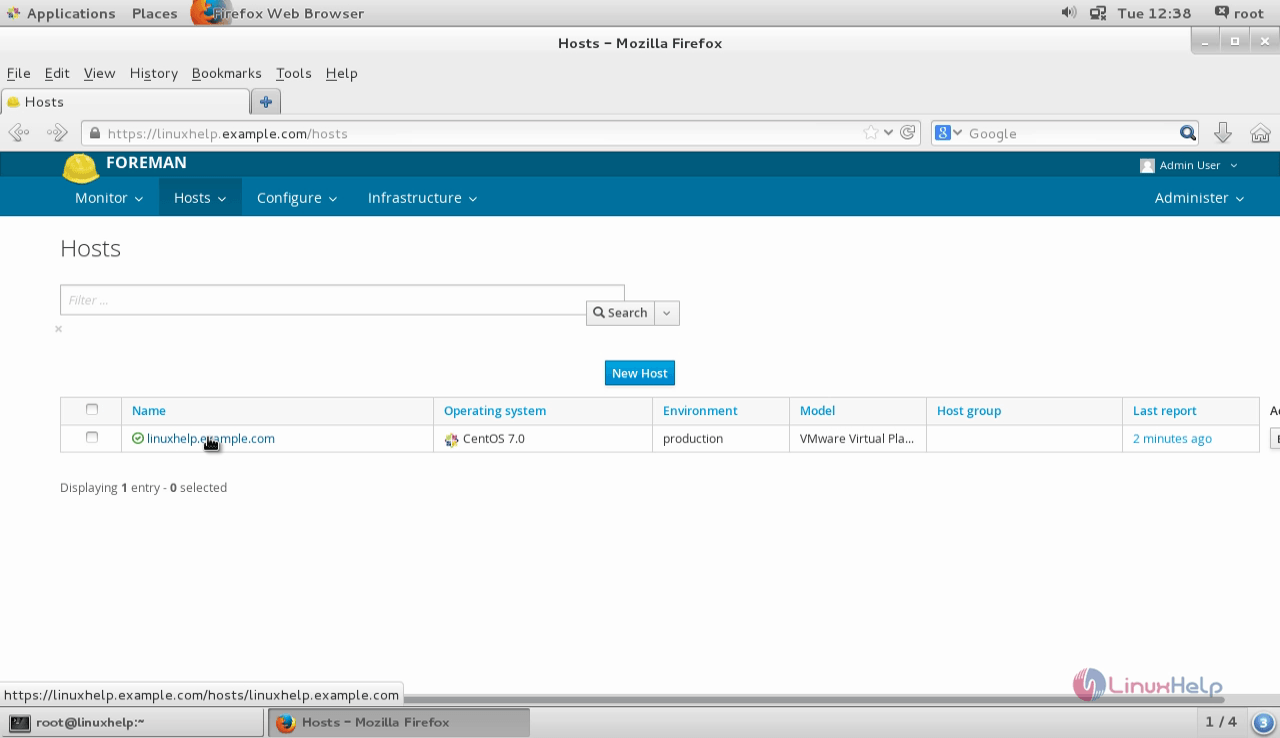
To view all host information, click Hosts tab.
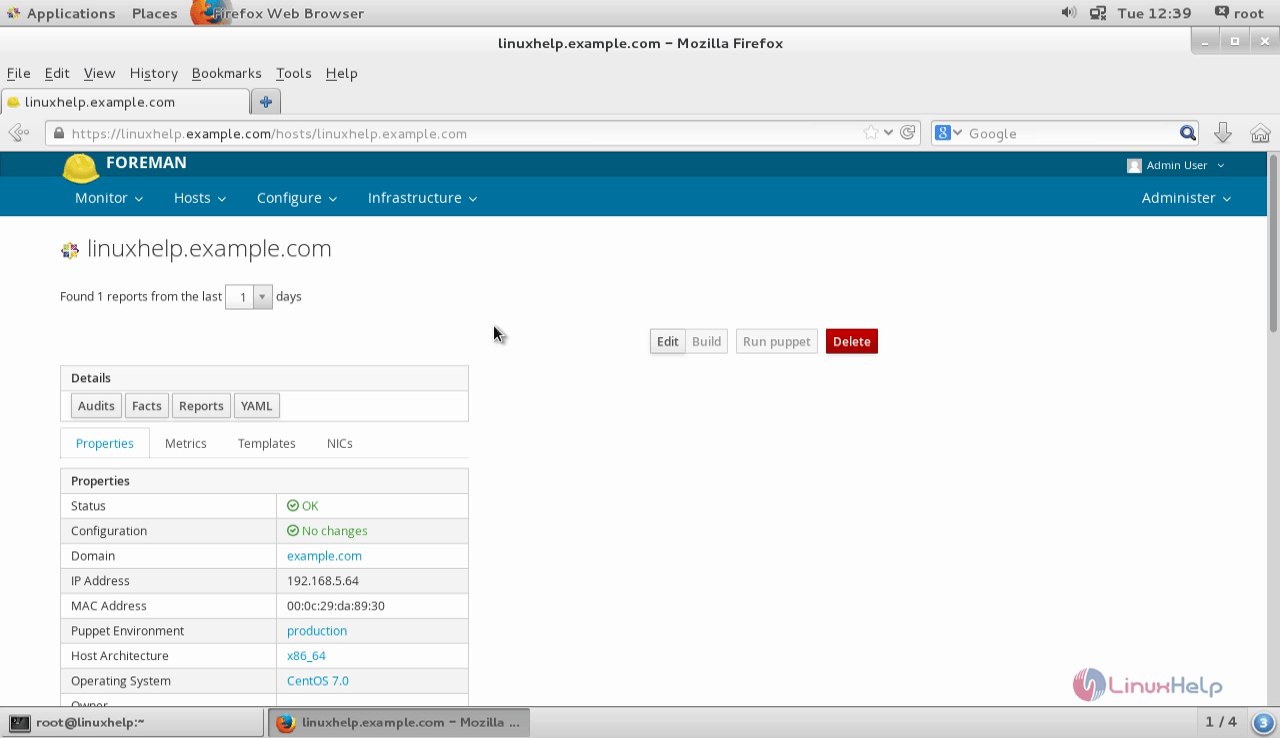
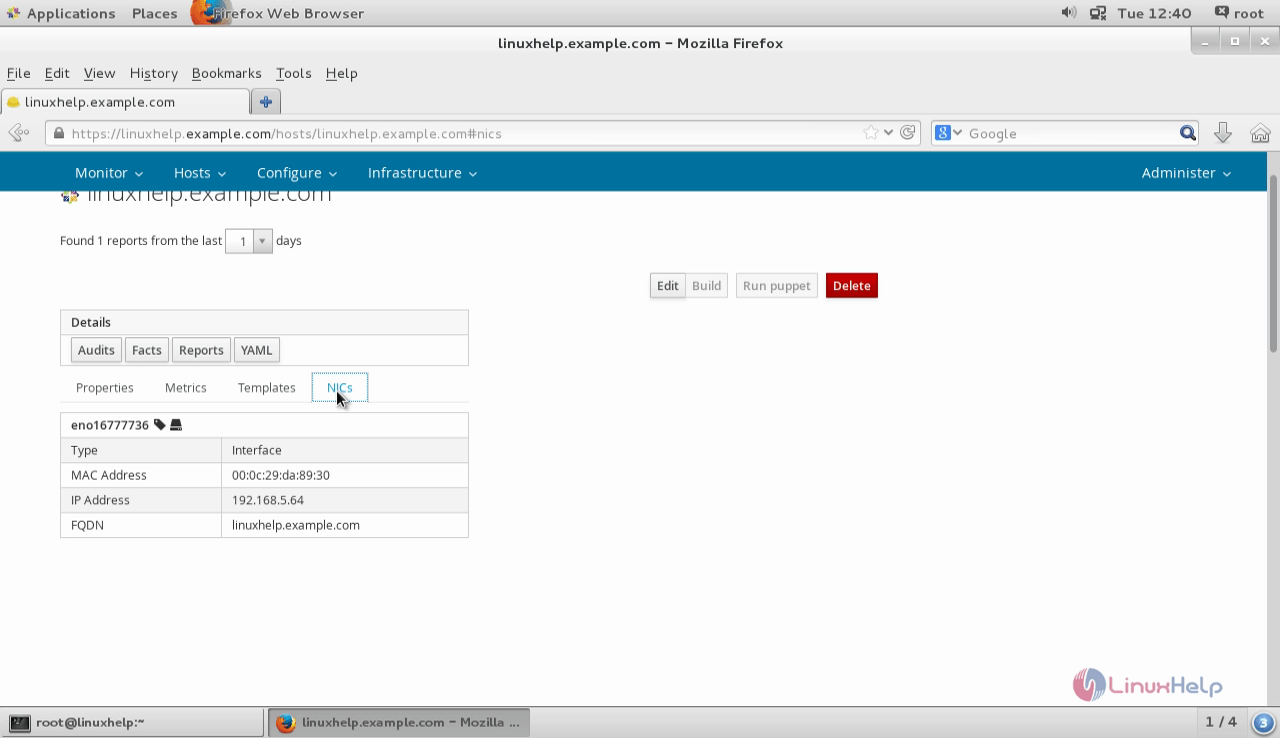
Click your host to view more details.
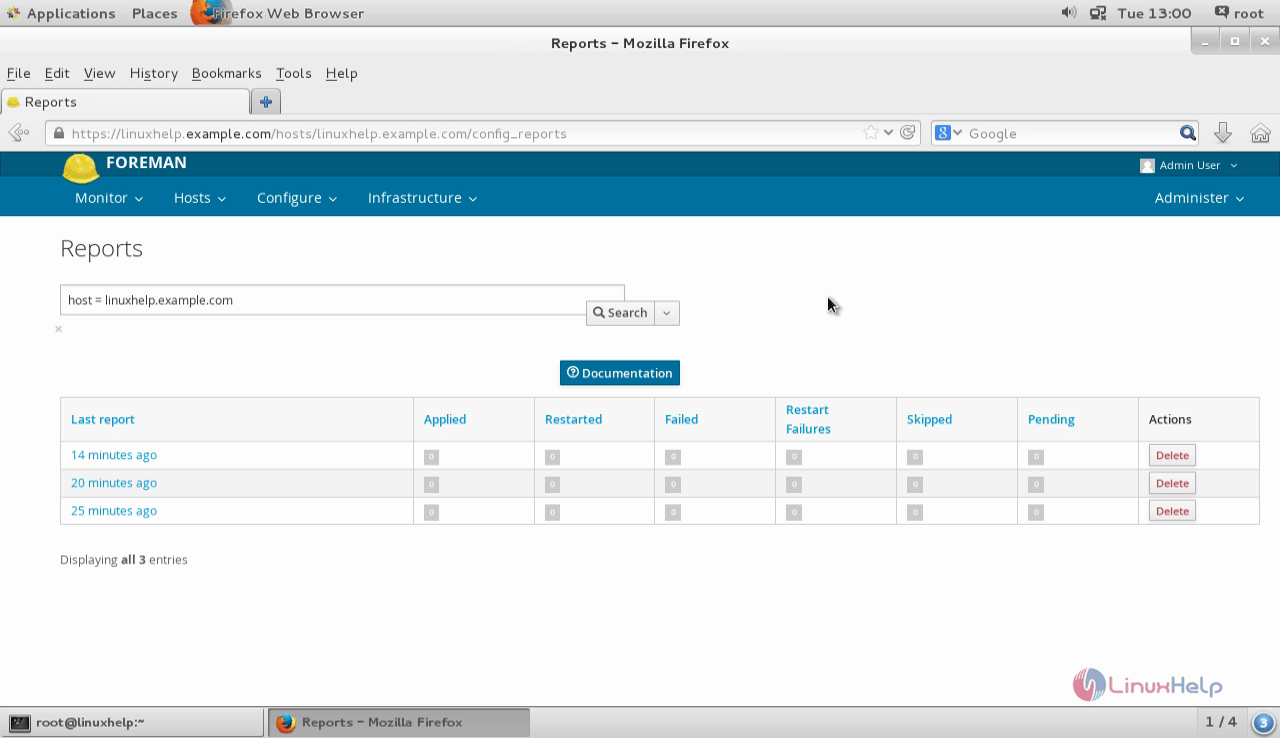
To view reports, click reports tab.

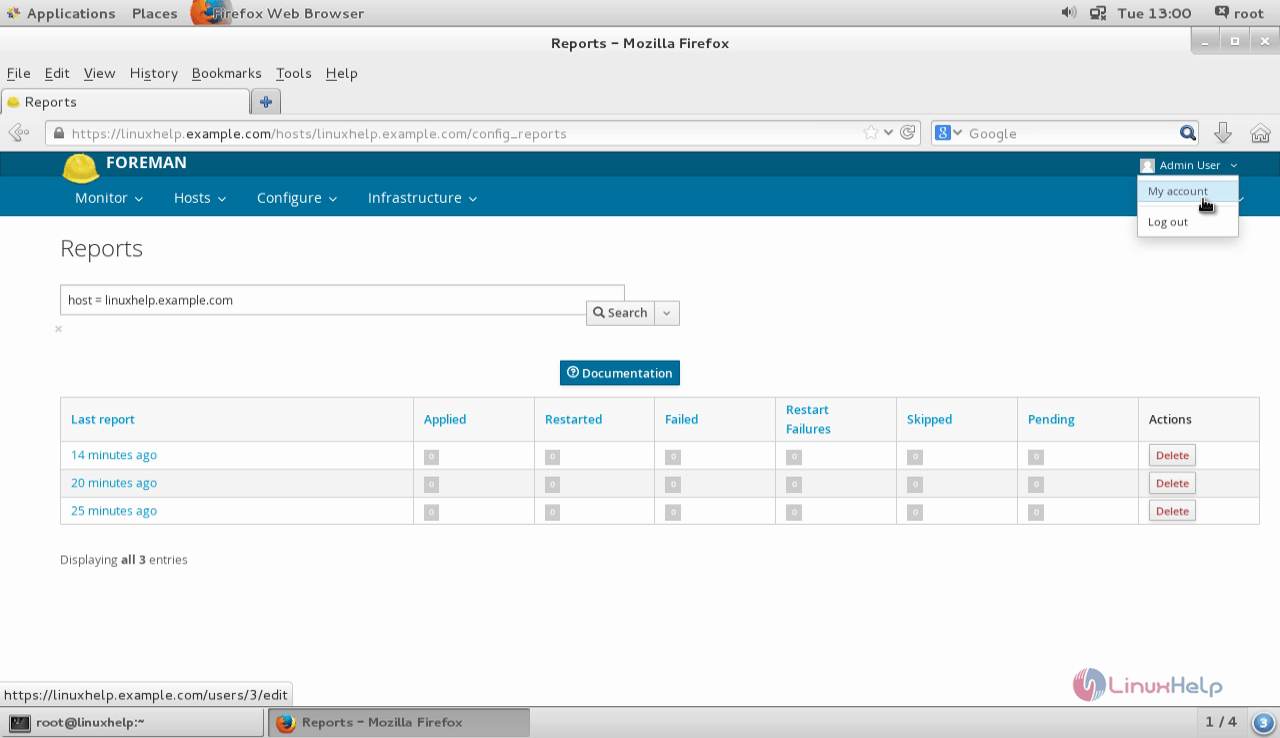
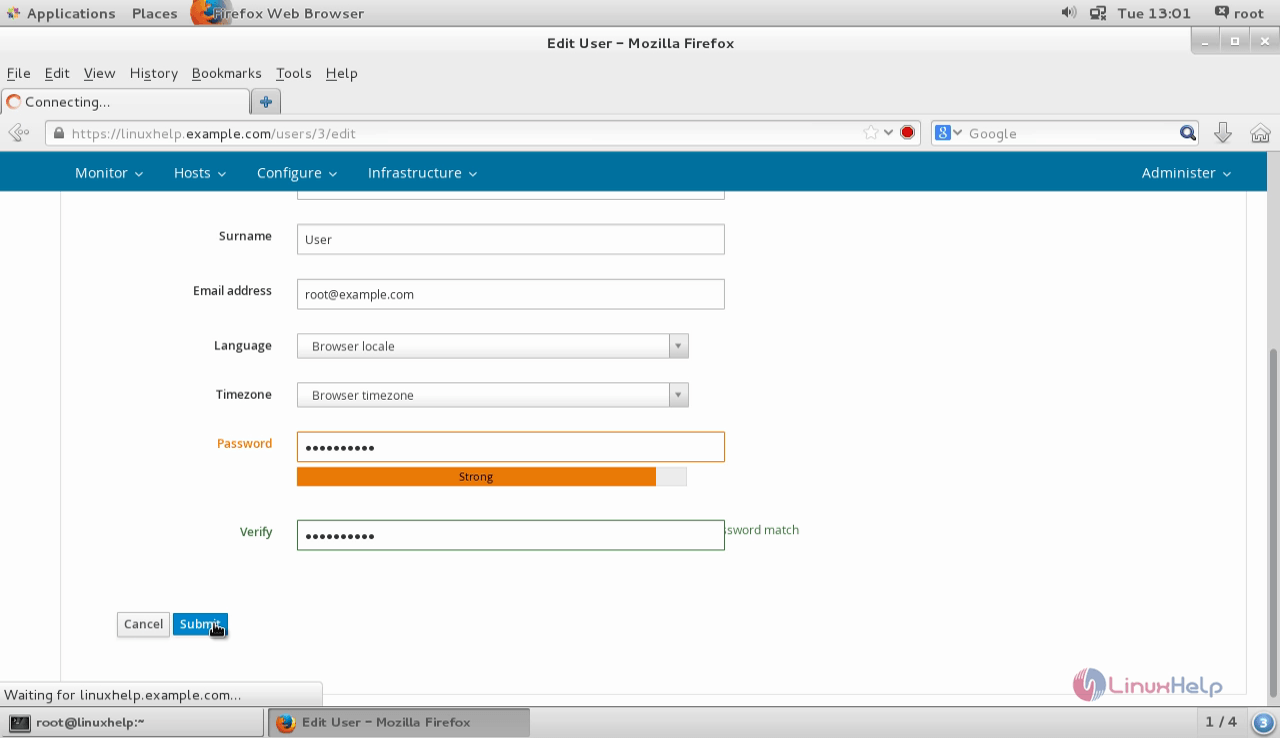
Go to My account to change admin password.
 Save
Save
Comments ( 0 )
No comments available