How to install Geeklog 2.2.0 on Ubuntu 18.04
How to install Geeklog 2.2.0 on Ubuntu 18.04
Geeklog is an open source tool which is used for creating and managing dynamic web content. It can be used either as Weblog, CMS or Web Portal and it is written using PHP. It supports things such as forums, image galleries, comments, etc. as it has the necessary plug-ins.
Prerequisites
To install LAMP(Apache, MariaDB, php7)
In MariaDB (create database and user and give privileges to that user )
Php installation with required following modules
add-apt-repository ppa:ondrej/php
apt-get update
apt-get install php7.0 php7.0-mysql php7.0-curl php7.0-json php7.0-cgi libapache2-mod-php7.0 php7.0-mcrypt php7.0-xmlrpc php7.0-gd php7.0-mbstring php7.0  php7.0-common  php7.0-xmlrpc php7.0-soap  php7.0-xml php7.0-intl  php7.0-cli  php7.0-ldap php7.0-zip php7.0-readline php7.0-imap php7.0-tidy php7.0-recode php7.0-sq php7.0-intl
Now we have to download a Geeklog package using this following command
root@linuxhelp1:~# wget https://www.geeklog.net/downloads/visit.php/file\_5b0c7089434be
--2018-05-31 11:52:33--  https://www.geeklog.net/downloads/visit.php/file\_5b0c7089434be
Resolving www.geeklog.net (www.geeklog.net)... 216.92.57.85
Connecting to www.geeklog.net (www.geeklog.net)|216.92.57.85|:443... connected.
HTTP request sent, awaiting response... 200 OK
Length: 15949944 (15M) \[application/octet-stream\]
Saving to: &lsquo file\_5b0c7089434be&rsquo
file\_5b0c7089434be      100%\[==============================> \]  15.21M   549KB/s    in 3m 26s
2018-05-31 11:56:00 (75.6 KB/s) - &lsquo file\_5b0c7089434be&rsquo  saved \[15949944/15949944\]
Now we have to make a new directory
root@linuxhelp1:~# mkdir geeklog
The downloaded package is a tar file, so we need to extract the package now
root@linuxhelp1:~# tar -zxvf file\_5b0c7089434be -C geeklog
db-config.php
emailgeeklogstories
INSTALL
readme
backups
backups/README
data
.
.
system/vendor/swiftmailer/swiftmailer/lib/swiftmailer\_generate\_mimes\_config.php
system/vendor/swiftmailer/swiftmailer/lib/swift\_init.php
system/vendor/swiftmailer/swiftmailer/lib/swift\_required.php
system/vendor/swiftmailer/swiftmailer/lib/swift\_required\_pear.php
system/vendor/swiftmailer/swiftmailer/LICENSE
system/vendor/swiftmailer/swiftmailer/phpunit.xml.dist
system/vendor/swiftmailer/swiftmailer/README
system/vendor/swiftmailer/swiftmailer/VERSION
Then we have to move the extracted file into the following path
root@linuxhelp1:~# mv geeklog /var/www/
And then switch to the following directory
root@linuxhelp1:~# cd /var/www/
Here to change the ownership and permission of the file
root@linuxhelp1:/var/www# chown -R www-data.www-data geeklog
root@linuxhelp1:/var/www# chmod -R 775 geeklog
Now we have to create a new virtualhost configuration to accessing the Geeklog application
root@linuxhelp1:/var/www# vim /etc/apache2/sites-available/geeklog.conf
< VirtualHost \*:80>
ServerName www.linuxhelp1.com
DocumentRoot /var/www/geeklog/public\_html/
< Directory /var/www/geeklog/public\_html/>
AllowOverride All
allow from all
< /Directory>
< /VirtualHost>
Now we have to enable the site access
root@linuxhelp1:/var/www# a2ensite geeklog.conf
Enabling site geeklog.
To activate the new configuration, you need to run:
  systemctl reload apache2
Now we have to disable the default access
root@linuxhelp1:/var/www# a2dissite 000-default.conf
Site 000-default disabled.
To activate the new configuration, you need to run:
  systemctl reload apache2
Now we have to enable the rewrite module
root@linuxhelp1:/var/www# a2enmod rewrite
Enabling module rewrite.
To activate the new configuration, you need to run:
  systemctl restart apache2
Then we need to restart the apache2 service
root@linuxhelp1:/var/www# systemctl restart apache2
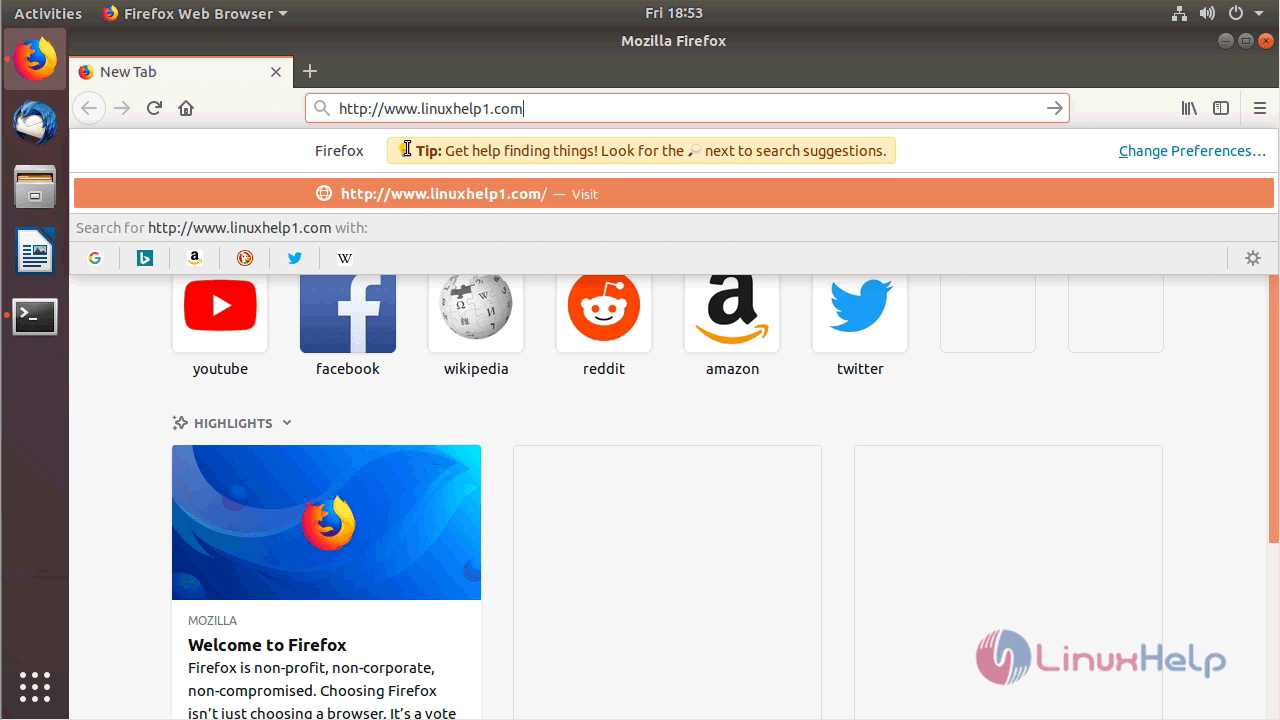
Now we have to open a browser and type the following URL of http://local IP (or ) domain name
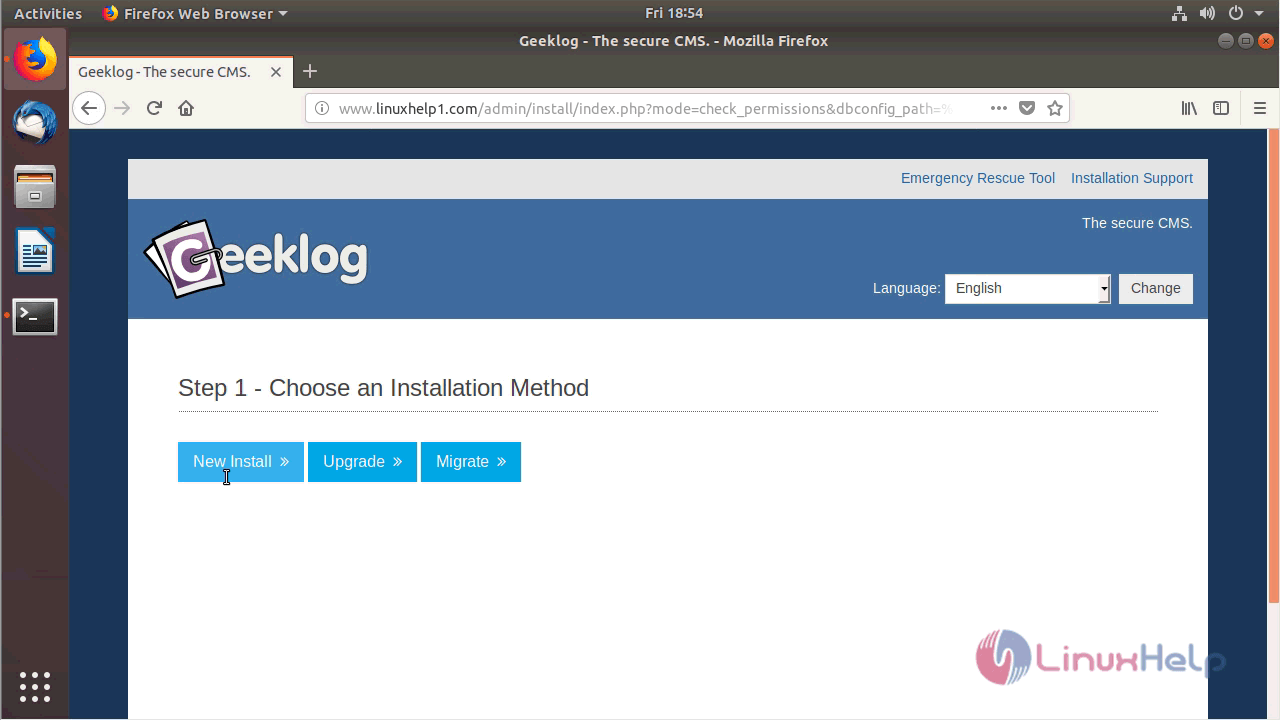
Here we have to choose the installation type
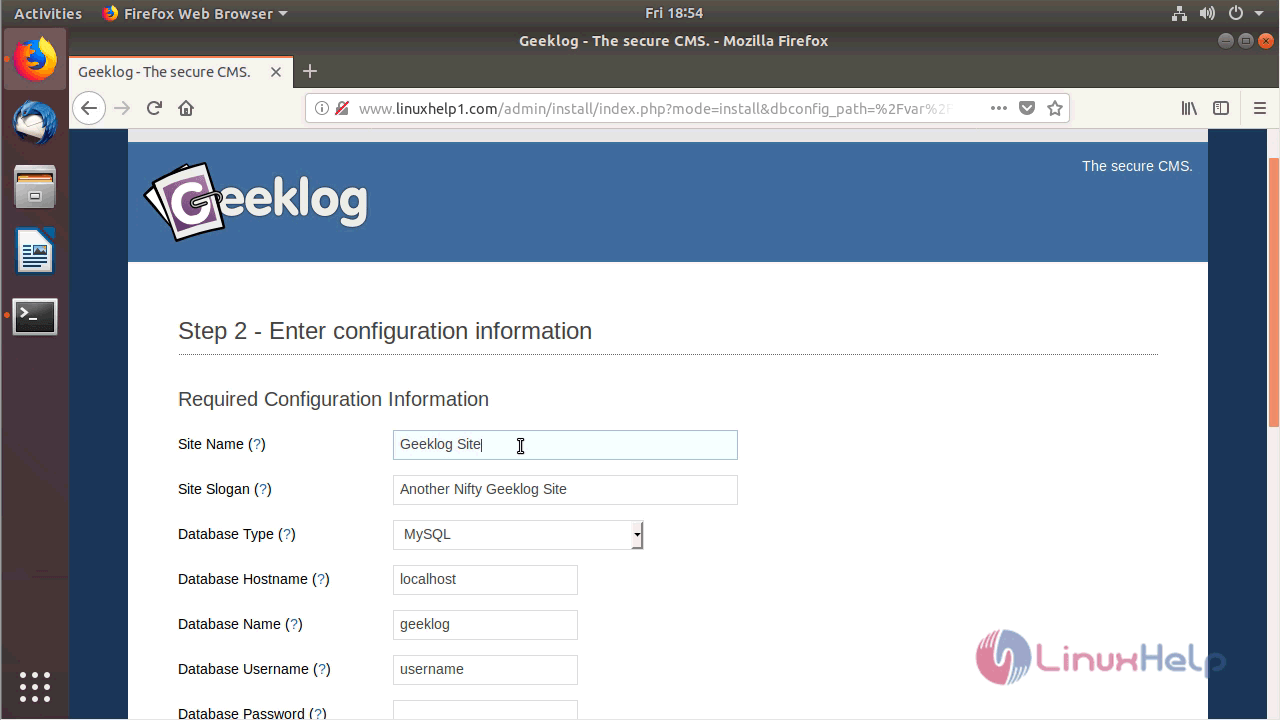
Here we have to configure the site information, database detail, and Admin user credential
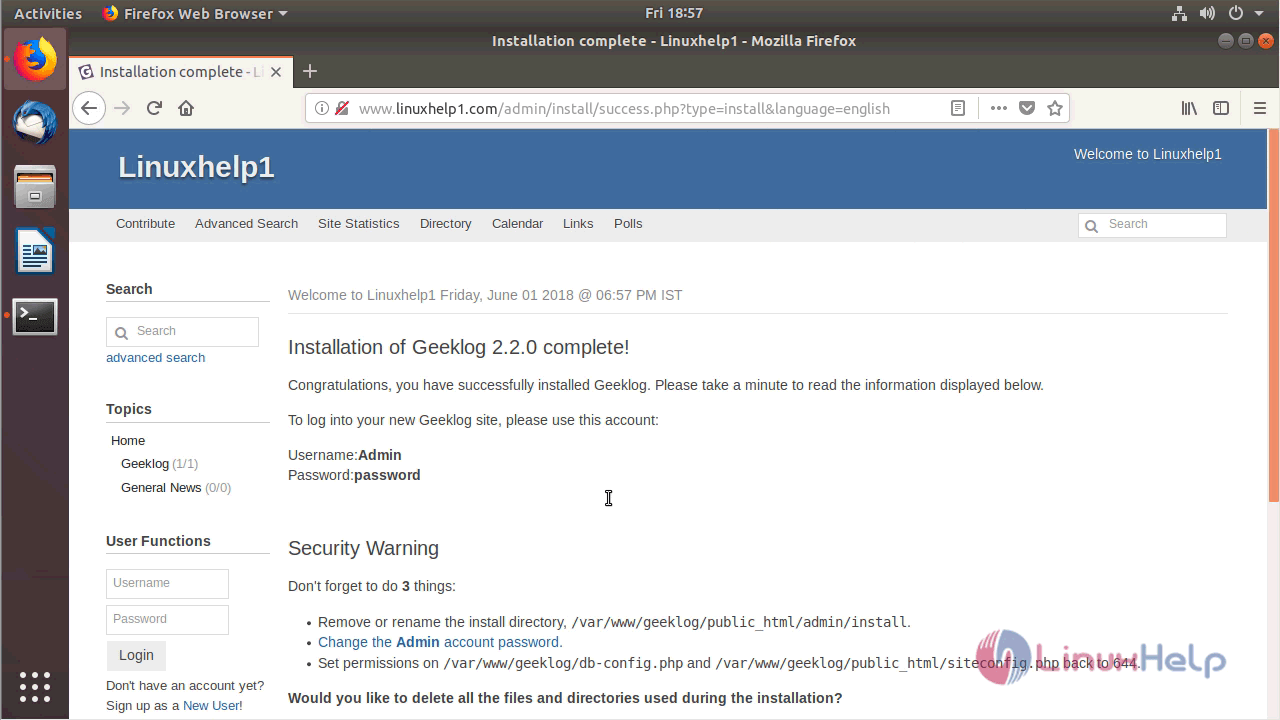
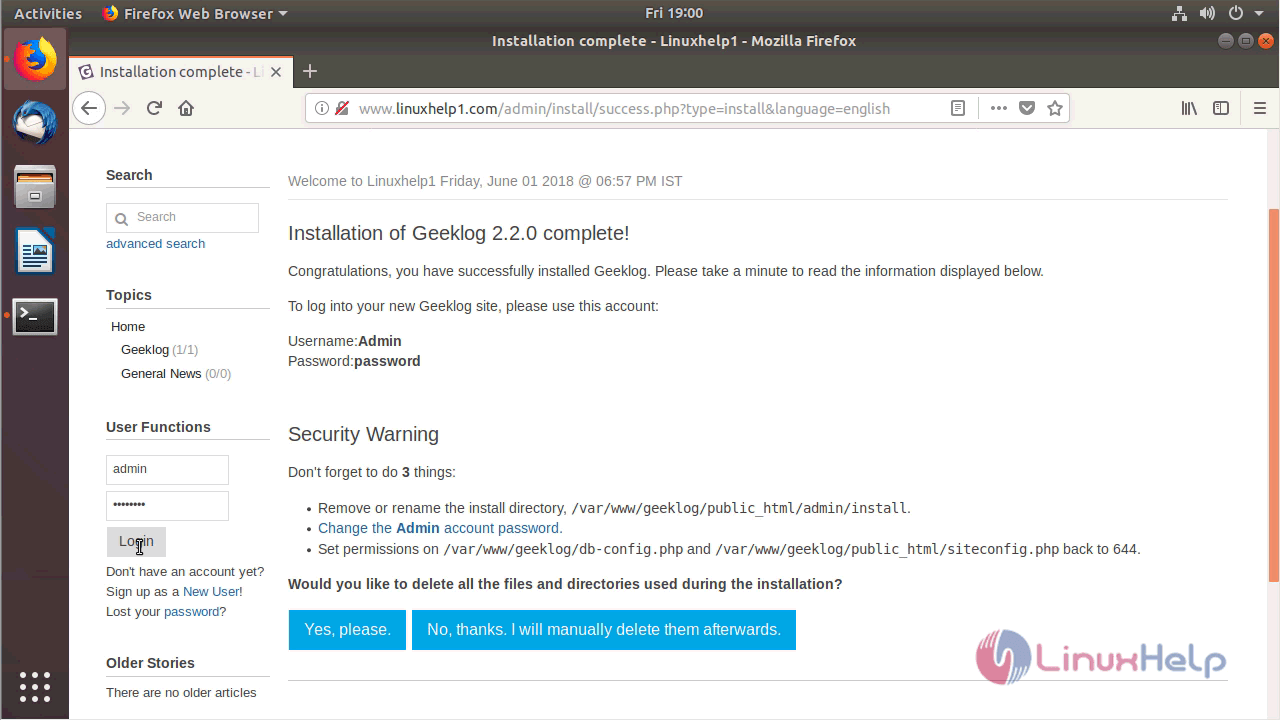
Here it will show a completed the installation
Now we have to login with help of using the Admin user credential
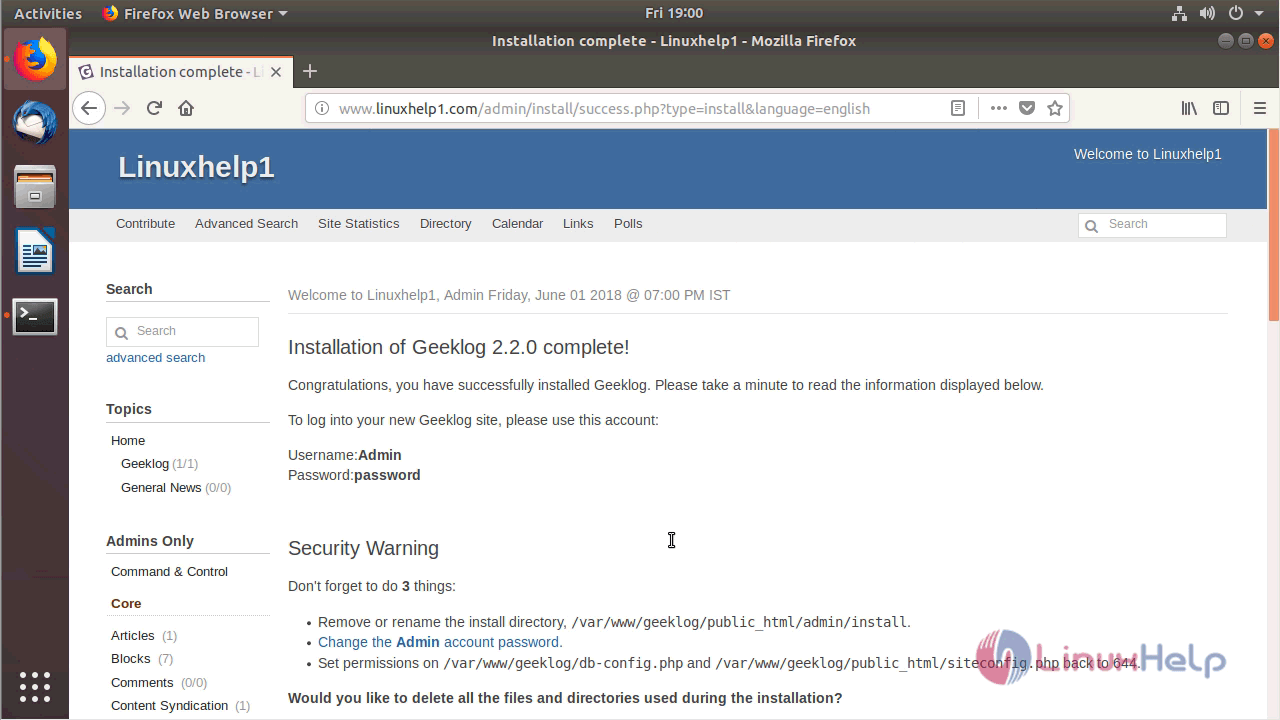
Now we are getting to open an Administration control panel of Geeklog
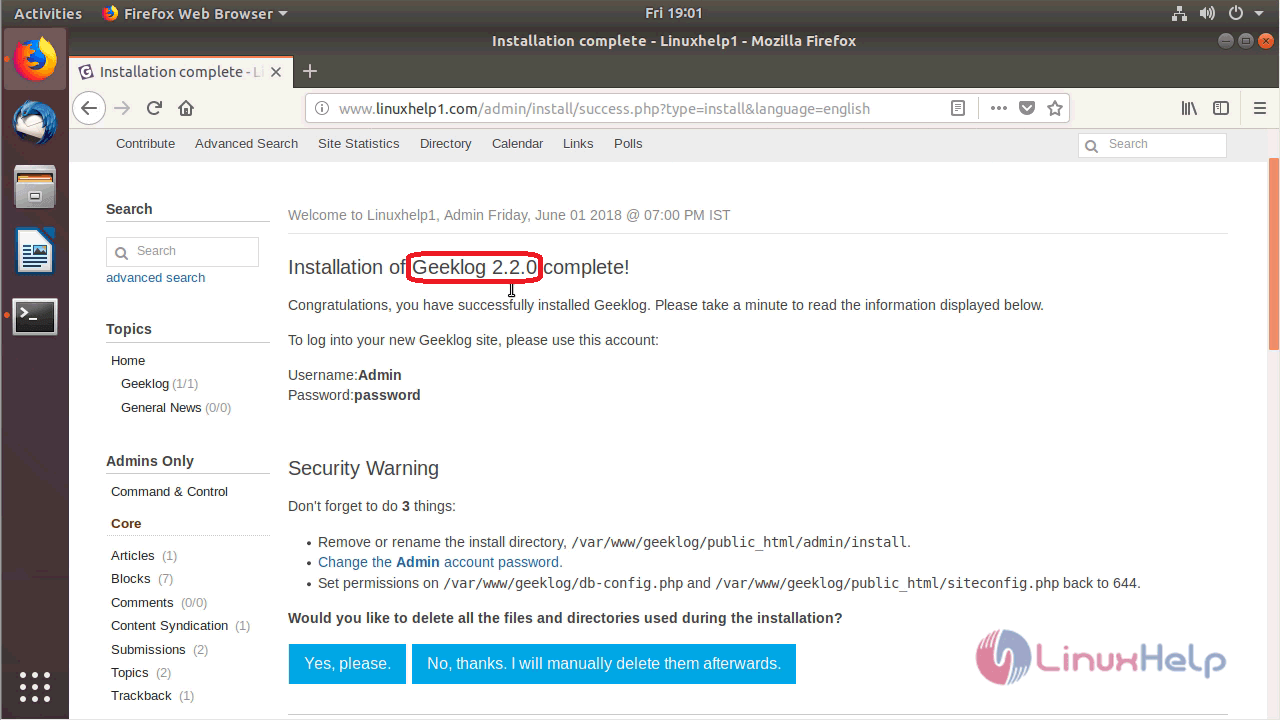
Here it will show a version of Geeklog
Comments ( 0 )
No comments available