How to install GitLab CE Ominbus on OpenSUSE 13.2
How to install GitLab CE Ominbus on OpenSUSE 13.2
GitLab is an open source application used to code, test and deploy code together. It provides the Git repository management with access controls, code reviews, issue tracking and activity feeds. It is used to create, edit new projects and merge finished code into the existing projects and it also considered to be web-based repository manager for teams collaboration. This tutorial explains the installation process of GitLab Omnibus in OpenSUSE 13.2.
Advantages
- Secured codes.
- Improved milestones.
- Status availability.
- Supports GUI.
- Control over the repository.
- Snippet supports.
Installation procedure
Before installing the GitLab community edition, install the following dependency packages in the target system.
linuxhelp1:~ # zypper install curl openSSH postfix
Retrieving repository ' openSUSE-13.2-Non-Oss'  metadata ...................[done]
Building repository ' openSUSE-13.2-Non-Oss'  cache ........................[done]
Retrieving repository ' openSUSE-13.2-Oss'  metadata .......................[done]
.
.
.
onal rpm output:
Executing upgrade-configuration.
(4/4) Installing: curl-7.42.1-25.1 ....................................................[done]
The dependency packages has been installed successfully. Now start and enable the SSH service by executing the following command.
linuxhelp1:~ # systemctl enable sshd
linuxhelp1:~ # systemctl start sshd
The SSH services are running. Next, start and enable the Postfix services by running the following command.
linuxhelp1:~ # systemctl enable postfix
linuxhelp1:~ # systemctl start postfix
The postfix services are started. Add the following service ports into firewall.
linuxhelp1:~ # yast2 firewall services add tcpport=80,443,22,25,465,587 udpport=80,443,22,25,465,587 zone=EXT
Restart the firewall service by executing the following command.
linuxhelp1:~ # rcSuSEfirewall2 restart
The firewall has been started. Download the GitLab community edition backup by using the curl command and execute it.
linuxhelp1:~ # curl -sS https://packages.gitlab.com/install/repositories/gitlab/gitlab-ce/script.rpm.sh | sudo bash
Detected operating system as opensuse/13.2.
Checking for curl...
Detected curl...
.
.
.
Building repository ' gitlab_gitlab-ce'  cache ..........................................[done]
Specified repositories have been refreshed.
The repository is setup! You can now install packages.
Install the GitLab community edition package by executing the zypper command.
linuxhelp1:~ # zypper install gitlab-ce
Retrieving repository ' gitlab_gitlab-ce-source'  metadata ---------------------------------[|]
File ' repomd.xml'  from repository ' gitlab_gitlab-ce-source'  is signed with an unknown key ' 14219A96E15E78F4' . Continue? [yes/no] (no): yes
.
.
.
Checking for file conflicts: ................................................................................[done]
(1/1) Installing: gitlab-ce-9.0.5-ce.0.sles13 ...............................................................[done]
The package has been added successfully. Now open the GitLab configuration file and make changes to the external _url as shown below.
linuxhelp1:~ # vim /etc/gitlab/gitlab.rb
external_url ' http://192.168.5.202'
The changes are reflected in the URL. Next reconfigure the GitLab service.
linuxhelp1:~ # gitlab-ctl reconfigure
Starting Chef Client, version 12.12.15
resolving cookbooks for run list: [" gitlab" ]
Synchronizing Cookbooks:
  - gitlab (0.0.1)
  - runit (0.14.2)
.
.
.
Running handlers complete
Chef Client finished, 10/395 resources updated in 22 seconds
gitlab Reconfigured!
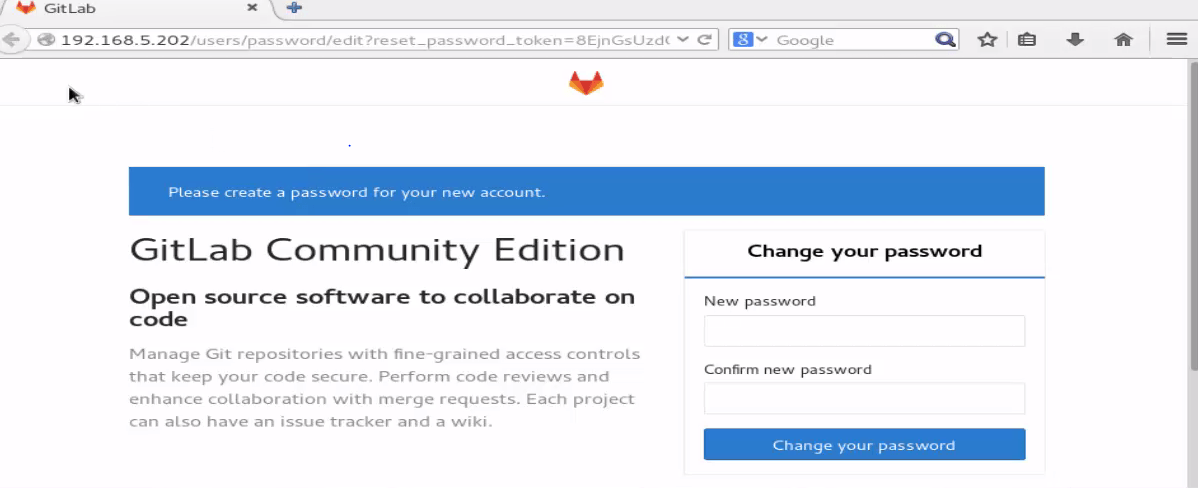
The GitLab is installed successfully. Open the browser and enter the target server IP to login GitLab Community Edition.
Wasn' t that an easy installation procedure? Stay connected to know more about various other aspects of GitLab from our future articles.
Comments ( 0 )
No comments available