How To Install gns3 2.1.4 on ubuntu 18.04
To Install gns3 2.1.4 on Ubuntu 18.04
GNS3 is a graphical network simulator to design complex network used to configure devices ranging from simple workstations to powerful Cisco routers. It is based on Dynamips, Pemu/Qemu, and Dynagen. Installation of GNS3 on Ubuntu 18.04 is explained in this tutorial
Features
&bull Design of high quality and complex network topologies
&bull Emulation of many Cisco router platforms and PIX firewalls
&bull Simulation of simple Ethernet, ATM and Frame Relay switches
&bull The connection of the simulated network to the real world
&bull Packet capture using Wireshark
Installation
let' s begin with adding the repository which is necessary to install gns3
root@linuxhelp:~# add-apt-repository ppa:gns3/ppa
 PPA for GNS3 and Supporting Packages. Please see http://www.gns3.com for more details
 More info: https://launchpad.net/~gns3/+archive/ubuntu/ppa
Press [ENTER] to continue or Ctrl-c to cancel adding it.

gpg: keybox ' /tmp/tmpwagh__r6/pubring.gpg'  created
gpg: /tmp/tmpwagh__r6/trustdb.gpg: trustdb created
gpg: key 9A2FD067A2E3EF7B: public key " Launchpad PPA for GNS3"  imported
gpg: Total number processed: 1
gpg:               imported: 1
OK
Hit:1 http://security.ubuntu.com/ubuntu bionic-security InRelease
Get:2 http://ppa.launchpad.net/gns3/ppa/ubuntu bionic InRelease [15.3 kB]
Get:3 http://in.archive.ubuntu.com/ubuntu bionic InRelease [235 kB]
.
.
Get:19 http://in.archive.ubuntu.com/ubuntu bionic/multiverse amd64 DEP-11 Metadata [40.9 kB]
Get:20 http://in.archive.ubuntu.com/ubuntu bionic/multiverse DEP-11 64x64 Icons [216 kB]
Fetched 36.9 MB in 53s (693 kB/s)
Reading package lists... Done
As we are using ubuntu 18.04 we need not update repo so directly install the application using the following command
root@linuxhelp:~#  apt-get install gns3-gui

Reading package lists... Done
Building dependency tree
Reading state information... Done
The following packages were automatically installed and are no longer required:
  apache2-bin apache2-data apache2-utils libapr1 libaprutil1 libaprutil1-dbd-sqlite3 libaprutil1-ldap
Use ' apt autoremove'  to remove them.
The following additional packages will be installed:
  augeas-lenses bridge-utils cpu-checker cpulimit dmeventd dynamips ebtables geoip-database-extra gns3-server
  ibverbs-providers ipxe-qemu ipxe-qemu-256k-compat-efi-roms libaio1 libaugeas0 libavahi-gobject0 libc-ares2 libcacard0
  libdevmapper-event1.02.1 libdouble-conversion1 libfdt1 libgtk-vnc-2.0-0 libgvnc-1.0-0 libibverbs1 libiscsi7
  libjs-openlayers liblvm2app2.2 liblvm2cmd2.02 libnetcf1 libnl-route-3-200 libphodav-2.0-0 libphodav-2.0-common
  libqt5core5a libqt5dbus5 libqt5designer5 libqt5gui5 libqt5help5 libqt5multimedia5 libqt5network5 libqt5printsupport5
  libqt5sql5 libqt5sql5-sqlite libqt5svg5 libqt5test5 libqt5websockets5 libqt5widgets5 libqt5xml5 librados2 librbd1
  librdmacm1 libreadline5 libsdl1.2debian libsmi2ldbl libsnappy1v5 libspandsp2 libspice-client-glib-2.0-8
  libspice-client-gtk-3.0-5 libspice-server1 libssh-gcrypt-4 libtk8.6 libusbredirhost1 libusbredirparser1 libvirt-bin
  libvirt-clients libvirt-daemon libvirt-daemon-driver-storage-rbd libvirt-daemon-system libvirt0 libvncserver1
  libwireshark-data libwireshark10 libwiretap7 libwscodecs1 libwsutil8 libxcb-xinerama0 libxen-4.9 libxenstore3.0
  libxml2-utils lvm2 msr-tools python3-pyqt5 python3-pyqt5.qtsvg python3-pyqt5.qtwebsockets python3-sip qemu-block-extra
  qemu-kvm qemu-system-arm qemu-system-common qemu-system-x86 qemu-utils qt5-gtk-platformtheme qttranslations5-l10n
  seabios sharutils spice-client-glib-usb-acl-helper tcl tcl8.6 tk tk8.6 ubridge vinagre vpcs wireshark wireshark-common
.
.
Processing triggers for libc-bin (2.27-0ubuntu2) ...
Processing triggers for ureadahead (0.100.0-20) ...
Processing triggers for systemd (237-3ubuntu6) ...
Processing triggers for initramfs-tools (0.130ubuntu3) ...
update-initramfs: Generating /boot/initrd.img-4.15.0-13-generic
Now GNS3 has been installed on our machine successfully and you can verify that by using the following command
root@linuxhelp:~# gns3 --version
2.1.4
To Launch the gns3 application enter the following command on the terminal
root@linuxhelp:~# gns3
your locale en_IN.ISO8859-1 encoding is not UTF-8, switching to the UTF-8 version...
2018-04-12 05:49:28 INFO root:126 Log level: INFO
2018-04-12 05:49:28 INFO main:258 GNS3 GUI version 2.1.4
2018-04-12 05:49:28 INFO main:259 Copyright (c) 2007-2018 GNS3 Technologies Inc.
2018-04-12 05:49:28 INFO main:261 Application started with /usr/bin/gns3
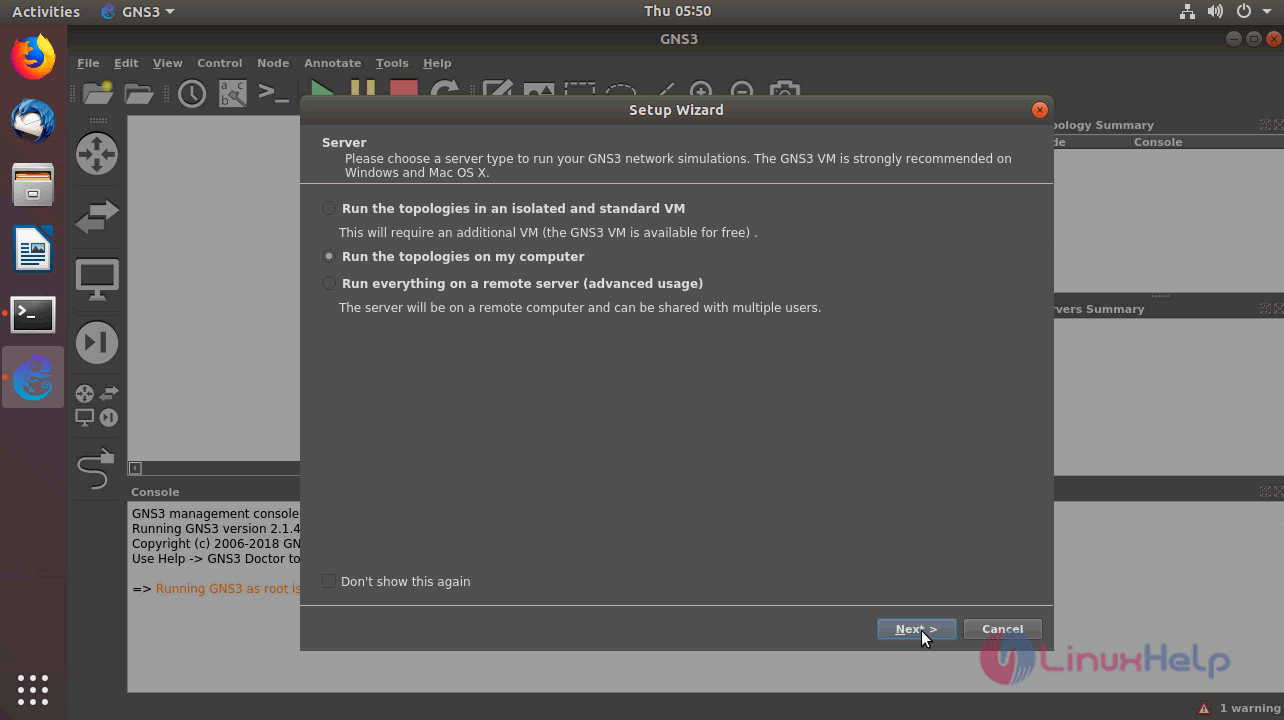
An installation setup wizard will appear on the screen now. Choose a server type and click next
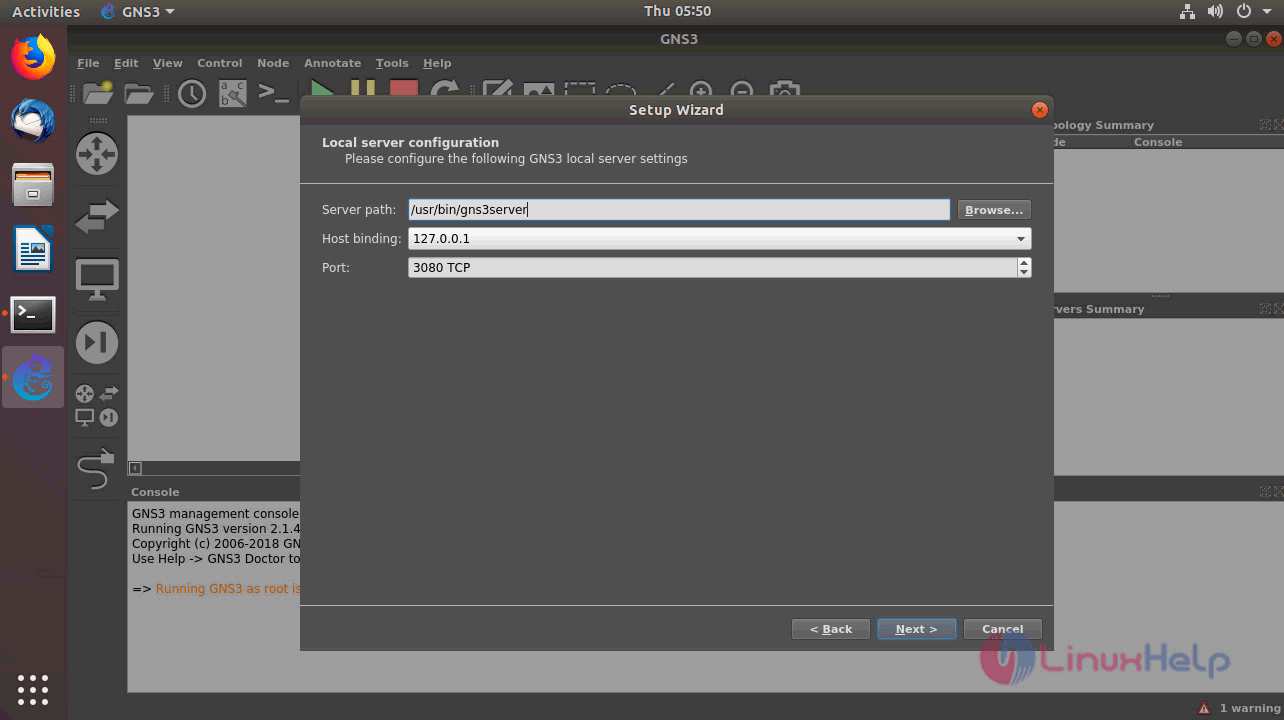
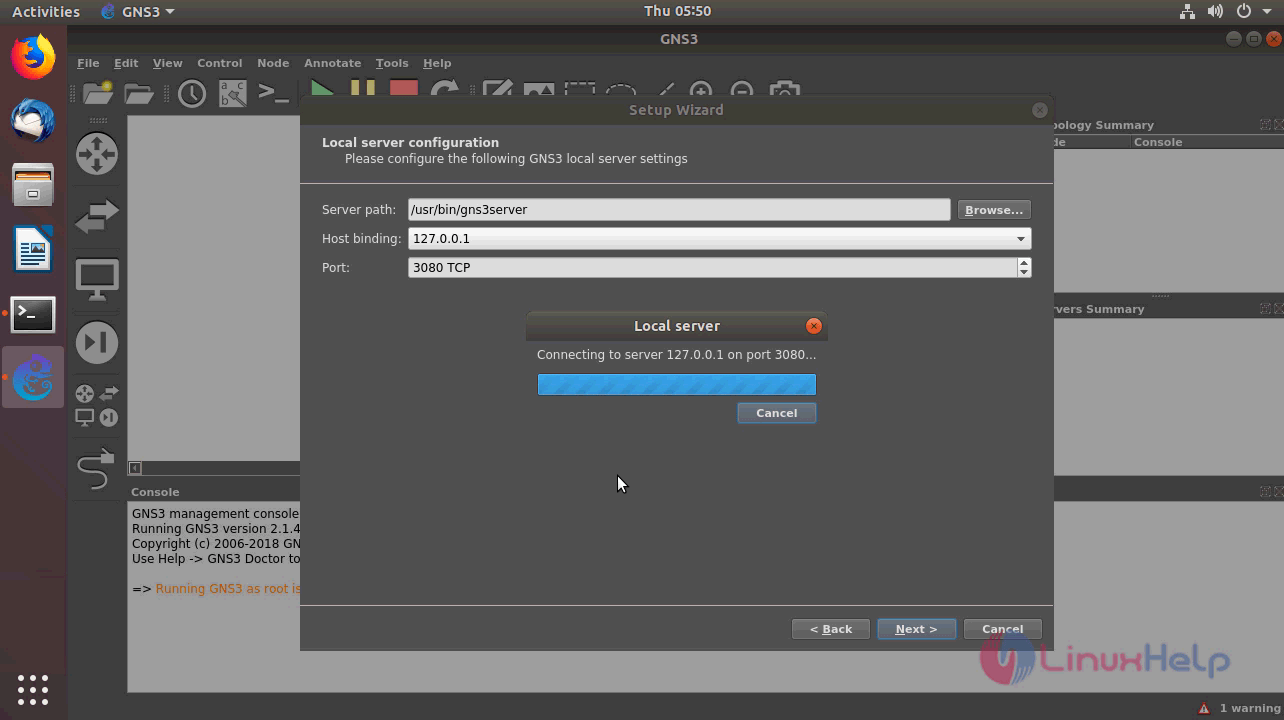
Configure the server for establishing a connection and click next
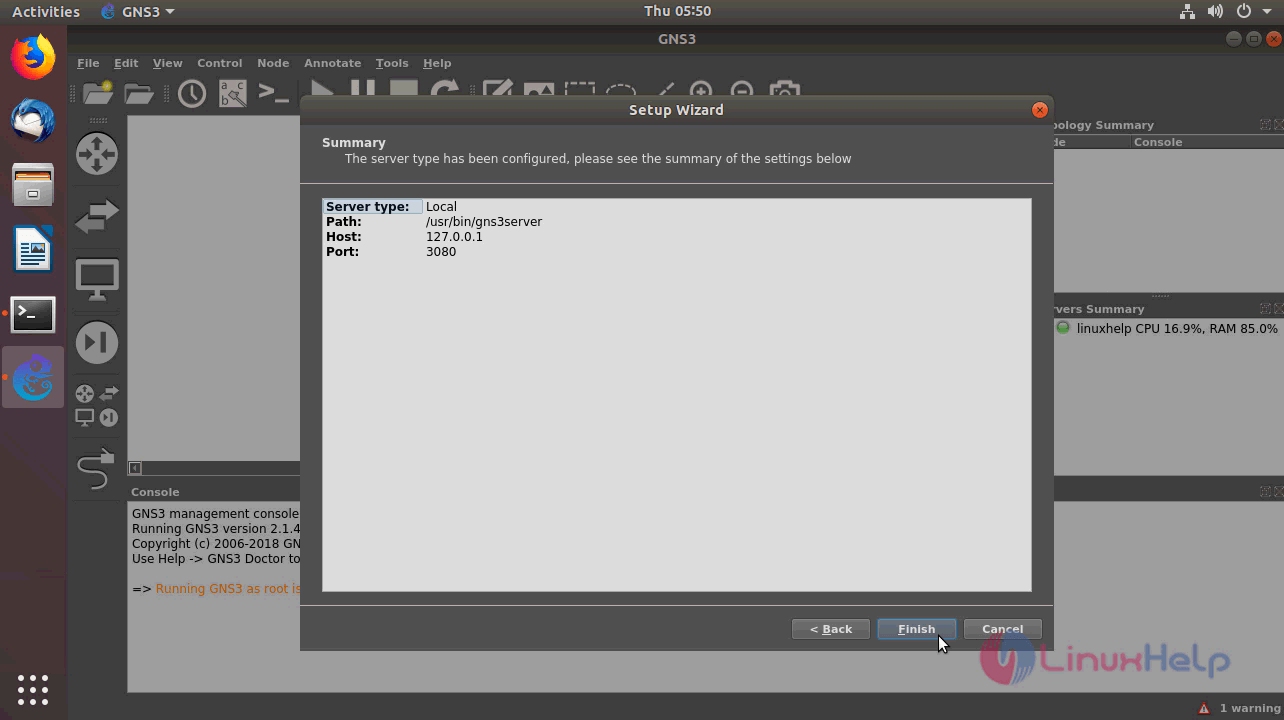
Verify the summary of your configuration and click on finish
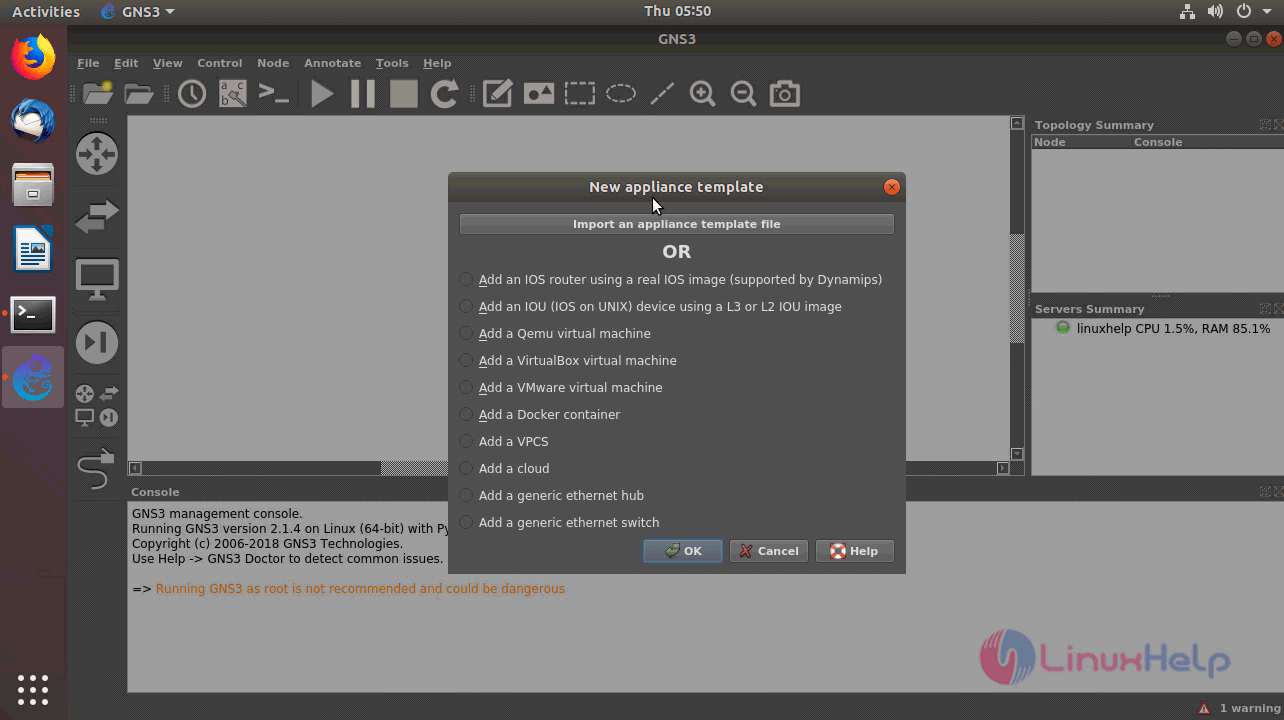
If you already have a template you can import or you can create one among the following
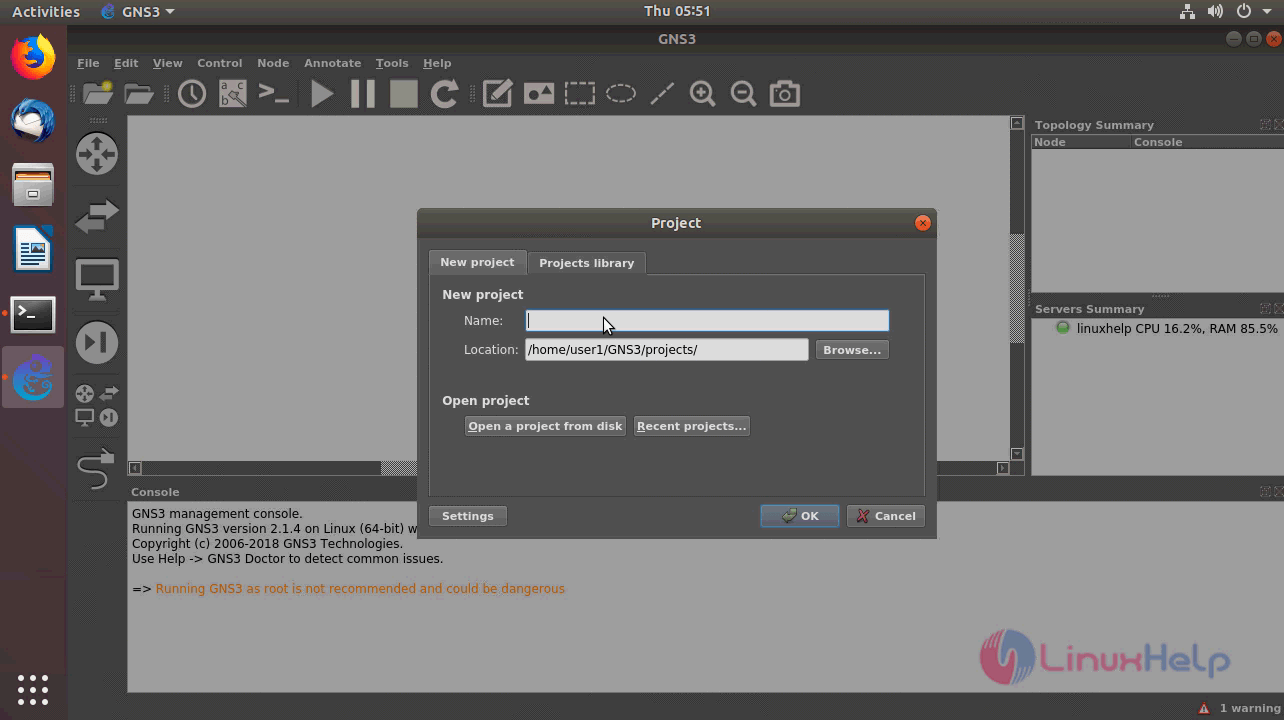
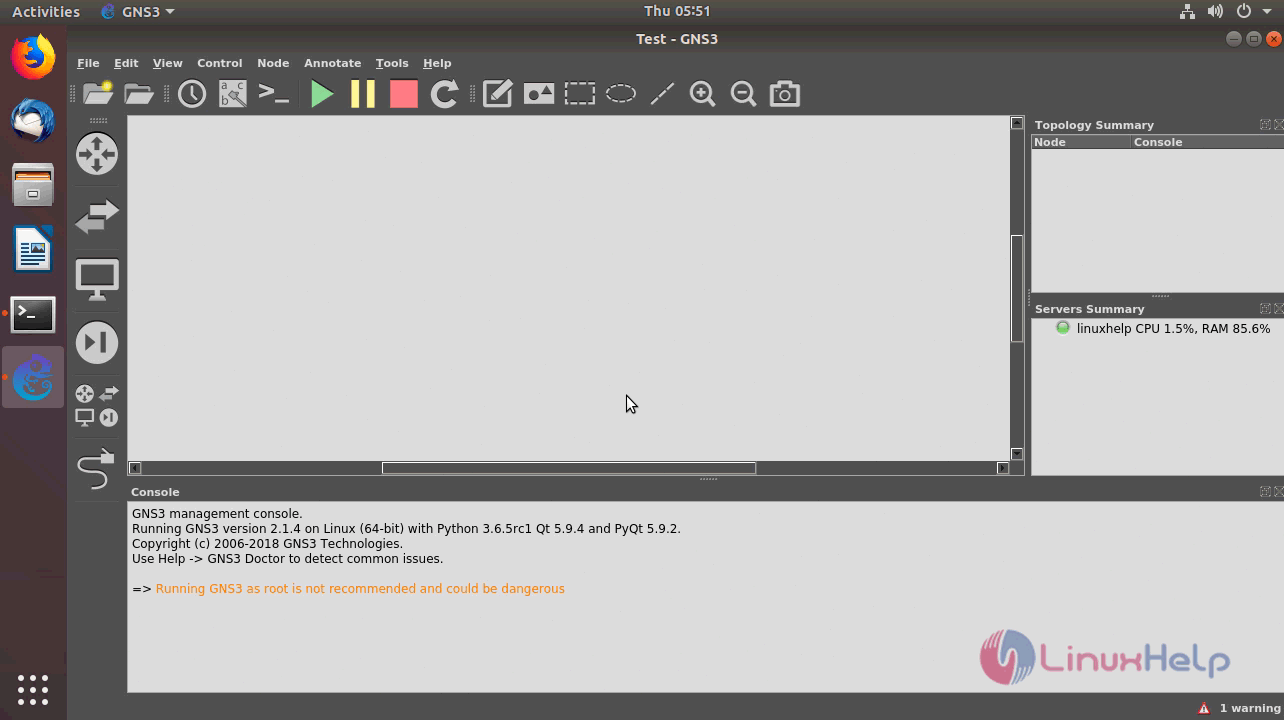
after choosing the template name your project and start designing your network
with this, the method to install gns3 2.1.4 on Ubuntu 18.04 comes to an end.
Comments ( 0 )
No comments available