How to install GrandCMS with Nginx on CentOS 6.9
To install GrandCMS with Nginx on CentOS 6.9
GrandCMS is an open source Content Management System like Wordpress, which is used to create and build your own blog or website and publish it to the Internet easily. GrandCMS acts as a backend code for the sites you create by just using HTML codes. It contains features such as backup an restoring tools, enables automatic image resizing, and support multiple languages. This tutorial explains the installation procedure of GrandCMS with Nginx on CentOS 6.9.
Pre-Requisite
Before beginning the installation procedure, Check whether the LEMP environment is set in the target system. Create a MySQL database for the GrandCMS to work on and create a user in the database and grant all privileges to the user.
Installation procedure
To proceed with the installation procedure, edit the configuration file of php and change the timezone as follows and save the file.
[root@linuxhelp1 ~]# vim /etc/php.ini
date.timezone = Asia/Kolkata
Edit the configuration file of php-fpm using vim editor. Enter the following contents in the file and save it.
[root@linuxhelp1 ~]# vim /etc/php-fpm.d/www.conf
listen = /var/run/php-fpm/php-fpm.sock
listen.owner = nginx
listen.group = nginx
user = nginx
group = nginx
Enter into HTML location.
[root@linuxhelp1 ~]# cd /usr/share/nginx/html/
Download the GrandCMS package by running the wget command followed by the download link.
[root@linuxhelp1 html]# wget http://downloads.sourceforge.net/project/grandcms/grandcms_v0.2.0.1.1.zip
--2017-09-19 14:04:32--  http://downloads.sourceforge.net/project/grandcms/grandcms_v0.2.0.1.1.zip
Resolving downloads.sourceforge.net... 216.34.181.59
Connecting to downloads.sourceforge.net|216.34.181.59|:80... connected.
HTTP request sent, awaiting response... 302 Found
Location: https://excellmedia.dl.sourceforge.net/project/grandcms/grandcms_v0.2.0.1.1.zip [following]
--2017-09-19 14:04:32--  https://excellmedia.dl.sourceforge.net/project/grandcms/grandcms_v0.2.0.1.1.zip
Resolving excellmedia.dl.sourceforge.net... 202.153.32.19
Connecting to excellmedia.dl.sourceforge.net|202.153.32.19|:443... connected.
HTTP request sent, awaiting response... 200 OK
Length: 5606378 (5.3M) [application/octet-stream]
Saving to: “ grandcms_v0.2.0.1.1.zip”

100%[======================================> ] 5,606,378    783K/s   in 6.2s
2017-09-19 14:04:39 (886 KB/s) - “ grandcms_v0.2.0.1.1.zip”  saved [5606378/5606378]
Extract the downloaded zip file.
[root@linuxhelp1 html]# unzip grandcms_v0.2.0.1.1.zip
Archive:  grandcms_v0.2.0.1.1.zip
   creating: upload/
  inflating: upload/.htaccess.txt
   creating: upload/admin/
  inflating: upload/admin/config-dist.php
.
.
inflating: license.txt
  inflating: README.txt
  inflating: upload/catalog/view/theme/default/template/common/header.tpl
Change the ownership of the file in HTML location
[root@linuxhelp1 html]# chown -R nginx:nginx /usr/share/nginx
Change the ownership of php-fpm file.
[root@linuxhelp1 html]# chown nginx:nginx /var/run/php-fpm/php-fpm.sock
Edit the configuration file of Nginx and add the following content in the file. Save and exit the file.
[root@linuxhelp1 html]# vim /etc/nginx/conf.d/default.conf
 server {
    listen       80 default_server
    listen       [::]:80 default_server
    server_name  _
    root         /usr/share/nginx/html
    # Load configuration files for the default server block.
    include /etc/nginx/default.d/*.conf
    index index.html index.php
    location ~ \.php {
    fastcgi_index index.php
    fastcgi_split_path_info ^(.+\.php)(.*)$
    include /etc/nginx/fastcgi_params
    fastcgi_pass unix:/var/run/php-fpm/php-fpm.sock
    fastcgi_param SCRIPT_FILENAME $document_root$fastcgi_script_name
    }
   error_page 404 /404.html
        location = /40x.html {
    }
    error_page 500 502 503 504 /50x.html
        location = /50x.html {
    }
}
Restart the php-fpm service.
root@linuxhelp1 html]#  service php-fpm restart
Stopping php-fpm:                                          [  OK  ]
Starting php-fpm:                                          [  OK  ]
Restart the Nginx service.
[root@linuxhelp1 html]# service nginx restart
Stopping nginx:                                            [  OK  ]
Starting nginx:                                            [  OK  ]
Switch over to the browser and give the URL as machine IP/upload. The installation setup page appears on the screen and click continue.

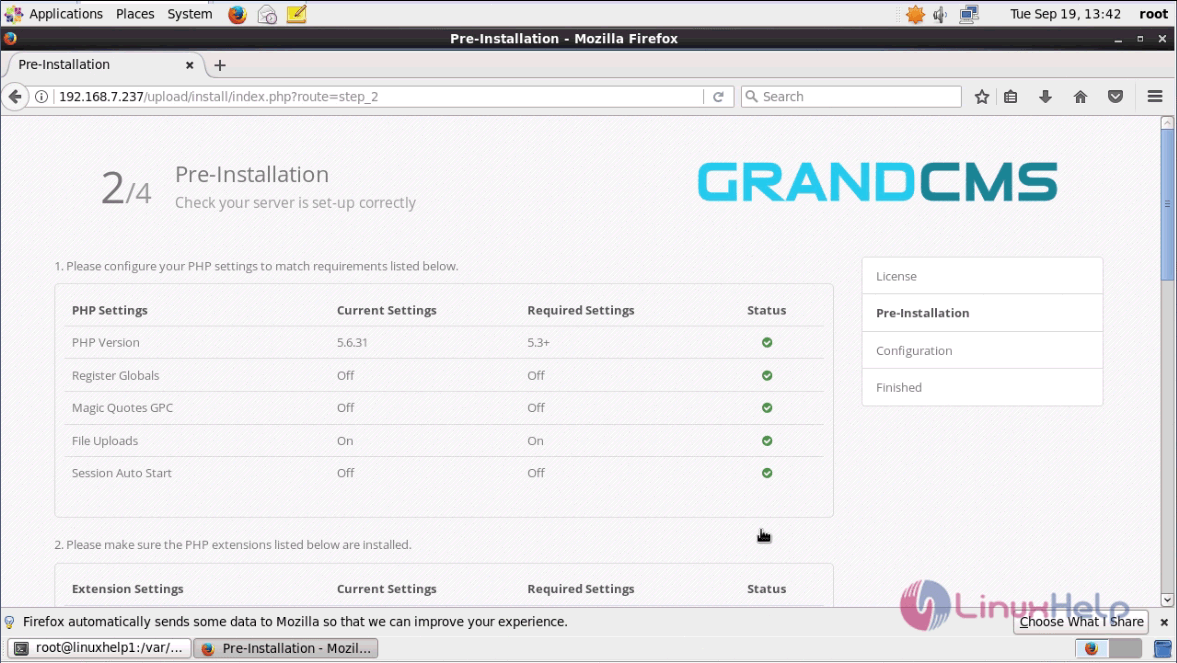
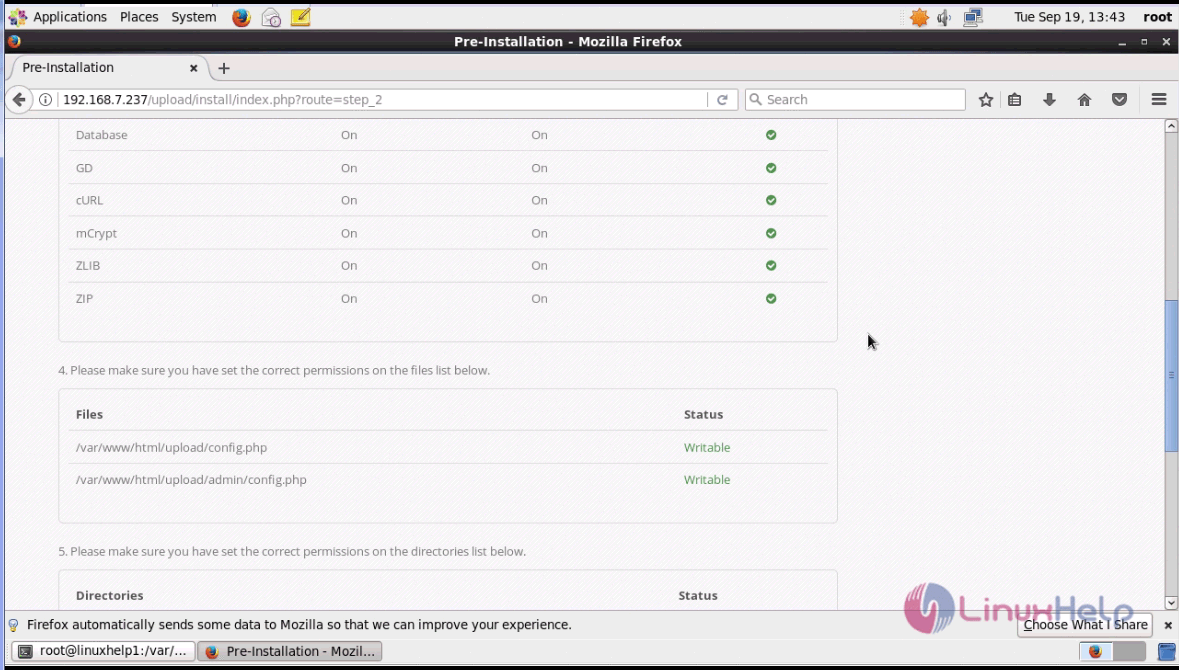
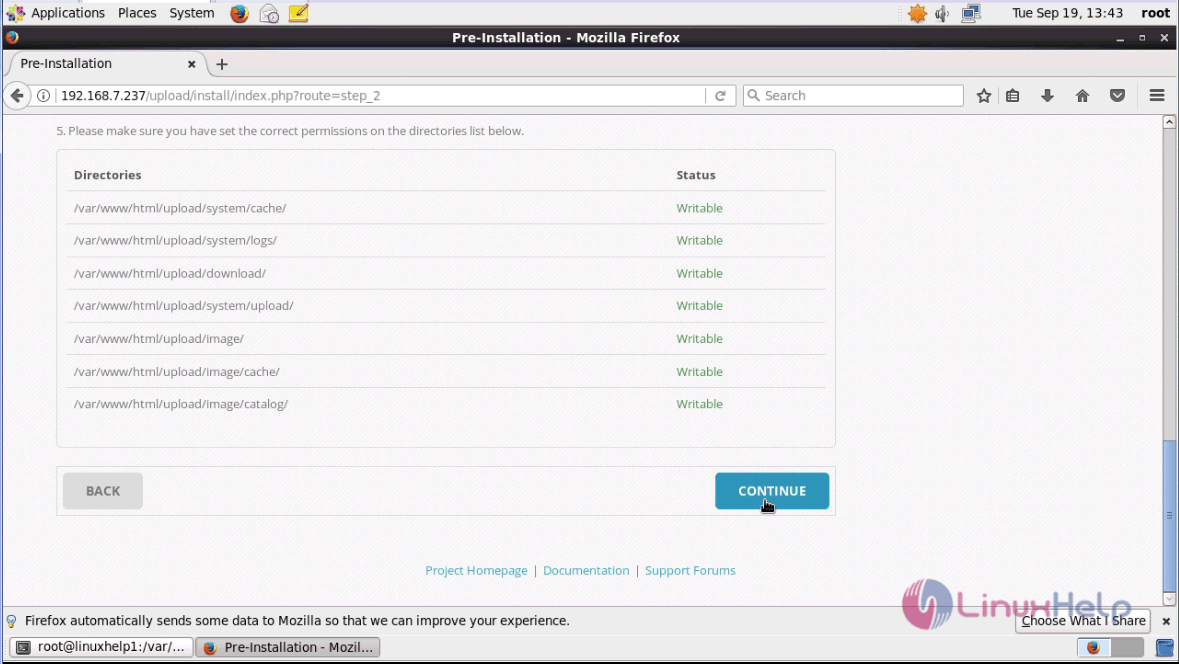
This window shows the list of system checks before installation, click continue.
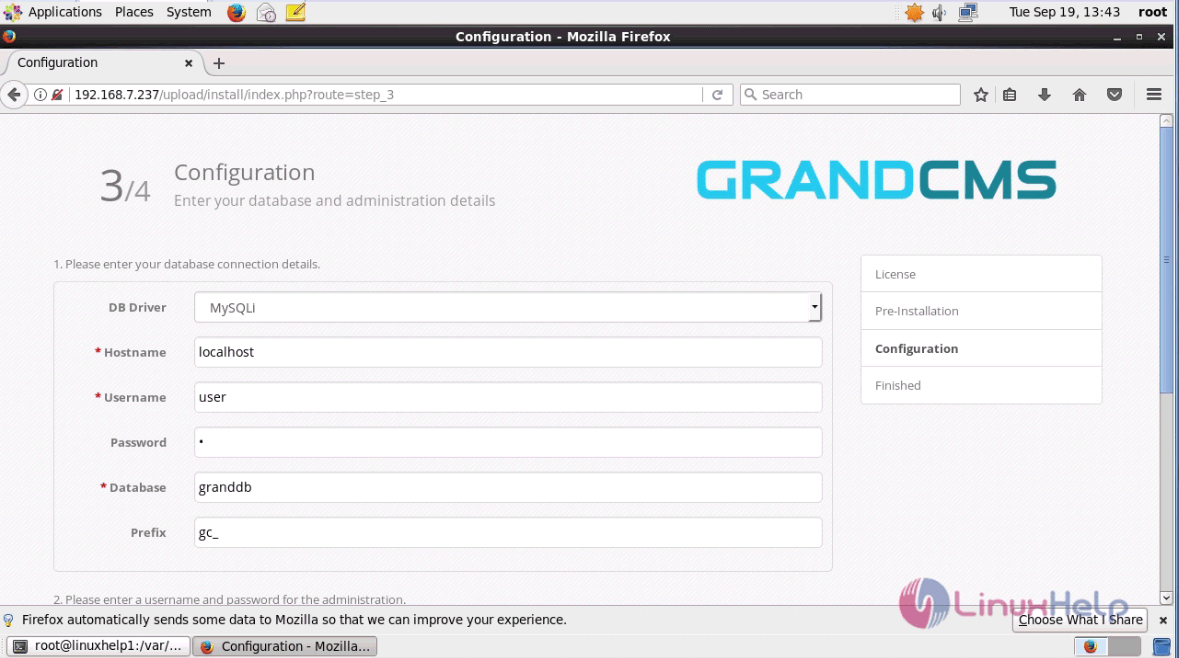
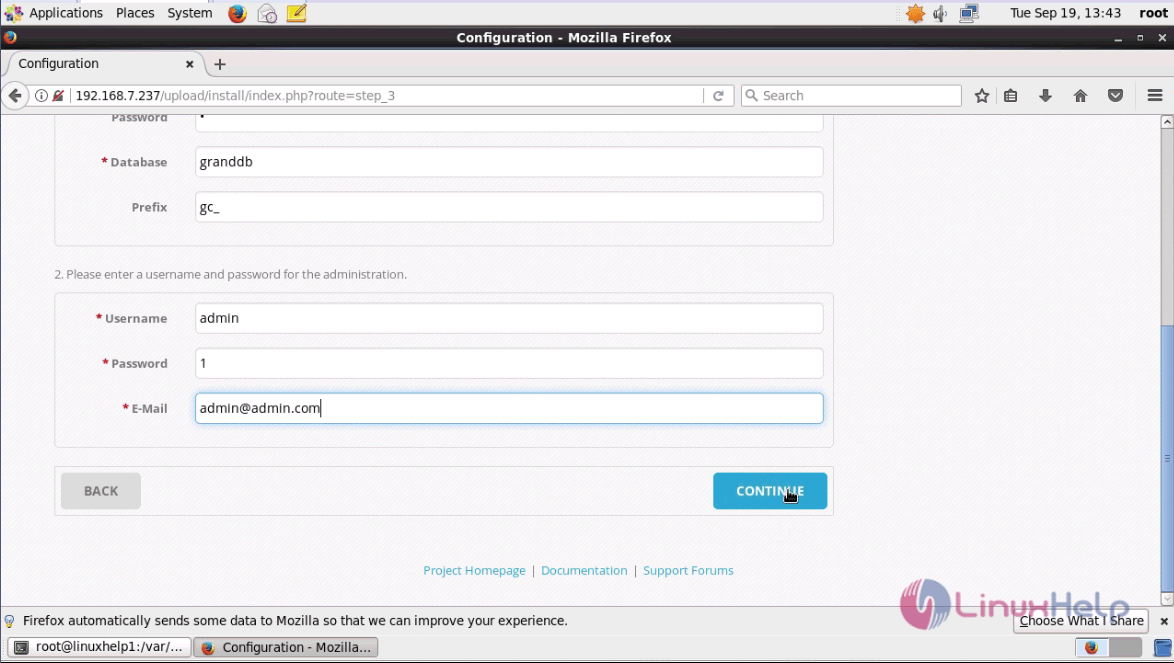
Enter the database details to create a database for GrandCMS and click continue.
Enter the admin details as well and click continue.
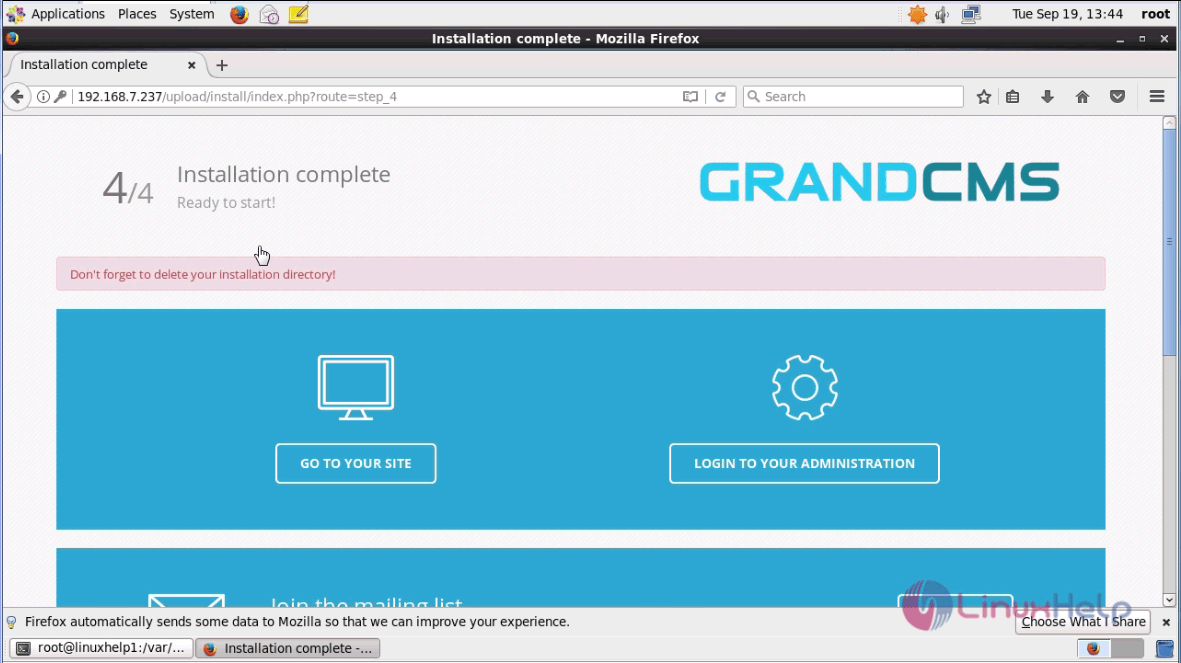
The installation is complete and a notification prompts you to delete the installation directory.
Switch over to the terminal and list the extracted directory.
[root@linuxhelp1 upload]# ll
total 44
drwxrwxr-x  6 apache apache 4096 Sep 19 13:39 admin
drwxrwxr-x  6 apache apache 4096 Mar  2  2015 catalog
-rwxrwxr-x  1 apache apache 1007 Sep 19 13:43 config.php
-rwxrwxr-x  1 apache apache  197 Nov 13  2014 crossdomain.xml
drwxrwxr-x  2 apache apache 4096 Feb 27  2015 download
drwxrwxr-x  7 apache apache 4096 Feb 27  2015 image
-rwxrwxr-x  1 apache apache 7096 Mar  1  2015 index.php
drwxrwxr-x  6 apache apache 4096 Mar  2  2015 install
-rwxrwxr-x  1 apache apache  383 Nov 13  2014 php.ini
drwxrwxr-x 11 apache apache 4096 Mar  2  2015 system
Remove the installation directory by executing the following command.
[root@linuxhelp1 upload]# rm -rf install
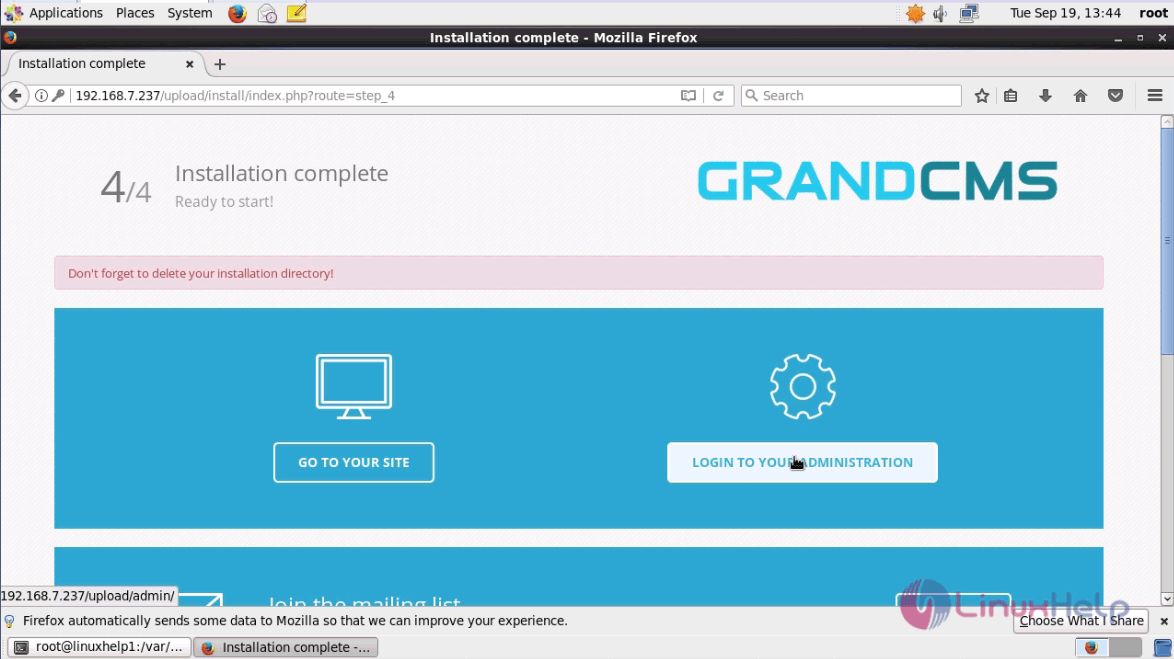
Switch over to the browser again and click ‘ Login to your administration’ button.
Enter the admin credentials and click login.
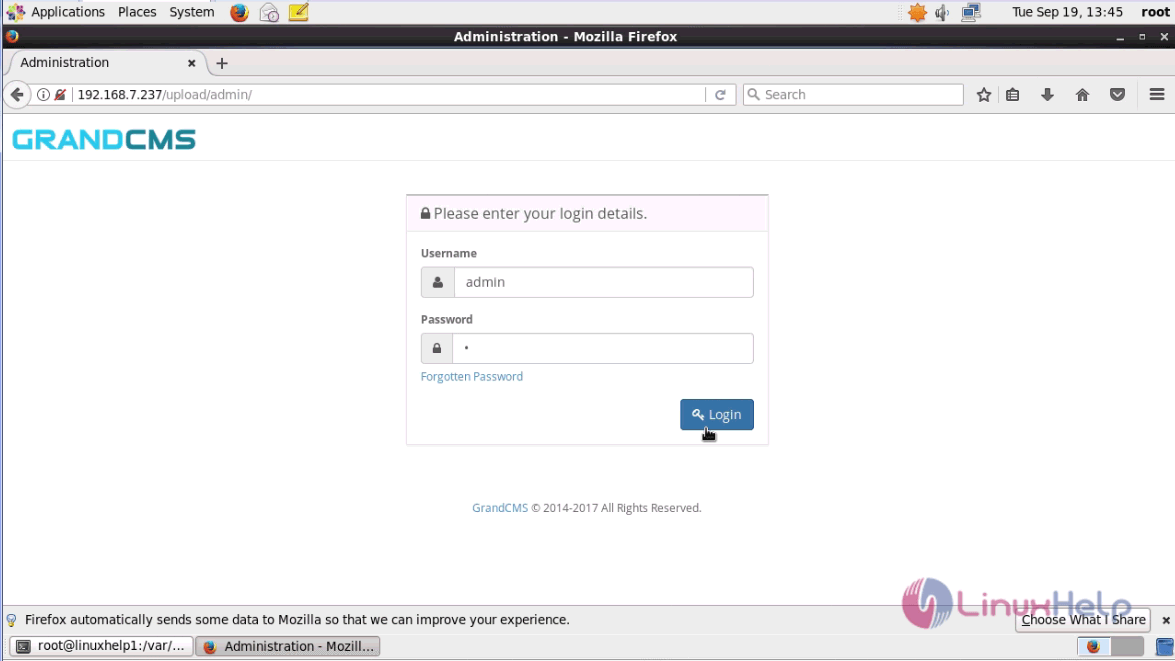
The Admin page of GrandCMS is shown as below.
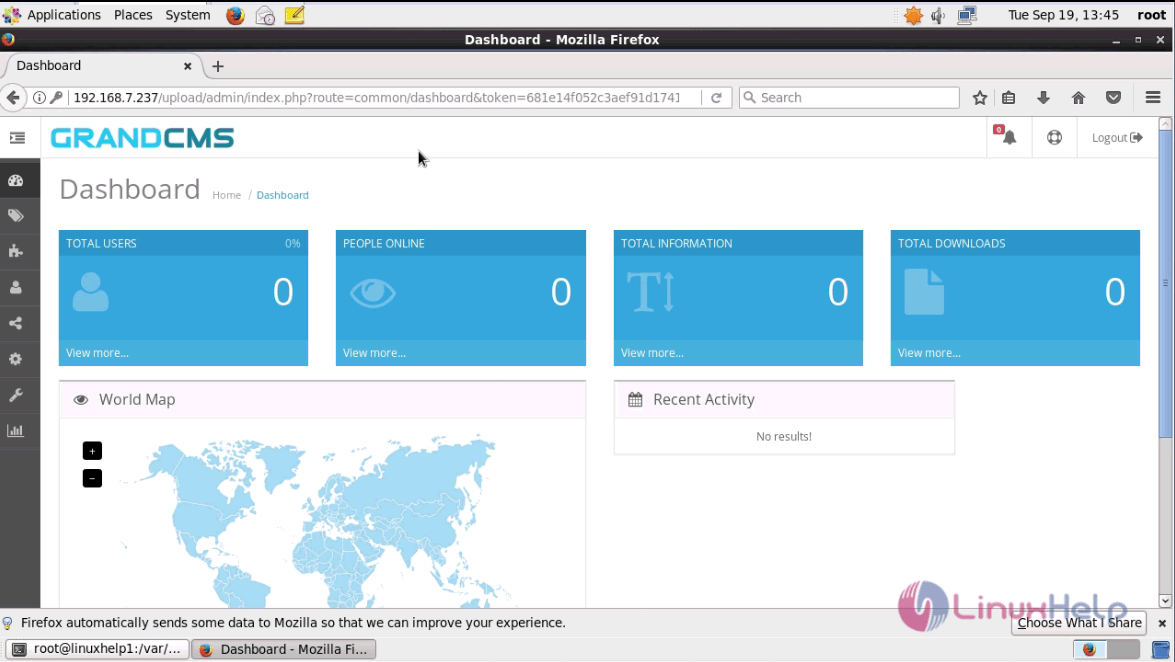
The installation procedure of GrandCMS with Nginx on CentOS 6.9 is done without any glitches.
Comments ( 0 )
No comments available