How to install Linux dash on Ubuntu 18.04
To install Linux Dash on Ubuntu 18.04
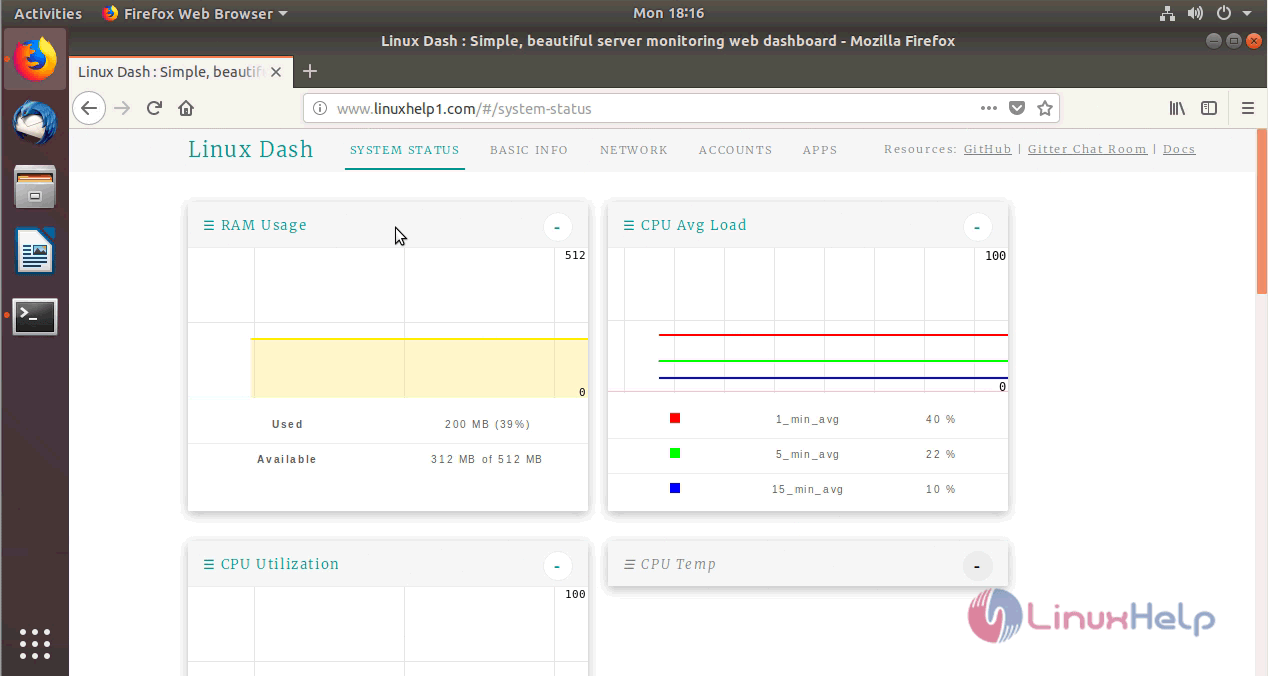
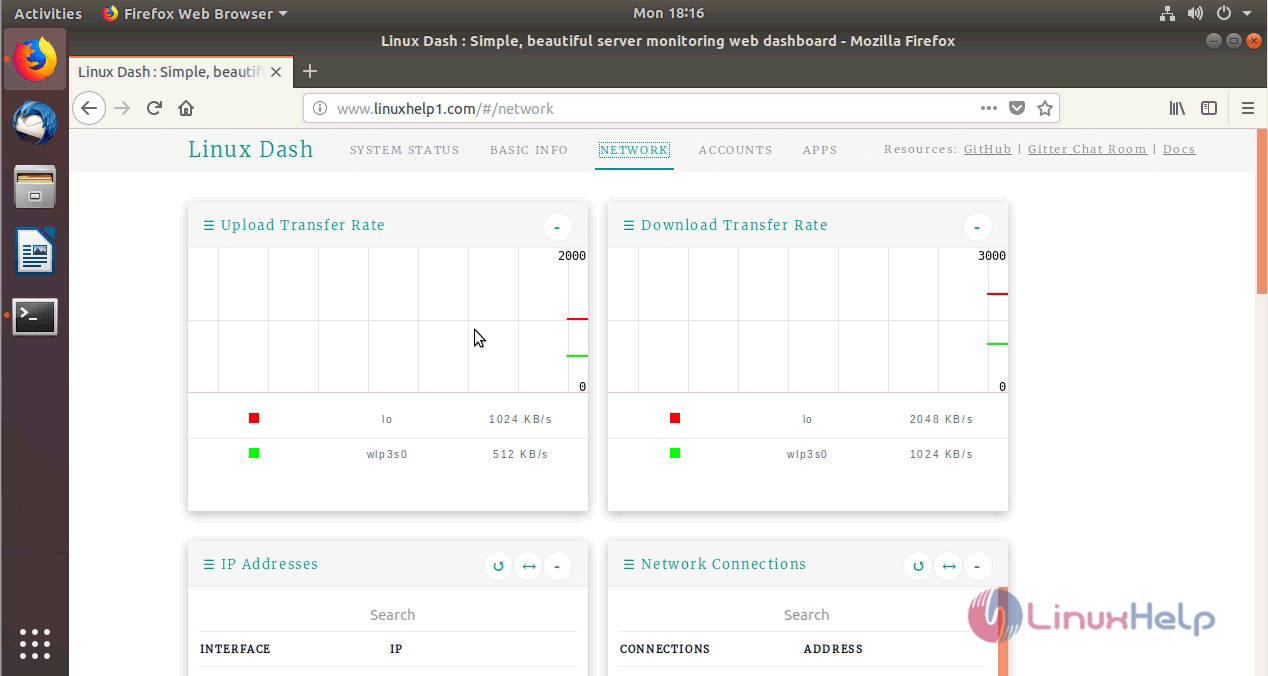
Linux-dash is an open source web-based server monitoring tool for Linux machines. This tool will displays system properties such as CPU load, logged-in users, RAM usage, disk usage, Internet speed, network connections, RX/TX bandwidth, running processes etc. The method to install Linux dash on Ubuntu 18.04 in a very simple manner is covered in this tutorial.
Installation
Install Git package using this following command
root@linuxhelp1:~# apt-get install git -y
Reading package lists... Done
Building dependency tree
Reading state information... Done

The following packages were automatically installed and are no longer required:


  apache2-bin apache2-data apache2-utils libapr1 libaprutil1 libaprutil1-dbd-sqlite3
  libaprutil1-ldap
.
.
Selecting previously unselected package git.
Preparing to unpack .../git_1%3a2.17.0-1ubuntu1_amd64.deb ...
Unpacking git (1:2.17.0-1ubuntu1) ...
Setting up git-man (1:2.17.0-1ubuntu1) ...
Setting up liberror-perl (0.17025-1) ...
Processing triggers for man-db (2.8.3-2) ...
Setting up git (1:2.17.0-1ubuntu1) ...
Now clone the Linux dash from Github repository.
root@linuxhelp1:~# git clone https://github.com/afaqurk/linux-dash.git
Cloning into ' Linux-dash' ...
remote: Counting objects: 4484, done.
remote: Total 4484 (delta 0), reused 0 (delta 0), pack-reused 4484
Receiving objects: 100% (4484/4484), 4.54 MiB | 165.00 KiB/s, done.
Resolving deltas: 100% (2648/2648), done.
Next, install apache by making use of the following command.
root@linuxhelp1:~# apt-get install apache2 -y
Reading package lists... Done
Building dependency tree
Reading state information... Done
Suggested packages:
  apache2-doc apache2-suexec-pristine | apache2-suexec-custom

The following NEW packages will be installed:

.
.
Created symlink /etc/systemd/system/multi-user.target.wants/apache2.service &rarr  /lib/systemd/system/apache2.service.
Created symlink /etc/systemd/system/multi-user.target.wants/apache-htcacheclean.service &rarr  /lib/systemd/system/apache-htcacheclean.service.
Processing triggers for ureadahead (0.100.0-20) ...
Processing triggers for systemd (237-3ubuntu10) ...
Processing triggers for man-db (2.8.3-2) ...
Processing triggers for ufw (0.35-5) ...
And then move the file into the html location
root@linuxhelp1:~# mv linux-dash /var/www/
Switch the following directory
root@linuxhelp1:~# cd /var/www/
Change ownership and permission of the Linux dash directory
root@linuxhelp1:/var/www# chown -R www-data.www-data linux-dash
root@linuxhelp1:/var/www# chmod -R 775 linux-dash
Next, create a new virtual host configuration for access the Linux dash
root@linuxhelp1:/var/www# vim /etc/apache2/sites-available/linuxdash.conf
< VirtualHost *:80>
ServerName www.linuxhelp1.com
DocumentRoot /var/www/linux-dash/
< Directory /var/www/linux-dash/>
AllowOverride All
allow from all
< /Directory>
< /VirtualHost>
Then, Enable the site access for new creating virtual host configuration
root@linuxhelp1:/var/www# a2ensite linuxdash.conf
Enabling site linuxdash.
To activate the new configuration, you need to run:
  systemctl reload apache2
Now disable the default site access as follows
root@linuxhelp1:/var/www# a2dissite 000-default.conf
Site 000-default disabled.
To activate the new configuration, you need to run:
systemctl reload apache2
Next, enable rewrite module.
root@linuxhelp1:/var/www# a2enmod rewrite
Enabling module rewrite.
To activate the new configuration, you need to run:
systemctl restart apache2
Finally, restart the apache service to make the changes effect.
root@linuxhelp1:/var/www# systemctl restart apache2
Now, open a browser and type the following URL of http://local IP (or) domain name
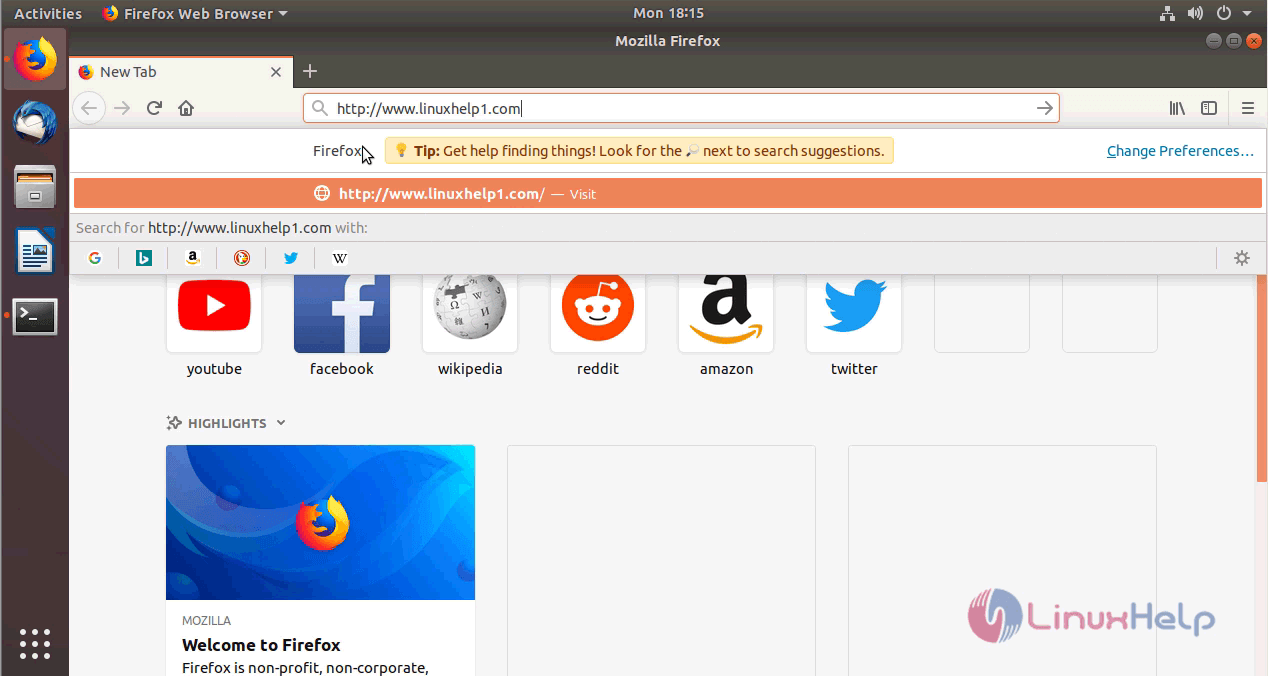
You will see the following output on your browser as shown here.
With this, the method to install Linux dash on Ubuntu 18.04 comes to an end.
Comments ( 2 )