How to install Linux Mint 18.1
How to install Linux Mint 18.1
Linux Mint 18.1 is a new upgrade from the series of Linux Mint Operating system which contains the long term support release. It comes with many updated features and the screen saver is written in Python, and contains a score of features in the OS. This tutorial will explain the installation procedure of Linux Mint 18.1.
Installation procedure
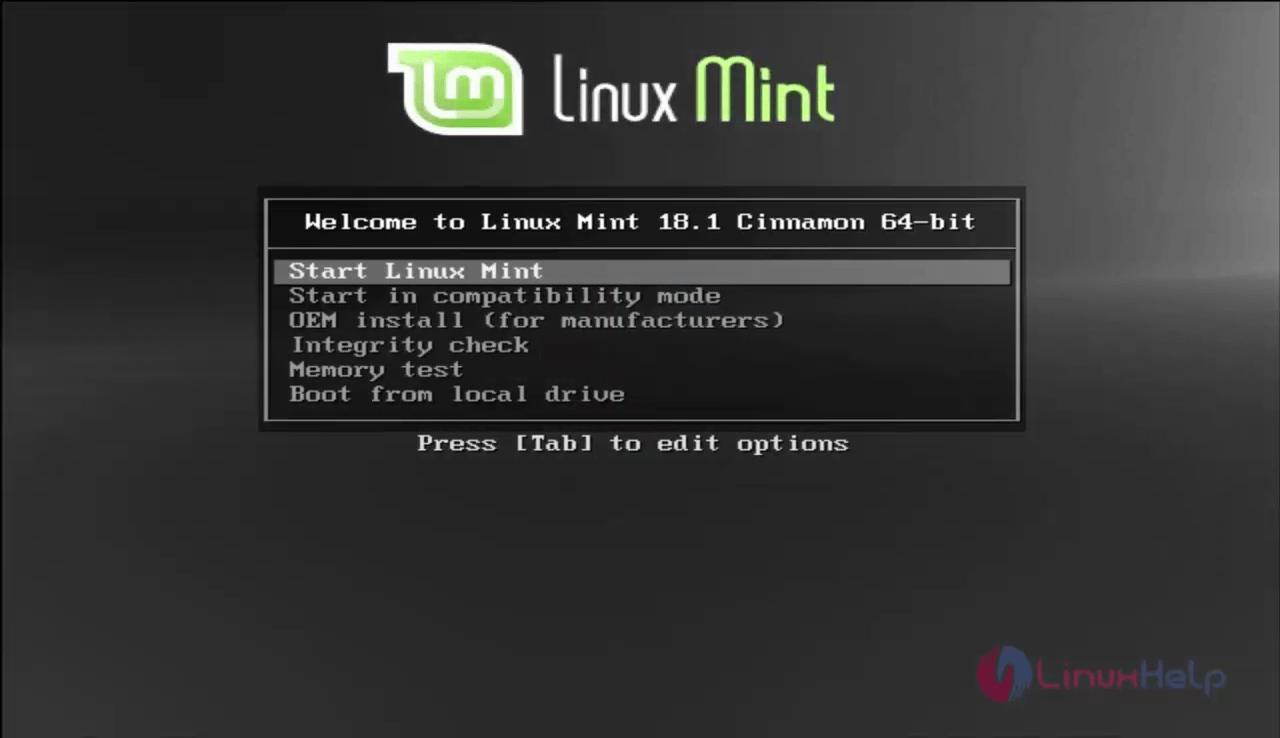
To start the installation procedure, boot into Linux Mint installation with bootable media of the user' s choice (USB or DVD). Select Start Linux Mint option.
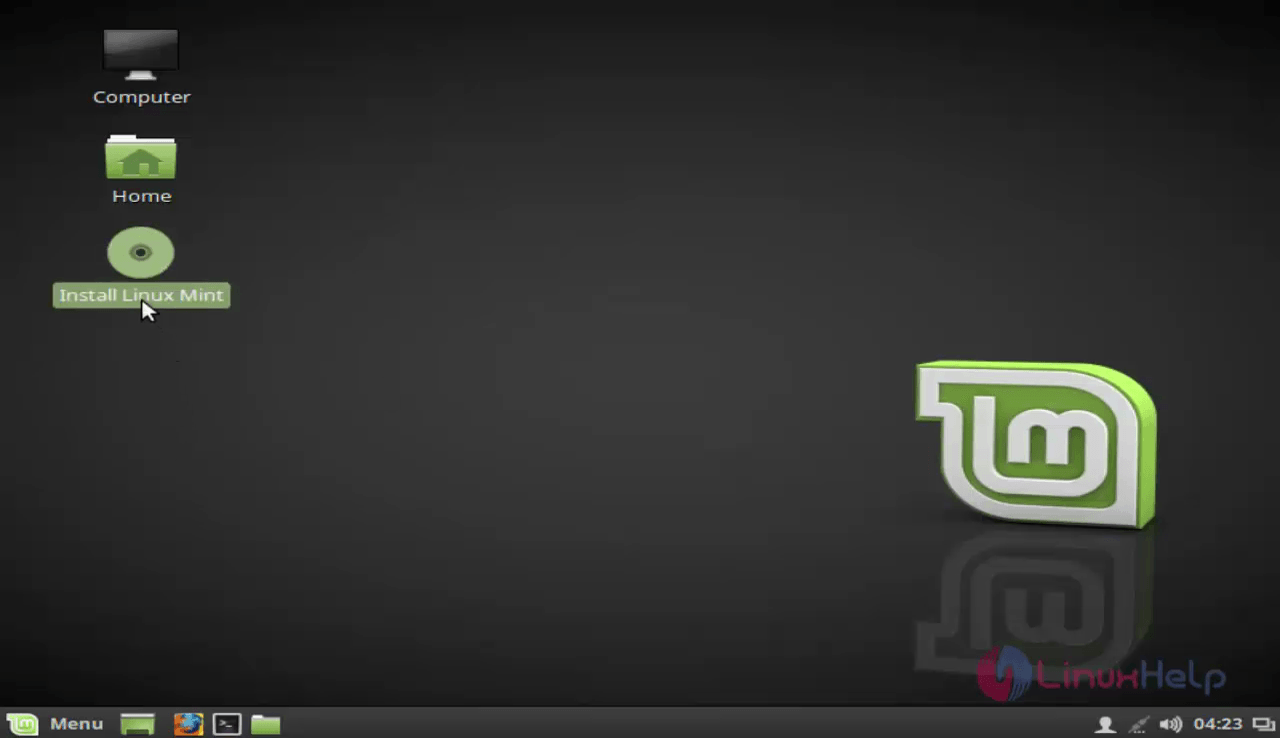
Boot into the live OS and choose Install Linux Mint option. The ISO image is downloaded.
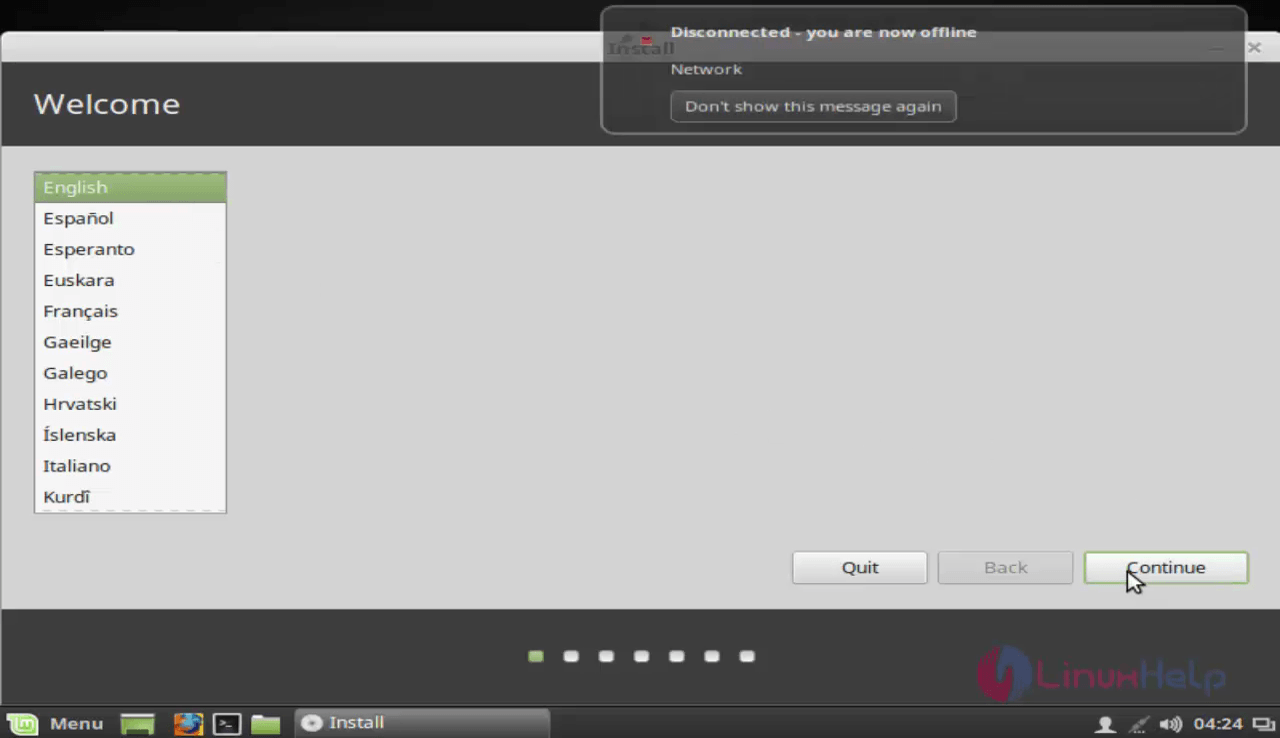
Choose the required language from the list of options.
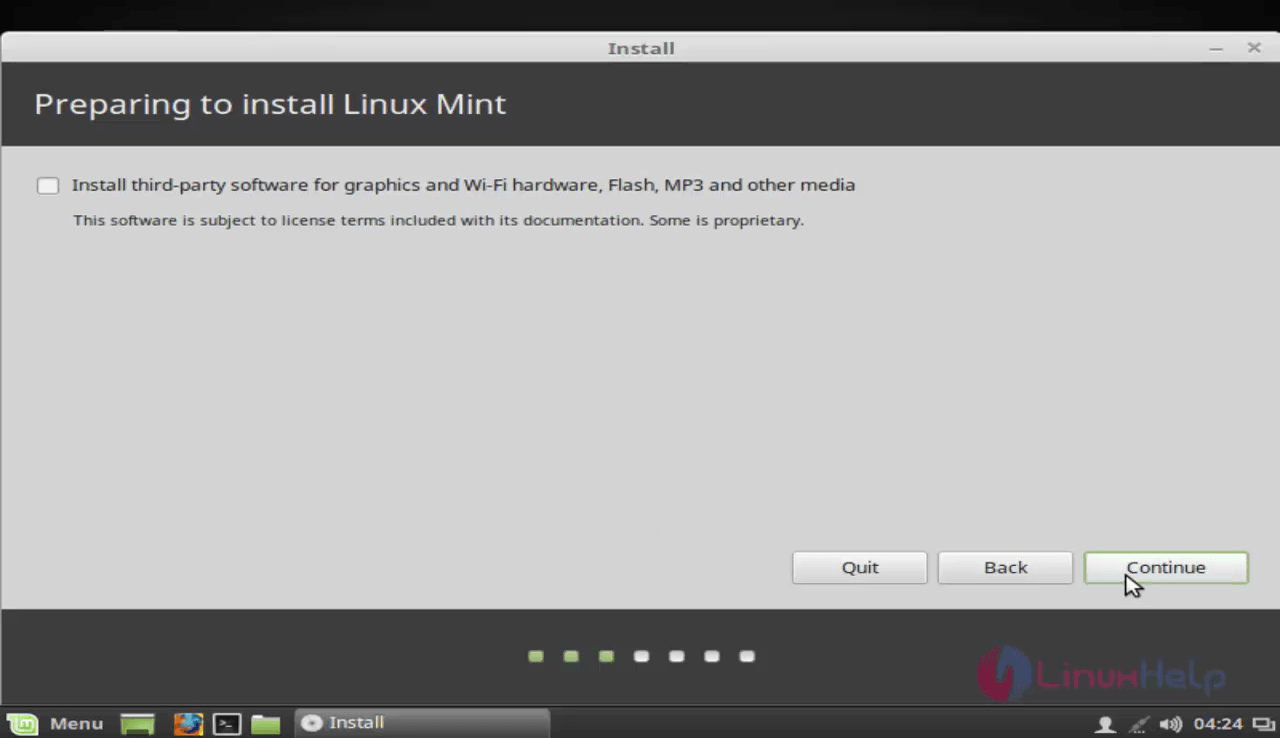
This window shows the permission to install third party software and other media.
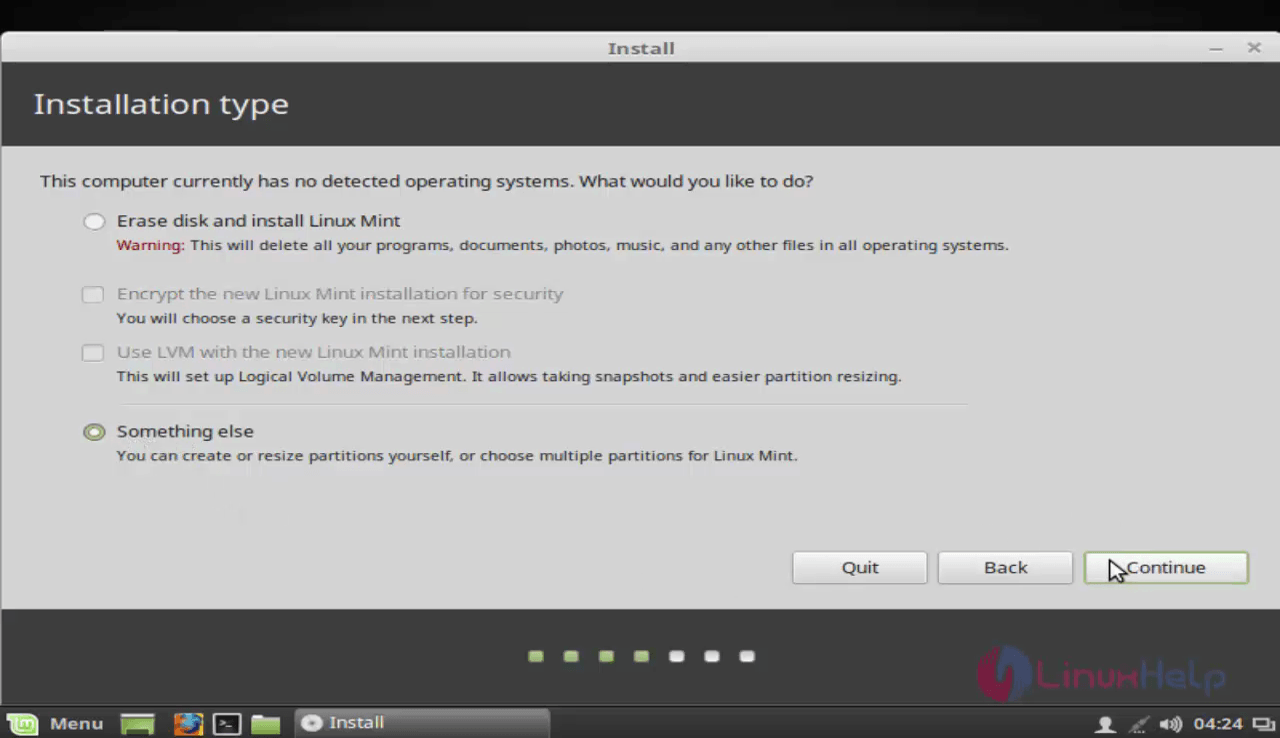
The user can manually partition the disk drives. Choose something else option if the user wants to configure the partition manually.
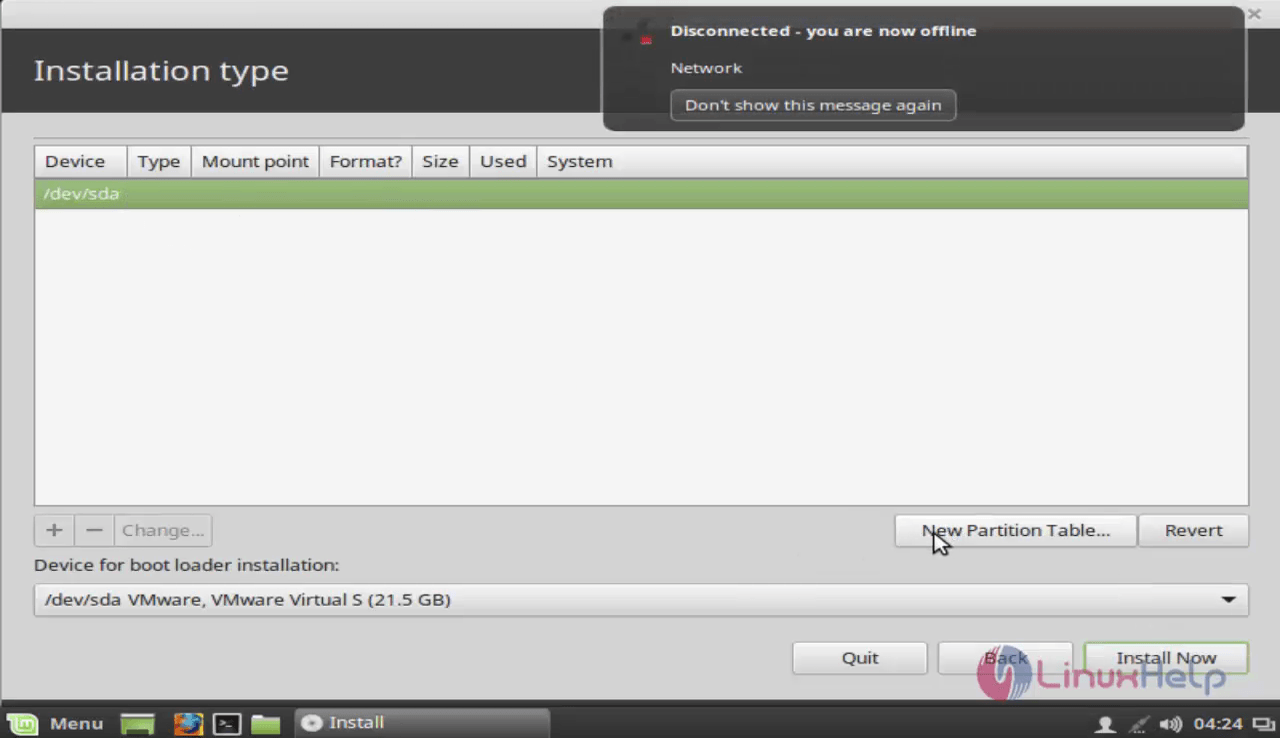
Create new partition table option to manually partition the disk drives.
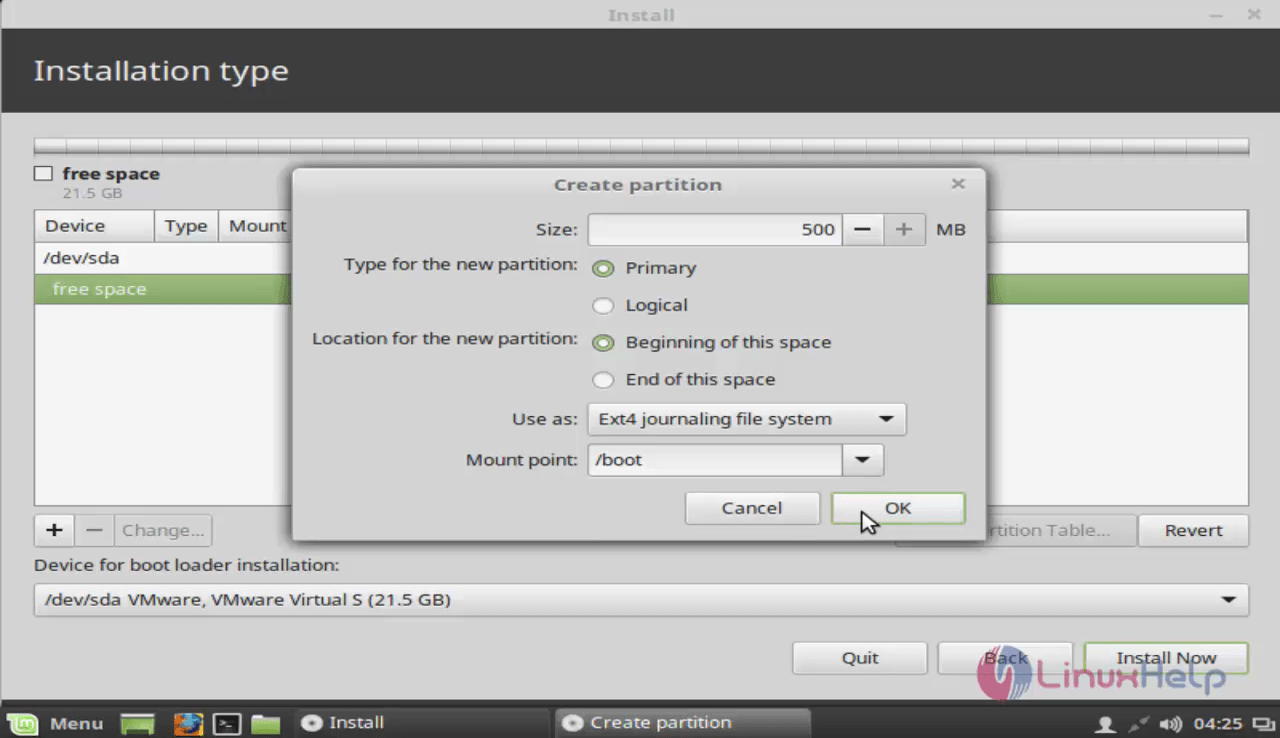
To create the partitions, there would be three partitions namely:
- Boot partition &ndash mounted on /boot
- Swap partition &ndash mounted on swap
- Root partition &ndash mounted on /
Click “ +” symbol to create those partition
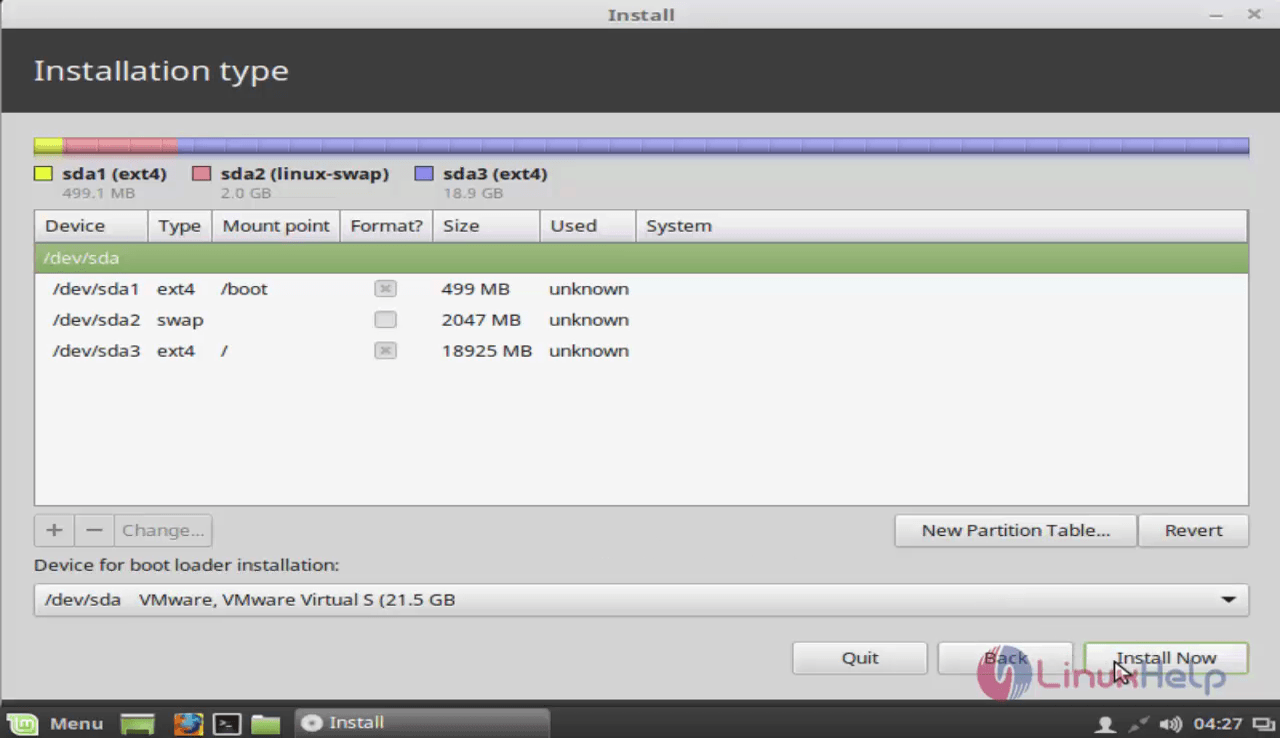
The three partitions are created successfully and then click Install now option.
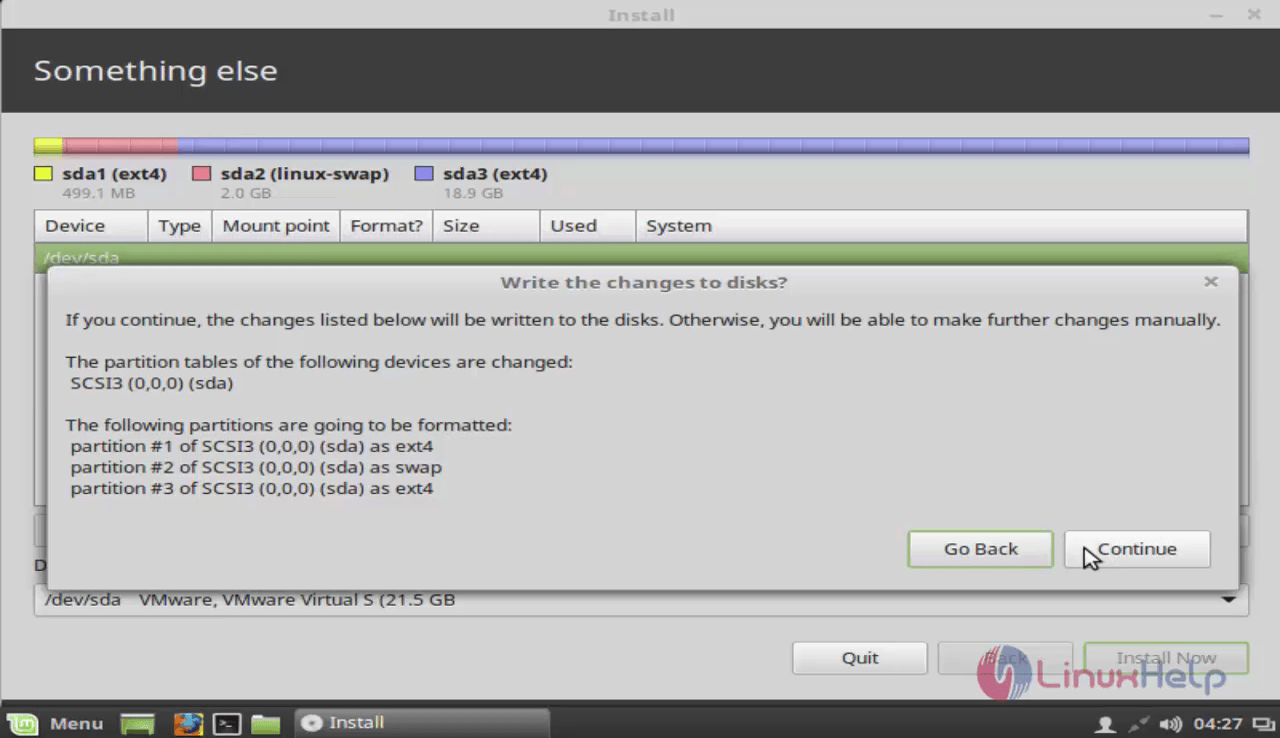
There will be a pop-up window to confirm the partition changes that will be written in the disk. click continue option to write these changes.
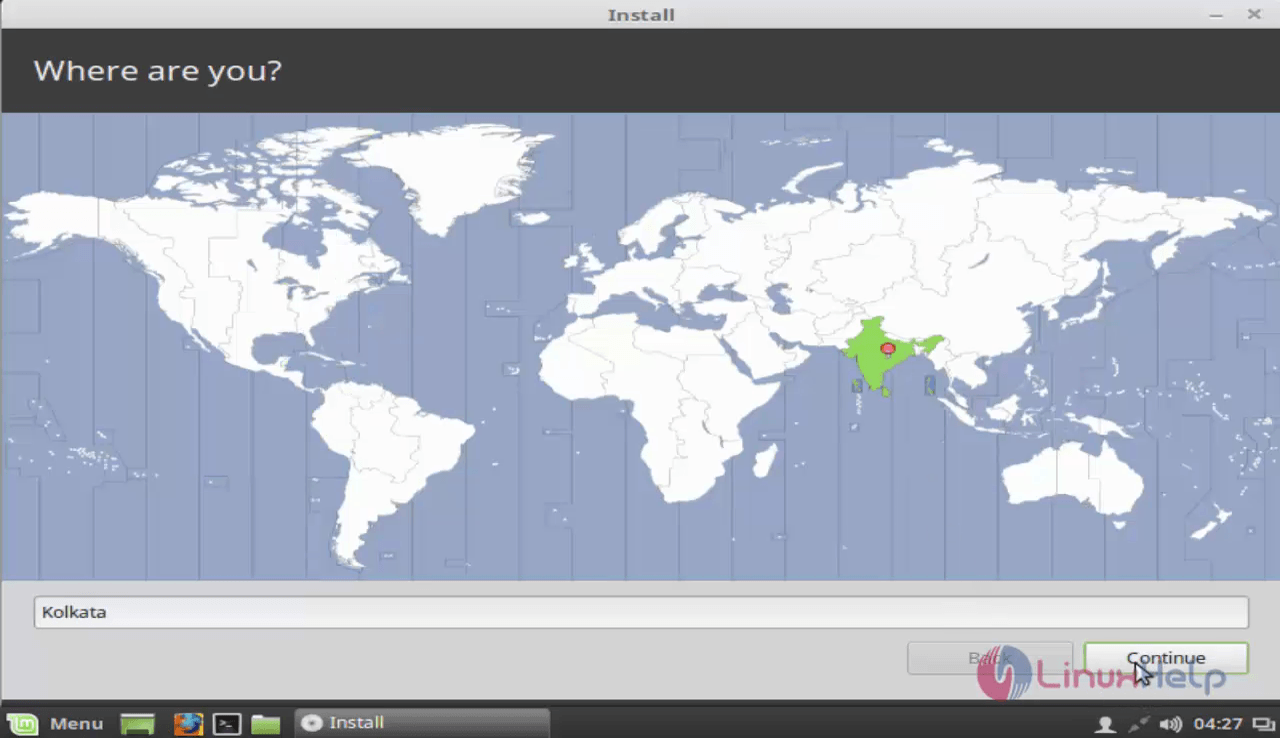
Choose the time zone where the user desires and click continue.
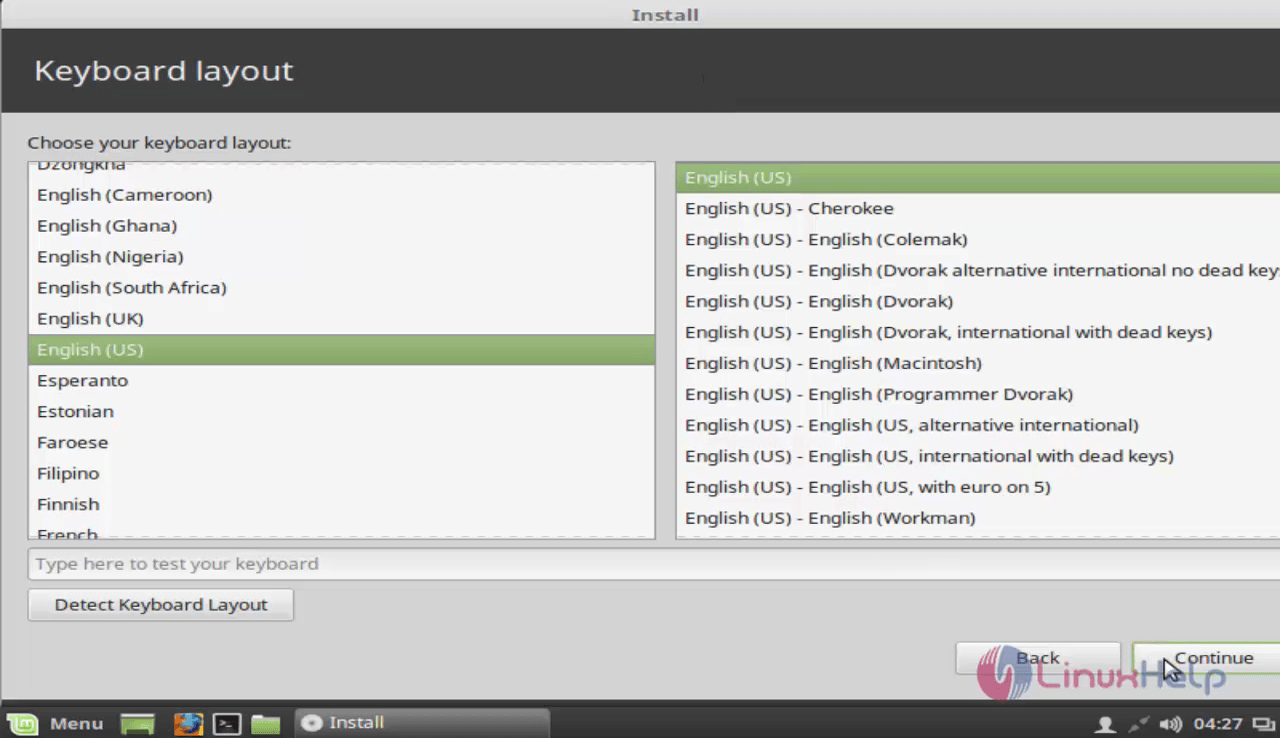
Then select the keyboard layout and click continue.
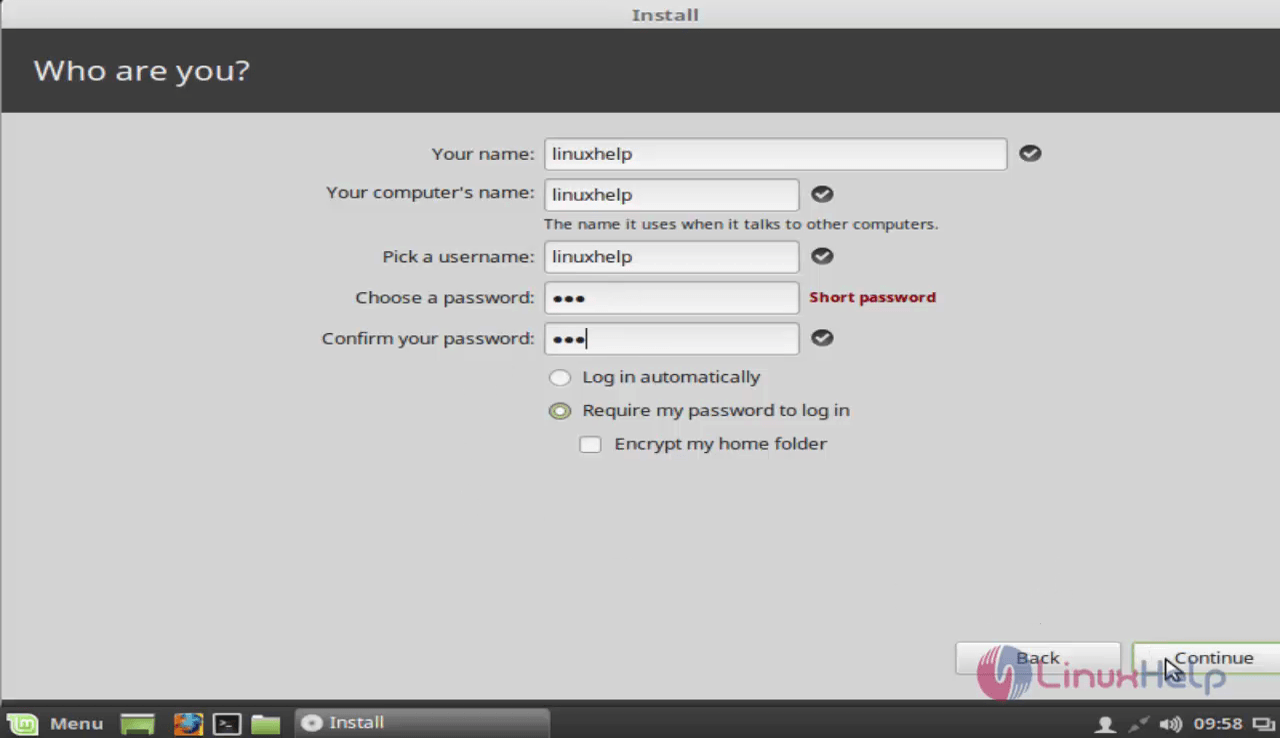
Create the user details and choose a password for the Linux Mint.
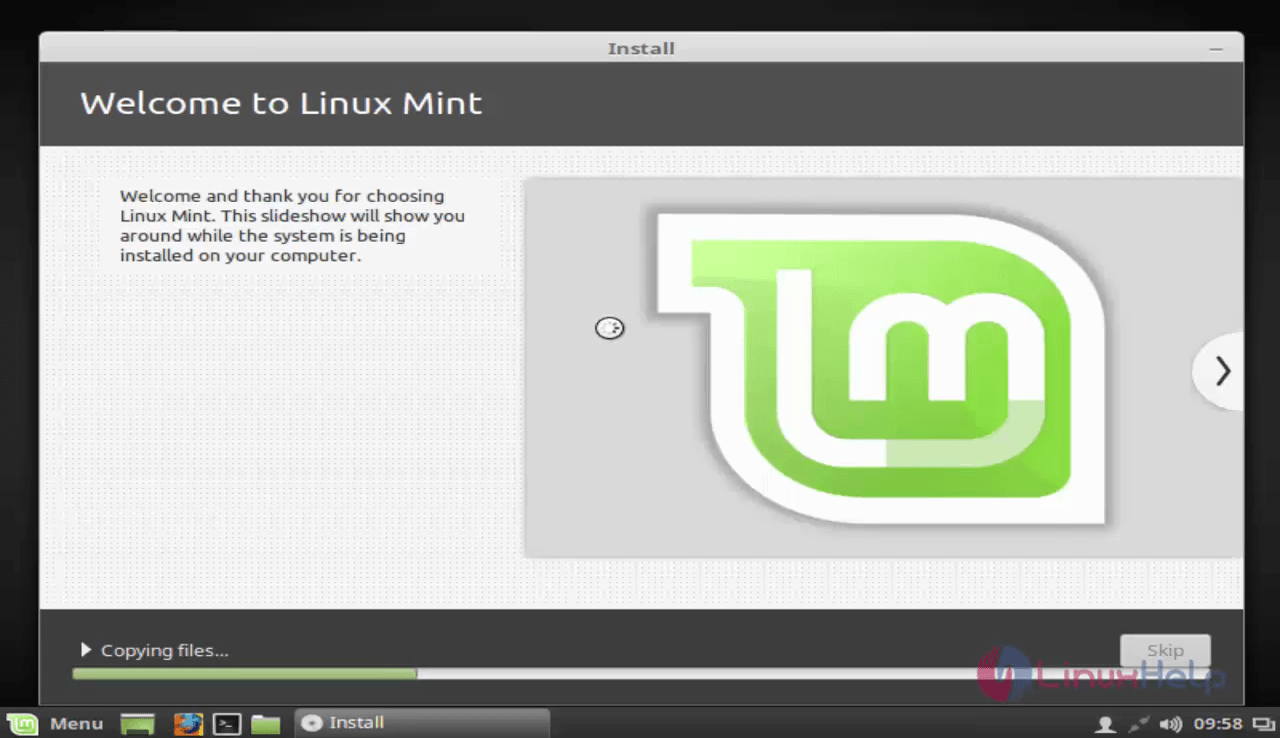
The installation is in progress and the user has to wait for some time.
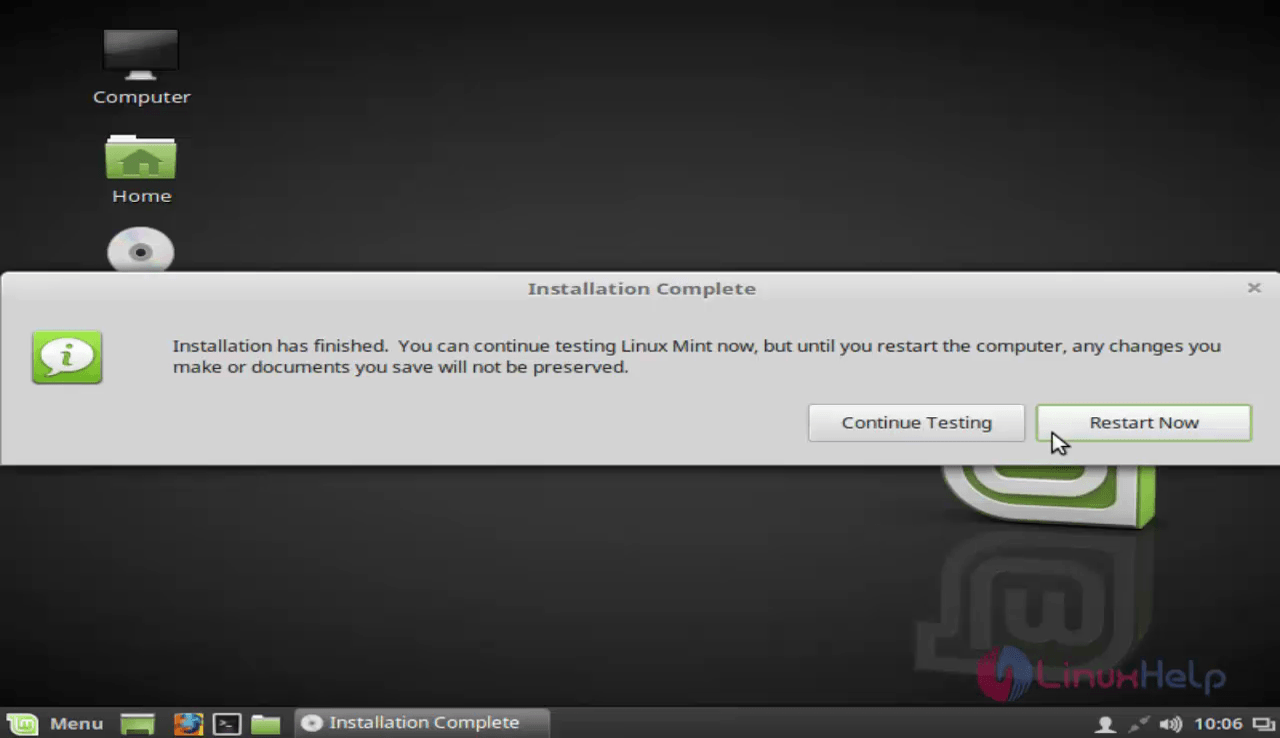
Restart once the installation is finished. Click Restart now option.
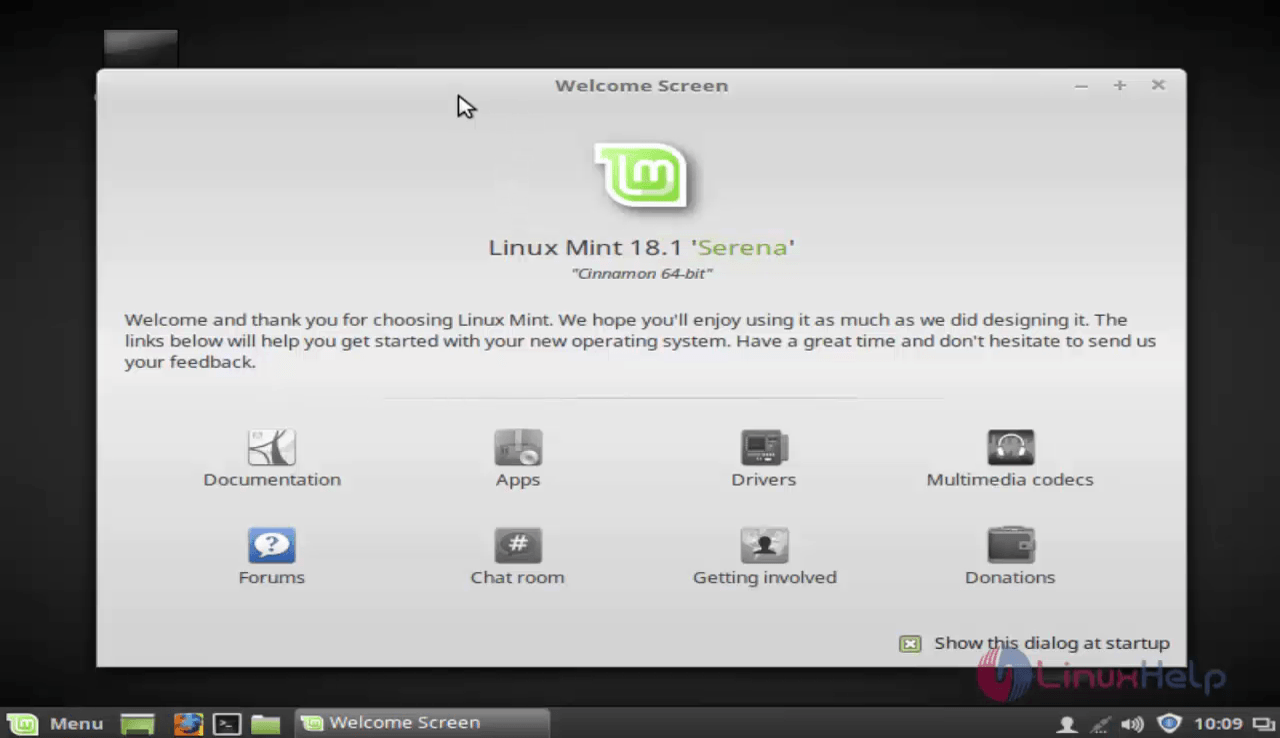
The Linux Mint 18.1 serena is ready to use.
Wasn' t that an easy installation procedure? Linux Mint contains the removal of box pointers.
Comments ( 0 )
No comments available