How To Install Lychee on CentOS 6
To Install Lychee on CentOS 6
Lychee is a free and open source photo management application which is used for uploading, managing and sharing photos. All the photos stored in Lychee is stored in a very secure manner. Lychee runs on a server and installing it takes only a few minutes. The installation of Lychee on CentOS 6 is covered in this article.
Pre-requirements
Install LAMP (apache, php, mysql-server)
In Mysql (create database, user and give privilages to user)
For php Installation
rpm -Uvh https://dl.fedoraproject.org/pub/epel/epel-release-latest-6.noarch.rpm
rpm -Uvh https://mirror.webtatic.com/yum/el6/latest.rpm
modules(php56w php56w-mbstring php56w-mcrypt php56w-mysql php56w-xml php56w-gd php56w-imap php56w-ldap php56w-odbc php-pear php56w-xmlrpc php-xml-parser)
Installing Lychee
You should enter into html location by making use of the following command.
[root@linuxhelp ~]# cd /var/www/html/
From that location, you need to download the lychee package by making use of the following command.
[root@linuxhelp html]# git clone https://github.com/electerious/Lychee.git
Initialized empty Git repository in /var/www/html/Lychee/.git/
remote: Counting objects: 10445, done.
remote: Total 10445 (delta 0), reused 0 (delta 0), pack-reused 10445
Receiving objects: 100% (10445/10445), 5.73 MiB | 341 KiB/s, done.
Resolving deltas: 100% (7137/7137), done.
And then, after the download, you need to change the ownership and permission of lychee directory. For that, you can make use of the following commands.
[root@linuxhelp html]# chown -R apache.apache Lychee/
[root@linuxhelp html]# chmod -R 775 Lychee/
Later, you need to create a new .conf file for creating a VirtualHost for Lychee. Run the following command.
[root@linuxhelp html]# vim /etc/httpd/conf.d/lychee.conf
And in that file, add the following lines.
< VirtualHost *:80>
ServerAdmin [email protected]
DocumentRoot /var/www/html/Lychee/
ServerName linuxhelp12.com
ServerAlias www.linuxhelp12.com
< Directory /var/www/html/Lychee/>
Options FollowSymLinks
AllowOverride All
Order allow,deny
allow from all
< /Directory>
ErrorLog /var/log/httpd/linuxhelp12.com-error_log
CustomLog /var/log/httpd/linuxhelp12.com-access_log common
< /VirtualHost>
Once the VirtualHost is created, you need to give the machine ip and domain name in hosts file.
[root@linuxhelp html]# vim /etc/hosts
192.168.7.240   linuxhelp12.com
And then, you need to restart the Apache service with the help of the following command.
[root@linuxhelp html]# service httpd restart
Stopping httpd:                                            [  OK  ]
Starting  httpd:                                            [  OK  ]
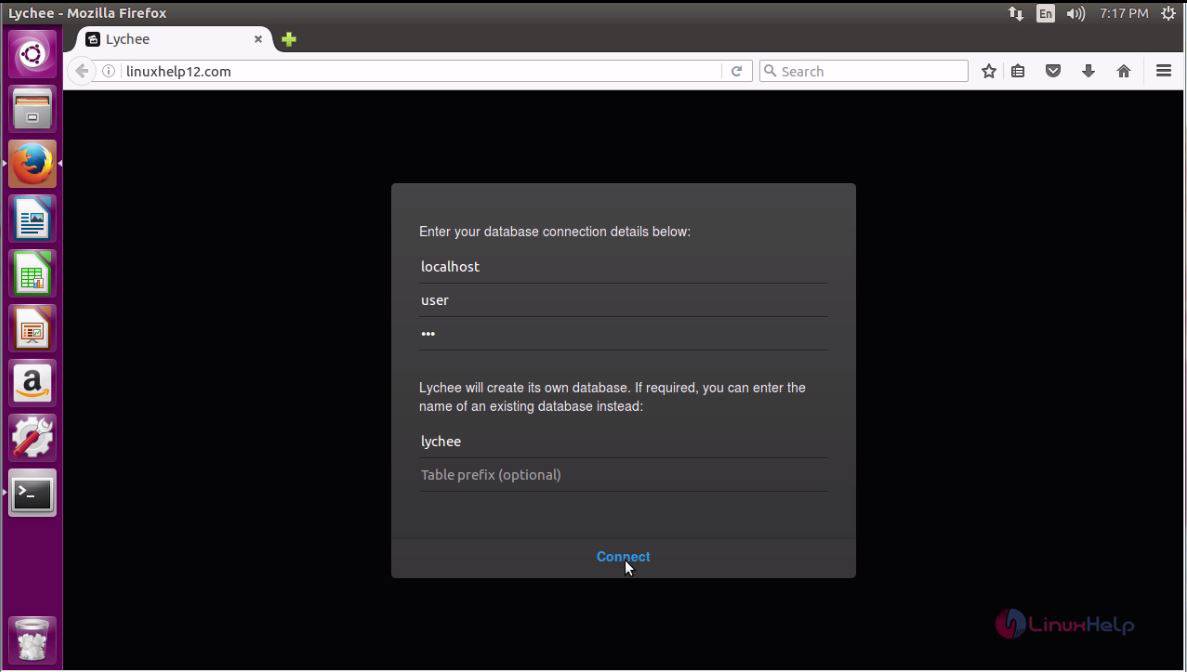
We shall now proceed with the installation process via a browser. Open a browser and give http://yourdomain as URL. The installer of Lychee appears on your screen. Fill the database details and click save.
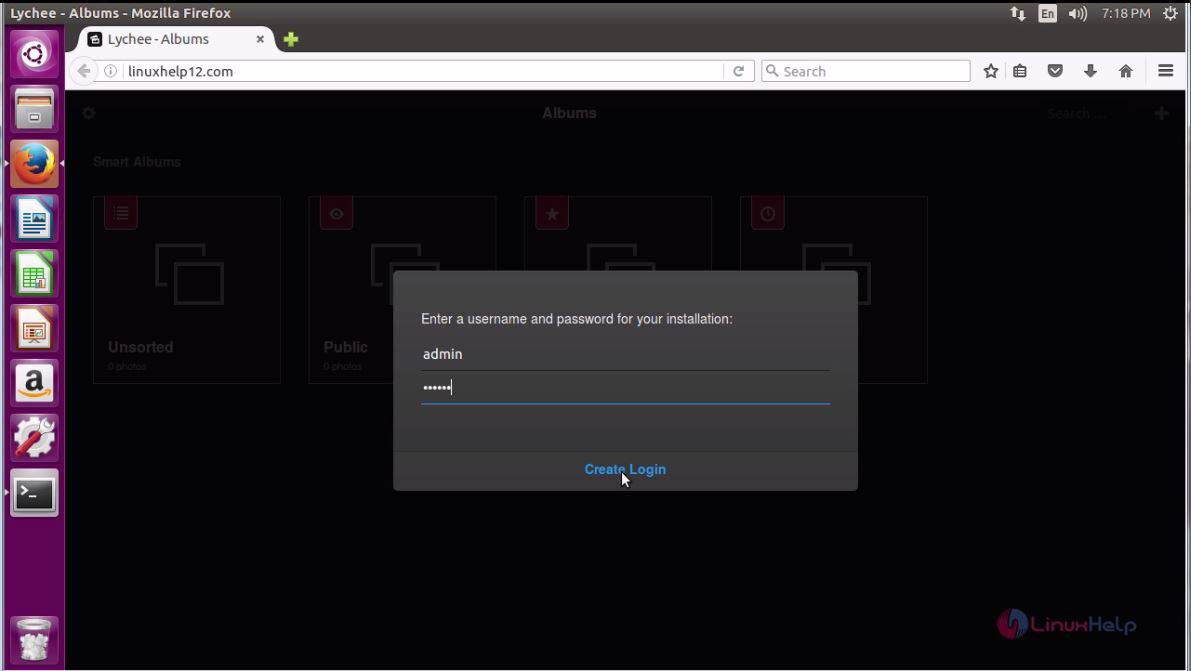
In the next page, you should fill all details to create an account.
Once you log in, you will be taken to the Home Page in which all the Albums are displayed.
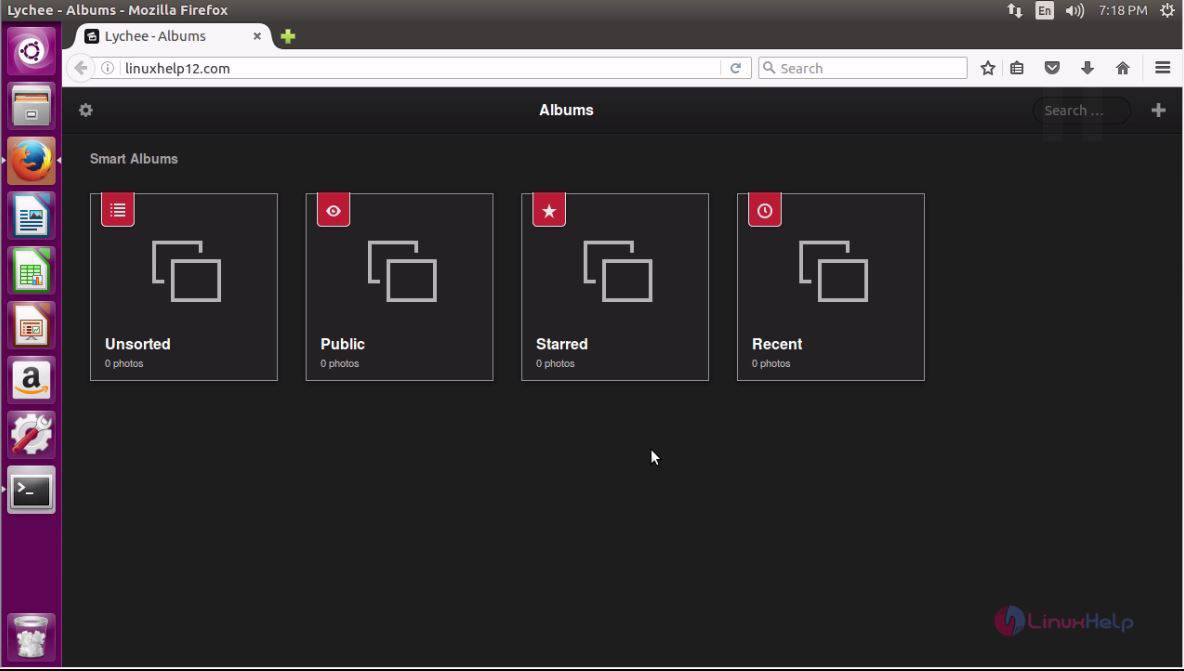
With this, the installation of Lychee comes to an end.
Comments ( 0 )
No comments available