How to install Meld tool in Ubuntu
How to install Meld tool in Ubuntu
Meld is a visual diff and merge tool which was created for the developers. It is used for comparing files, directories, and version controlled projects. It supports two-way and three-way comparison of both files and directories. It also has support for many popular version control systems. Meld helps you review code changes and understand patches. It has Auto-merge mode and actions on change blocks which helps to make merges easier. The installation of Meld tool in Ubuntu is covered in this article.
To install Meld
The installation of Meld requires prior installation of GIt. Use the following command for the same purpose.
root@linuxhelp:~# apt-get install git
Reading package lists... Done
Building dependency tree
Reading state information... Done
&hellip
&hellip
&hellip
Setting up liberror-perl (0.17-1.1) ...
Setting up git-man (1:2.5.0-1ubuntu0.2) ...
Setting up git (1:2.5.0-1ubuntu0.2) ...
Once Git is installed, clone the Meld source from Git as follows.
root@linuxhelp:~# git clone https://git.gnome.org/browse/meld
Cloning into ' meld' ...
remote: Counting objects: 19449, done.
remote: Compressing objects: 100% (8380/8380), done.
remote: Total 19449 (delta 14419), reused 14671 (delta 10898)
Receiving objects: 100% (19449/19449), 5.87 MiB | 103.00 KiB/s, done.
Resolving deltas: 100% (14419/14419), done.
Checking connectivity... done.
root@linuxhelp:~# cd meld/
Now, all you need to do is to create a soft link for Meld
root@linuxhelp:~/meld# ln -s ~/meld/bin/meld /usr/bin/meld
Launch Meld by running the following command.
root@linuxhelp:~/meld# meld
Meld Window looks as follows.
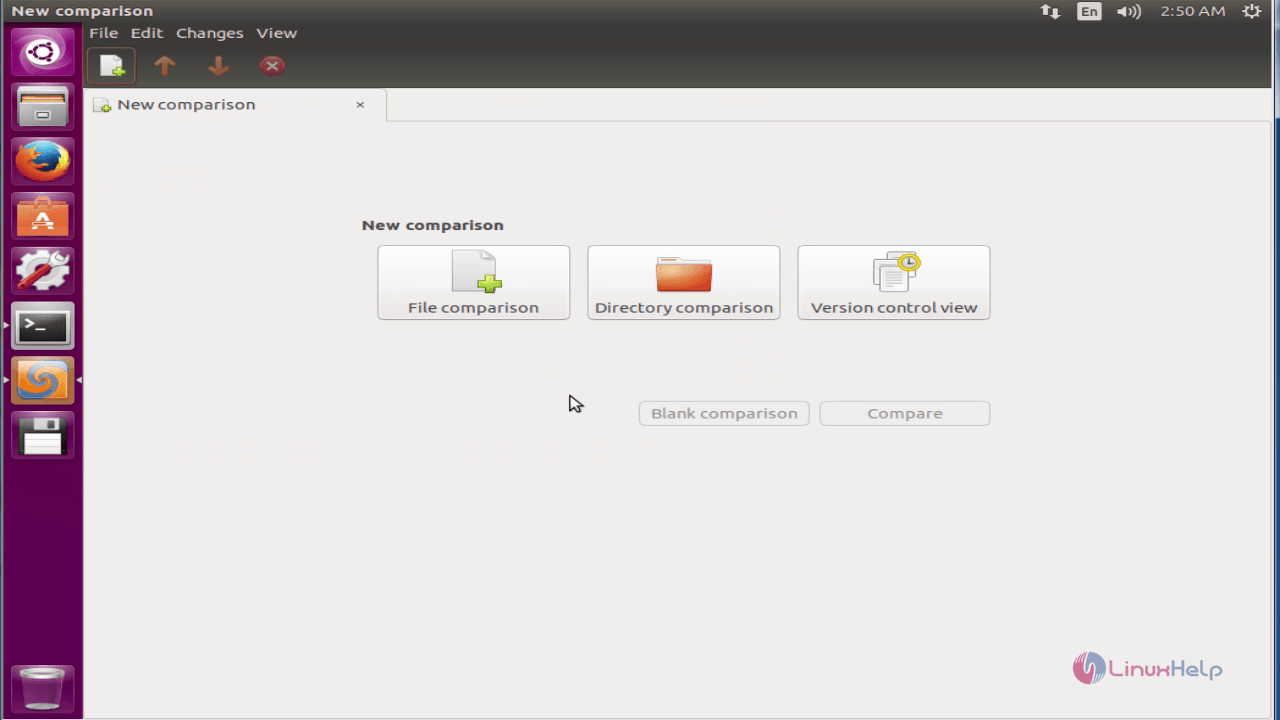
You can do file comparison on Meld.
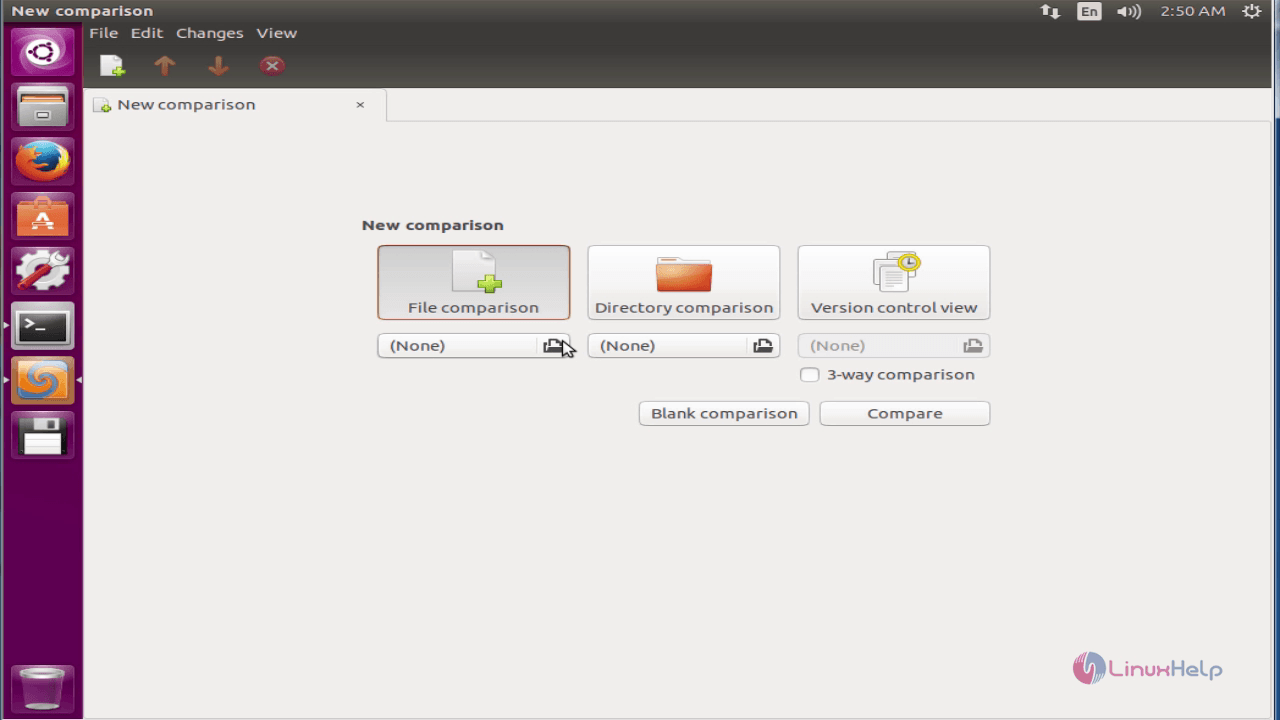
3-way comparison can also be done through Meld.

Comments ( 1 )