How to Install phpMyAdmin in LinuxMint 18.3
To Install phpMyAdmin in LinuxMint 18.3
The PostgreSQL Development Team has announced the latest version PostgreSQL 10. PostgreSQL is an open source object-relational database system. It is one of leading database server used for production servers. PostgreSQL allows us to execute stored procedures in various programming languages, like C/C++, Python, Java, Perl, Ruby and its own PL/pgSQL, which is similar to Oracle’ s PL/SQL. It is so simple to install phpMyAdmin in LinuxMint 18.3 and this tutorial covers the ground on the same process.
Installing phpMyAdmin
First, we must have a LAMP setup to install phpMyAdmin so Run the following command to install LAMP server.
linuxhelp ~ # apt-get install lamp-server^
Reading package lists... Done
Building dependency tree
Reading state information... Done
Note, selecting ' libhttp-message-perl'  for task ' lamp-server'
Note, selecting ' libencode-locale-perl'  for task ' lamp-server'
Note, selecting ' php7.0-cli'  for task ' lamp-server'
Note, selecting ' mysql-client-5.7'  for task ' lamp-server'
Note, selecting ' libapache2-mod-php'  for task ' lamp-server'
Note, selecting ' rename'  for task ' lamp-server'
Note, selecting ' mysql-server-5.7'  for task ' lamp-server'
.
.
Creating config file /etc/php/7.0/mods-available/pdo_mysql.ini with new version
Setting up php-mysql (1:7.0+35ubuntu6.1) ...
Processing triggers for libc-bin (2.23-0ubuntu9) ...
Processing triggers for systemd (229-4ubuntu21) ...
Processing triggers for ureadahead (0.100.0-19) ...
Processing triggers for ufw (0.35-0ubuntu2) ...
Processing triggers for libapache2-mod-php7.0 (7.0.25-0ubuntu0.16.04.1) ...
Now, apache2 php MySQL-server has been set up on our server. After installing LAMP stack on your system, let’ s install phpMyAdmin using the following command.
linuxhelp ~ # apt-get install phpmyadmin
Reading package lists... Done
Building dependency tree
Reading state information... Done
The following additional packages will be installed:
 dbconfig-common dbconfig-mysql libjs-jquery libjs-sphinxdoc libjs-underscore php-gettext php-mbstring php-pear php-phpseclib php-xml
  php7.0-mbstring php7.0-xml
Suggested packages:
.
.
Creating config file /etc/phpmyadmin/config-db.php with new version
granting access to databasephpmyadmin for phpmyadmin@localhost: success.
verifying access for phpmyadmin@localhost: success.
creating databasephpmyadmin: success.
verifying databasephpmyadmin exists: success.
populating database viasql...  done.
dbconfig-common: flushing administrative password
Processing triggers for libapache2-mod-php7.0 (7.0.25-0ubuntu0.16.04.1) ...
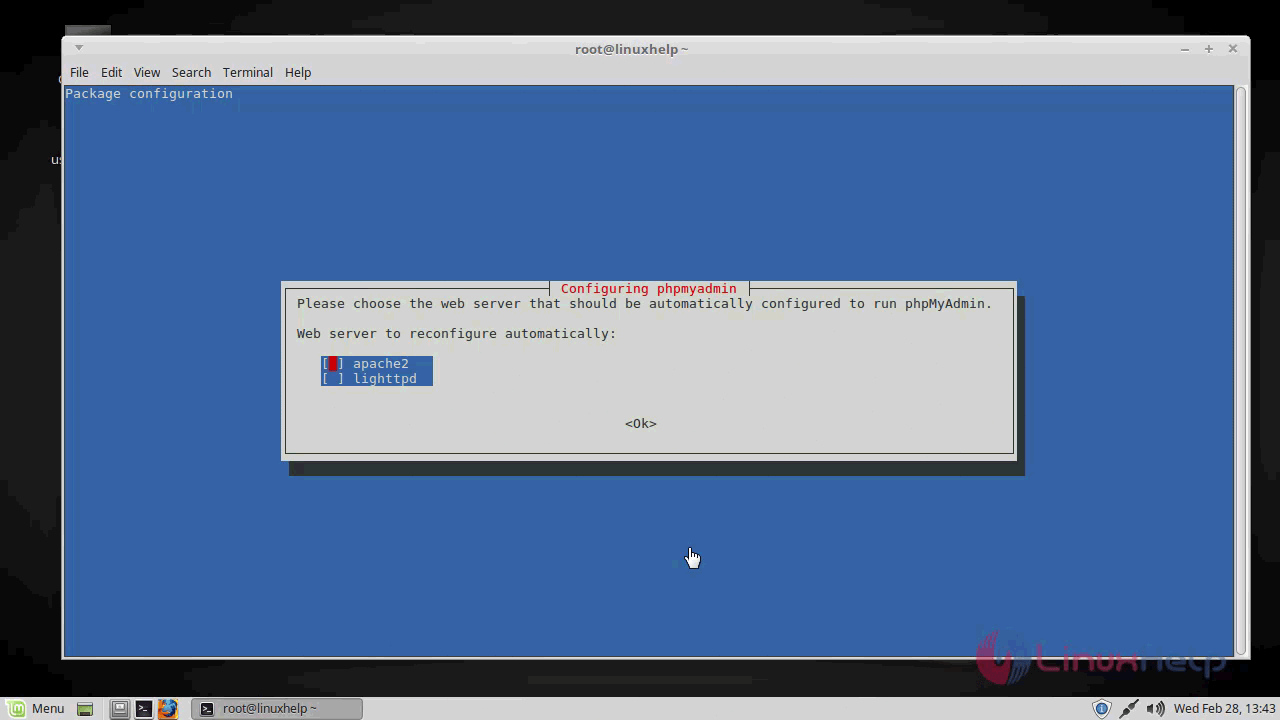
During installation it will prompt for selecting web server, you have installed on your system. Select appropriate web server you used.
Next, we have to Configure Apache 2 for PhpMyAdmin. After installation of phpMyAdmin it creates a configuration file /etc/phpmyadmin/apache.conf for Apache2. Also, make a soft link to this file /etc/apache2/conf-available/phpmyadmin.conf and enabled it. In case this Apache2 conf file is not created, do it manually with following commands.
linuxhelp ~ # ln -s /etc/phpmyadmin/apache.conf /etc/apache2/conf-available/phpmyadmin.conf
linuxhelp ~ # a2enconf phpmyadmin
Enabling conf phpmyadmin.
To activate the new configuration, you need to run:
  service apache2 reload
After updating an entry, restart Apache2 service using the following command.
linuxhelp ~ # service apache2 restart
The installation has been completed successfully now Access PhpMyAdmin. Open the Browser and navigate the URl http://ip-address/phpmyadmin.
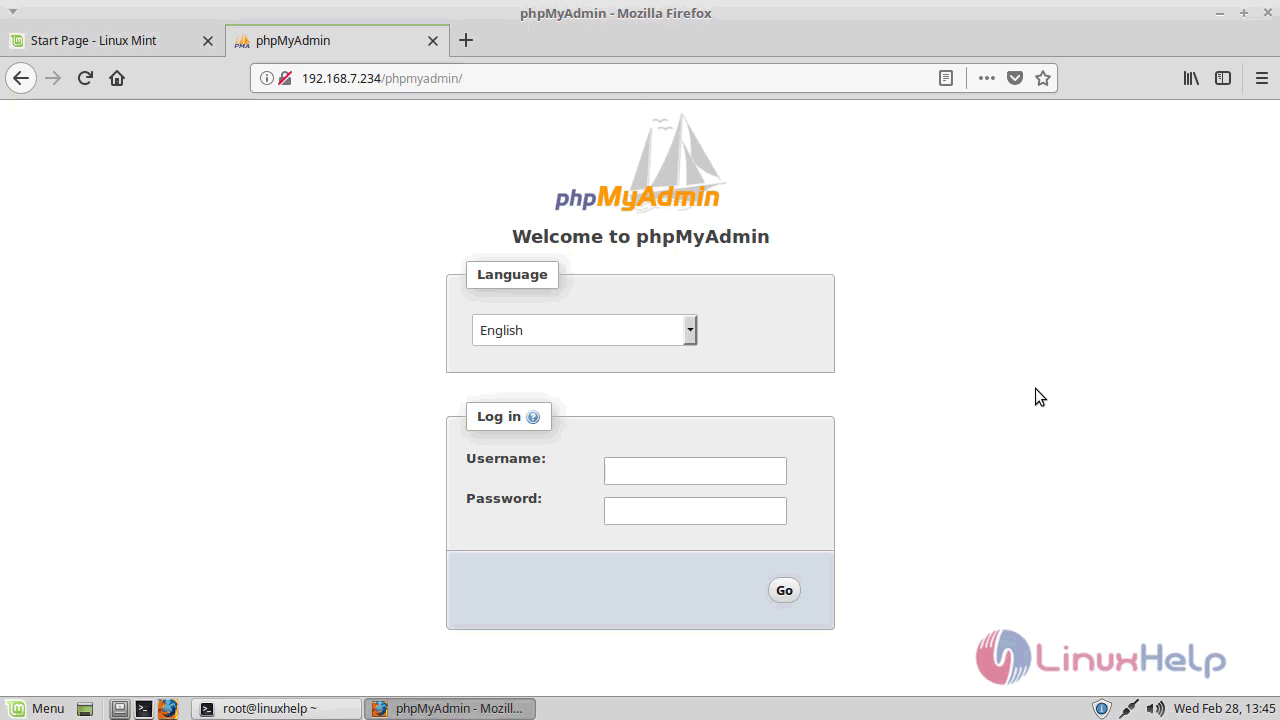
Log in using the root password which was created while installation.
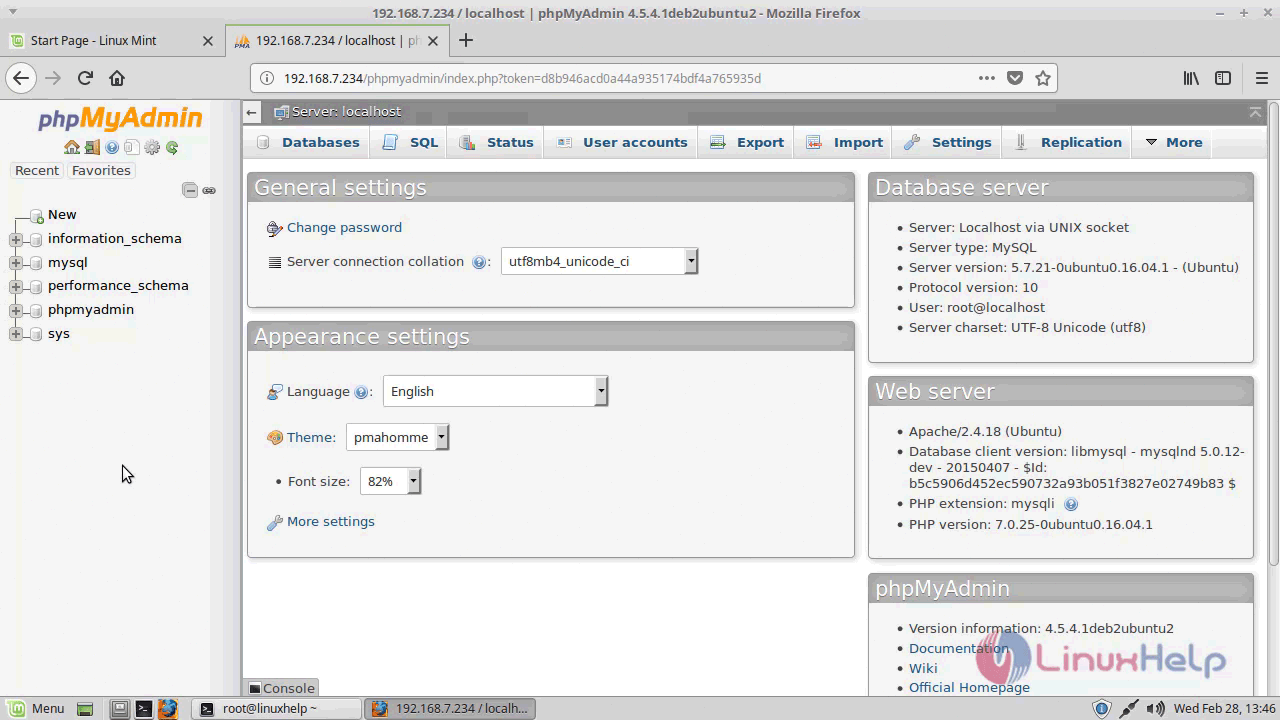
Using single phpMyAdmin we can manage multiple MySQL servers by adding multiple remote MySQL Server. With this, the method to Install phpMyAdmin in Linux Mint 18.3 comes to an end.
Comments ( 0 )
No comments available