How to install ScreenCloud in Ubuntu 16.04
To install ScreenCloud in Ubuntu 16.04
ScreenCloud is a cross-platform, open-source screenshot sharing application which has a cross-platform client and a sharing website. It supports uploading to other online services like Dropbox, Imgur, etc. using plugins. It can capture desktop or any active window, automatically upload screenshot, copy screenshot link to clipboard, customizable shortcut keys and choices of saving the output image to JPG or PNG format. This tutorial covers the installation procedure of ScreenCloud on Ubuntu 16.04.
Installation procedure
To proceed with the installation procedure, add the required repository by executing the following command.
root@example:/home/user1/Desktop# sh -c " echo ' deb http://download.opensuse.org/repositories/home:/olav-st/xUbuntu_16.04/ /' > > /etc/apt/sources.list.d/screencloud.list"
Next download the repository key of the ScreenCloud by running the wget command followed by the download link.
root@example:/home/user1/Desktop# wget http://download.opensuse.org/repositories/home:olav-st/xUbuntu_16.04/Release.key
--2017-10-08 06:18:48--  http://download.opensuse.org/repositories/home:olav-st/xUbuntu_16.04/Release.key
Resolving download.opensuse.org (download.opensuse.org)... 195.135.221.134, 2001:67c:2178:8::13
Connecting to download.opensuse.org (download.opensuse.org)|195.135.221.134|:80... connected.
HTTP request sent, awaiting response... 301 Moved Permanently
Location: http://download.opensuse.org/repositories/home:/olav-st/xUbuntu_16.04/Release.key [following]
--2017-10-08 06:18:49--  http://download.opensuse.org/repositories/home:/olav-st/xUbuntu_16.04/Release.key
Reusing existing connection to download.opensuse.org:80.
HTTP request sent, awaiting response... 200 OK
Length: 1093 (1.1K) [application/pgp-keys]
Saving to: ‘ Release.key’
Release.key                100%[======================================> ]   1.07K  --.-KB/s    in 0s
2017-10-08 06:18:49 (97.0 MB/s) - ‘ Release.key’  saved [1093/1093]
Now add the repository key to the target system.
root@example:/home/user1/Desktop# apt-key add Release.key
OK
Update the local repository index using apt-get update command.
root@example:/home/user1/Desktop# apt-get update
Hit:1 http://in.archive.ubuntu.com/ubuntu xenial InRelease
Ign:2 http://download.opensuse.org/repositories/home:/olav-st/xUbuntu_16.04  InRelease
Hit:3 http://in.archive.ubuntu.com/ubuntu xenial-updates InRelease
Hit:4 http://security.ubuntu.com/ubuntu xenial-security InRelease
Get:5 http://download.opensuse.org/repositories/home:/olav-st/xUbuntu_16.04  Release [998 B]
Hit:6 http://in.archive.ubuntu.com/ubuntu xenial-backports InRelease
Get:7 http://download.opensuse.org/repositories/home:/olav-st/xUbuntu_16.04  Release.gpg [481 B]
Get:8 http://download.opensuse.org/repositories/home:/olav-st/xUbuntu_16.04  Packages [2,859 B]
Fetched 4,338 B in 1s (3,823 B/s)
Reading package lists... Done
Now install ScreenCloud to the target system by executing the following command.
root@example:/home/user1/Desktop# apt-get install screencloud
Reading package lists... Done
Building dependency tree
Reading state information... Done
&hellip
&hellip
&hellip
Setting up python-crypto (2.6.1-6ubuntu0.16.04.2) ...
Setting up screencloud (1.3.0-1qt5) ...
Processing triggers for libc-bin (2.23-0ubuntu3) ...
The ScreenCloud application has been installed successfully in the target system. To open ScreenCloud application, run the following command in the terminal.
root@example:/home/user1/Desktop# screencloud
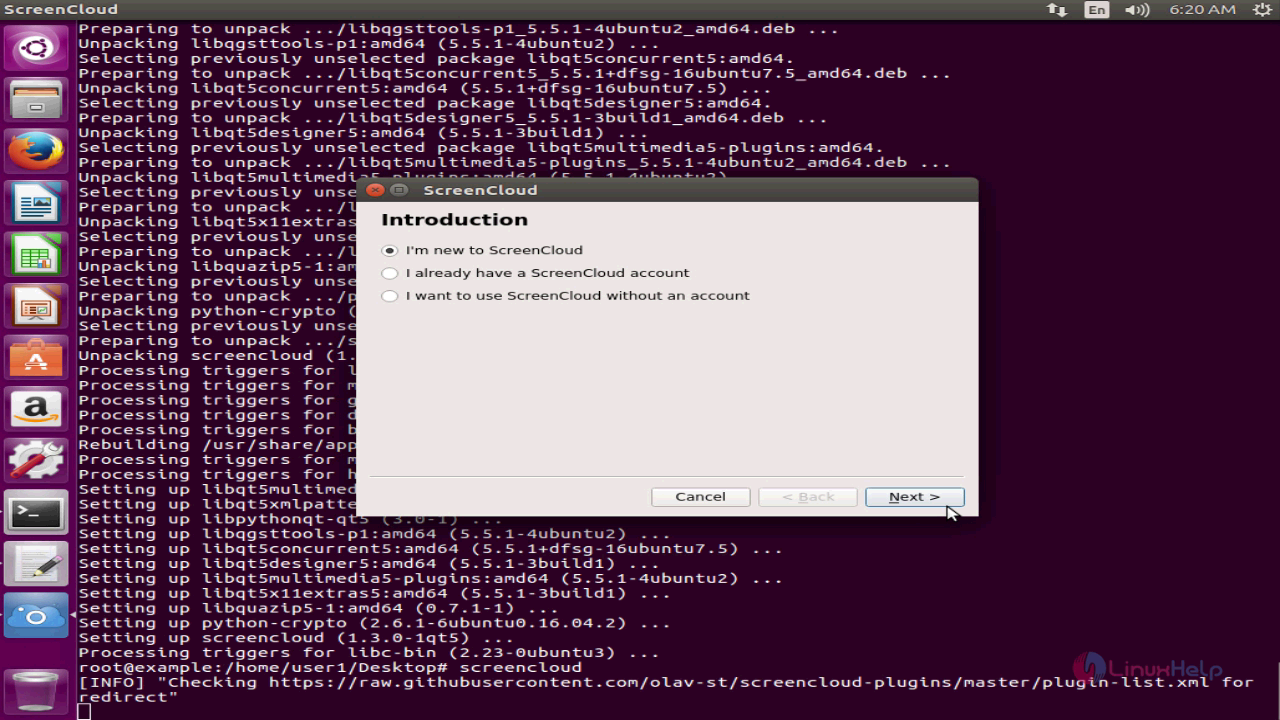
The application is running in the system. The window shows the ScreenCloud' s basic setup. Select ' I' m new to ScreenCloud ' and click next.
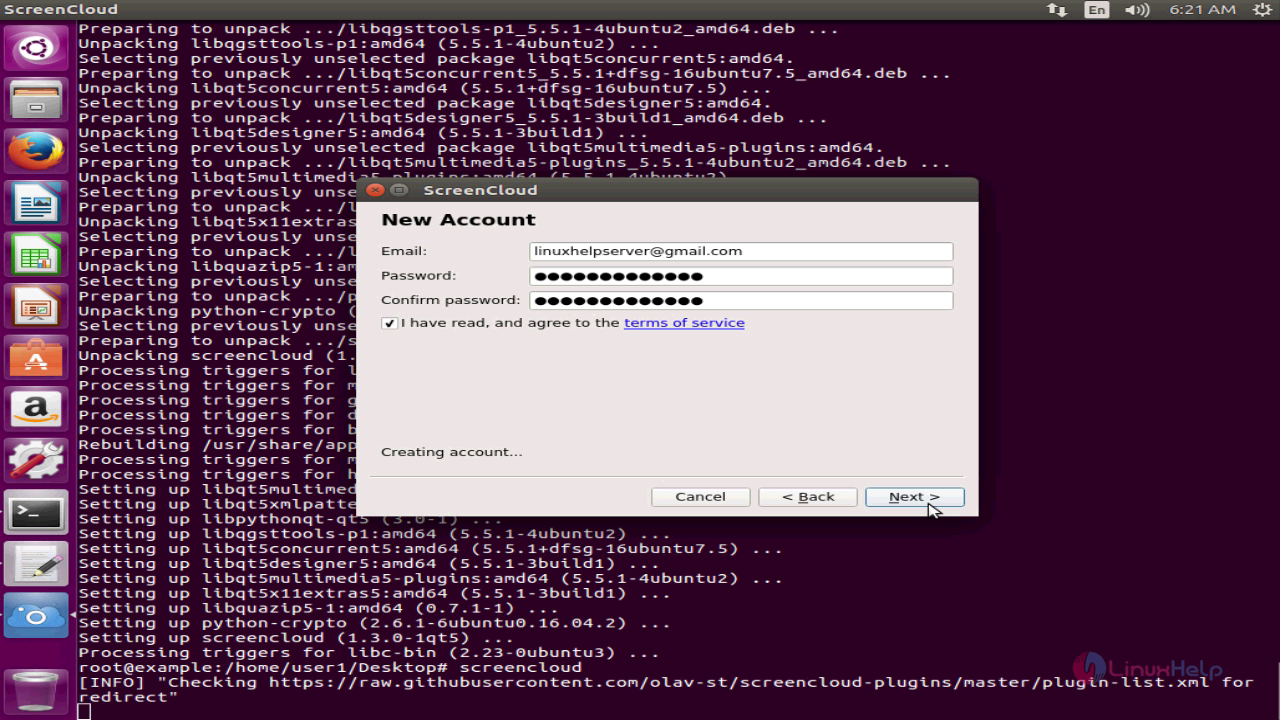
Enter the e-mail information along with password and agree to the terms and conditions of the software and click next.
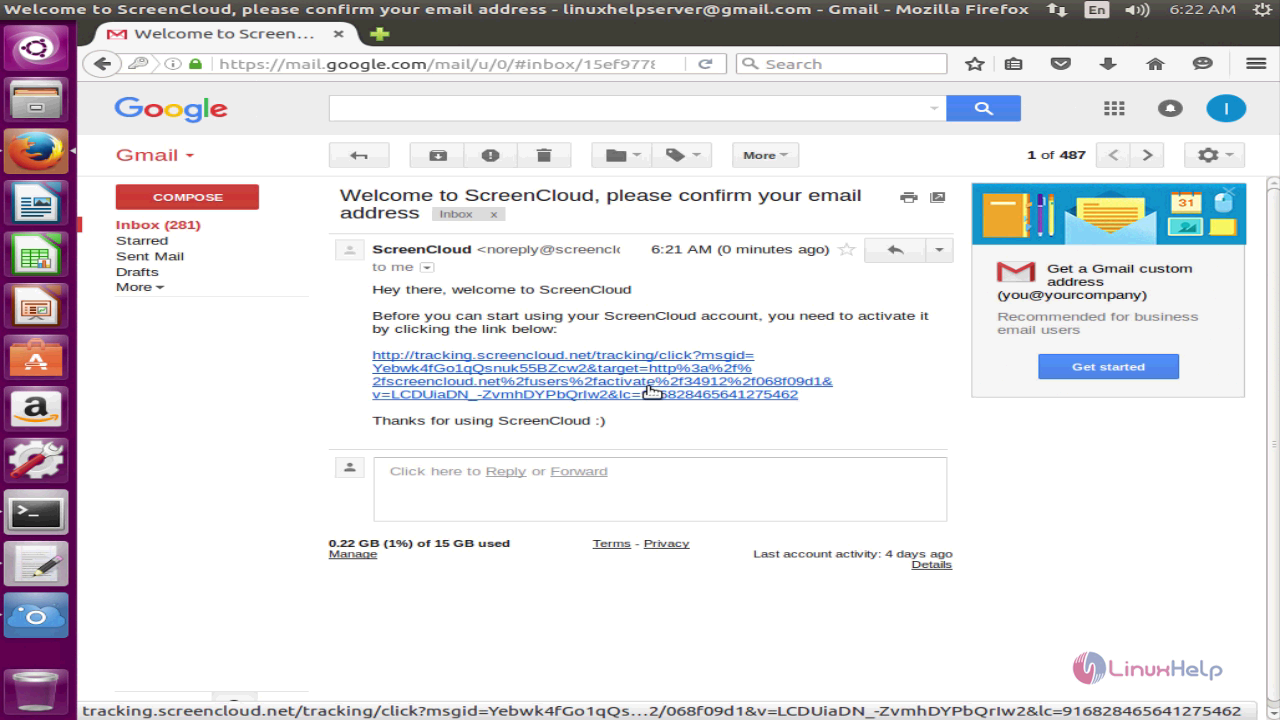
Next activate the created account through the given email and click on the link given in the mail. The account for ScreenCloud has been confirmed.
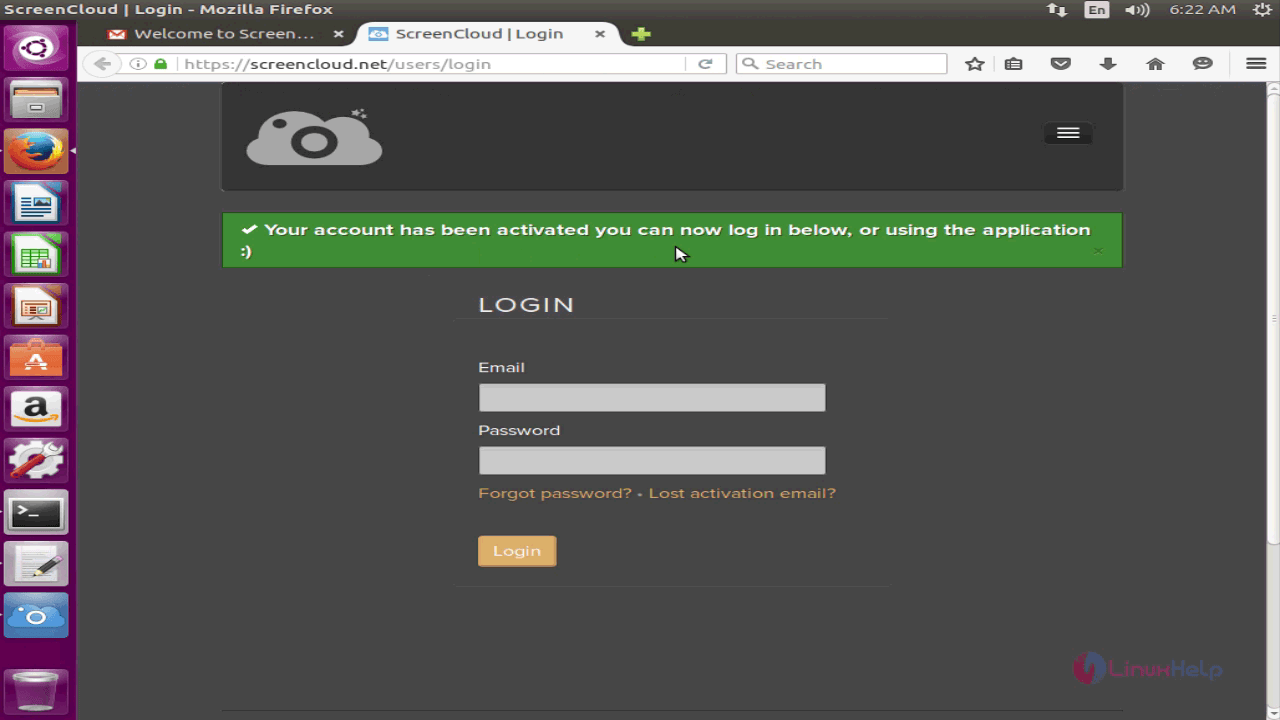
The account has been activated successfully. Enter the email and password to login to ScreenCloud.
Now you can add your online services to the ScreenCloud such as Dropbox, Imgur, FTP and SFTP and click next.

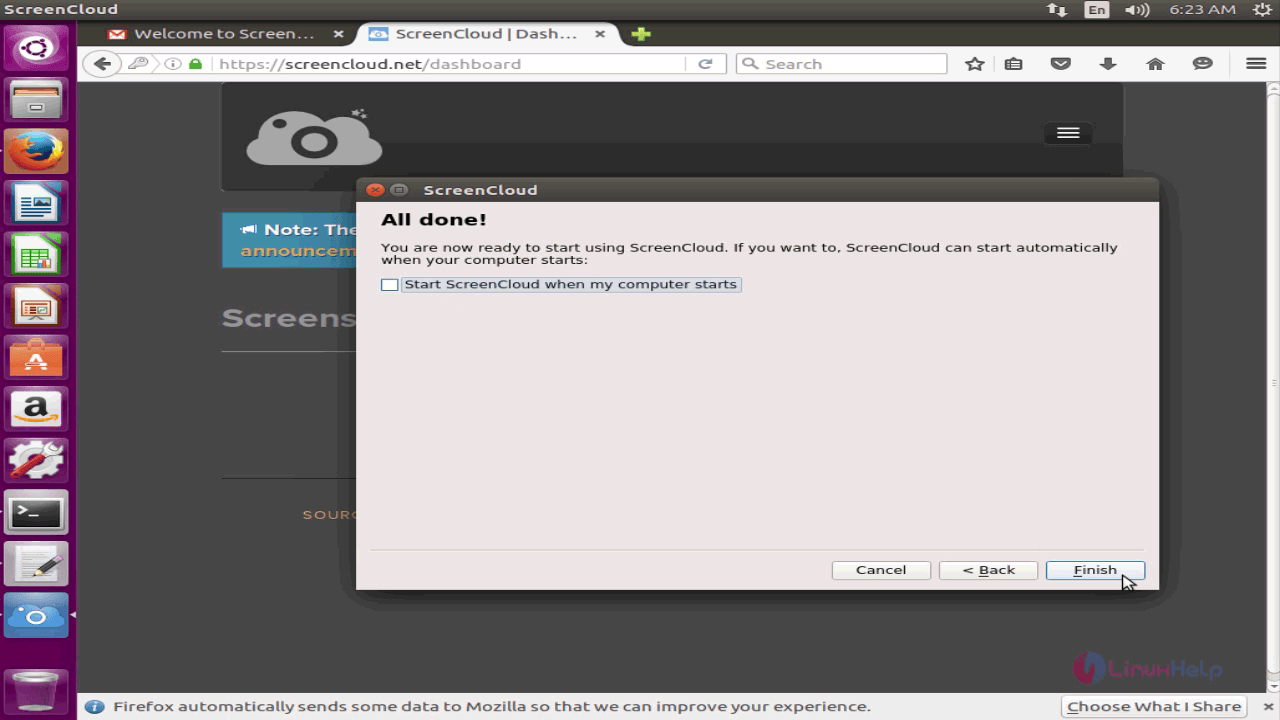
The basic setup is completed and click finish to run the ScreenCloud application.
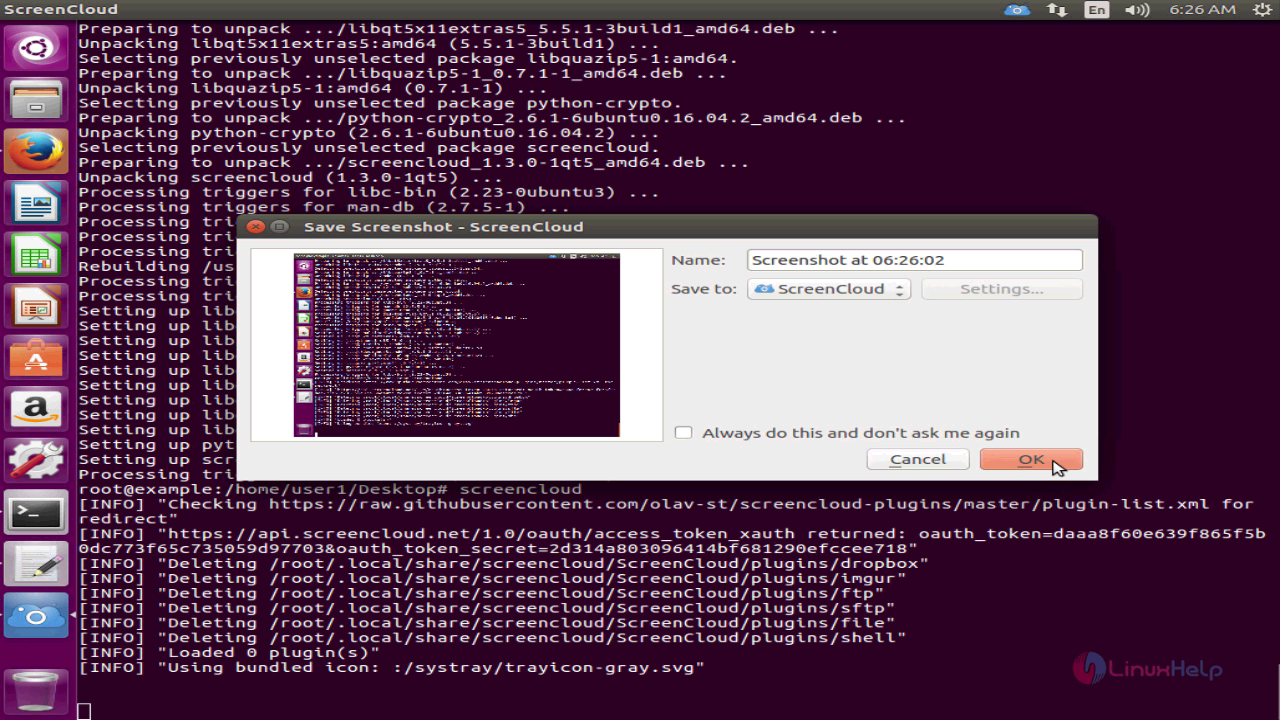
Now you can capture the fullscreen window and save the screenshot to any folder in ScreenCloud or in local system.
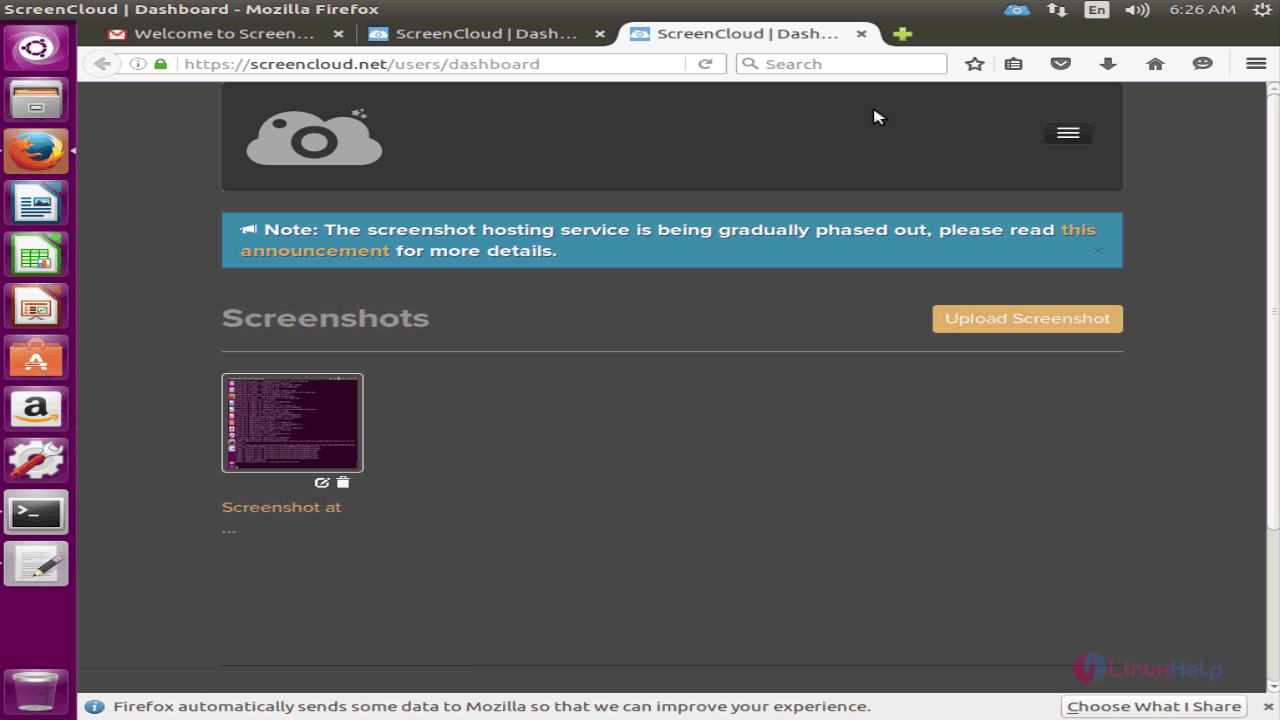
Now you can save the screenshot to cloud by opening the online dashboard and click the upload screenshot option.
The general settings contain the list of settings such as running on startup and displaying the screenshot within specified seconds.
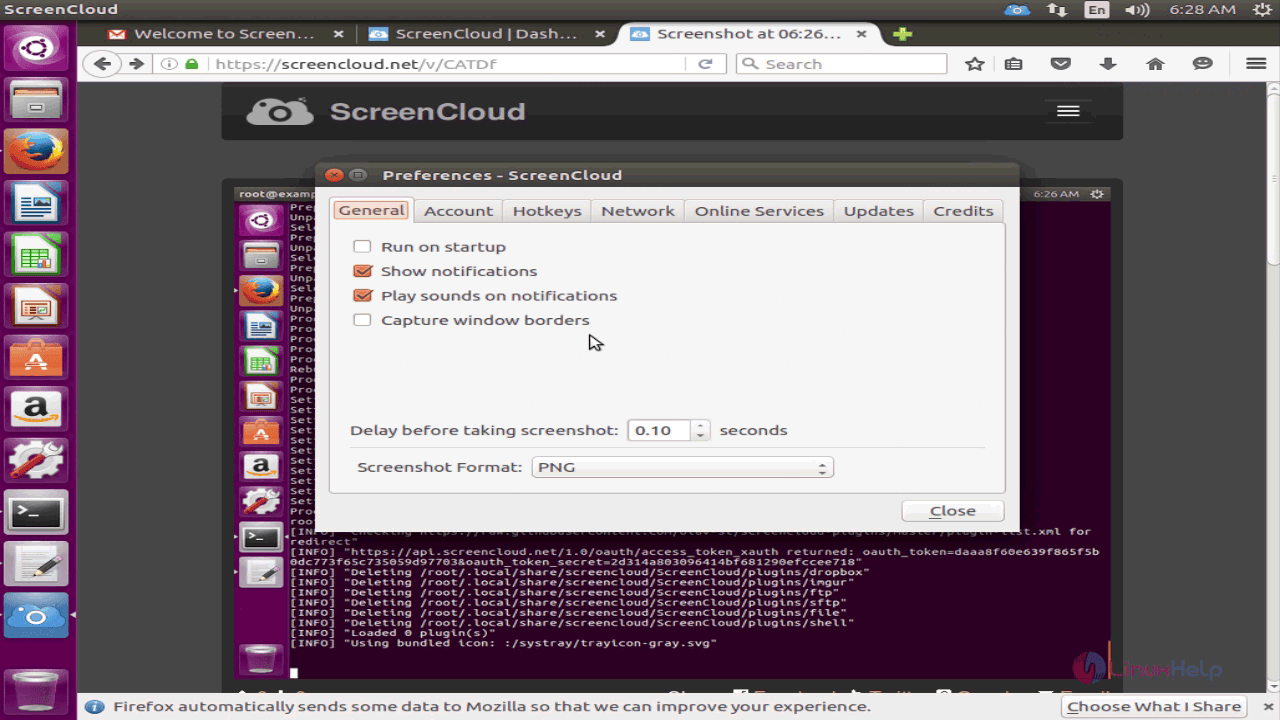
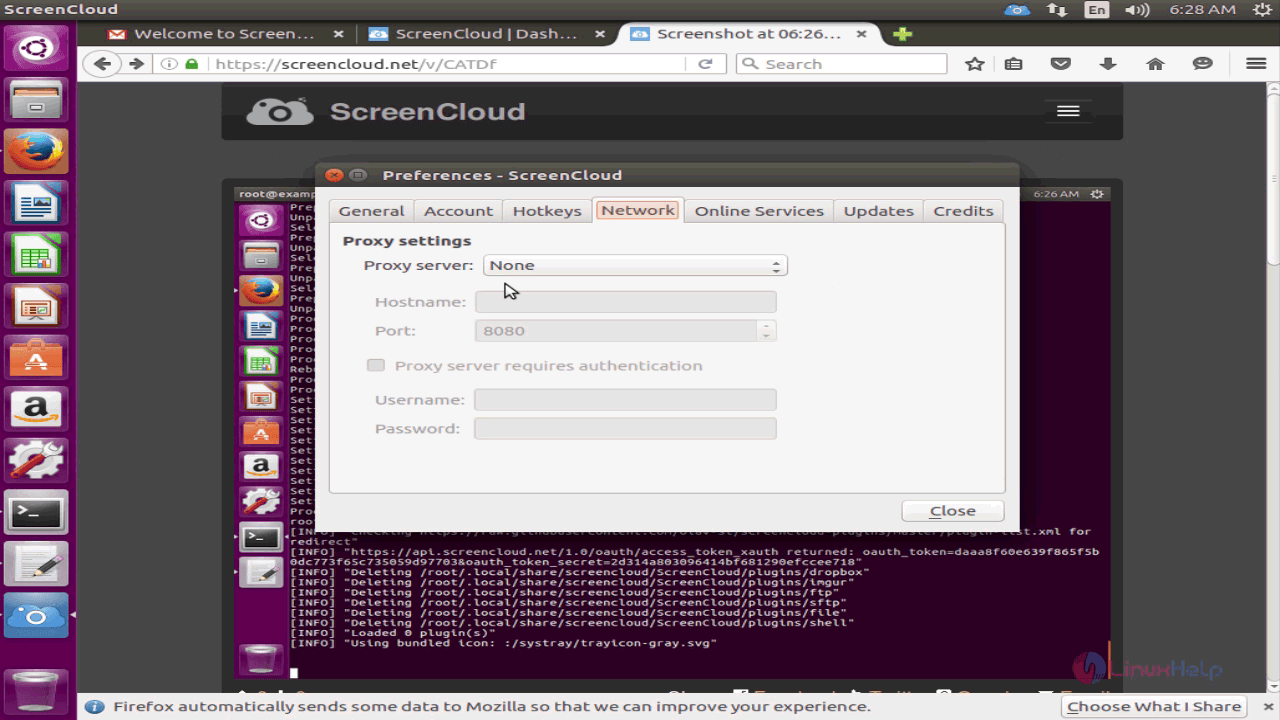
Set the network settings by configuring the proxy server settings.
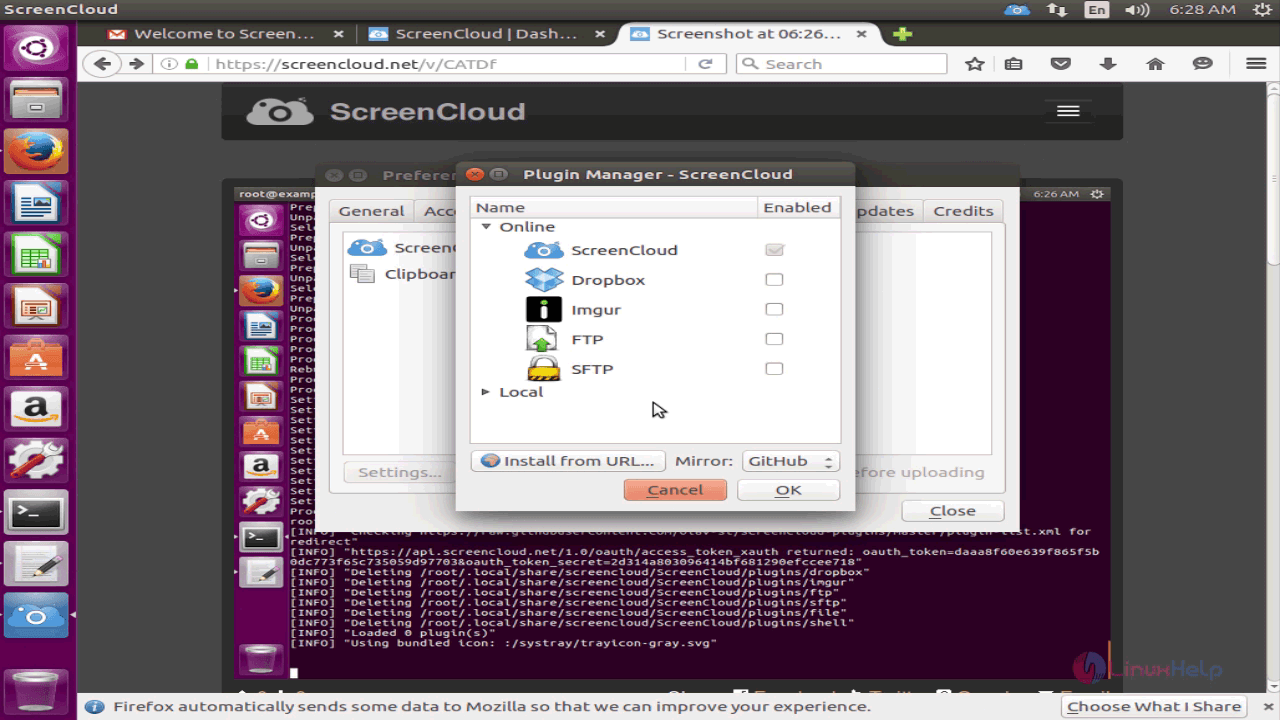
Next set the plugin manager in any of the online plugins and select ok.
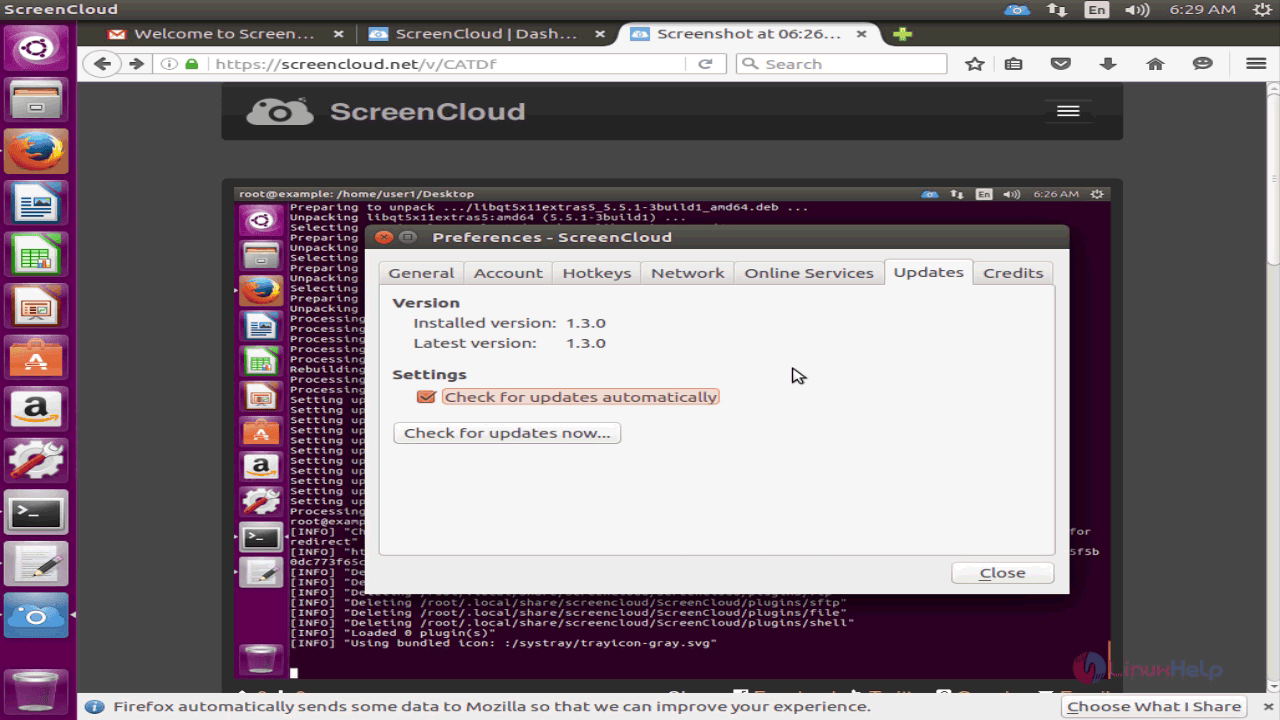
You can also check for updates by selecting the option and close the window.
This concludes the installation procedure of ScreenCloud on Ubuntu 16.04.
Comments ( 0 )
No comments available