How To Install Typo3 9.1.0 with Nginx on Centos 6.9
To Install Typo3 9.1.0 with Nginx on CentOS 6.9
TYPO3 is a free and open source enterprise content management system written in PHP and uses MySQL to store its data. TYPO3 can run on HTTP servers such as Apache or IIS. It also runs on PHP 5.3 or newer versions. It is responsive, multilingual and secures CMS. It can also be customized and extended without writing any code. It also contains features like modularity, extensions, flexible administrators system, content types, changing a page structure and internal TypoScript language.
Prerequisite
- Install LEMP (nginx, MySQL-server, php 7.2)
- Php modules required
rpm -Uvh http://rpms.famillecollet.com/enterprise/remi-release-6.rpm

php modules (yum --enablerepo=remi-php72 install -y  php-xml php-soap php-xmlrpc php-mbstring php-json php-gd php-mcrypt php php-imap php-ldap php-odbc php-pear
php-mysql php-snmp  php-tidy curl curl-devel php-fpm php-intl php-pecl-zip )
Now download the typo3 CMS from its official site using the following command.
[root@linuxhelp11 Desktop]# wget https://typo3.azureedge.net/typo3/9.1.0/typo3_src-9.1.0.tar.gz
--2018-03-29 11:52:28--  https://typo3.azureedge.net/typo3/9.1.0/typo3_src-9.1.0.tar.gz
Resolving typo3.azureedge.net... 117.18.232.200, 2606:2800:147:120f:30c:1ba0:fc6:265a
Connecting to typo3.azureedge.net|117.18.232.200|:443... connected.
HTTP request sent, awaiting response... 200 OK
Length: 26066912 (25M) [application/octet-stream]
Saving to: “ typo3_src-9.1.0.tar.gz”

100%[========================================================> ] 26,066,912  1.11M/s   in 24s

2018-03-29 11:52:52 (1.04 MB/s) - “ typo3_src-9.1.0.tar.gz”  saved [26066912/26066912]
After downloading you have to extract the downloaded package.
[root@linuxhelp11 Desktop]# tar -xvzf  typo3_src-9.1.0.tar.gz
typo3_src-9.1.0/
typo3_src-9.1.0/_.htaccess
typo3_src-9.1.0/_web.config
typo3_src-9.1.0/composer.json
typo3_src-9.1.0/composer.lock
typo3_src-9.1.0/CONTRIBUTING.md
typo3_src-9.1.0/index.php
typo3_src-9.1.0/INSTALL.md
typo3_src-9.1.0/LICENSE.txt
typo3_src-9.1.0/README.md
typo3_src-9.1.0/typo3/
.
.
.
typo3_src-9.1.0/vendor/typo3fluid/fluid/src/ViewHelpers/SwitchViewHelper.php
typo3_src-9.1.0/vendor/typo3fluid/fluid/src/ViewHelpers/ThenViewHelper.php
typo3_src-9.1.0/vendor/typo3fluid/fluid/src/ViewHelpers/VariableViewHelper.php
Move the extracted directory into the HTML location.
[root@linuxhelp11 Desktop]# mv typo3_src-9.1.0 /usr/share/nginx/html/typo3
Next, change ownership and permission of file in HTML location.
[root@linuxhelp11 Desktop]# chown -R nginx:nginx /usr/share/nginx/html/
[root@linuxhelp11 Desktop]# chmod -R 775 /usr/share/nginx/html/
And then, you have to configure the php-fpm, so edit the following file.
[root@linuxhelp11 Desktop]# vim /etc/php-fpm.d/www.conf
Edit the following lines as shown below.
listen = /var/run/php-fpm/php-fpm.sock
listen.owner = nginx
listen.group = nginx
user = nginx
group = nginx
Change ownership of the file in the php-fpm location.
[root@linuxhelp11 Desktop]# chown nginx:nginx /var/run/php-fpm/php-fpm.sock
Create a virtual host for typo3 cms in conf.d location.
[root@linuxhelp11 Desktop]# vim /etc/nginx/conf.d/typo3.conf
Add the following lines.
server {
  server_name   linuxhelp11.com
  listen 80
  root /usr/share/nginx/html/typo3
  access_log /usr/share/nginx/html/typo/logs/access.log
  error_log /usr/share/nginx/html/typo/logs/error.log
  index index.html index.php
  location / {
    try_files $uri $uri/ @rewrites
  }
  location @rewrites {
    #rewrite ^ /index.php last
    rewrite ^/(.*)$ /index.php?url=$1 last
  }
  location ~* .(jpg|jpeg|gif|css|png|js|ico|html)$ {
    access_log off
    expires max
  }
  location ~ /.ht {
    deny  all
  }
    index index.html index.php
    location ~ .php {
    fastcgi_index index.php
    fastcgi_split_path_info ^(.+.php)(.*)$
    include /etc/nginx/fastcgi_params
    fastcgi_pass unix:/var/run/php-fpm/php-fpm.sock
    fastcgi_param SCRIPT_FILENAME $document_root$fastcgi_script_name
  }
}
After that enter into html location and rename the htaccess file in the typo3 location.
[root@linuxhelp11 Desktop]# cd  /usr/share/nginx/html
[root@linuxhelp11 html]# mv typo3/_.htaccess   typo3/.htaccess
create a new file named (FIRST_INSTALL) in typo3 location for installing typo3.
[root@linuxhelp11 html]# touch typo3/FIRST_INSTALL
Edit PHP.INI file for installing typo3 CMS.
[root@linuxhelp11 html]# vim /etc/php.ini
Edit the following lines as shown below.
max_input_vars = 1500
max_execution_time = 240
Now you have to restart php-fpm and nginx service.
[root@linuxhelp11 html]# service php-fpm restart
Stopping php-fpm:                                          [  OK  ]
Starting php-fpm:                                          [  OK  ]
[root@linuxhelp11 html]# service nginx restart
Stopping nginx:                                            [  OK  ]
Starting nginx:                                            [  OK  ]
Give entry in the hosts file (give machine IP and server name given in the virtual host).
[root@linuxhelp11 html]# vim /etc/hosts
< machine-ip>   linuxhelp11.com
Open a browser, and give the following URL as linuxhelp11.com (server name in the virtual host). It will open the Configuration procedure of typo3.
First, it will be a System environment check and once it is done, click continue.

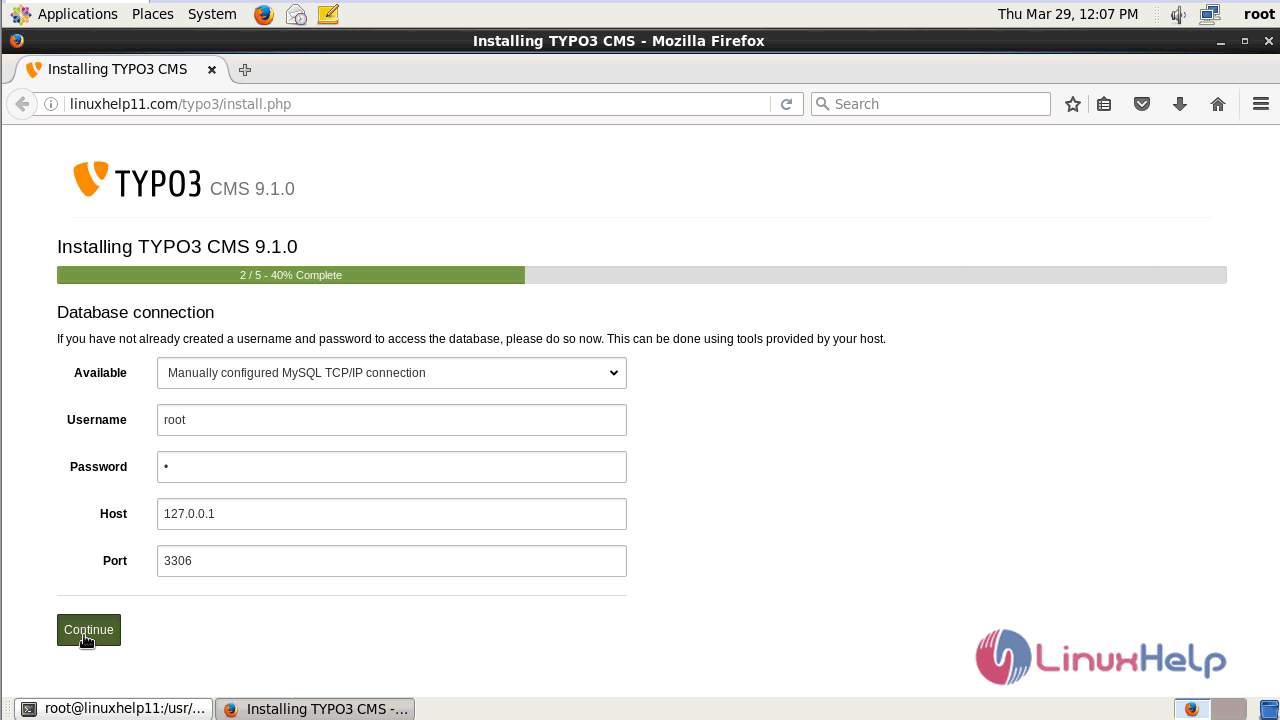
On next window, you have to fill database user detail and click continue.
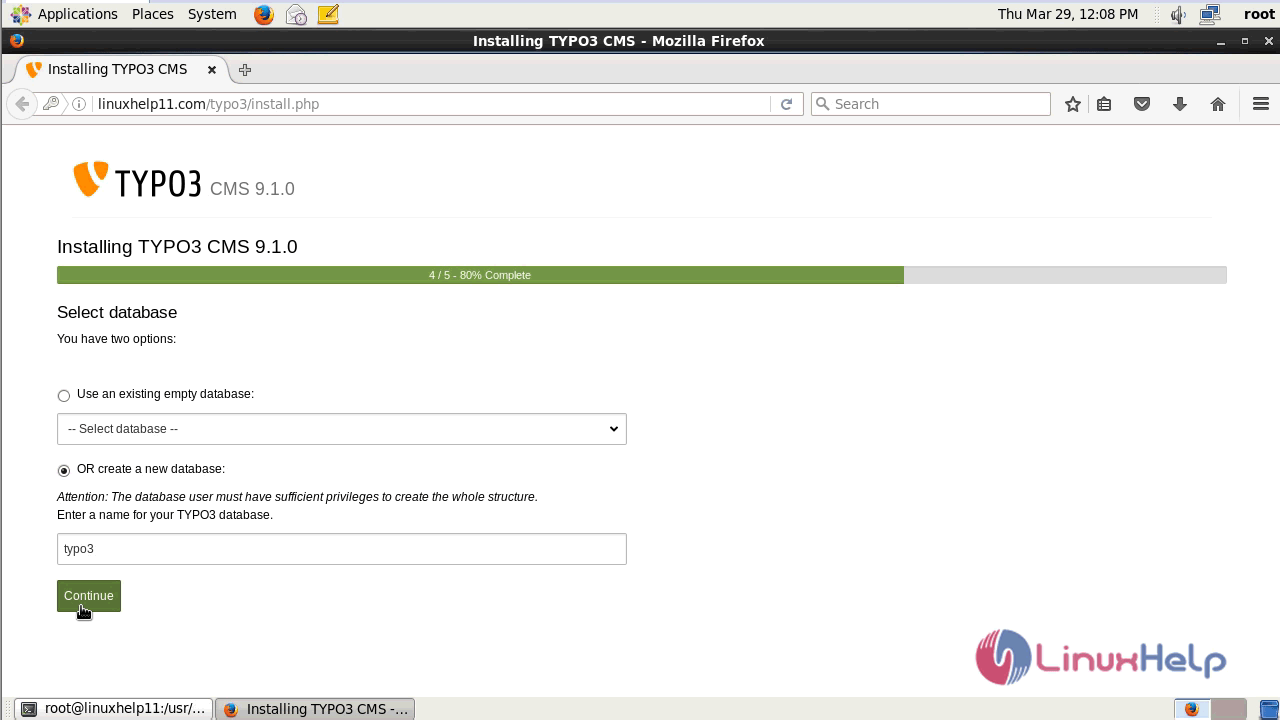
After creating the database you can select the database and click continue.
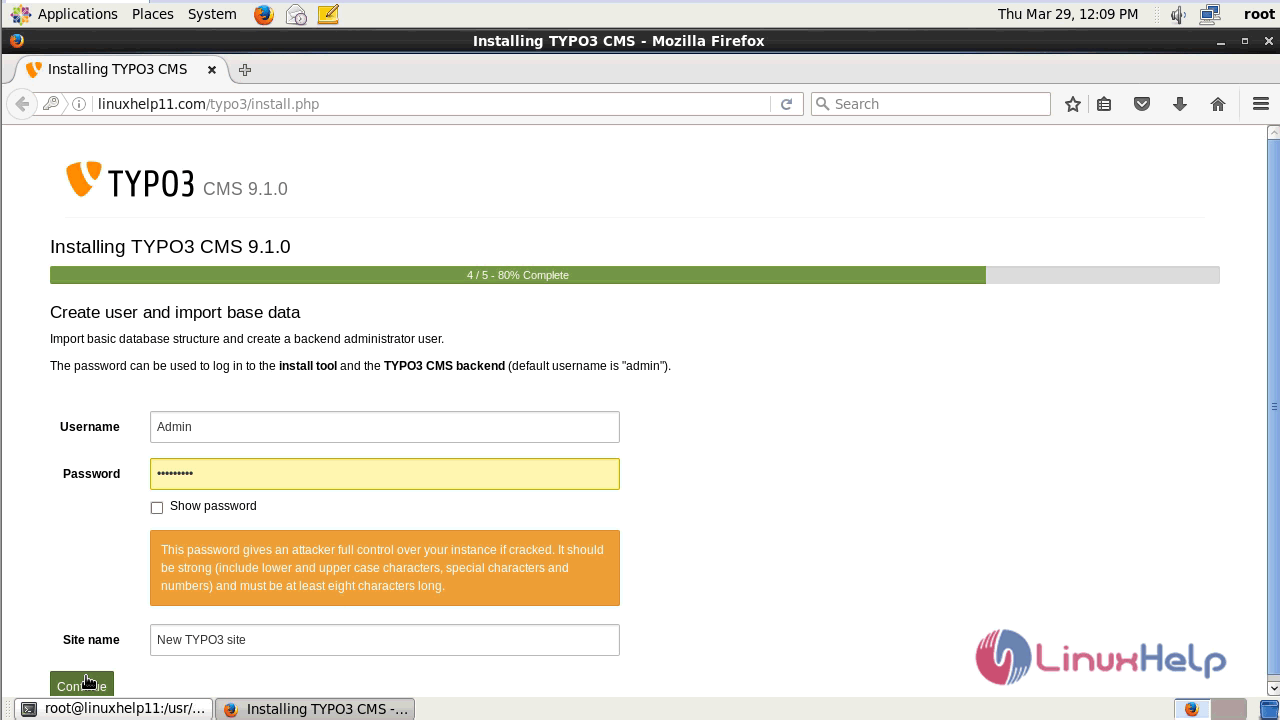
Create an admin user credentials and then click continue.
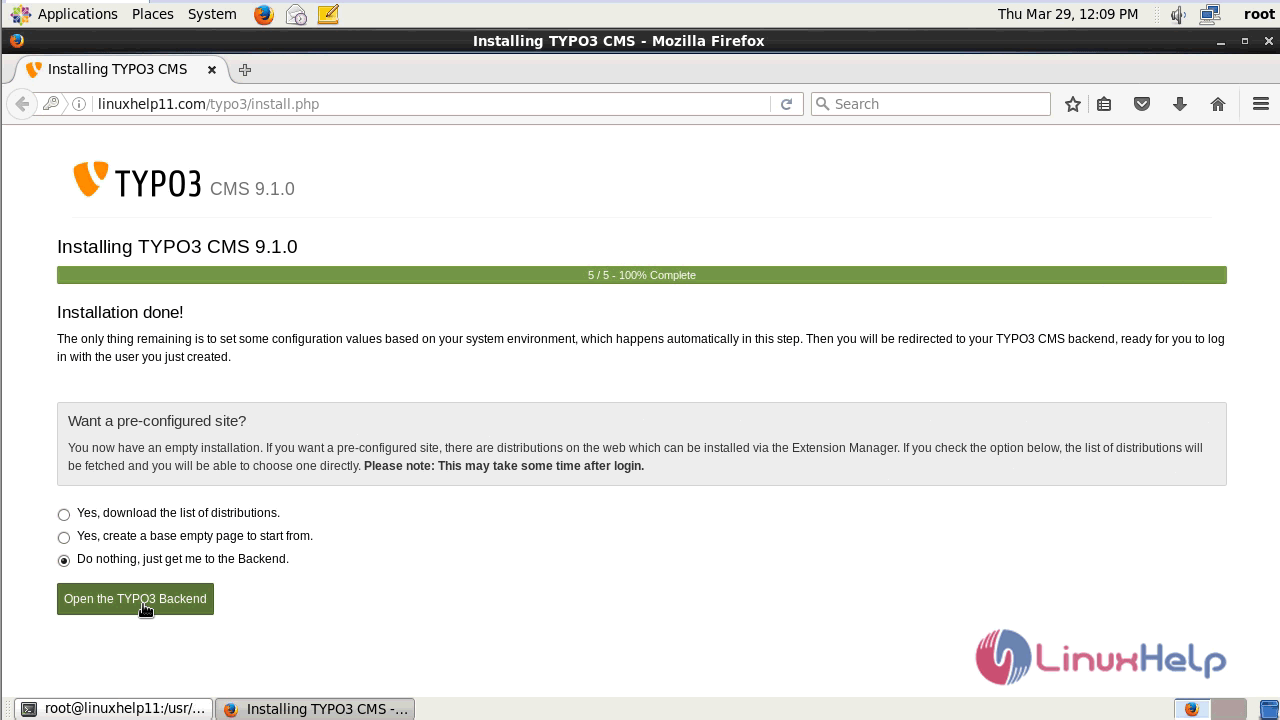
Now the Installation is complete. To open admin dashboard, click open the typo3 backend.
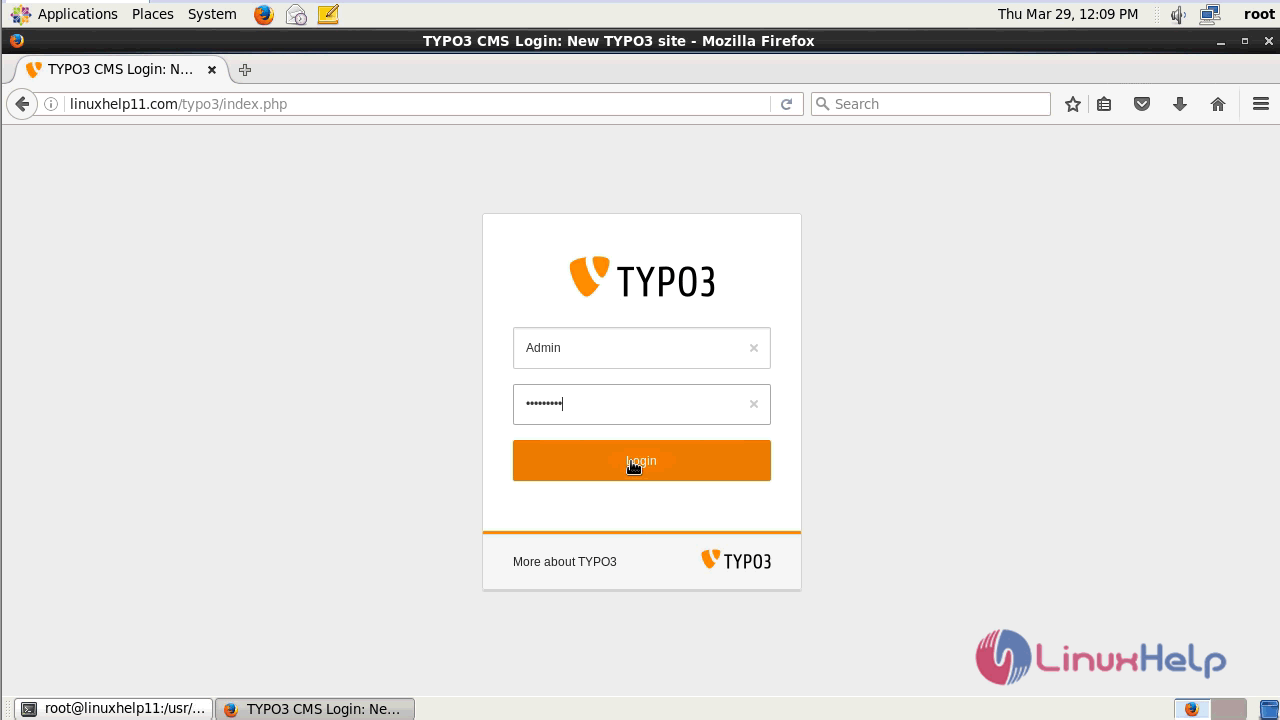
Enter the admin credentials and click login.
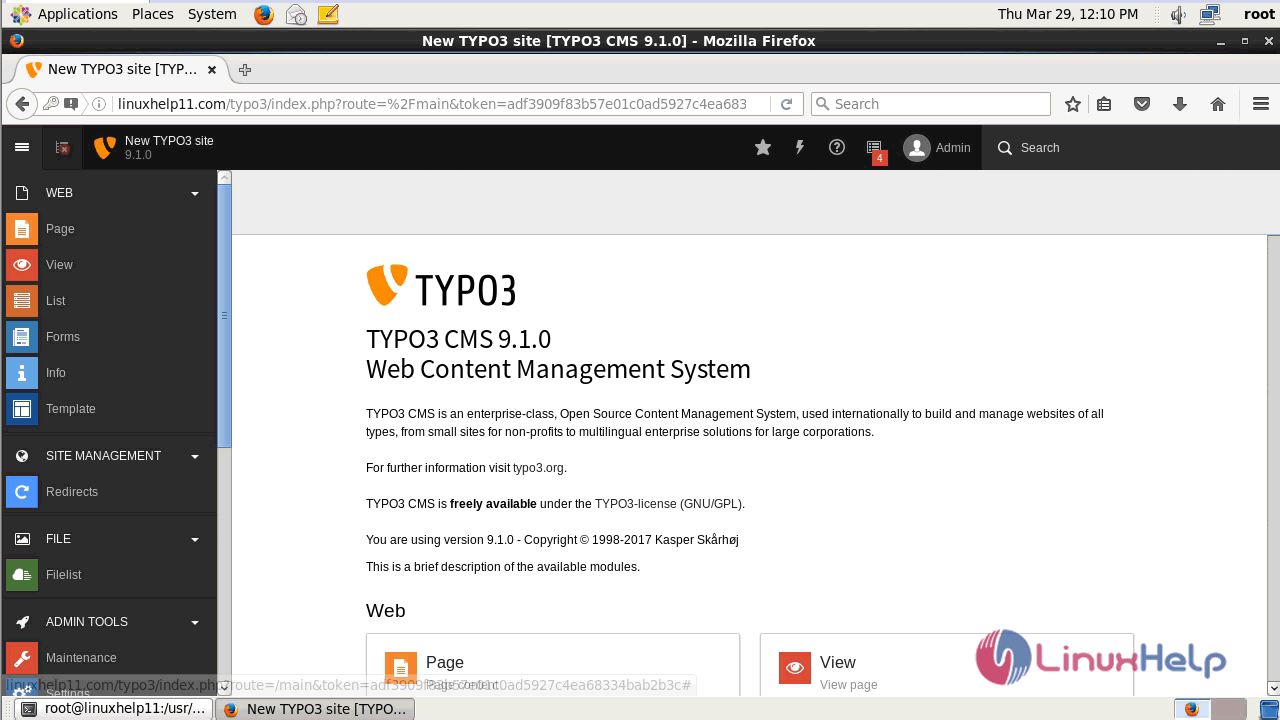
You will the admin dashboard of typo3 CMS now.
With this, the method to Install Typo3 9.1.0 with Nginx on Centos 6.9 comes to an end.
Comments ( 0 )
No comments available