How to install Typo3 cms version 9.1 On Linux Mint-18.3
To install Typo3 CMS 9.1 On Linux Mint 18.3
Typo3 is a free and open source content management system, it is written in PHP and uses MySQL. It can be easily customized and extended without writing any code. If you want to create your own website Freely, Fast and Easy, Typo3 is the best solution for your needs. In this tutorial will see the installation of typo3 CMS on Linux mint 18.3
Features of typo3 cms
- Open Source Enterprise CMS
- Scalable Web Application Framework
- Large, active global community
- User-friendly with unlimited extendability
- Integrated Development and Editing Workflows
Pre-requirements
Install LAMP (apache, php7.2, mariadb-server)
In MariaDB (create database, user and give privilages to the user)
For PHP installation
1. add-apt-repository ppa:ondrej/php
2. apt-get update
Modules apt-get install php7.2
Php modules on typo3 cms:
 (php-mysql php-curl php-json php-cgi php libapache2-mod-php php-mcrypt php-xmlrpc php-gd php-mbstring php  php-common  php-xmlrpc php-soap
  php-xml php-intl  php-cli  php-ldap php-zip php-readline php-imap )
Installation
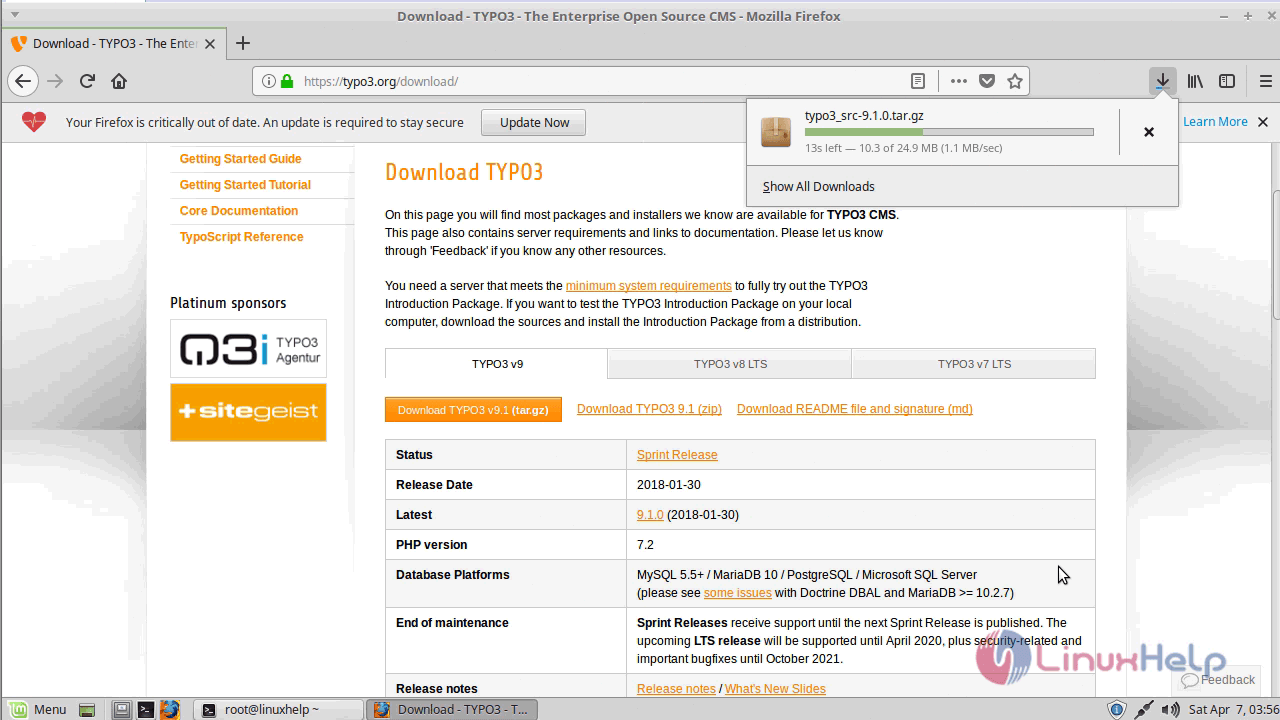
First, download the typo3 CMS package from the following this Link https://typo3.org/download/
Now navigate to the downloaded directory and extract the downloaded package as follows.
linuxhelp ~ # cd /home/user/
linuxhelp user # cd Downloads/
linuxhelp Downloads # ls
typo3_src-9.1.0.tar.gz

linuxhelp Downloads # tar -zxvf typo3_src-9.1.0.tar.gz
typo3_src-9.1.0/
typo3_src-9.1.0/_.htaccess
typo3_src-9.1.0/_web.config
typo3_src-9.1.0/composer.json
typo3_src-9.1.0/composer.lock
typo3_src-9.1.0/CONTRIBUTING.md
typo3_src-9.1.0/index.php
typo3_src-9.1.0/INSTALL.md
typo3_src-9.1.0/typo3/sysext/
.
.
.
typo3_src-9.1.0/vendor/typo3fluid/fluid/src/ViewHelpers/OrViewHelper.php
typo3_src-9.1.0/vendor/typo3fluid/fluid/src/ViewHelpers/RenderViewHelper.php
typo3_src-9.1.0/vendor/typo3fluid/fluid/src/ViewHelpers/SectionViewHelper.php
typo3_src-9.1.0/vendor/typo3fluid/fluid/src/ViewHelpers/SpacelessViewHelper.php
typo3_src-9.1.0/vendor/typo3fluid/fluid/src/ViewHelpers/SwitchViewHelper.php
typo3_src-9.1.0/vendor/typo3fluid/fluid/src/ViewHelpers/ThenViewHelper.php
typo3_src-9.1.0/vendor/typo3fluid/fluid/src/ViewHelpers/VariableViewHelper.php
After extracting rename the directory as follows.
linuxhelp Downloads # ls
typo3_src-9.1.0  typo3_src-9.1.0.tar.gz
linuxhelp Downloads # mv typo3_src-9.1.0 typo3
we have to move the typo3 directory into the /var/www directory:
linuxhelp Downloads # mv typo3 /var/www/
Next, you need to change ownership and permission of the Directory.
linuxhelp Downloads # cd /var/www/
linuxhelp www # ls
html  typo3
linuxhelp www # chown -R www-data:www-data typo3/
Now create an empty named as first_install.
linuxhelp www # cd typo3/
linuxhelp typo3 # ls
composer.json  CONTRIBUTING.md  index.php   LICENSE.txt  typo3   _web.config
composer.lock  _.htaccess       INSTALL.md  README.md    vendor
linuxhelp typo3 # mv _.htaccess .htaccess
linuxhelp typo3 # touch /var/www/typo3/FIRST_INSTALL
Now we have to edit the php.ini configuration file, so open the php.ini file and configure them as follows.
linuxhelp www #vim /etc/php/7.2/apache2/php.ini
memory_limit = 256M
upload_max_filesize = 64M
post_max_size = 64M
max_input_vars = 1500
max_execution_time = 240
Next, we have to configure a virtual host for typo3 CMS so navigate to the site available location and create an empty file named as typo3.conf.
linuxhelp typo3 # cd /etc/apache2/sites-available/
linuxhelp sites-available # vim typo3.conf
Add the following lines to the configuration file.
< VirtualHost *:80>
ServerName www.linuxhelp1.com
DocumentRoot /var/www/typo3/
< Directory /var/www/typo3/>
AllowOverride All
allow from all
< /Directory>
< /VirtualHost>
Enable the typo3.conf as follows.
linuxhelp sites-available # a2ensite typo3.conf
Enabling site typo3.
To activate the new configuration, you need to run:
service apache2 reload
Restart the Apache web server.
linuxhelp sites-available # systemctl restart apache2.service
Make an entry in host file as follows.
linuxhelp sites-available # vim /etc/hosts
<  give your ip address>     < give your domain name>
Again restart apache web server.
linuxhelp sites-available # systemctl restart apache2.service
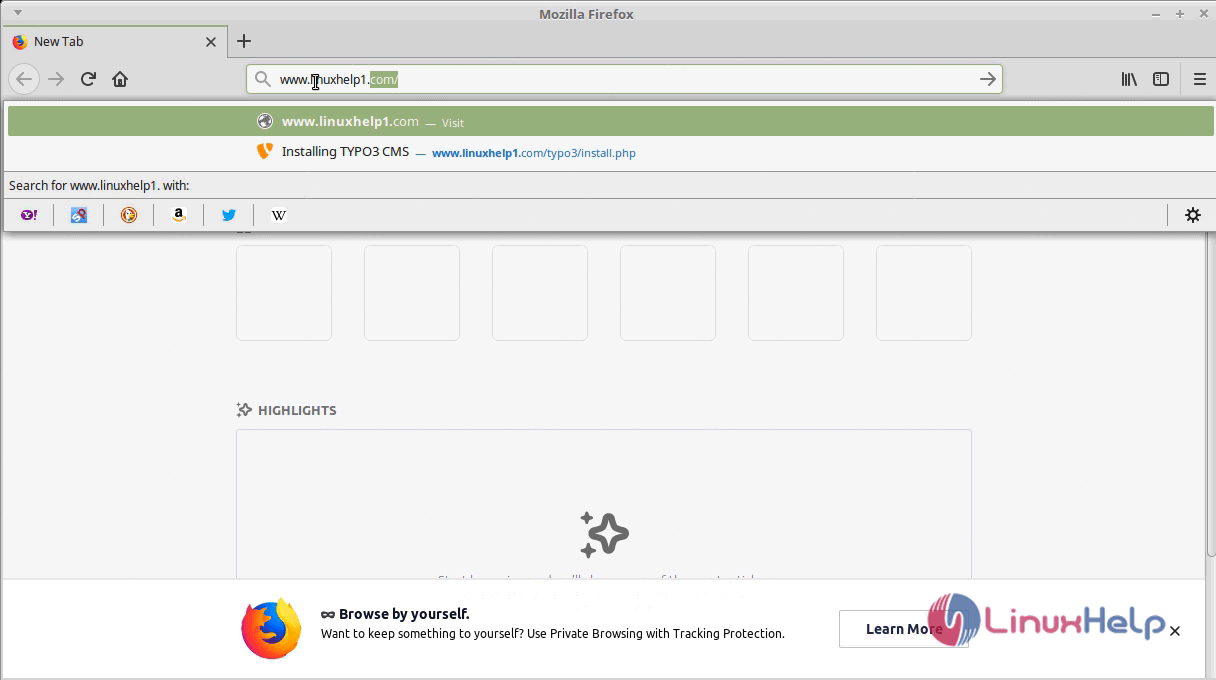
Now you can proceed the further installation and configuration from the browser by navigating to the following URL: http://< ipaddress or domain name.
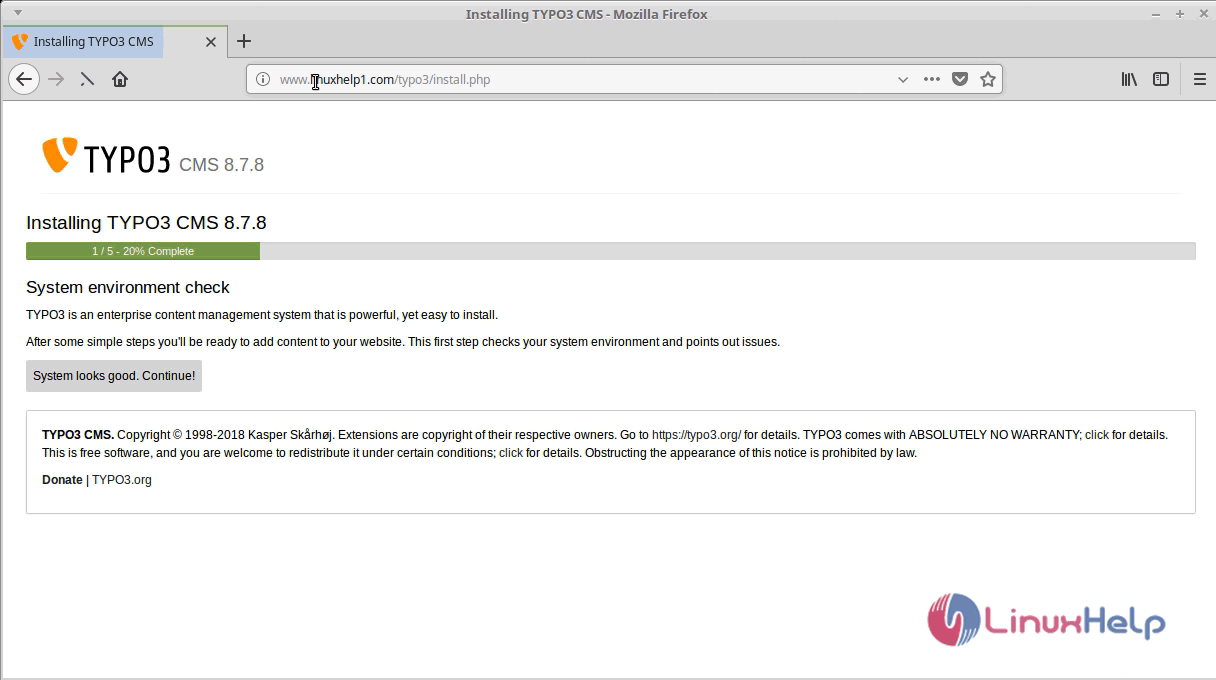
After Verifying the System environment check proceed further.
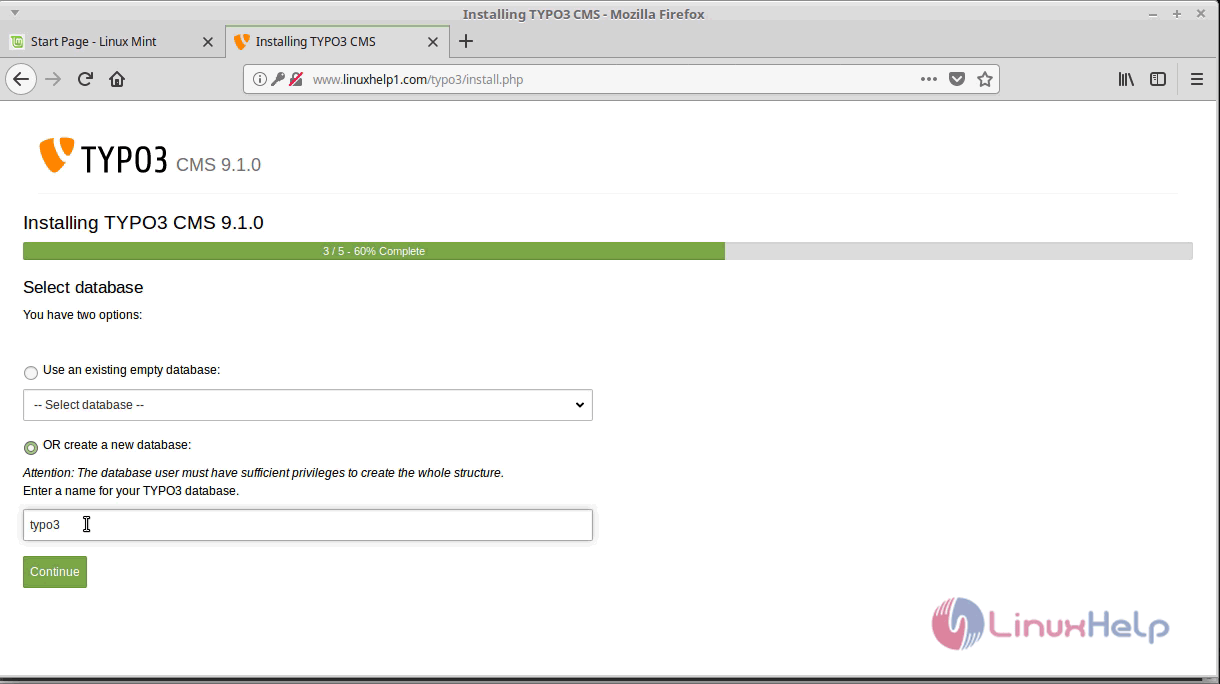
Now configure the database setup and configure as follows.
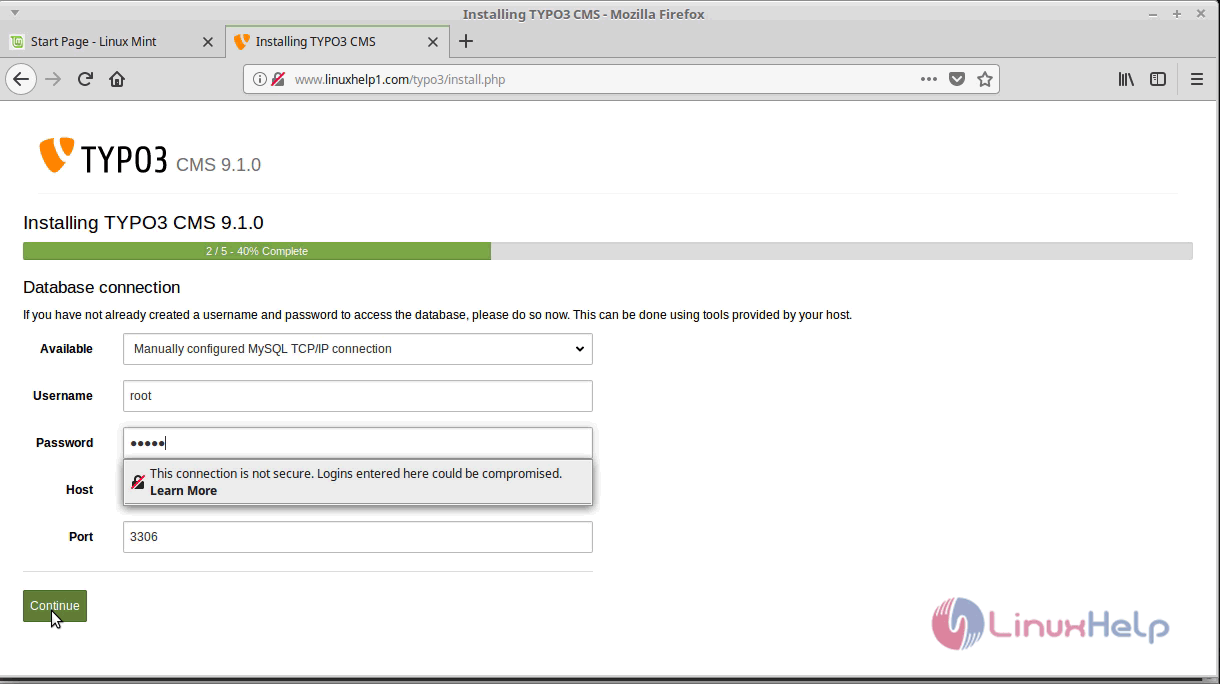
Select the database and proceed.
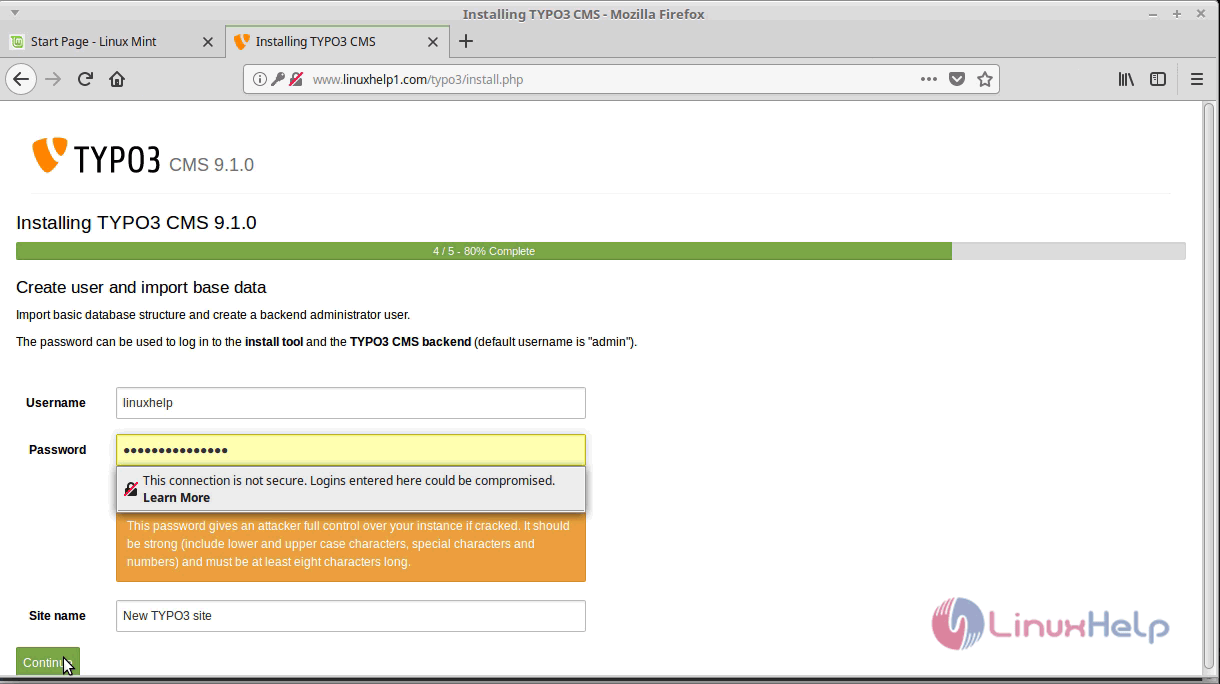
And then configure the admin credentials setup and click continue.
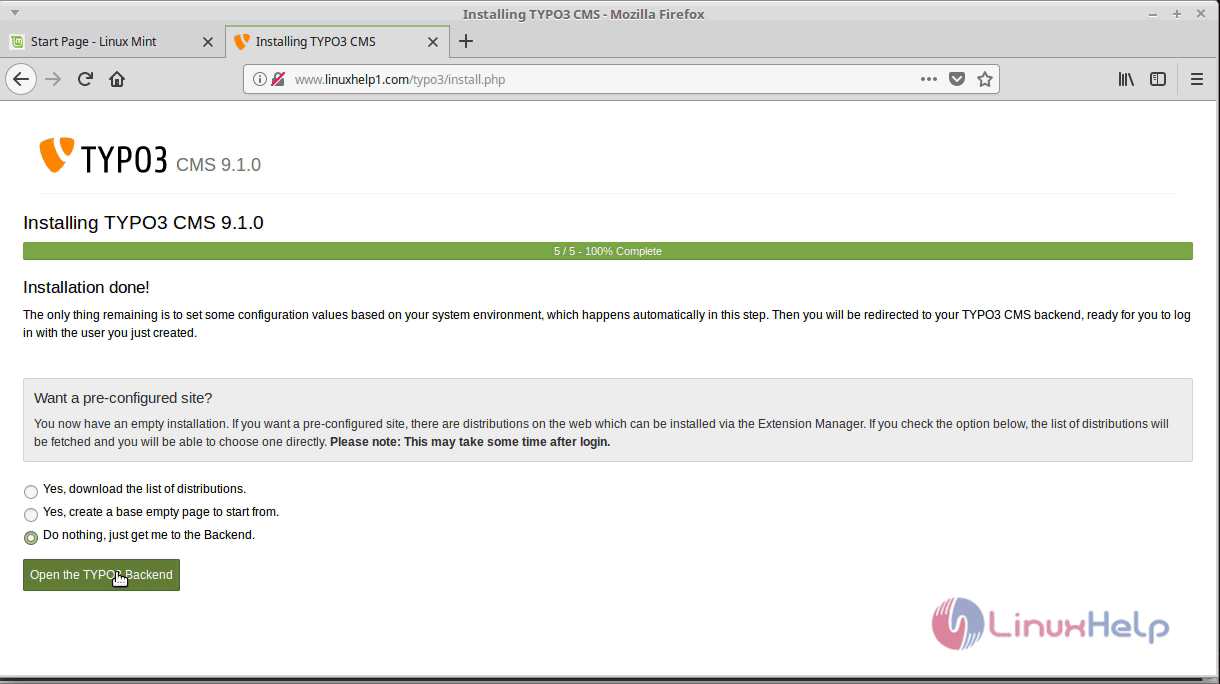
After the installation, you will see the following page and then click on open the " typo3 backend."
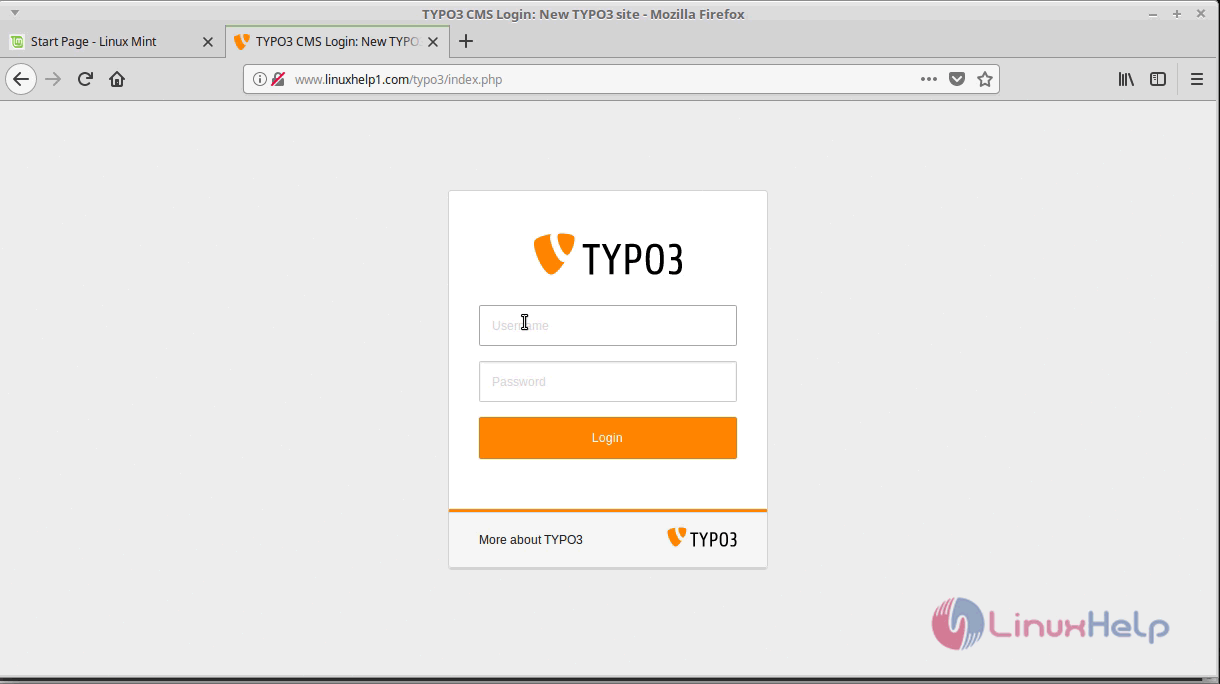
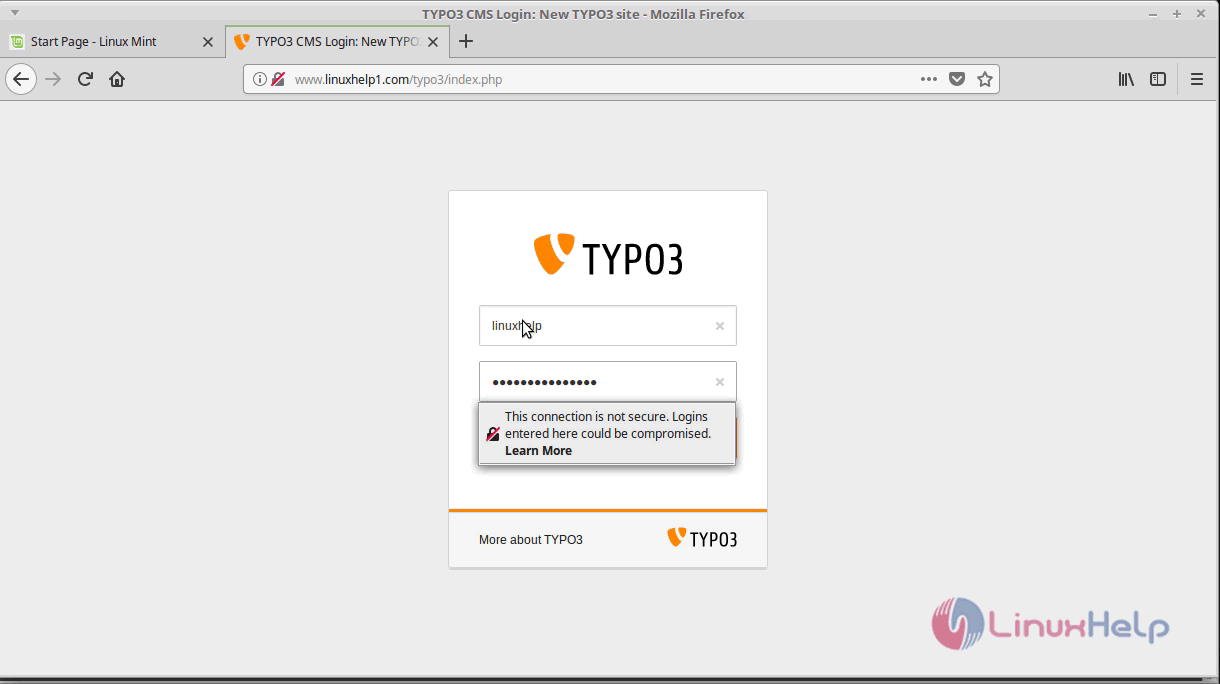
As you can see here the login page appears and log in using the admin user credentials.
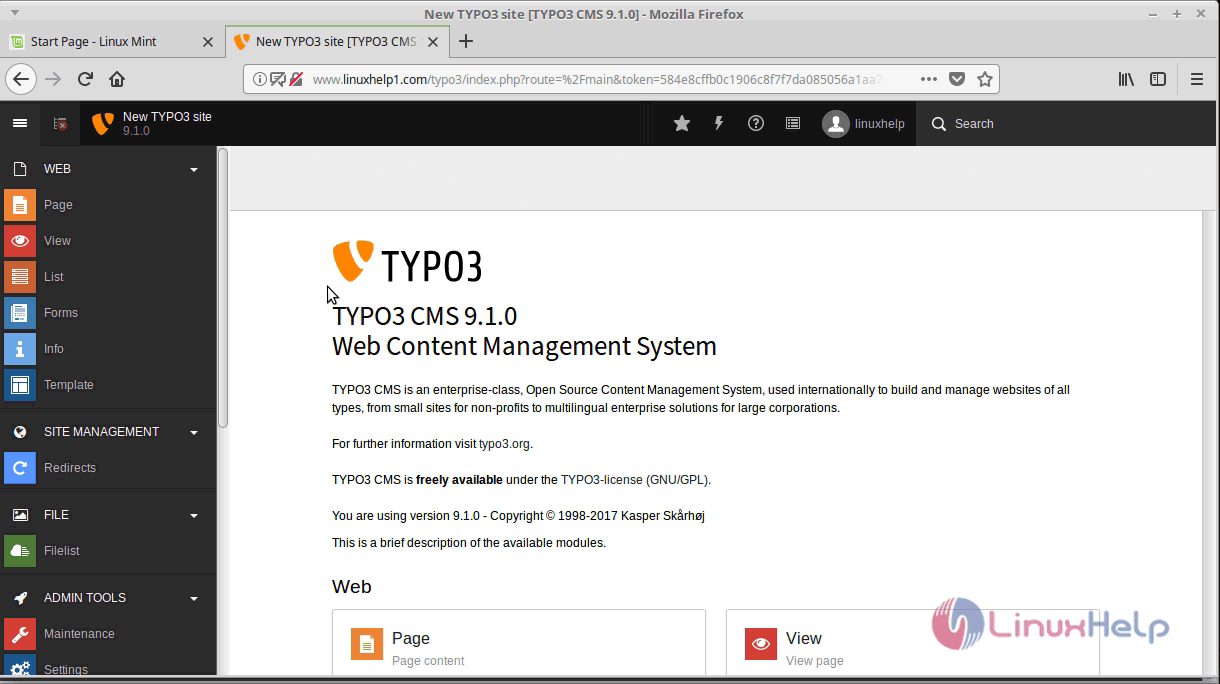
After the successful login, you will see the typo3 dashboard as shown below.
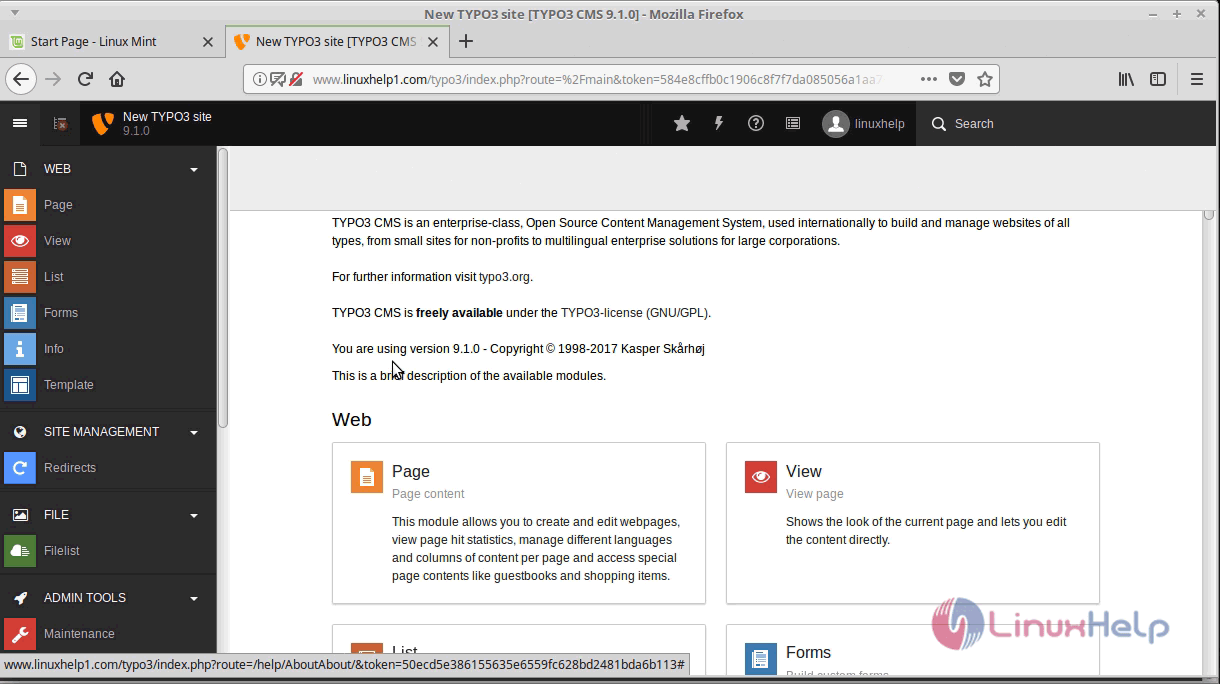
With this, the method to install typo3 CMS version 9.1 on linuxmint 18.3 comes to an end.
Comments ( 0 )
No comments available