How To Install Vagrant on Ubuntu 16.04
To Install Vagrant on Ubuntu 16.04
Vagrant is an open source tool used for building virtual development environment. One of the most helpful features of Vagrant is that it reduces the time spent on re-building your OS. By default, vagrant uses virtualbox for managing the Virtualization and it acts as the fundamental configuration for managing/deploying multiple reproducible virtual environments with the same configuration.
Installing Vagrant
First, make sure that all your system packages are up-to-date by running the following command.
root@linuxhelp:~# apt-get update
Hit:1 http://in.archive.ubuntu.com/ubuntu xenial InRelease
Get:2 http://in.archive.ubuntu.com/ubuntu xenial-updates InRelease [102 kB]
Get:3 http://in.archive.ubuntu.com/ubuntu xenial-backports InRelease [102 kB]
Get:4 http://security.ubuntu.com/ubuntu xenial-security InRelease [102 kB]
Fetched 306 kB in 1s (184 kB/s)
Reading package lists... Done
Once it is done, you shall proceed with the installation of Virtualbox from the terminal using following command.
root@linuxhelp:~# apt-get install virtualbox
Reading package lists... Done
Building dependency tree
Reading state information... Done
The following additional packages will be installed:
  dkms libgsoap8 libqt4-opengl libsdl1.2debian libvncserver1 virtualbox-dkms virtualbox-qt
Suggested packages:
  vde2 virtualbox-guest-additions-iso
The following NEW packages will be installed:
  dkms libgsoap8 libqt4-opengl libsdl1.2debian libvncserver1 virtualbox virtualbox-dkms virtualbox-qt
0 upgraded, 8 newly installed, 0 to remove and 337 not upgraded.
Need to get 23.2 MB of archives.
After this operation, 99.0 MB of additional disk space will be used.
Do you want to continue? [Y/n] y
.
.
DKMS: install completed.
Setting up virtualbox (5.0.40-dfsg-0ubuntu1.16.04.2) ...
vboxweb.service is a disabled or a static unit, not starting it.
Setting up virtualbox-qt (5.0.40-dfsg-0ubuntu1.16.04.2) ...
Processing triggers for libc-bin (2.23-0ubuntu10) ...
Processing triggers for systemd (229-4ubuntu21.1) ...
Processing triggers for ureadahead (0.100.0-19) ...
You shall now install Vagrant by making use of the following command.
root@linuxhelp:~# apt-get install vagrant
Reading package lists... Done
Building dependency tree
Reading state information... Done
The following additional packages will be installed:
  bsdtar bundler ruby-bundler ruby-childprocess ruby-dev ruby-domain-name ruby-erubis ruby-ffi ruby-http-cookie ruby-i18n
  ruby-listen ruby-log4r ruby-mime-types ruby-molinillo ruby-net-http-persistent ruby-net-scp ruby-net-sftp ruby-net-ssh ruby-netrc
  ruby-nokogiri ruby-rb-inotify ruby-rest-client ruby-sqlite3 ruby-thor ruby-unf ruby-unf-ext ruby2.3-dev sqlite3
Suggested packages:
  bsdcpio publicsuffix sqlite3-doc
The following NEW packages will be installed:
  bsdtar bundler ruby-bundler ruby-childprocess ruby-dev ruby-domain-name ruby-erubis ruby-ffi ruby-http-cookie ruby-i18n
  ruby-listen ruby-log4r ruby-mime-types ruby-molinillo ruby-net-http-persistent ruby-net-scp ruby-net-sftp ruby-net-ssh ruby-netrc
  ruby-nokogiri ruby-rb-inotify ruby-rest-client ruby-sqlite3 ruby-thor ruby-unf ruby-unf-ext ruby2.3-dev sqlite3 vagrant
0 upgraded, 29 newly installed, 0 to remove and 337 not upgraded.
Need to get 3,047 kB of archives.
After this operation, 16.3 MB of additional disk space will be used.
.
.
.
Setting up ruby-netrc (0.10.3-1) ...
Setting up ruby-nokogiri (1.6.7.2-3build1) ...
Setting up ruby-rest-client (1.8.0-2ubuntu1) ...
Setting up ruby-sqlite3 (1.3.11-2build1) ...
Setting up sqlite3 (3.11.0-1ubuntu1) ...
Setting up vagrant (1.8.1+dfsg-1ubuntu0.1) ...
Once it is done, you shall verify the installation by issuing the following command which displays the installed version of Vagrant as your output.
root@linuxhelp:~# vagrant -v
Vagrant 1.8.1
Now, you shall deploy your development environment by making use of the following command.
root@linuxhelp:~# vagrant box add precise32 http://files.vagrantup.com/precise32.box
==>  box: Box file was not detected as metadata. Adding it directly...
==>  box: Adding box ' precise32'  (v0) for provider:
    box: Downloading: http://files.vagrantup.com/precise32.box
==>  box: Successfully added box ' precise32'  (v0) for ' virtualbox' !
Create a root directory for your Project. Then create a vagrant file in this folder by calling ‘ vagrant init’ , which will be the central file for the project configuration:
root@linuxhelp:~# mkdir vagrant_project_idroot
root@linuxhelp:~# cd vagrant_project_idroot/
root@linuxhelp:~/vagrant_project_idroot# vagrant init
A `Vagrantfile` has been placed in this directory. You are now
ready to `vagrant up` your first virtual environment! Please read
the comments in the Vagrantfile as well as documentation on
`vagrantup.com` for more information on using Vagrant.
Once it is done you need to edit the Vagrantfile in this directory.
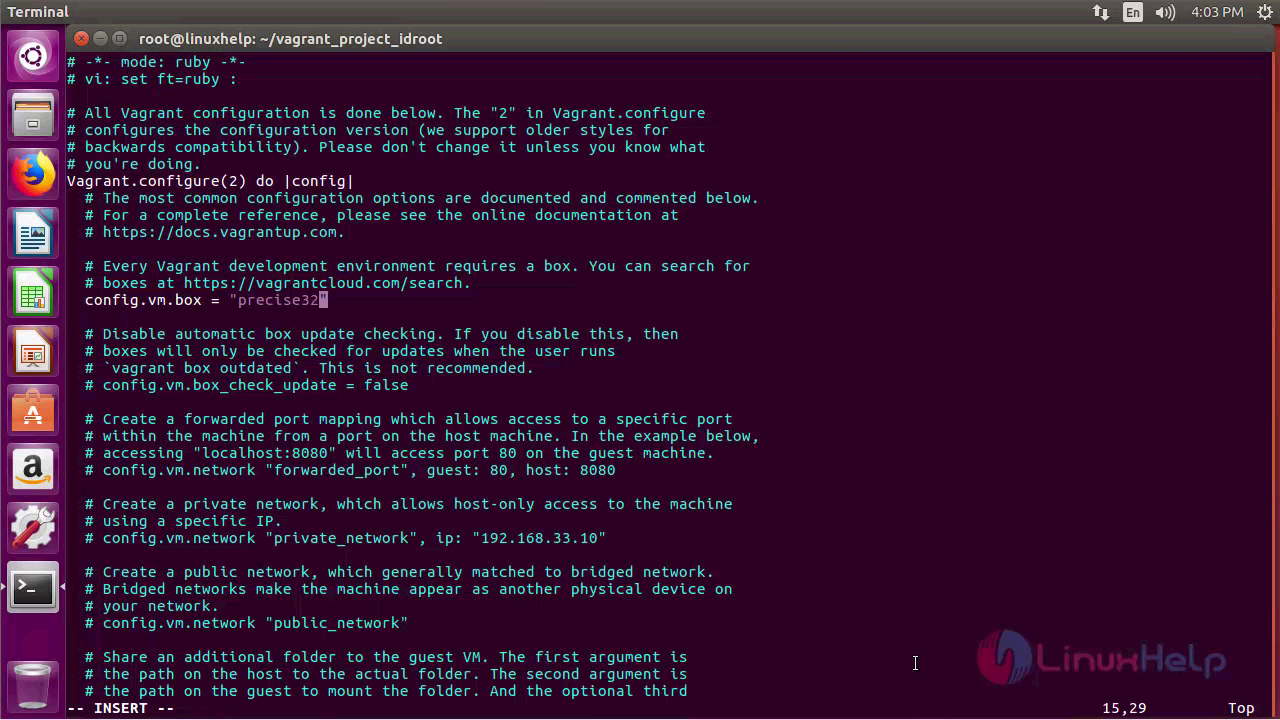
root@linuxhelp:~/vagrant_project_idroot# vim Vagrantfile
replace the following line.
config.vm.box = " precise32"
Now, you shall start the environment by making use of the following command.
root@linuxhelp:~/vagrant_project_idroot# vagrant up
Bringing machine ' default'  up with ' virtualbox'  provider...
==>  default: Importing base box ' precise32' ...
==>  default: Matching MAC address for NAT networking...
==>  default: Setting the name of the VM: vagrant_project_idroot_default_1519382140481_59381
==>  default: Clearing any previously set network interfaces...
==>  default: Preparing network interfaces based on configuration...
    default: Adapter 1: nat
==>  default: Forwarding ports...
    default: 22 (guest) =>  2222 (host) (adapter 1)
==>  default: Booting VM...
==>  default: Waiting for machine to boot. This may take a few minutes...
    default: SSH address: 127.0.0.1:2222
    default: SSH username: vagrant
    default: SSH auth method: private key
    default:
    default: Vagrant insecure key detected. Vagrant will automatically replace
    default: this with a newly generated keypair for better security.
    default:
    default: Inserting generated public key within guest...
    default: Removing insecure key from the guest if it' s present...
    default: Key inserted! Disconnecting and reconnecting using new SSH key...
==>  default: Machine booted and ready!
==>  default: Checking for guest additions in VM...
    default: The guest additions on this VM do not match the installed version of
    default: VirtualBox! In most cases this is fine, but in rare cases it can
    default: prevent things such as shared folders from working properly. If you see
    default: shared folder errors, please make sure the guest additions within the
    default: virtual machine match the version of VirtualBox you have installed on
    default: your host and reload your VM.
    default:
    default: Guest Additions Version: 4.2.0
    default: VirtualBox Version: 5.0
==>  default: Mounting shared folders...
    default: /vagrant =>  /home/user1/vagrant_project_idroot
You have successfully installed Vagrant.
With this, the tutorial on the installation of Vagrant on Ubuntu 16.04 comes to an end.
Comments ( 0 )
No comments available