How to install Vtiger CRM on OpenSUSE leap 42.3
To install Vtiger CRM on OpenSUSE Leap 42.3
Vtiger is a web-based, modular constructed Customer Relationship Management system that enables sales, support, and marketing teams to organize and collaborate to measurably improve customer experiences and business outcomes.
By using Vtiger you can have a complete business management suite that will provide you with email, inventory, project management, and other useful tools. It is simple to install Vtiger CRM on OpenSUSE Leap 42.3 and this article covers the ground on the same issues.
Pre-Requirements
LAMP Stack
-Apache
-Mariadb
-Php7
Install PHP 7
zypper in php php-openssl php-mysql php-mbstring php-dom php-json php-session php-ctype php-tokenizer php-simplexml php-pcre php-zip php-pdo php-curl php-iconv php-xml
Installing Vtiger CRM
If you want to download the installation package for Vtiger CRM, make sure you obtain a latest stable version from its official site. You can download it by using the wget command along with its download link as follows.
linuxhelp:~ # wget http://code.vtiger.com/vtiger/vtigercrm/repository/archive.tar.gz?ref=6.5.0 -O archive.tar.gz
--2017-10-27 13:51:30--  http://code.vtiger.com/vtiger/vtigercrm/repository/archive.tar.gz?ref=6.5.0
Resolving code.vtiger.com (code.vtiger.com)... 213.239.221.29, 2a01:4f8:a0:7194::2
Connecting to code.vtiger.com (code.vtiger.com)|213.239.221.29|:80... connected.
HTTP request sent, awaiting response... 200 OK
Length: 37260792 (36M) [application/octet-stream]
Saving to: ‘ archive.tar.gz’

100%[==============================================================================================================================================> ] 37,260,792   416KB/s   in 57s

2017-10-27 13:52:32 (634 KB/s) - ‘ archive.tar.gz’  saved [37260792/37260792]
Once the file is downloaded, make sure you extract it as follows.
linuxhelp:~ # tar -xvzf archive.tar.gz
vtigercrm.git/
vtigercrm.git/Copyright.txt
vtigercrm.git/LICENSE.txt
vtigercrm.git/PEAR.php
vtigercrm.git/README.md
vtigercrm.git/README.txt
vtigercrm.git/Release_Notes.html
vtigercrm.git/SPL-1.1.2.txt
vtigercrm.git/SendSupportNotification.php
vtigercrm.git/cache/
vtigercrm.git/cache/images/
vtigercrm.git/cache/images/index.html
vtigercrm.git/cache/import/
vtigercrm.git/cache/import/index.html
.
.
.
.
vtigercrm.git/vtlib/thirdparty/network/Request/Listener.php
vtigercrm.git/vtlib/thirdparty/parser/
vtigercrm.git/vtlib/thirdparty/parser/feed/
vtigercrm.git/vtlib/thirdparty/parser/feed/simplepie.inc
vtigercrm.git/vtlib/tools/
vtigercrm.git/vtlib/tools/console.php
vtigercrm.git/vtlib/vtlib-Copyright.txt
vtigercrm.git/webservice.php
Later you need to move the vtiger directory to Apache document root, this command can be used for that.
linuxhelp:~ # mv vtigercrm.git /srv/www/htdocs/
After that, you need to move to your Apache document root by running the following command.
linuxhelp:~ # cd /srv/www/htdocs/
linuxhelp:/srv/www/htdocs # ll
total 16
drwxrwxrwx  2 wwwrun www  4096 Oct  9 23:15 gif
-rwxrwxrwx  1 wwwrun www  2356 Mar 18  2017 info2html.css
drwxrwxr-x 24 root   root 4096 Jul 14  2016 vtigercrm.git
One of the most crucial parts of this installation process is the configuration of Apache VirtualHost. So run the following command to open a vtiger.conf file.
linuxhelp:/srv/www/htdocs # vim /etc/apache2/conf.d/vtiger.conf
Make the following changes to it.
< VirtualHost *:80>
DocumentRoot " /srv/www/htdocs"
ServerName www.linuxhelp1.com
< Directory " /srv/www/htdocs/" >
DirectoryIndex index.php
Options FollowSymLinks
AllowOverride All
Require all granted
< /Directory>
< /VirtualHost>
Once it is done, you need to restart your Apache service.
linuxhelp:/srv/www/htdocs # systemctl restart apache
You should also provide an appropriate owner permission and file execution permission as follows.
linuxhelp:/srv/www/htdocs # chown -R wwwrun:www /srv/www/htdocs/
linuxhelp:/srv/www/htdocs # chmod -R 775 /srv/www/htdocs/
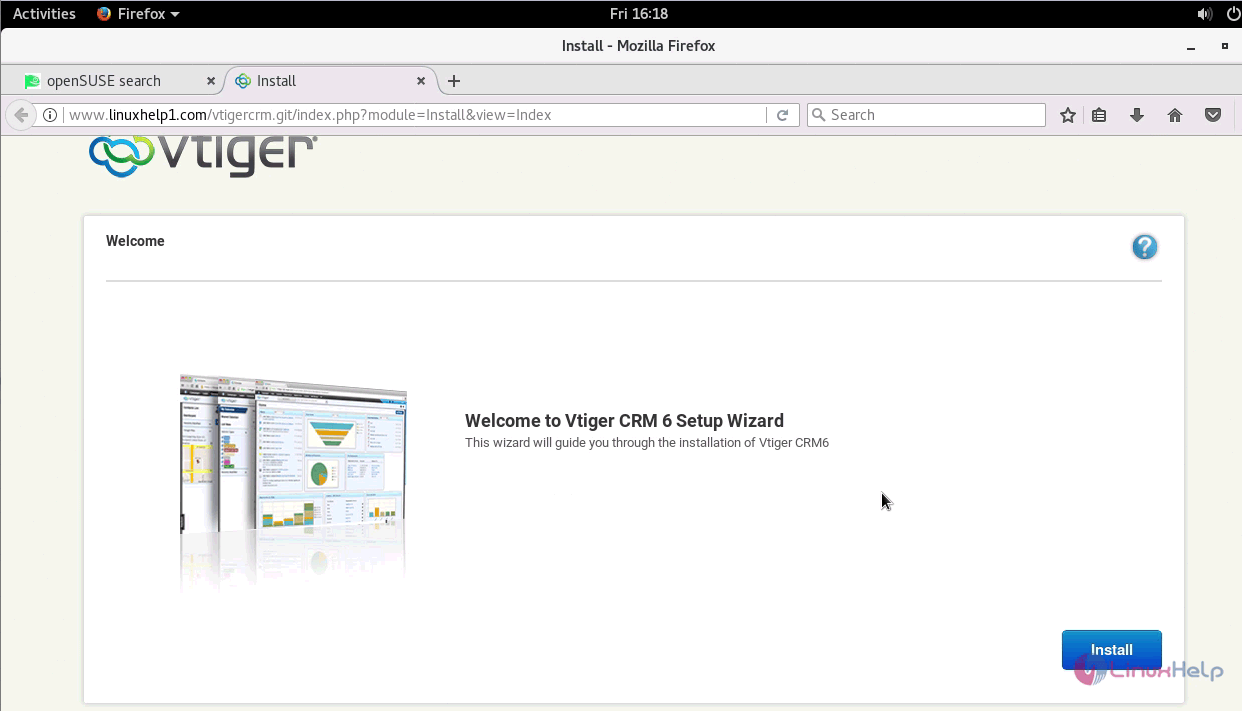
Once it is done, you need to switch over to your browser and proceed with the installation process. Enter http://< your_domain> in the URL search field. Once the installer appears, click on the Install button.
Click on I Agree for Vtiger Public License.

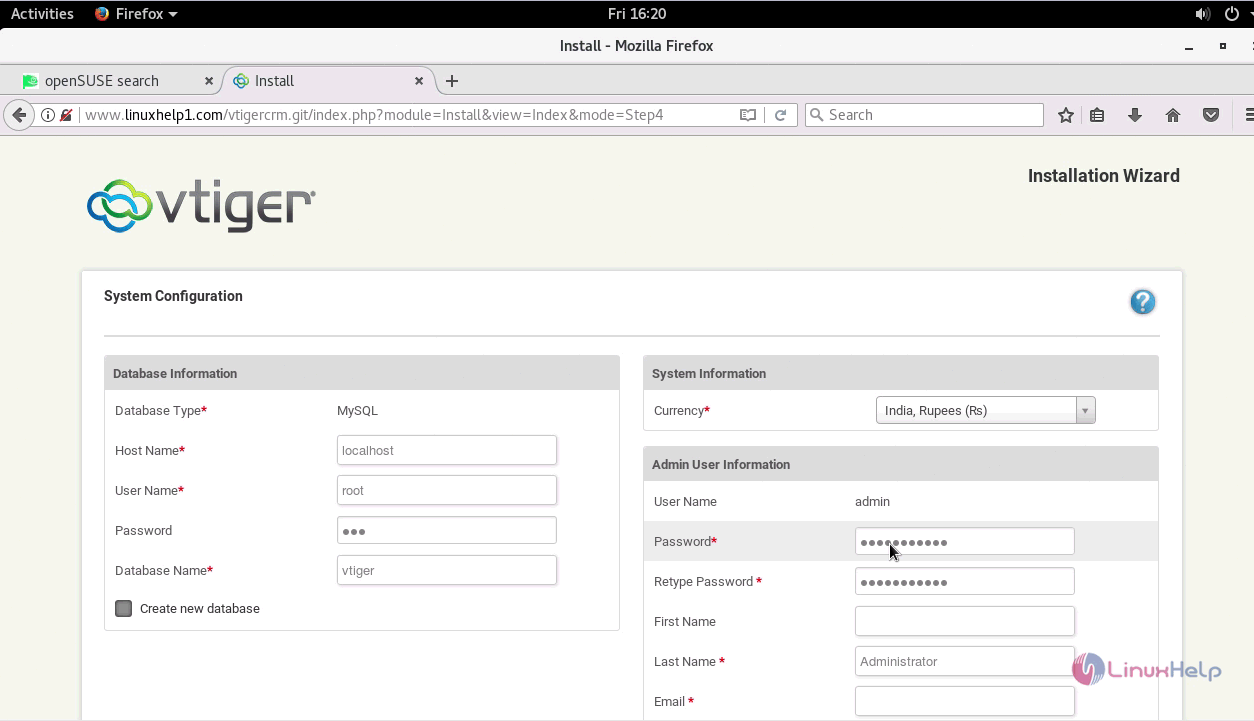
You' ll be asked to enter all the system information. Fill all the details, especially the required fields.
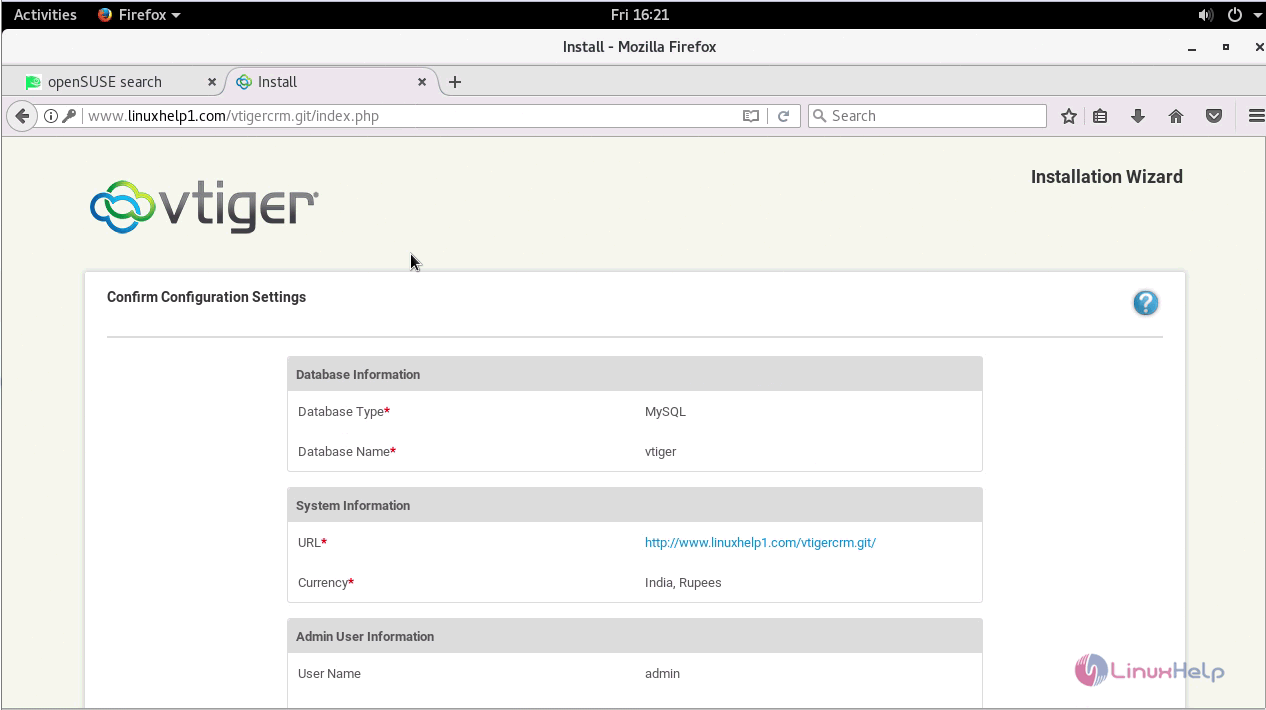
Once it is done, confirm your configuration settings.
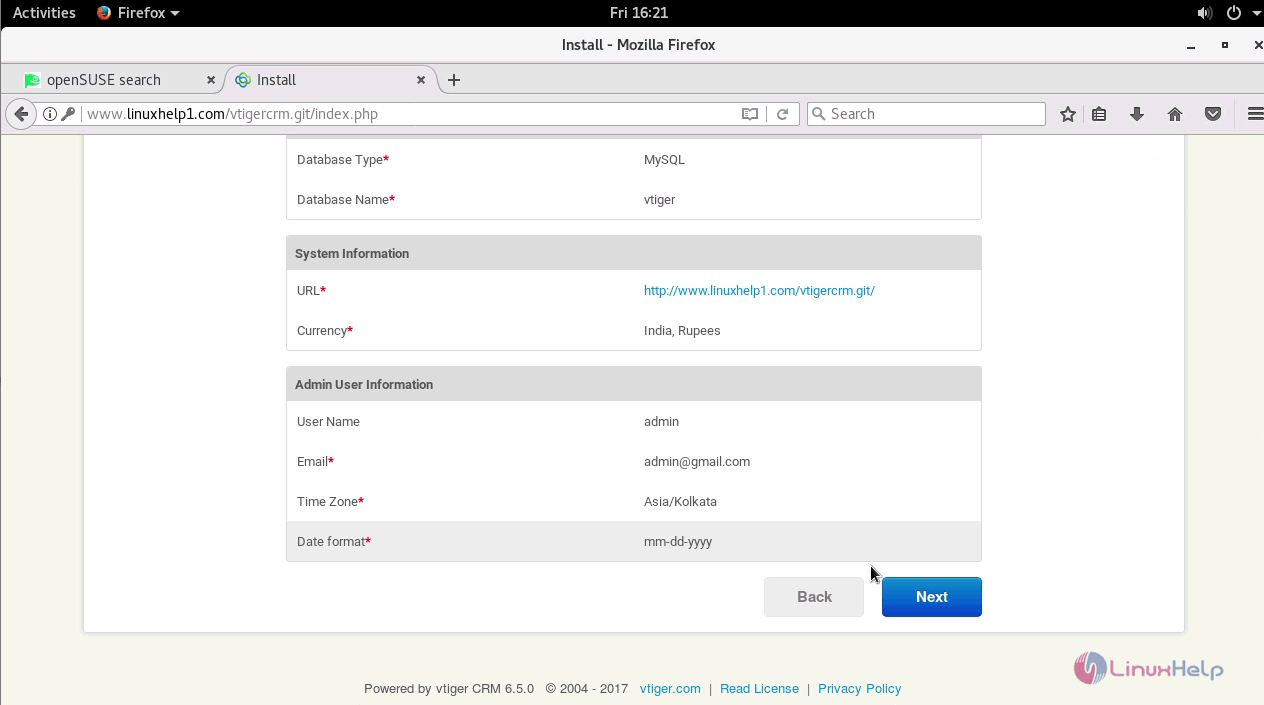
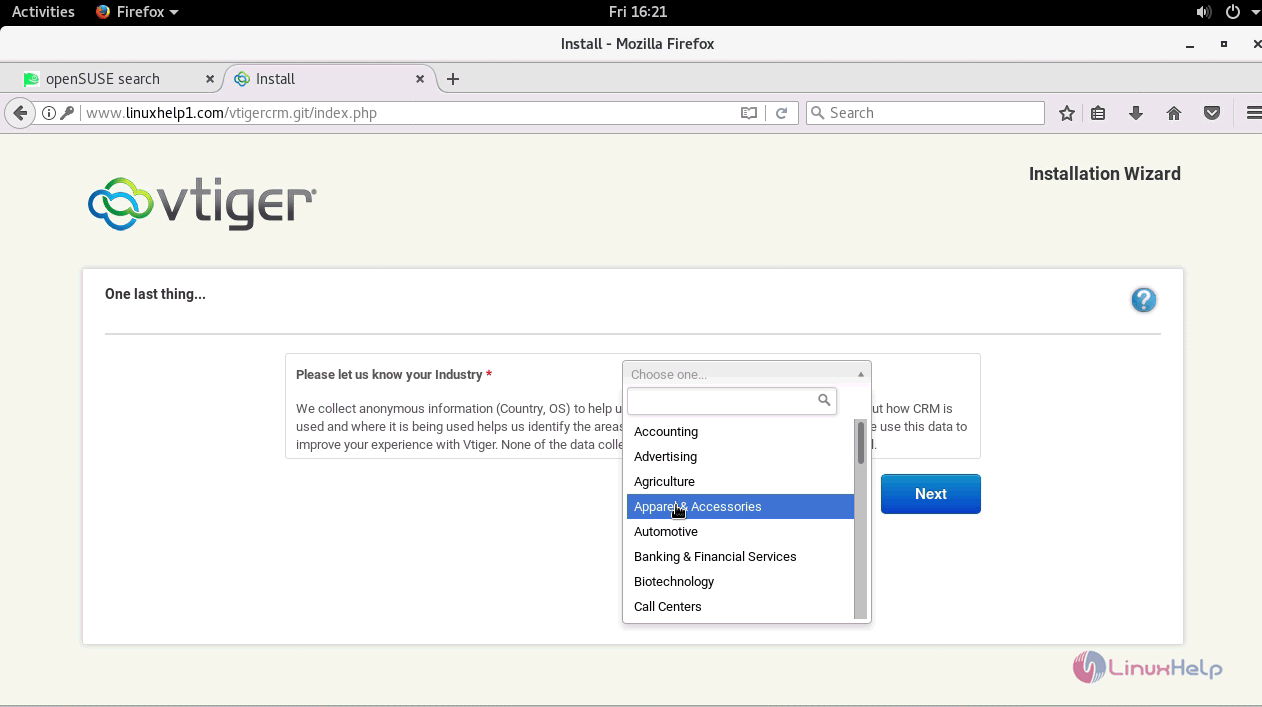
Also, you should specify your industry and click on Next. It will trigger the installation process.

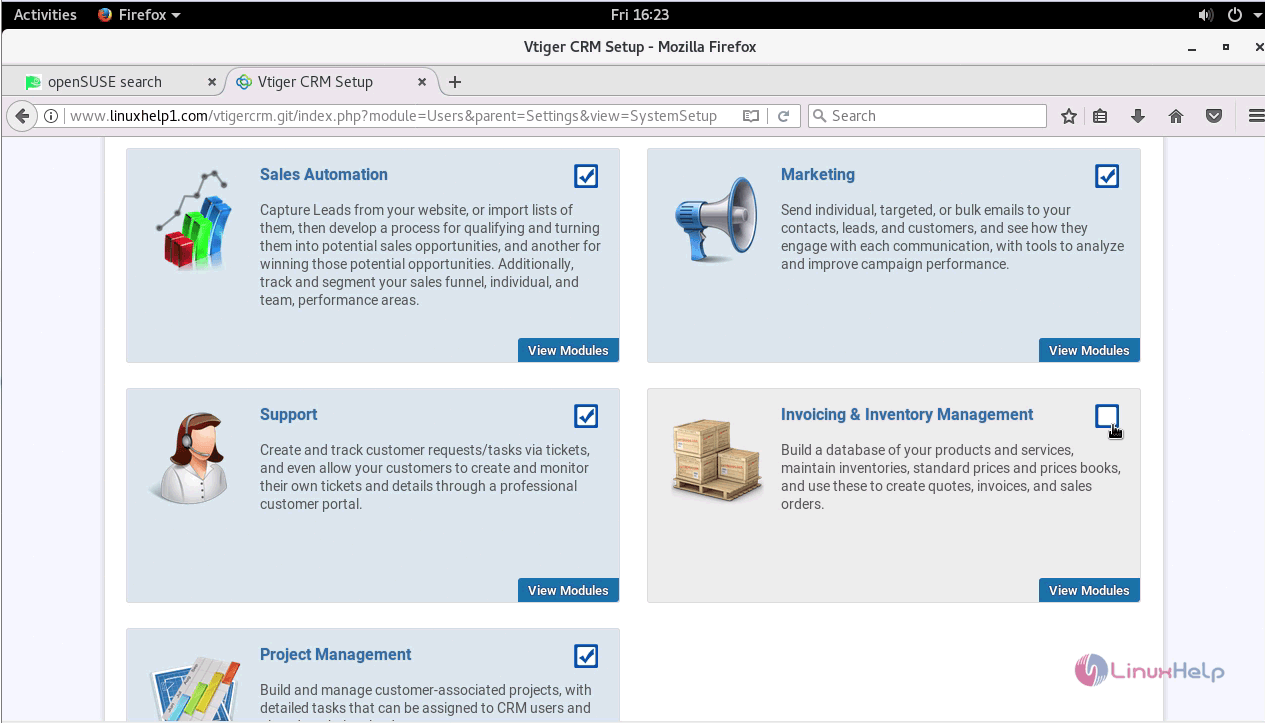
Once the installation is done, you shall view all the modules available on it.
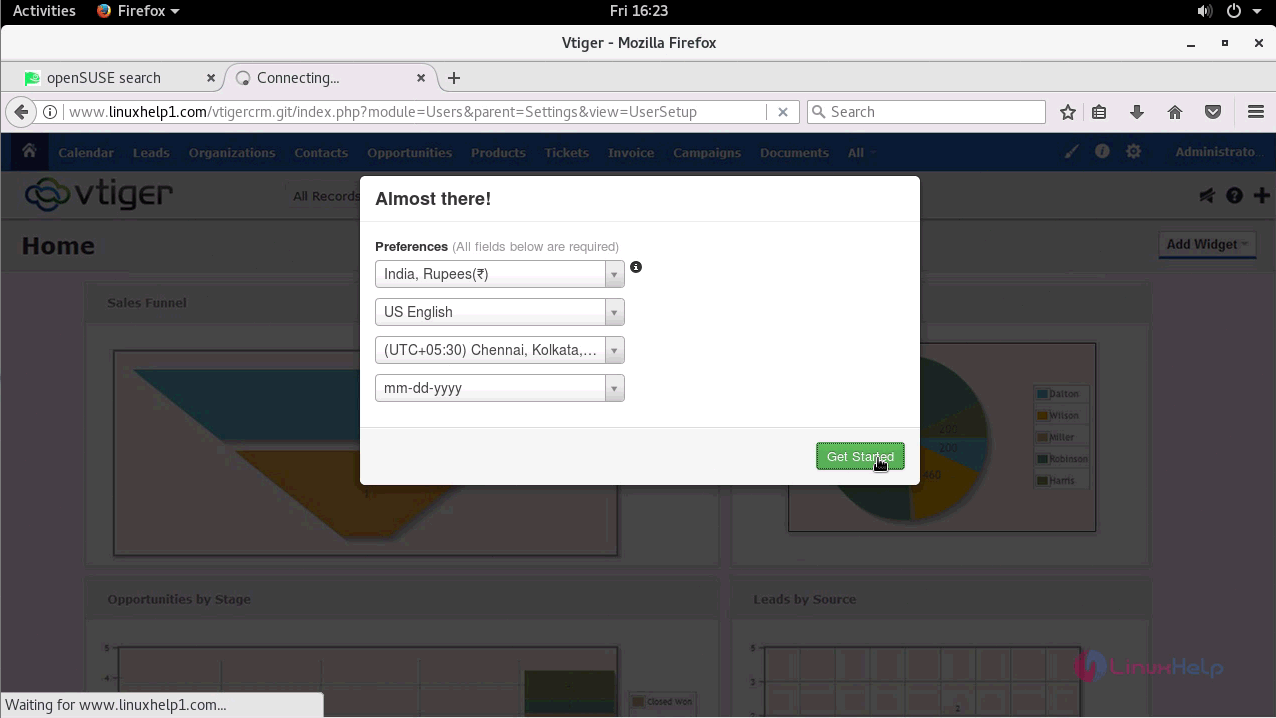
In order to get started, you must set the preferences.
Once you are through with all those procedures you can access Vtiger CRM without any issues.
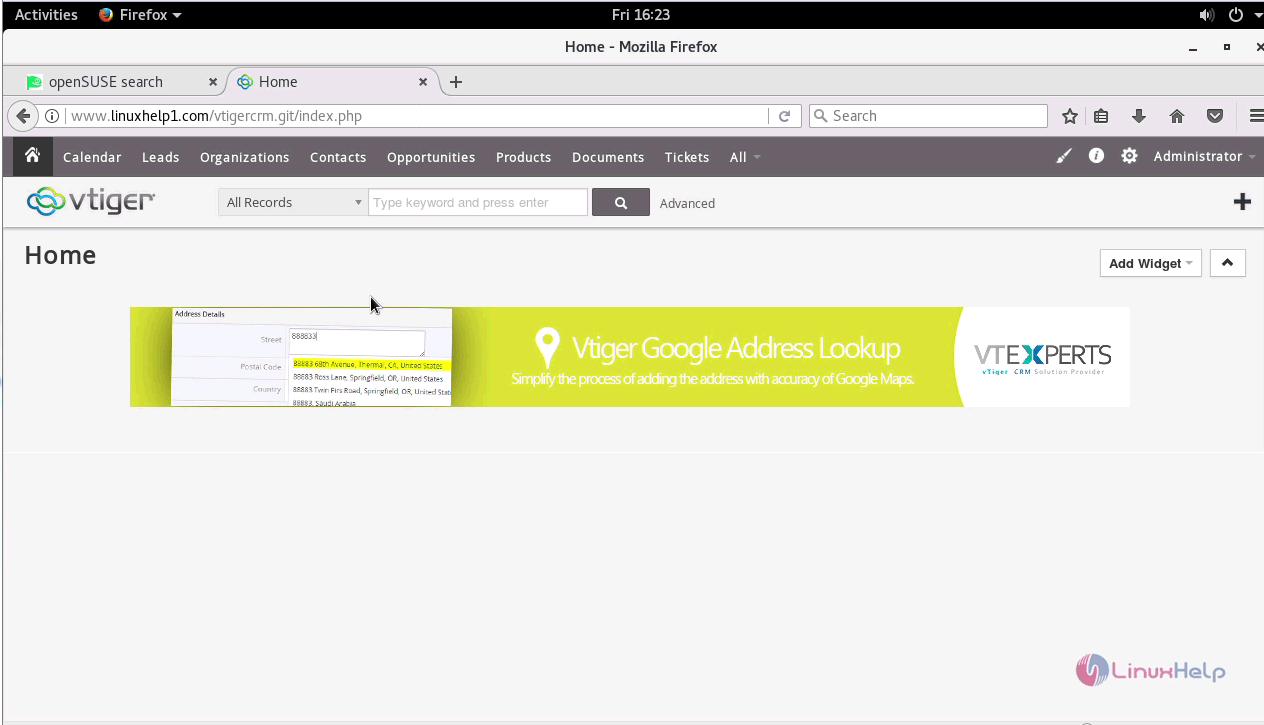
With this, installation of Vtiger CRM comes to an end.
Comments ( 0 )
No comments available