How to install webstorm 2018.1 on ubuntu 18.04
To install WebStorm 2018.1 on Ubuntu 18.04
WebStorm is a coding assistance for JavaScript. It is compiled-to-JavaScript languages, Node.js, HTML, and CSS. Installation of Webstorm in Ubuntu is easy and it is explained in this tutorial.
Features
&bull Modern frameworks,
&bull Debugging, tracing and testing,
&bull Seamless tool integration.
Installing Web Storm 2018.1
In order to install web storm, we must install Java so let' s add the java repository by using the following command.
root@linuxhelp:~# add-apt-repository ppa:webupd8team/java
 Oracle Java (JDK) Installer (automatically downloads and installs Oracle JDK7 / JDK8 / JDK9). There are no actual Java files in this PPA.

Important ->  Why Oracle Java 7 And 6 Installers No Longer Work: http://www.webupd8.org/2017/06/why-oracle-java-7-and-6-installers-no.html

Ubuntu 16.10 Yakkety Yak is no longer supported by Canonical (and thus, Launchpad and this PPA). The PPA supports Ubuntu 17.10, 17.04, 16.04, 14.04 and 12.04.

More info (and Ubuntu installation instructions):
- for Oracle Java 7: http://www.webupd8.org/2012/01/install-oracle-java-jdk-7-in-ubuntu-via.html
- for Oracle Java 8: http://www.webupd8.org/2012/09/install-oracle-java-8-in-ubuntu-via-ppa.html
.
.
Get:18 http://in.archive.ubuntu.com/ubuntu bionic/universe DEP-11 64x64 Icons [8,128 kB]
Get:19 http://in.archive.ubuntu.com/ubuntu bionic/multiverse amd64 DEP-11 Metadata [40.9 kB]
Get:20 http://in.archive.ubuntu.com/ubuntu bionic/multiverse DEP-11 64x64 Icons [216 kB]
Fetched 36.9 MB in 52s (715 kB/s)
Reading package lists... Done
The repository has been added now and after updating system repository package you can install Oracle-java9-installer by using the following command.
root@linuxhelp:~# apt-get install oracle-java9-installer
Reading package lists... Done
Building dependency tree
Reading state information... Done
The following packages were automatically installed and are no longer required:
  apache2-bin apache2-data apache2-utils libapr1 libaprutil1 libaprutil1-dbd-sqlite3 libaprutil1-ldap
Use ' apt autoremove'  to remove them.
The following additional packages will be installed:
  gsfonts-x11 java-common oracle-java9-set-default
Suggested packages:
  binfmt-support visualvm ttf-baekmuk | ttf-unfonts | ttf-unfonts-core ttf-kochi-gothic | ttf-sazanami-gothic
.
.
Processing triggers for shared-mime-info (1.9-2) ...
Setting up oracle-java9-set-default (9.0.4-1~webupd8~0) ...
Processing triggers for gnome-menus (3.13.3-11ubuntu1) ...
Processing triggers for hicolor-icon-theme (0.17-2) ...
Processing triggers for fontconfig (2.12.6-0ubuntu1) ...
Java is installed and you can verify that by checking by verifying the java version.
root@linuxhelp:~# java -version
java version " 9.0.4"
Java(TM) SE Runtime Environment (build 9.0.4+11)
Java HotSpot(TM) 64-Bit Server VM (build 9.0.4+11, mixed mode)
Now download web storm tarball file from its official website by using “ wget” command from the terminal.
root@linuxhelp:~# wget https://download.jetbrains.com/webstorm/WebStorm-2018.1.tar.gz
--2018-04-12 03:55:39--  https://download.jetbrains.com/webstorm/WebStorm-2018.1.tar.gz
Resolving download.jetbrains.com (download.jetbrains.com)... 52.18.241.155, 52.50.13.42, 2a05:d018:93b:d103:7563:e3f4:7486:c368, ...
Connecting to download.jetbrains.com (download.jetbrains.com)|52.18.241.155|:443... connected.
HTTP request sent, awaiting response... 302 Moved Temporarily
Location: https://download-cf.jetbrains.com/webstorm/WebStorm-2018.1.tar.gz [following]
--2018-04-12 03:55:40--  https://download-cf.jetbrains.com/webstorm/WebStorm-2018.1.tar.gz
Resolving download-cf.jetbrains.com (download-cf.jetbrains.com)... 52.222.176.9, 52.222.176.58, 52.222.176.136, ...
Connecting to download-cf.jetbrains.com (download-cf.jetbrains.com)|52.222.176.9|:443... connected.
HTTP request sent, awaiting response... 200 OK
Length: 244848180 (234M) [binary/octet-stream]
Saving to: ‘ WebStorm-2018.1.tar.gz’

WebStorm-2018.1.tar.gz         100%[====================================================> ] 233.50M  1.11MB/s    in 3m 32s

2018-04-12 03:59:13 (1.10 MB/s) - ‘ WebStorm-2018.1.tar.gz’  saved [244848180/244848180]
After downloading extract the file using the following command.
root@linuxhelp:~# tar xfz WebStorm-2018.1.tar.gz
Navigate into the /bin directory of webstorm
root@linuxhelp:~# cd WebStorm-181.4203.535/
root@linuxhelp:~/WebStorm-181.4203.535# ls
bin  build.txt  help  Install-Linux-tar.txt  jre64  lib  license  plugins
root@linuxhelp:~/WebStorm-181.4203.535# cd bin/
root@linuxhelp:~/WebStorm-181.4203.535/bin#
After extracting navigate to the /bin directory from extracted webstorm directory.
root@linuxhelp:~/WebStorm-181.4203.535# cd bin/
root@linuxhelp:~/WebStorm-181.4203.535/bin#
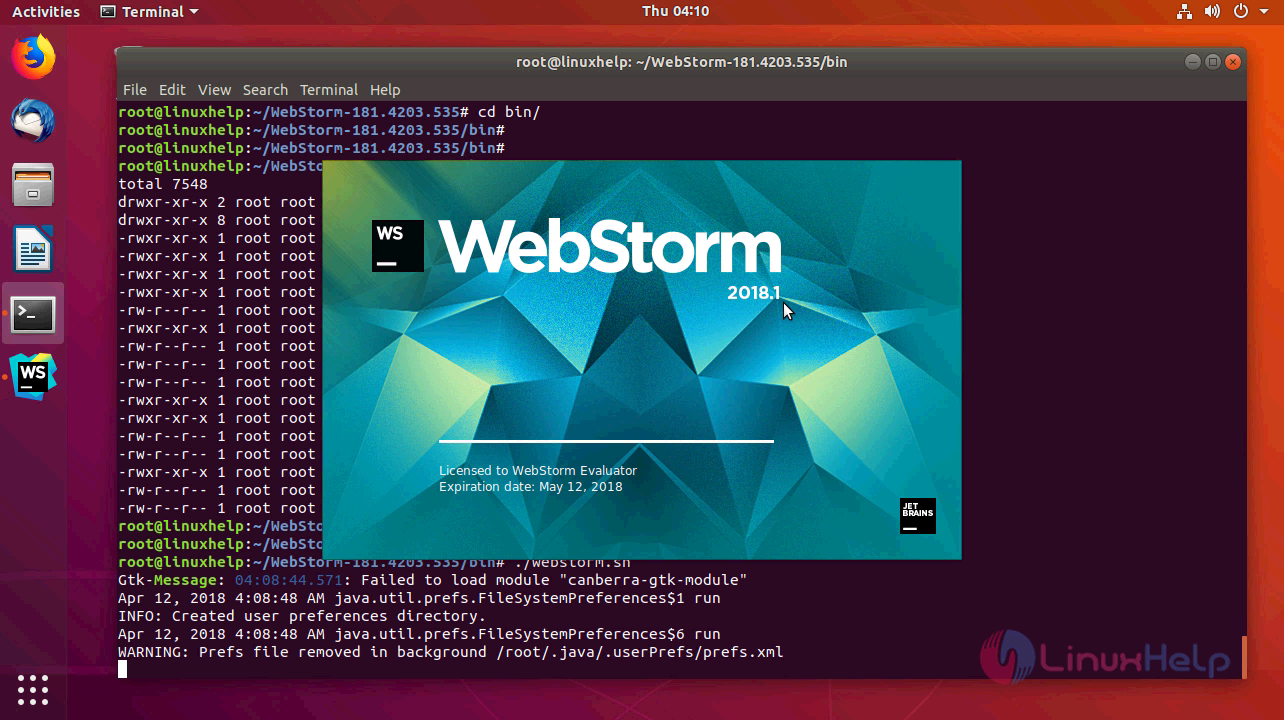
Now run the following command for executing webstorm.sh file, this will start the webstorm.
root@linuxhelp:~/WebStorm-181.4203.535/bin# ./webstorm.sh
Gtk-Message: 04:08:44.571: Failed to load module " canberra-gtk-module"
Apr 12, 2018 4:08:48 AM java.util.prefs.FileSystemPreferences$1 run
INFO: Created user preferences directory.
Apr 12, 2018 4:08:48 AM java.util.prefs.FileSystemPreferences$6 run
WARNING: Prefs file removed in background /root/.java/.userPrefs/prefs.xml
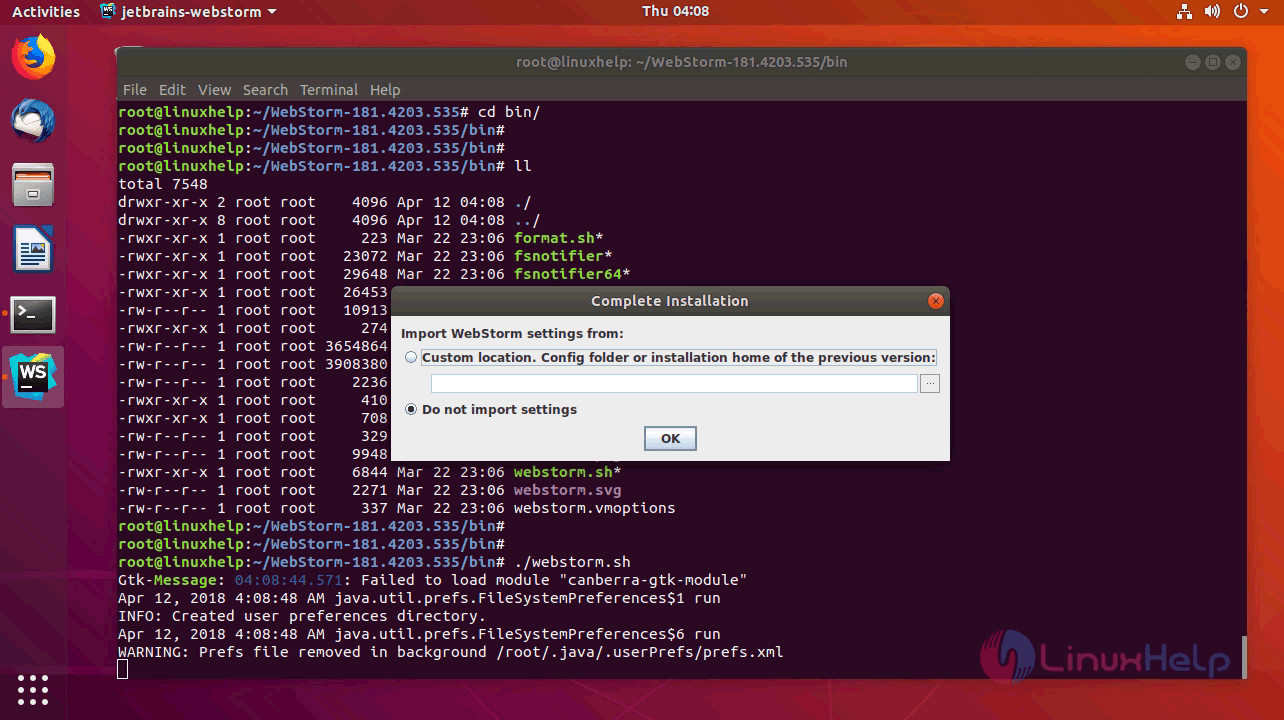
The following screen will appear now. If you are installing webstorm freshly choose do not import and click ok or if you already have a settings file you can import and use
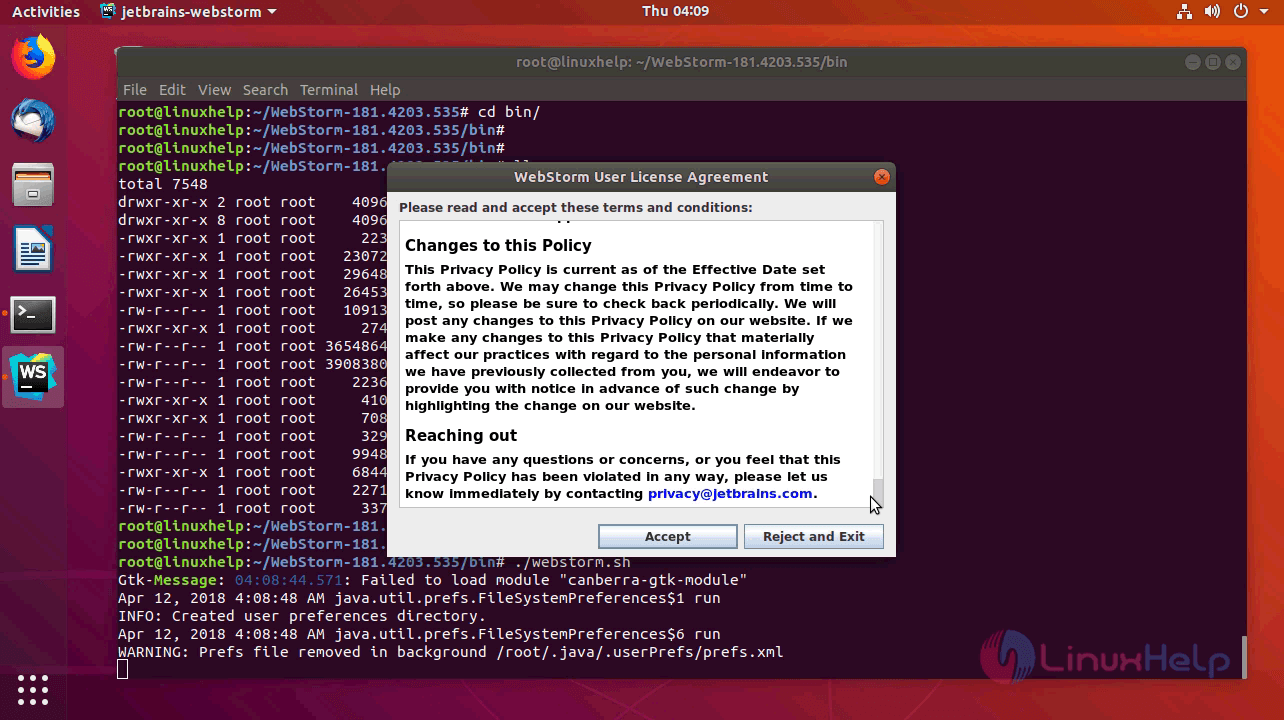
At next window, you need to accept the license by clicking Accept.
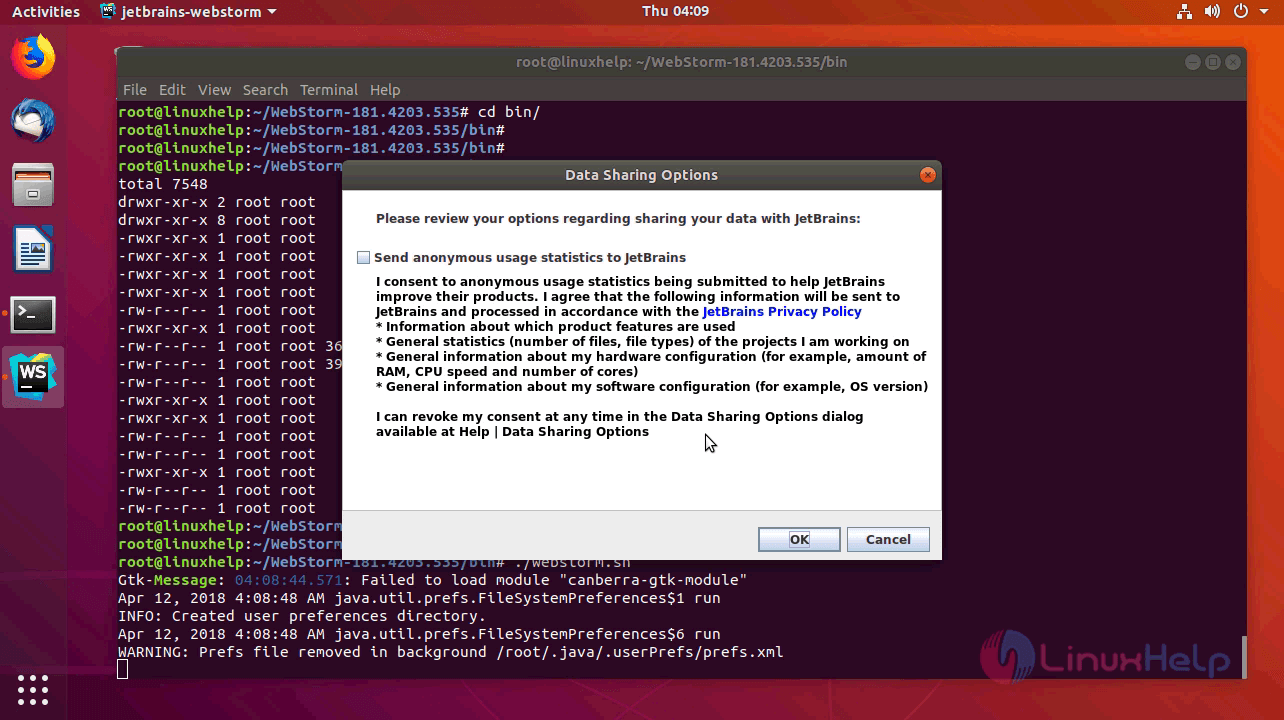
If you want to share the usage data with JetBrains you can make use of this option. if you chose, not to share just untick the tick box and click OK.
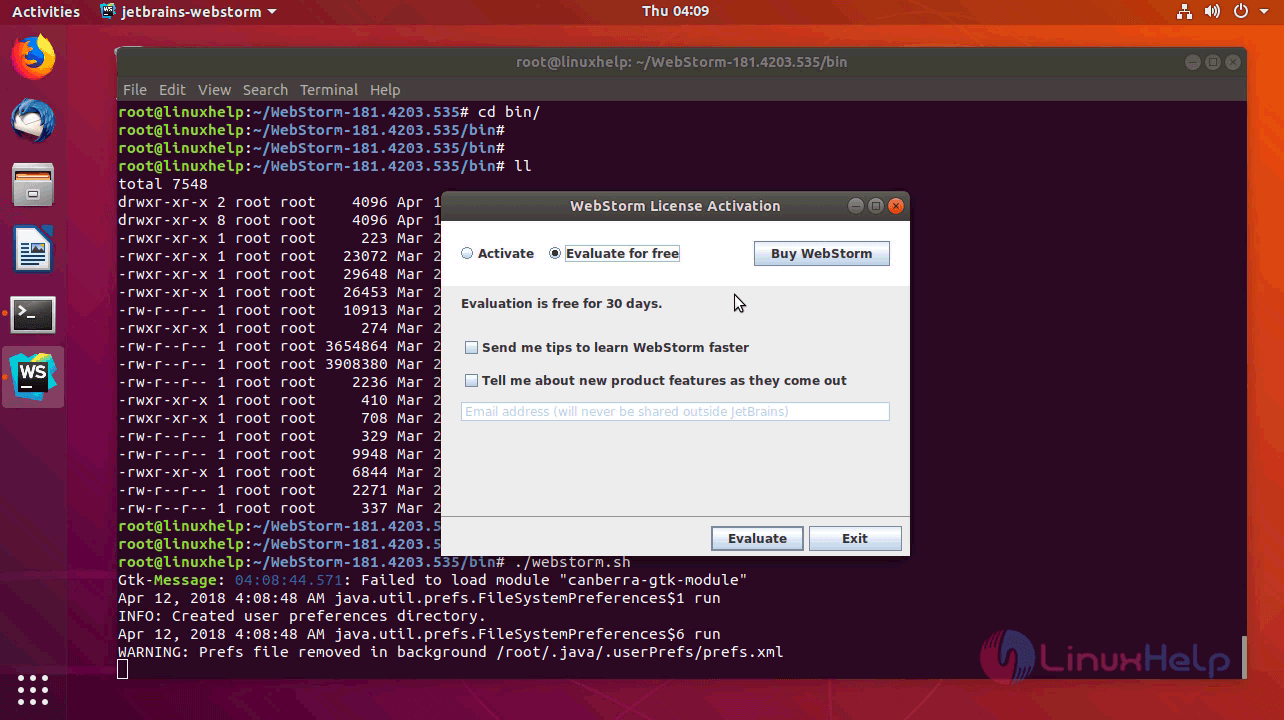
If you already bought the webstorm you can activate using the key they provided or else you can even buy it from here. But, here we are going to use a trial version for 30 days so, I am choosing to evaluate for free and click evaluate.
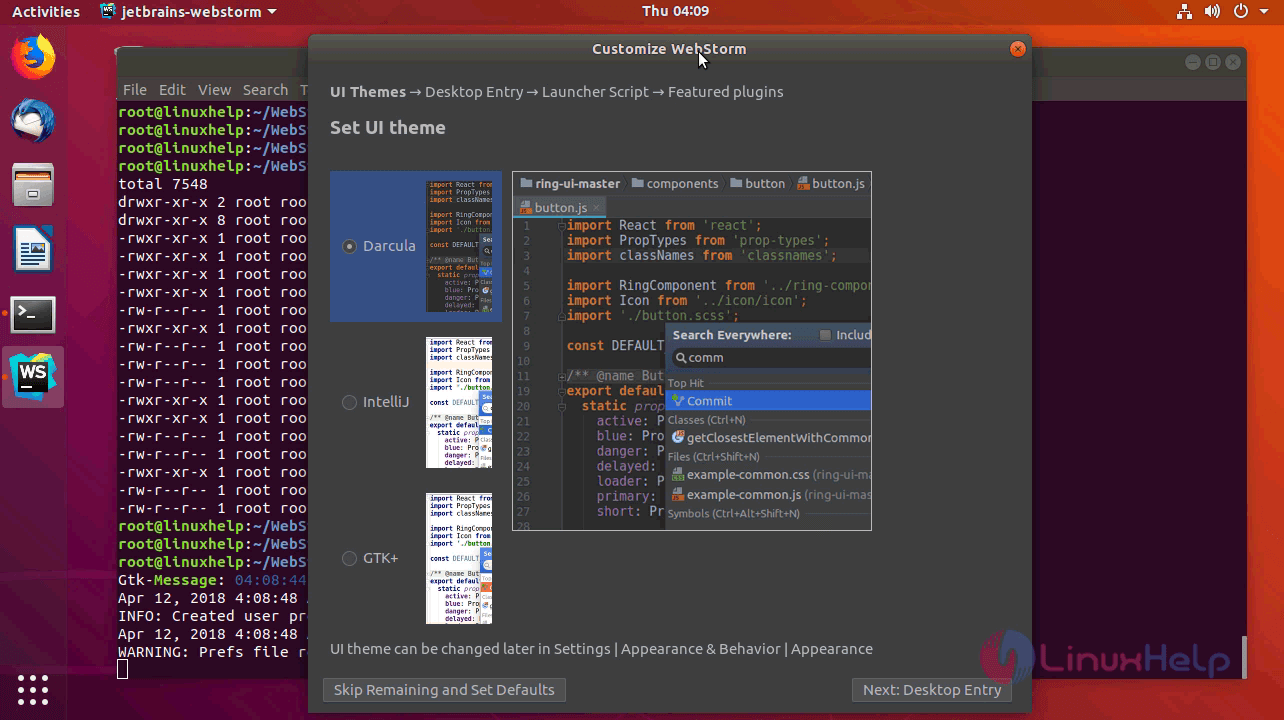
Now choose the UI of the webstorm and proceed for desktop entry.
Choose the privileges and click next to configure launcher script.

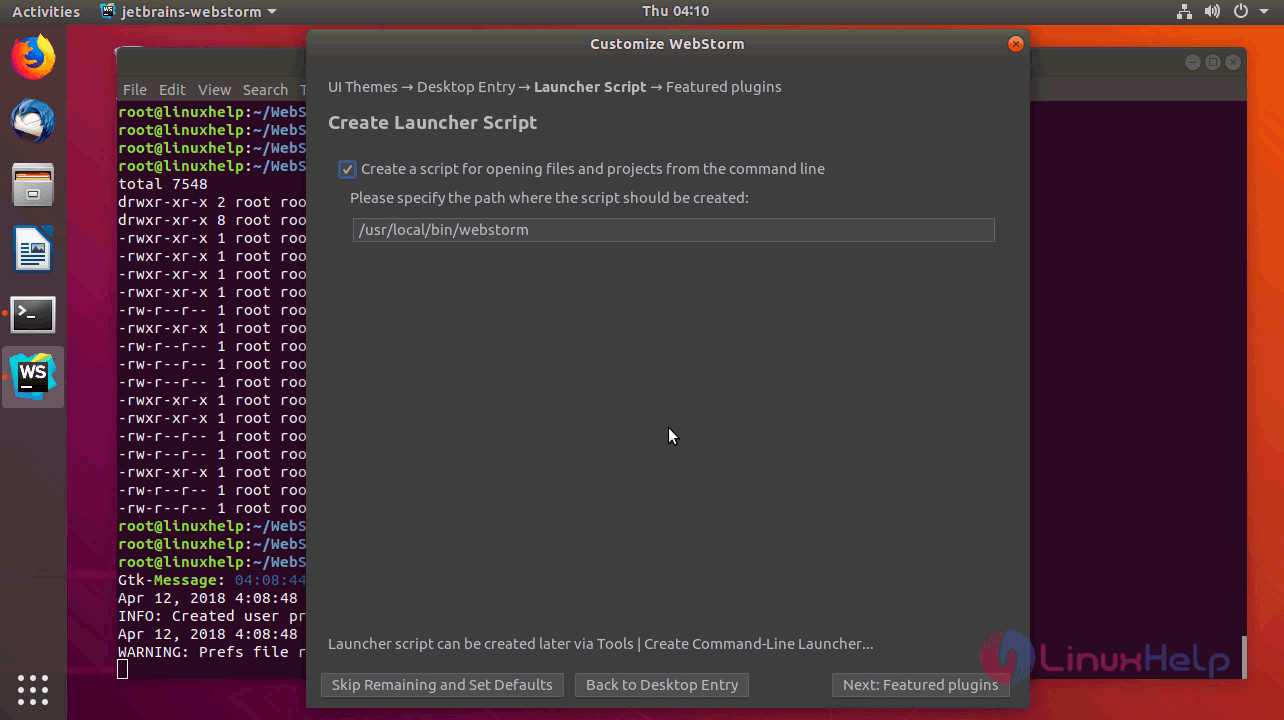
Choose the location to create a script for opening files from the command line.
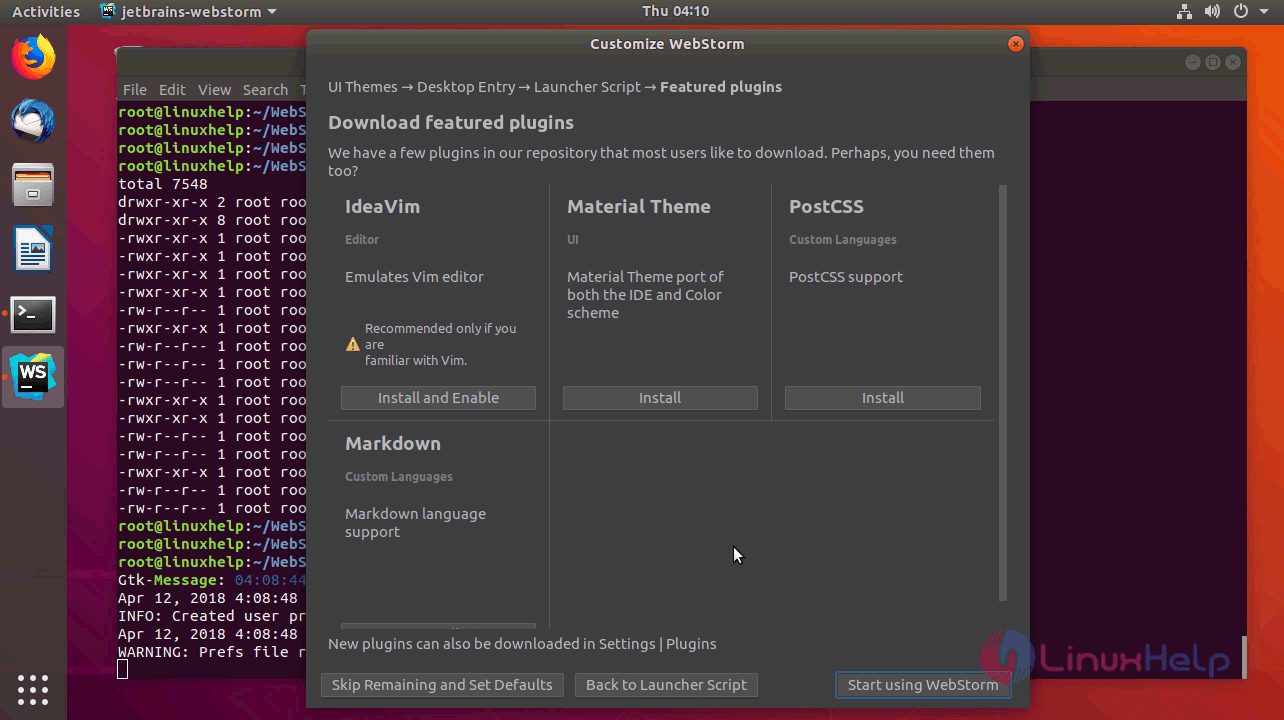
If you want to customize or install the plugins you can do it from here. after all the setup has configured you can click on start using webstorm.
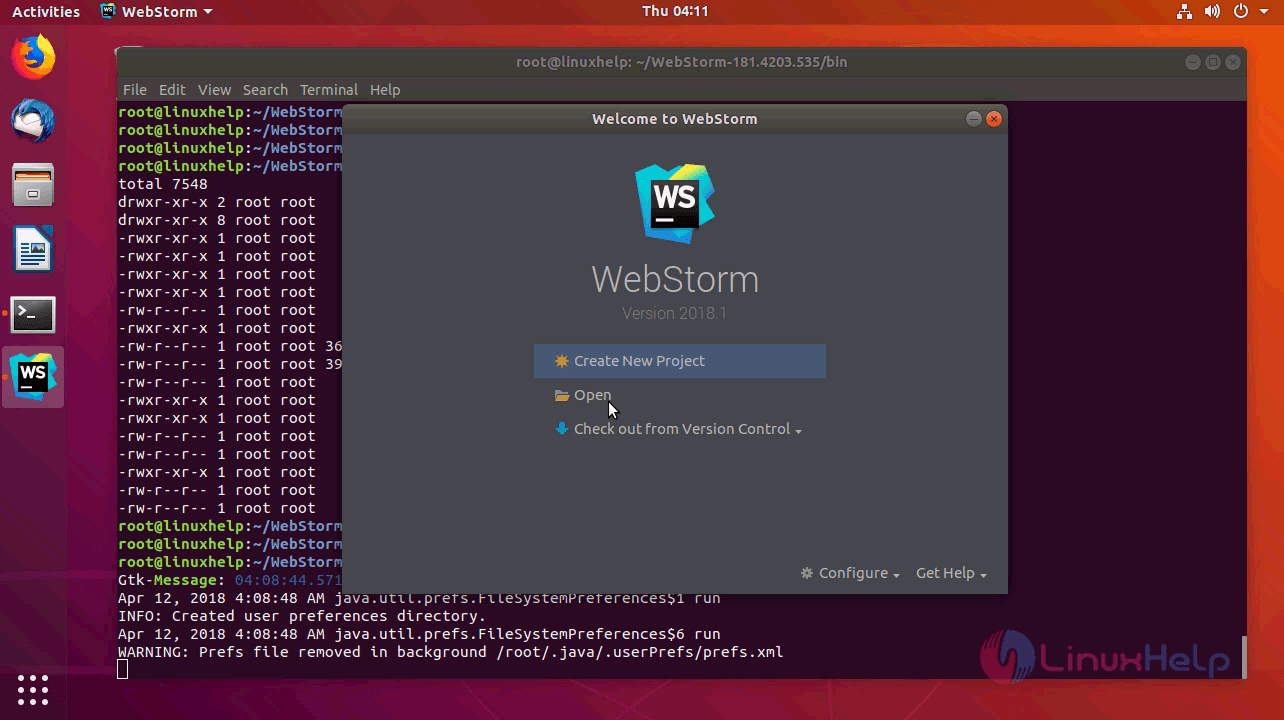
Create a project or open a created project to start working. we have chosen a create new project option.
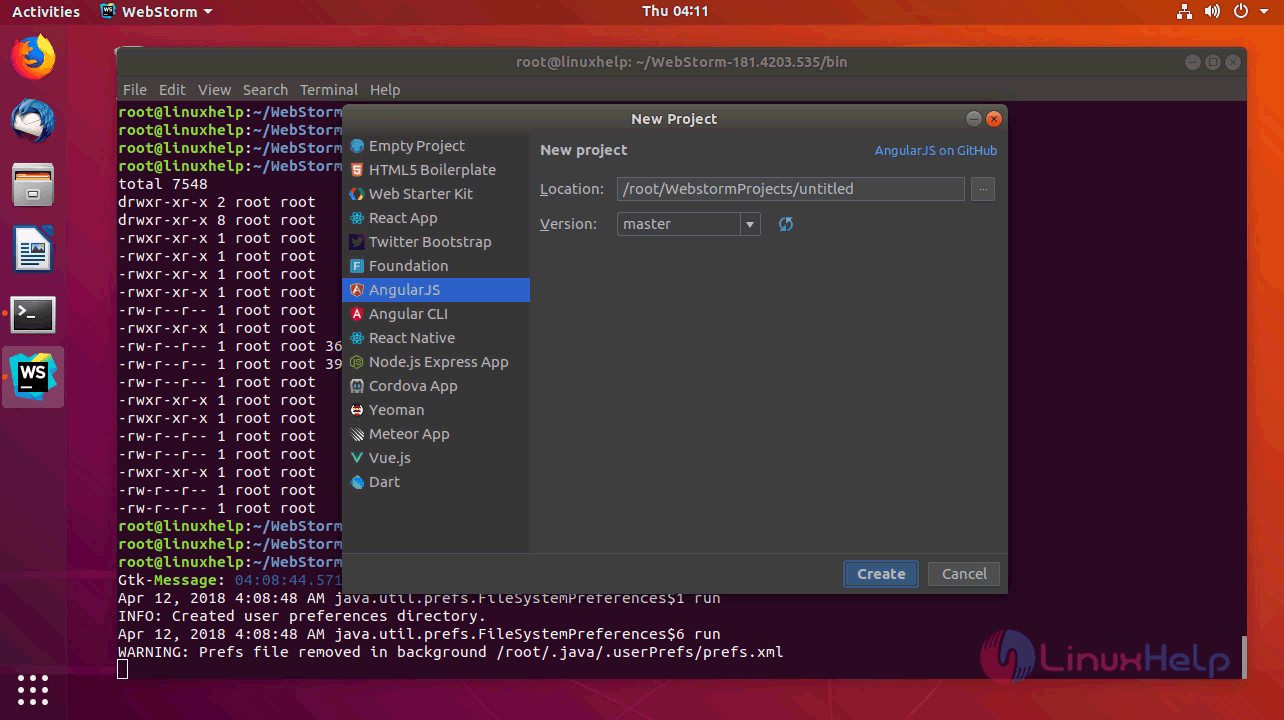
Choose the platform of your project and click create.
And webstorm is open now for working on your project.
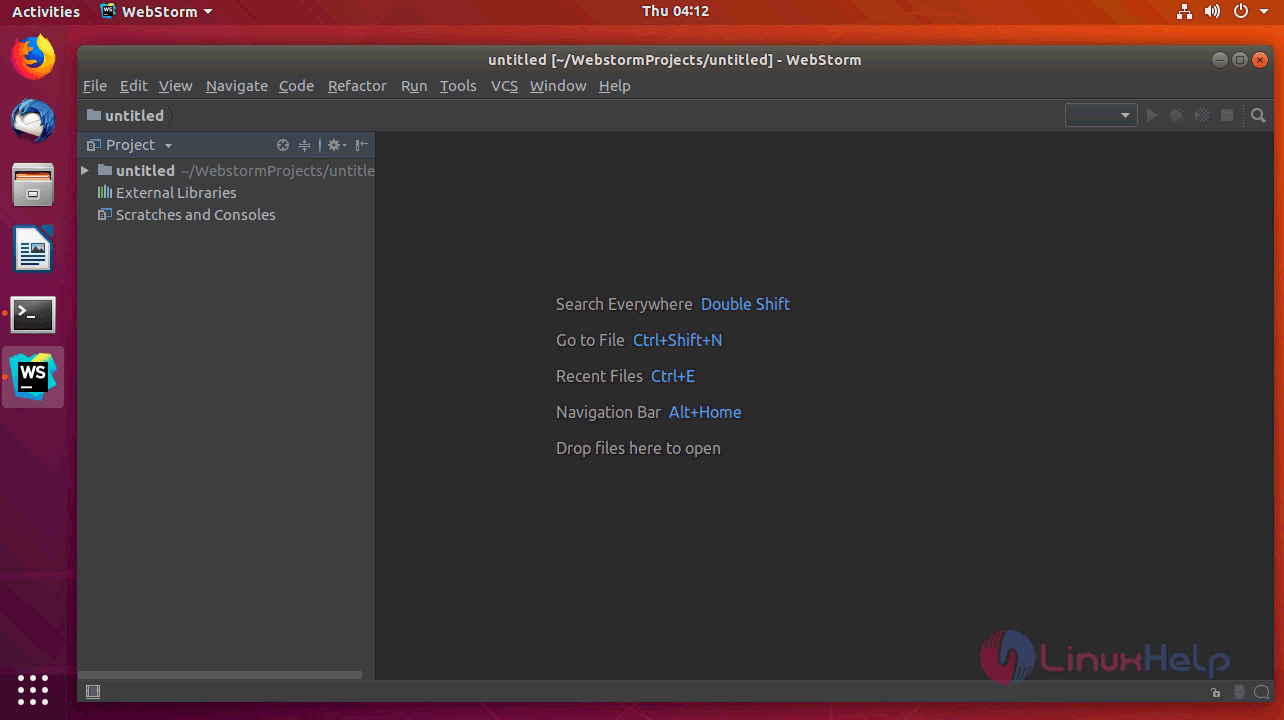
With this, the method to install webstorm 2018.1 on Ubuntu 18.04 comes to an end.
Comments ( 1 )