How to install Wordpress – 4.9.4 on Ubuntu – 17.04
How to install Wordpress 4.9.4 on Ubuntu 17.04
Wordpress is the most powerful and popular content management system (CMS) application. It is a PHP based application and using MySQL database. Wordpress CMS is a software they facilitate creating, editing, organizing and publishing content on the web. This tutorial will explain the installation of Wordpress on Ubuntu 17.04.
Prerequisite
Wordpress requires a web server to functionally based on LAMP setup on your system and also with following required PHP modules
apt-get install php-mysql php-curl php-json php-cgi php libapache2-mod-php php-mcrypt php-xmlrpc php-gd php-mbstring php
php-common  php-xmlrpc php-soap  php-xml php-intl  php-cli  php-ldap php-zip php-readline php-imap
Installation
First, Let' s start with updating the system repository.
root@linuxhelp1:~# apt-get update
Hit:1 http://old-releases.ubuntu.com/ubuntu zesty InRelease
Hit:2 http://old-releases.ubuntu.com/ubuntu zesty-updates InRelease
Hit:3 http://old-releases.ubuntu.com/ubuntu zesty-backports InRelease
Hit:4 http://old-releases.ubuntu.com/ubuntu zesty-security InRelease
Reading package lists... Done
And then we have to create a database for WordPress and configure as shown below.
root@linuxhelp1:~# mysql -u root -p
Enter password:
Welcome to the MariaDB monitor.  Commands end with   or g.
Your MariaDB connection id is 10
Server version: 10.1.25-MariaDB- Ubuntu 17.04

Copyright (c) 2000, 2017, Oracle, MariaDB Corporation Ab and others.

Type ' help '  or ' h'  for help. Type ' c'  to clear the current input statement.

MariaDB [(none)]>  CREATE DATABASE wordpress
Query OK, 1 row affected (0.00 sec)

MariaDB [(none)]>  GRANT ALL PRIVILEGES ON wordpress.* TO ' worduser' @' localhost'  IDENTIFIED BY ' 123'
Query OK, 0 rows affected (0.03 sec)

MariaDB [(none)]>  FLUSH PRIVILEGES
Query OK, 0 rows affected (0.00 sec)

MariaDB [(none)]>  EXIT
Bye
Now switch to the /tmp directory and download the package.
root@linuxhelp1:~# cd /tmp/
you can make use of the following command to download the package.
root@linuxhelp1:/tmp# wget https://wordpress.org/latest.tar.gz
--2018-03-23 23:43:24--  https://wordpress.org/latest.tar.gz
Resolving wordpress.org (wordpress.org)... 198.143.164.252
Connecting to wordpress.org (wordpress.org)|198.143.164.252|:443... connected.
HTTP request sent, awaiting response... 200 OK
Length: 8565525 (8.2M) [application/octet-stream]
Saving to: ‘ latest.tar.gz’

latest.tar.gz           100%[==============================> ]   8.17M   983KB/s    in 10s

2018-03-23 23:43:35 (836 KB/s) - ‘ latest.tar.gz’  saved [8565525/8565525]
After downloading the package you have to extract them using the following command.
root@linuxhelp1:/tmp# tar -zxvf latest.tar.gz
wordpress/
wordpress/xmlrpc.php
wordpress/wp-blog-header.php
wordpress/readme.html
wordpress/wp-signup.php
wordpress/index.php
wordpress/wp-cron.php
wordpress/wp-config-sample.php
wordpress/wp-login.php
wordpress/wp-settings.php
wordpress/license.txt
wordpress/wp-content/
wordpress/wp-content/themes/
.
.
wordpress/wp-admin/js/editor-expand.js
wordpress/wp-admin/js/code-editor.min.js
wordpress/wp-admin/js/set-post-thumbnail.js
wordpress/wp-admin/options-permalink.php
wordpress/wp-admin/widgets.php
wordpress/wp-admin/setup-config.php
wordpress/wp-admin/install.php
wordpress/wp-admin/admin-header.php
wordpress/wp-admin/post-new.php
wordpress/wp-admin/themes.php
wordpress/wp-admin/options-reading.php
wordpress/wp-trackback.php
wordpress/wp-comments-post.php
Now move the extracted directory to the Apache root directory.
root@linuxhelp1:/tmp# mv wordpress /var/www/
Next, we need to change the ownership of the directory using the following command.
root@linuxhelp1:/var/www# chown -R www-data.www-data wordpress/
Next, we need to change the permission of the directory.
root@linuxhelp1:/var/www# chmod -R 775 wordpress
Now, Open the php.ini file and change the following lines as shown below.
root@linuxhelp1:~# vim /etc/php/7.0/apache2/php.ini
[..]
file_uploads = On
max_execution_time = 180
memory_limit = 256M
upload_max_file_size = 64M
[..]
Next, create a virtual host configuration file for the Wordpress.
root@linuxhelp1:/var/www# vim /etc/apache2/sites-available/word.conf
[..]
< VirtualHost *:80>
ServerName www.linuxhelp1.com
DocumentRoot /var/www/wordpress/

< Directory /var/www/wordpress/>
AllowOverride All
allow from all
< /Directory>

< /VirtualHost>
[..]
After configuring the host file, you have to enable the site using the following command.
root@linuxhelp1:/var/www# a2ensite word.conf
Enabling site word.
To activate the new configuration, you need to run
  systemctl reload apache2
And also you have to disable the apache default page by using the following command.
root@linuxhelp1:/var/www# a2dissite 000-default.conf
Site 000-default disabled.
To activate the new configuration, you need to run
  systemctl reload apache2
Finally, restart the apache2 to make the changes effect.
root@linuxhelp1:/var/www# systemctl restart apache2
Next, proceed for the further installation by navigating to the following URL: http://ip-address or http://domain-name.
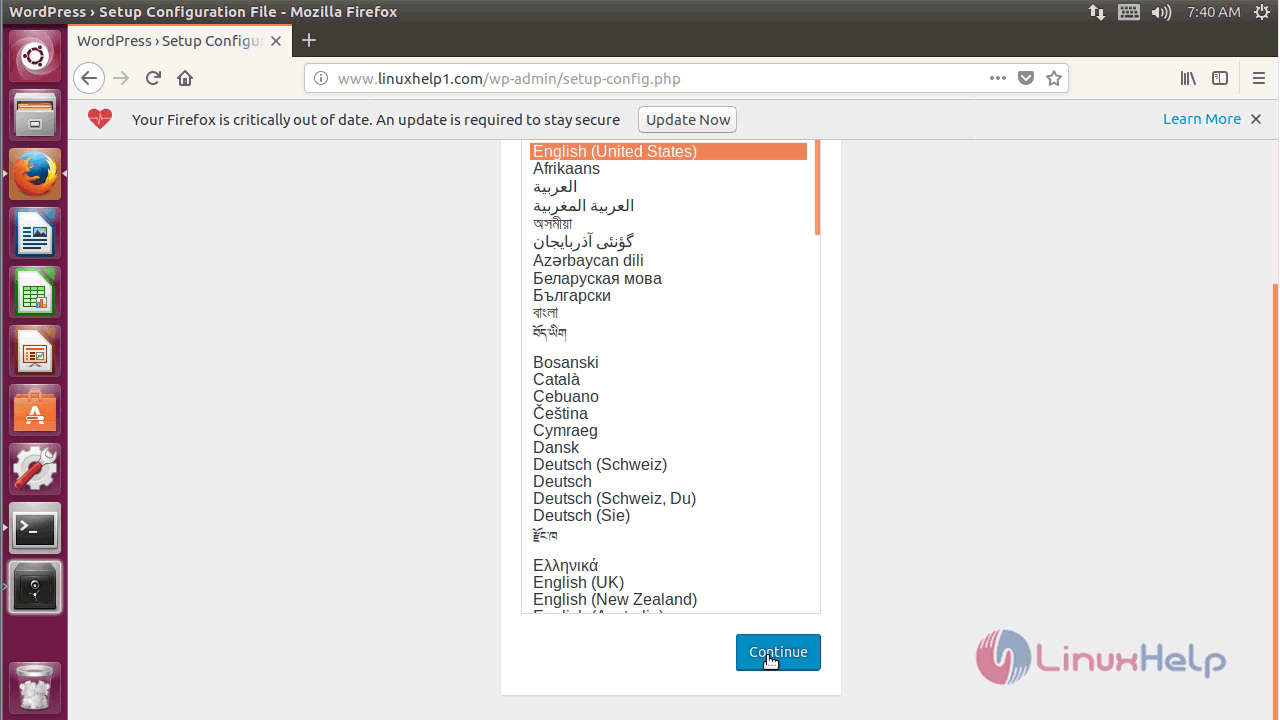
First, choose language preference and continue.
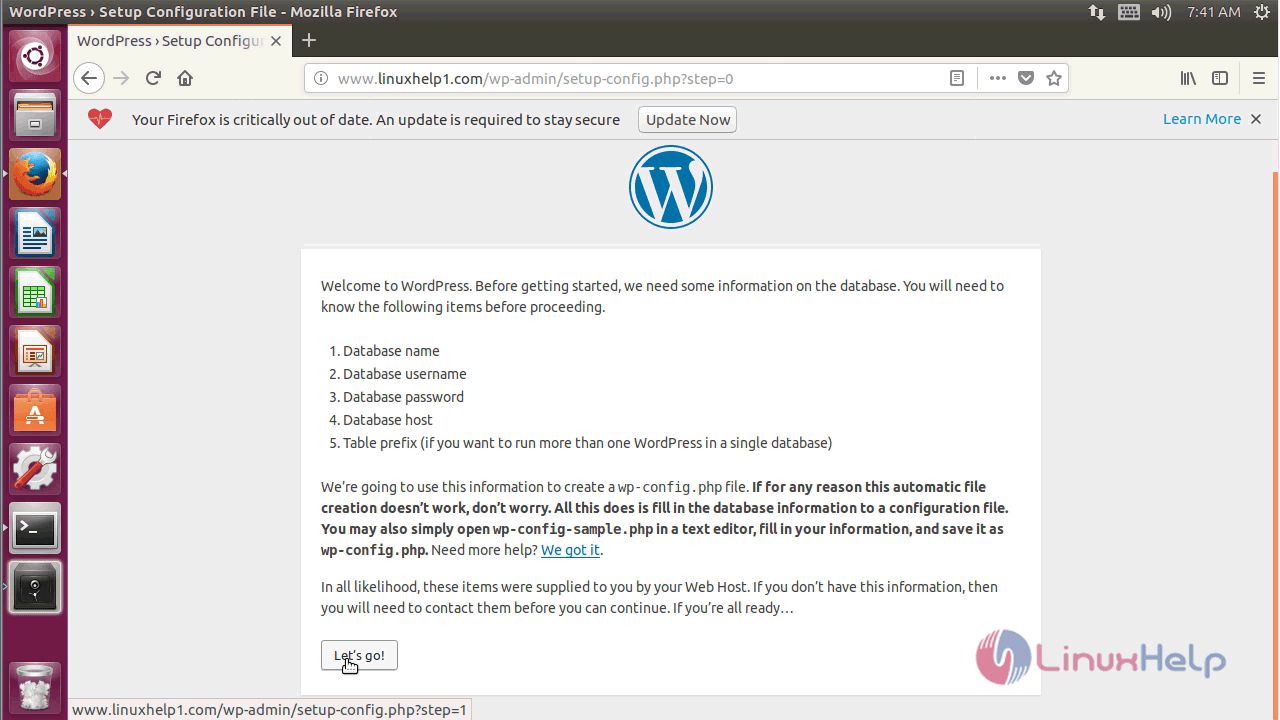
Next click let' s go to proceed the installation.
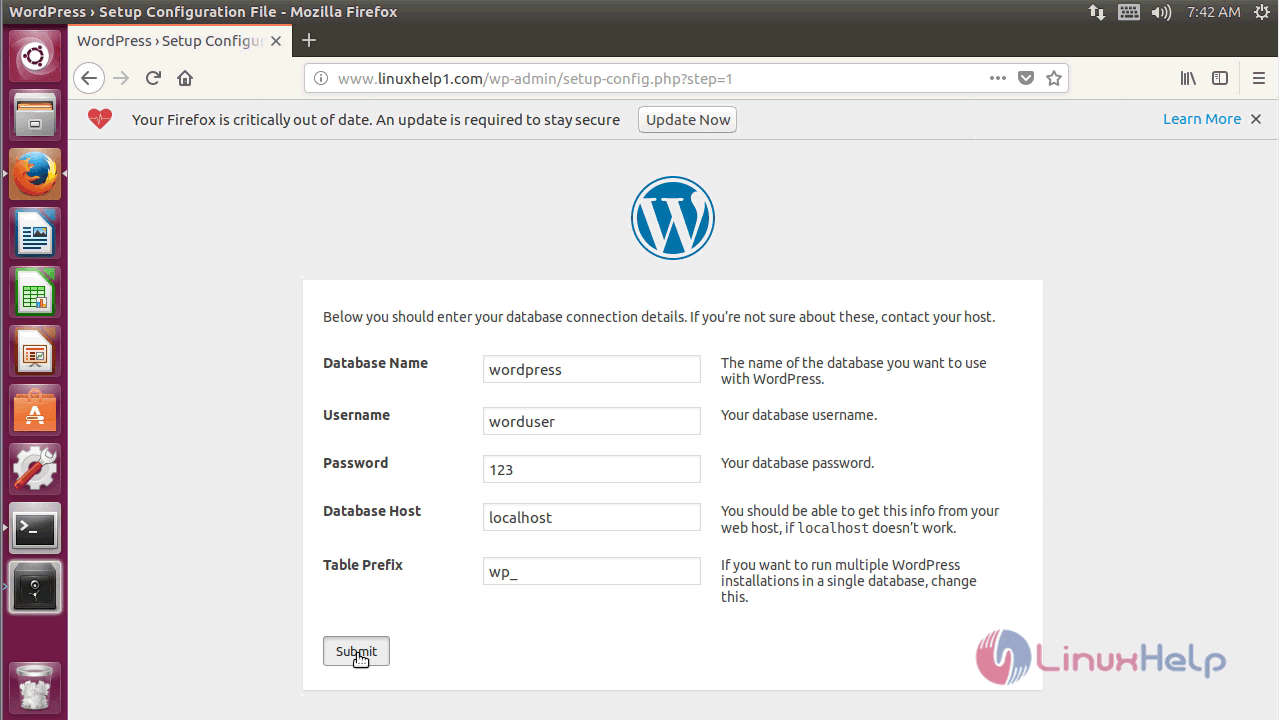
Enter the database detail and submit.
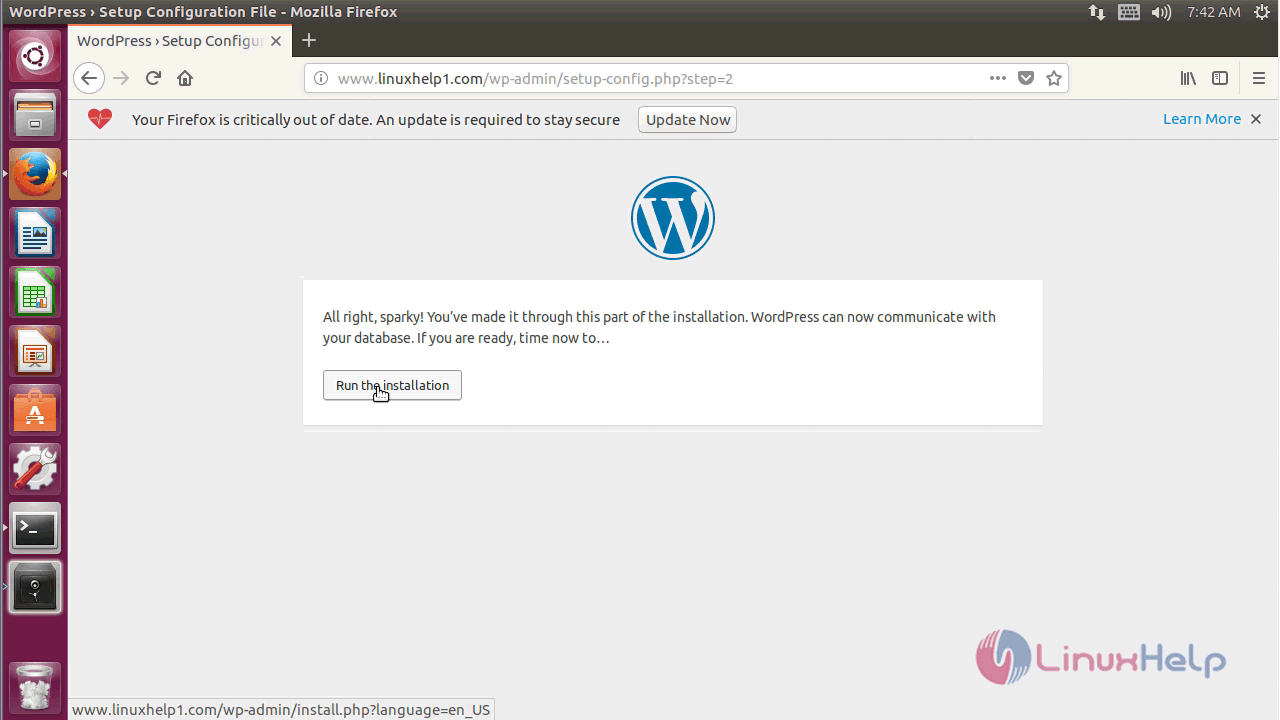
After submitting, click on run the installation.
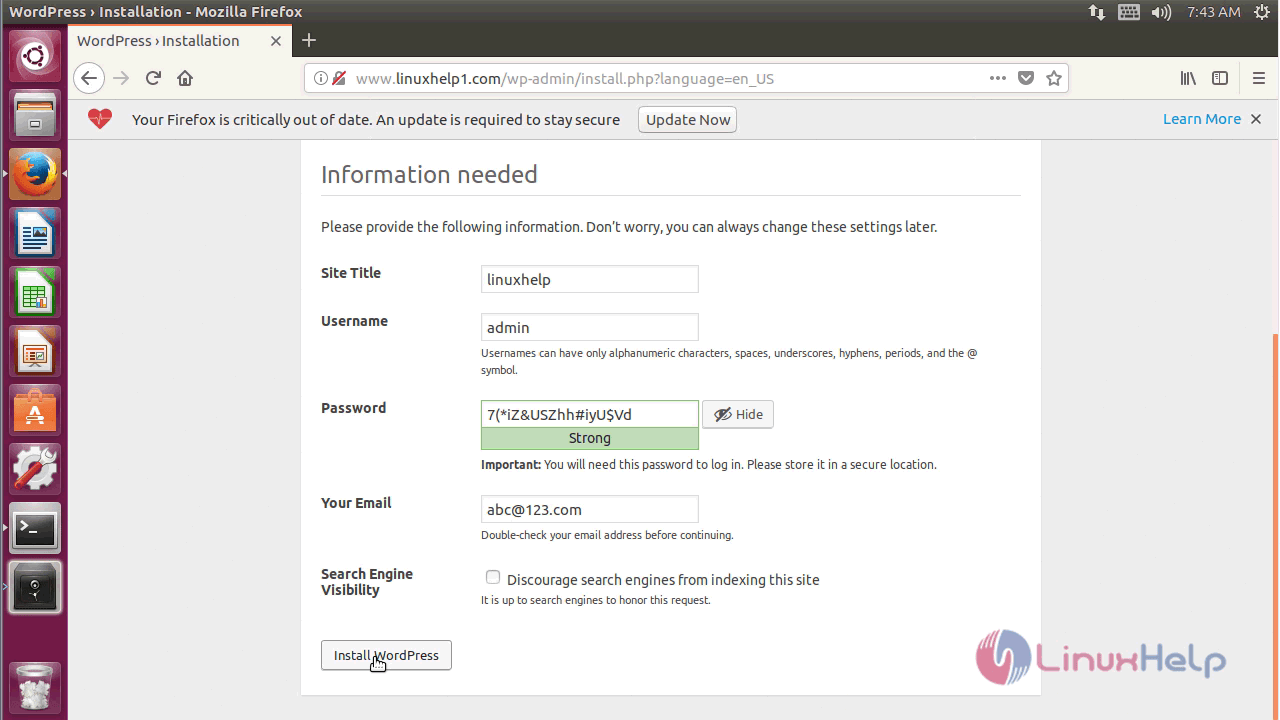
Now configure the admin user setup and proceed to install Wordpress.
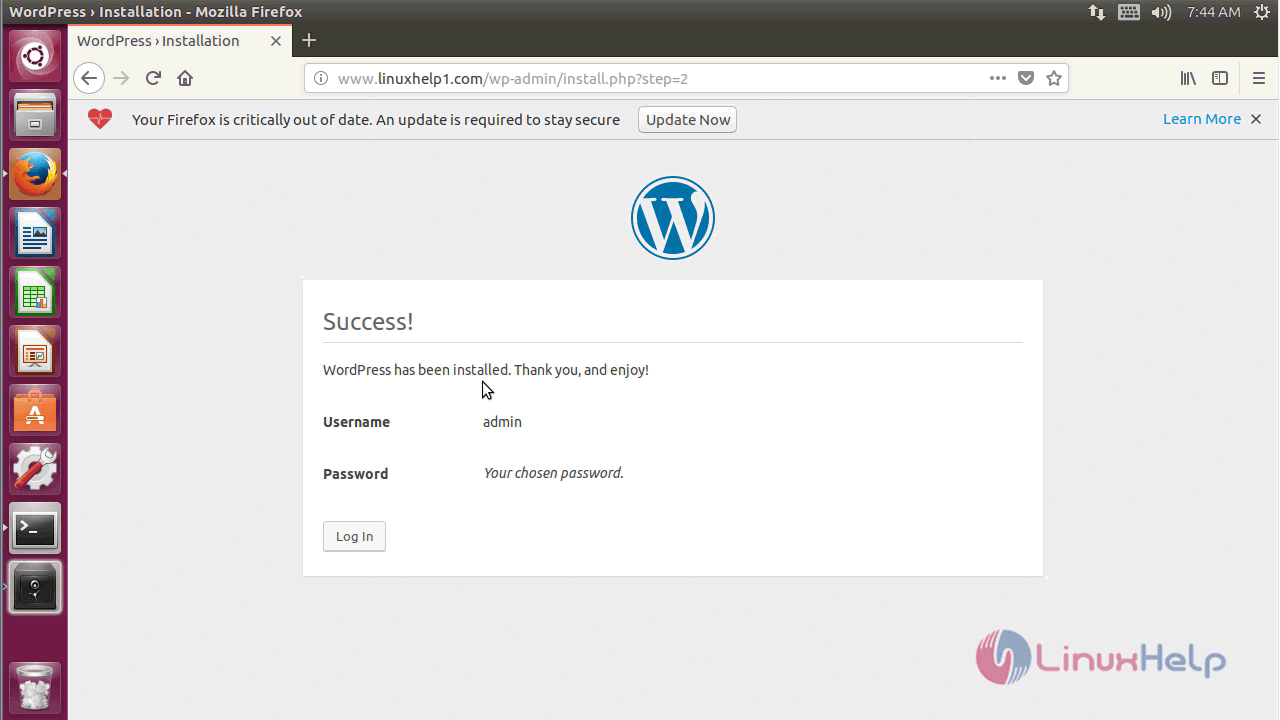
After installation, you will see the following screen.
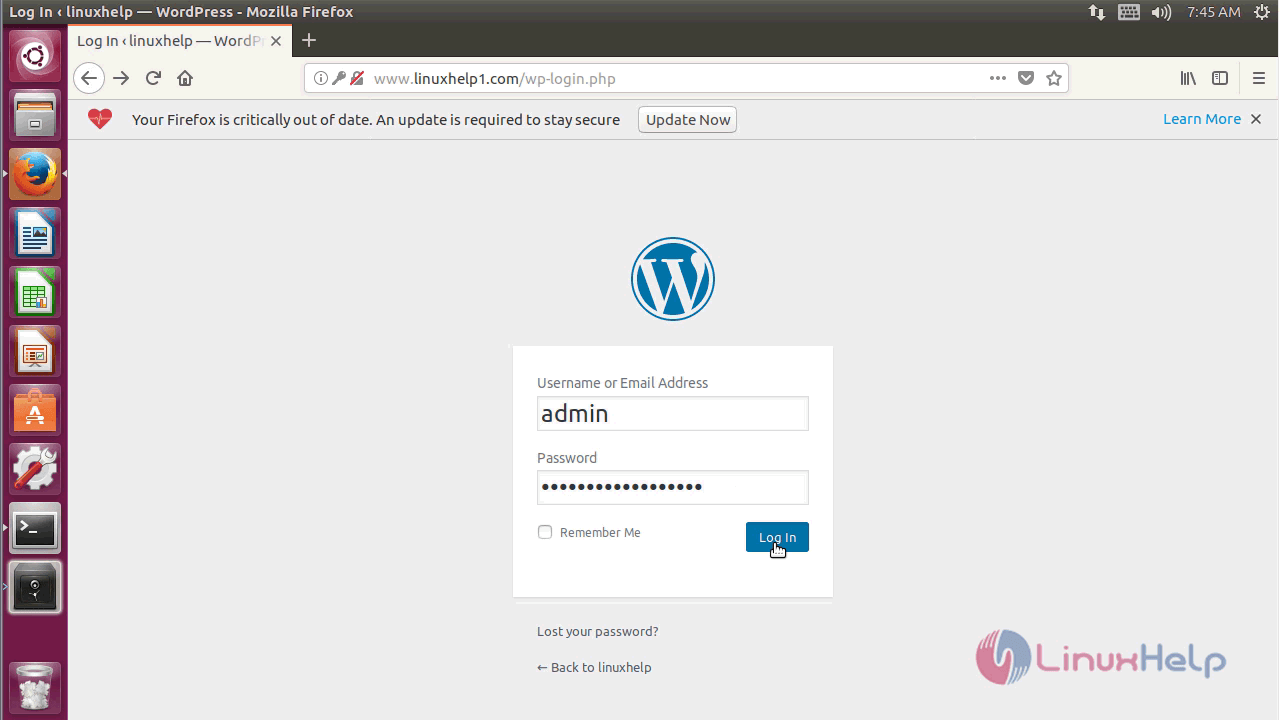
Now open login page and use the admin login credentials to login.
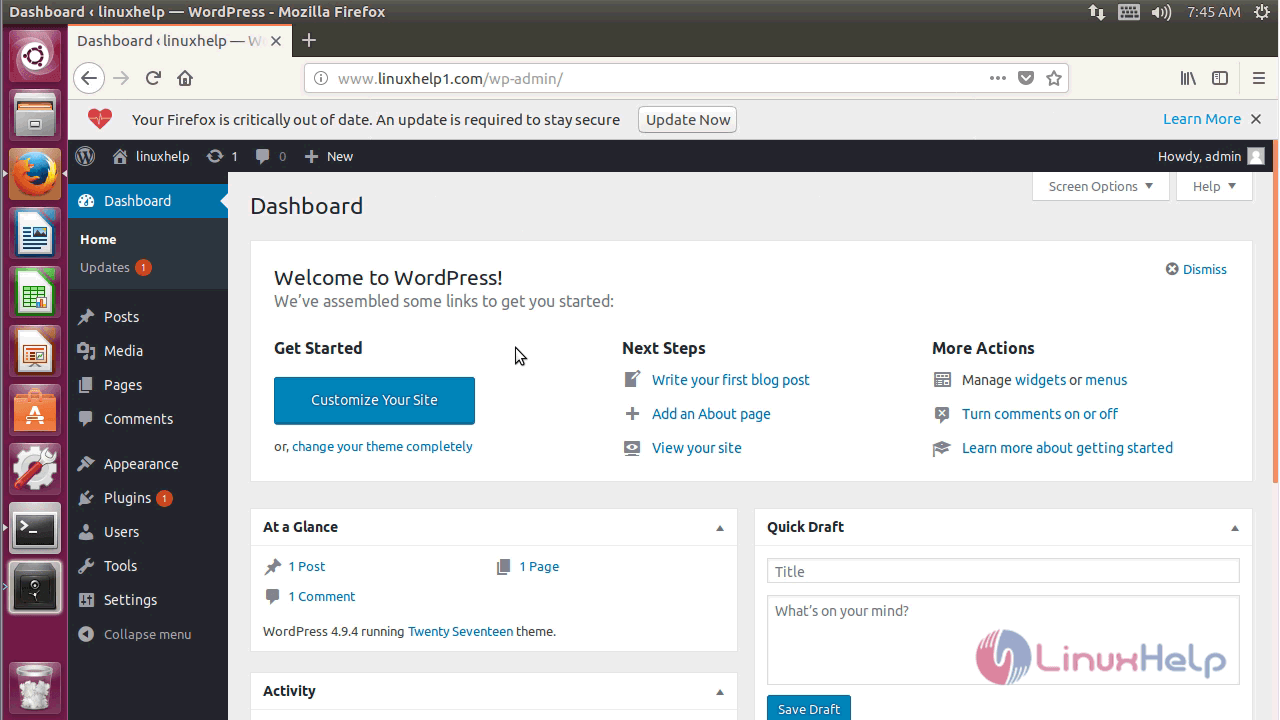
Now you will see the admin dashboard of your WordPress CMS.
With this, the method to install Wordpress 4.9.4 on Ubuntu 17.04 comes to an end.
Comments ( 0 )
No comments available