How to install Wordpress CMS – 4.9.5 on CentOS -7
To install Wordpress CMS 4.9.5 on CentOS 7
Wordpress is the most powerful and popular content management system (CMS) application. It is a PHP based application and using MySQL database. Wordpress CMS is a software they facilitate creating, editing, organizing and publishing content on the web. In this tutorial, the method to install WordPress 4.9.5 on CentOS 7.
Prerequisites
Wordpress CMS requires a web server to function based on LAMP setup on your system and also with following required PHP modules.
rpm -Uvh https://dl.fedoraproject.org/pub/epel/epel-release-latest-7.noarch.rpm
rpm -Uvh https://mirror.webtatic.com/yum/el7/webtatic-release.rpm
yum install php70w php70w-opcache
PHP Modules
yum install php70w-bz2 php70w-calendar php70w-Core php70w-ctype php70w-curl php70w-date php70w-dom php70w-exif php70w-fileinfo php70w-filter php70w-ftp php70w-gd php70w-gettext php70w-gmp php70w-hash
php70w-iconv php70w-imap php70w-intl php70w-json php70w-ldap php70w-libxml php70w-mbstring php70w-mcrypt php70w-mysqli php70w-openssl php70w-pcntl php70w-pcre php70w-PDO php70w-pdo\_mysql php70w-pdo\_sqlite
php70w-Phar php70w-posix php70w-readline php70w-recode php70w-Reflection php70w-session php70w-shmop php70w-SimpleXML php70w-soap php70w-sockets php70w-SPL php70w-sqlite3 php70w-standard php70w-sysvmsg
php70w-sysvsem php70w-sysvshm php70w-tidy php70w-tokenizer php70w-wddx php70w-xml php70w-xmlreader php70w-xmlrpc php70w-xmlwriter php70w-xsl php70w-Zend php70w-OPcache php70w-zip php70w-zlib
Installing Wordpress CMS
Create a new database by making use of the following command.
\[root@linuxhelp1 ~\]# mysql -u root -p
Enter password:
Welcome to the MySQL monitor.  Commands end with   or g.
Your MySQL connection id is 24
Server version: 5.6.39 MySQL Community Server (GPL)

Copyright (c) 2000, 2018, Oracle and/or its affiliates. All rights reserved.

Oracle is a registered trademark of Oracle Corporation and/or its
affiliates. Other names may be trademarks of their respective
owners.

Type ' help '  or ' h'  for help. Type ' c'  to clear the current input statement.

mysql>  create database wordpress
Query OK, 1 row affected (0.00 sec)

mysql>  grant all privileges on wordpress.\* to ' worduser' @' localhost'  identified by ' 123'
Query OK, 0 rows affected (0.00 sec)

mysql>  flush privileges
Query OK, 0 rows affected (0.00 sec)

mysql>  exit
Bye
To switch to the directory you can run the following command.
\[root@linuxhelp1 ~\]# cd /home/user1/
You can extract the package by making use of the following command.
\[root@linuxhelp1 user1\]# tar -zxvf wordpress-4.9.5.tar.gz
wordpress/
wordpress/xmlrpc.php
wordpress/wp-blog-header.php
wordpress/readme.html
wordpress/wp-signup.php
wordpress/index.php
wordpress/wp-cron.php
.
.
wordpress/wp-admin/install.php
wordpress/wp-admin/admin-header.php
wordpress/wp-admin/post-new.php
wordpress/wp-admin/themes.php
wordpress/wp-admin/options-reading.php
wordpress/wp-trackback.php
wordpress/wp-comments-post.php
And then, move the file.
\[root@linuxhelp1 user1\]# mv wordpress /var/www/
And switch to the directory as follows.
\[root@linuxhelp1 user1\]# cd /var/www/
Next, you need to change ownership and permission of the file in the following manner.
\[root@linuxhelp1 www\]# chown -R apache.apache WordPress
\[root@linuxhelp1 www\]# chmod -R 775 WordPress
After that, you need to create the VirtualHost.
\[root@linuxhelp1 www\]# vim /etc/httpd/conf.d/wordpress.conf
< VirtualHost \*:80>
ServerName www.linuxhelp1.ocm
DocumentRoot /var/www/wordpress/

< Directory /var/www/wordpress/>
AllowOverride All
allow from all
< /Directory>

< /VirtualHost>
You can now restart the apache service as follows.
\[root@linuxhelp1 www\]# systemctl restart httpd
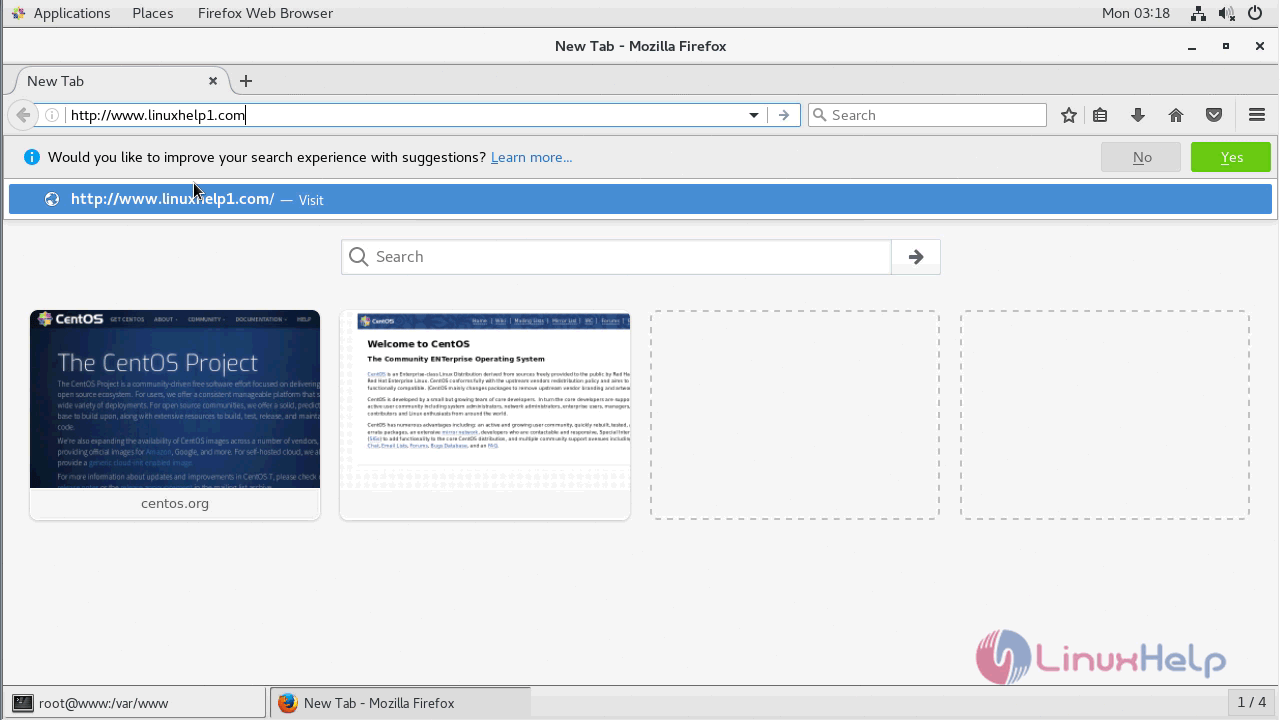
Once it is done, you shall open a browser and type http://local IP (or) domain
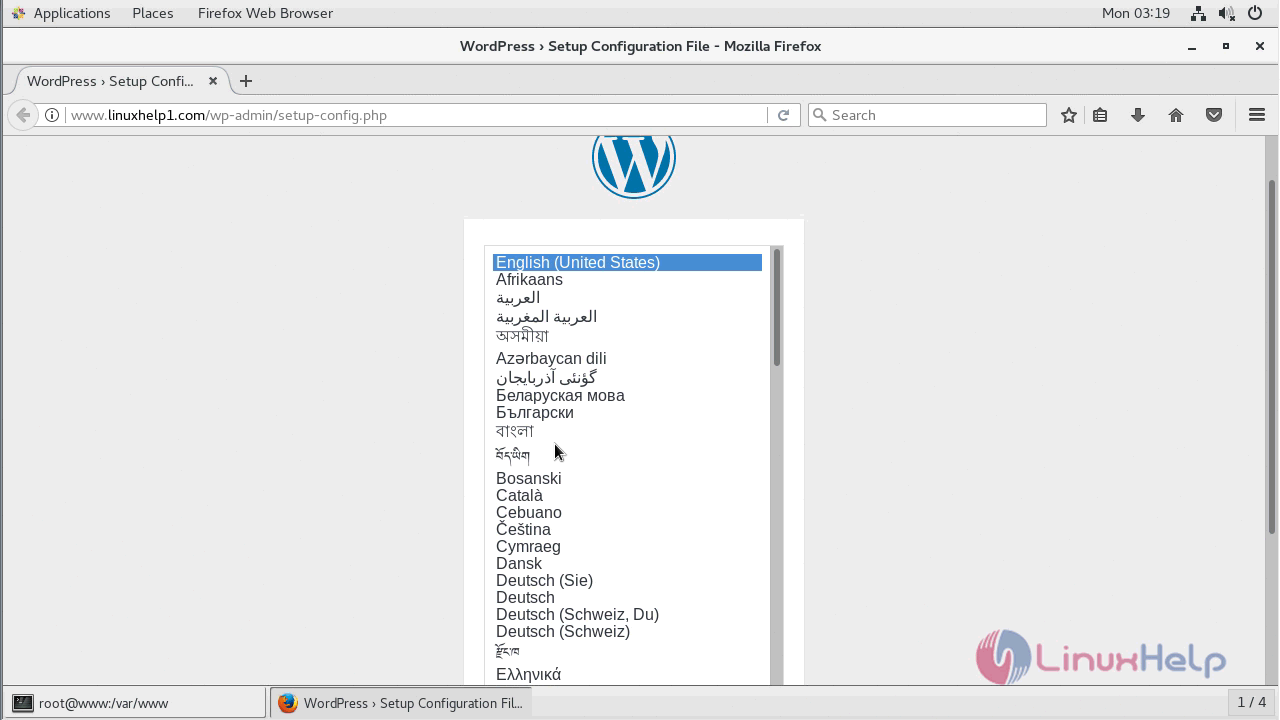
Choose the language and proceed further.
The Welcome page of the installation now appears.
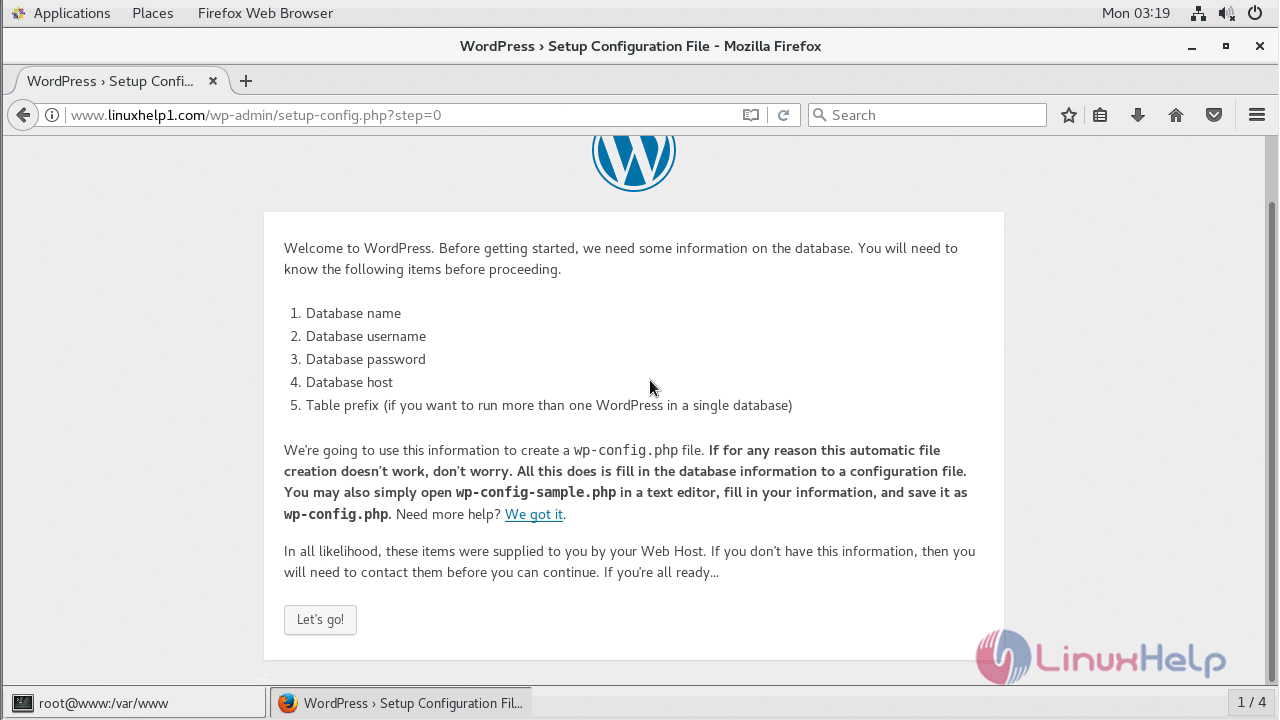
You need to configure the database details and proceed further.
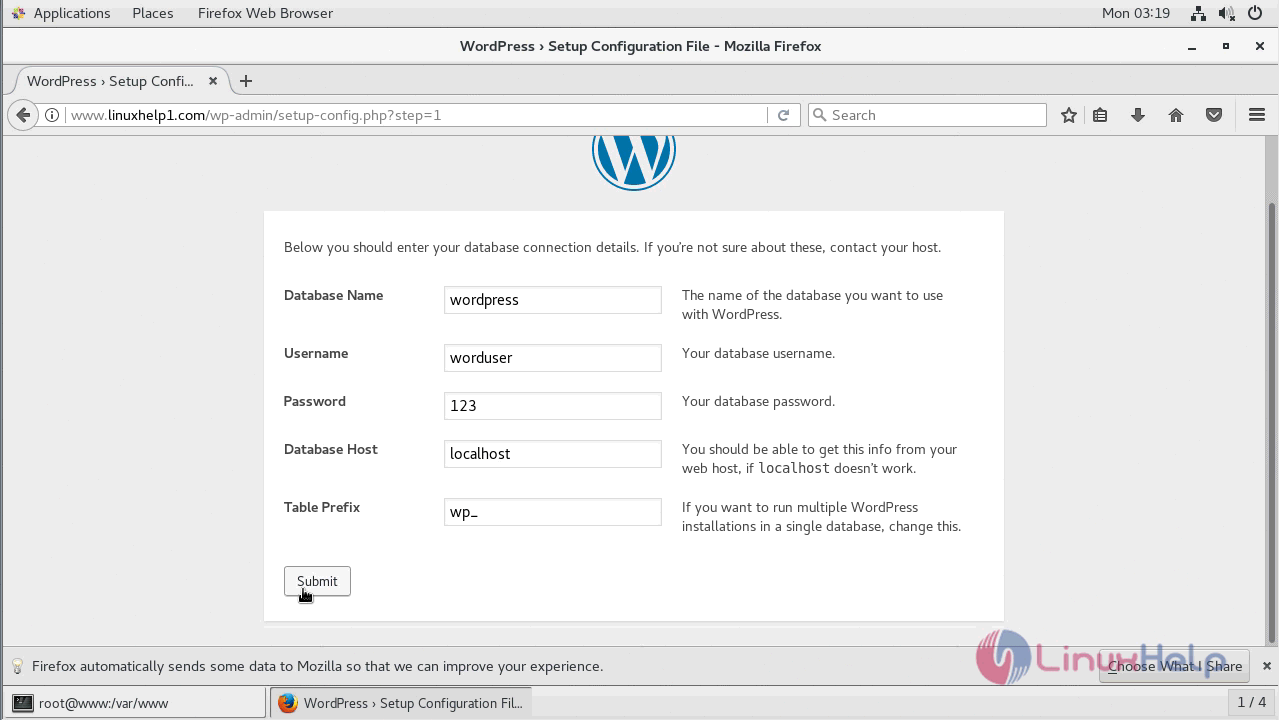
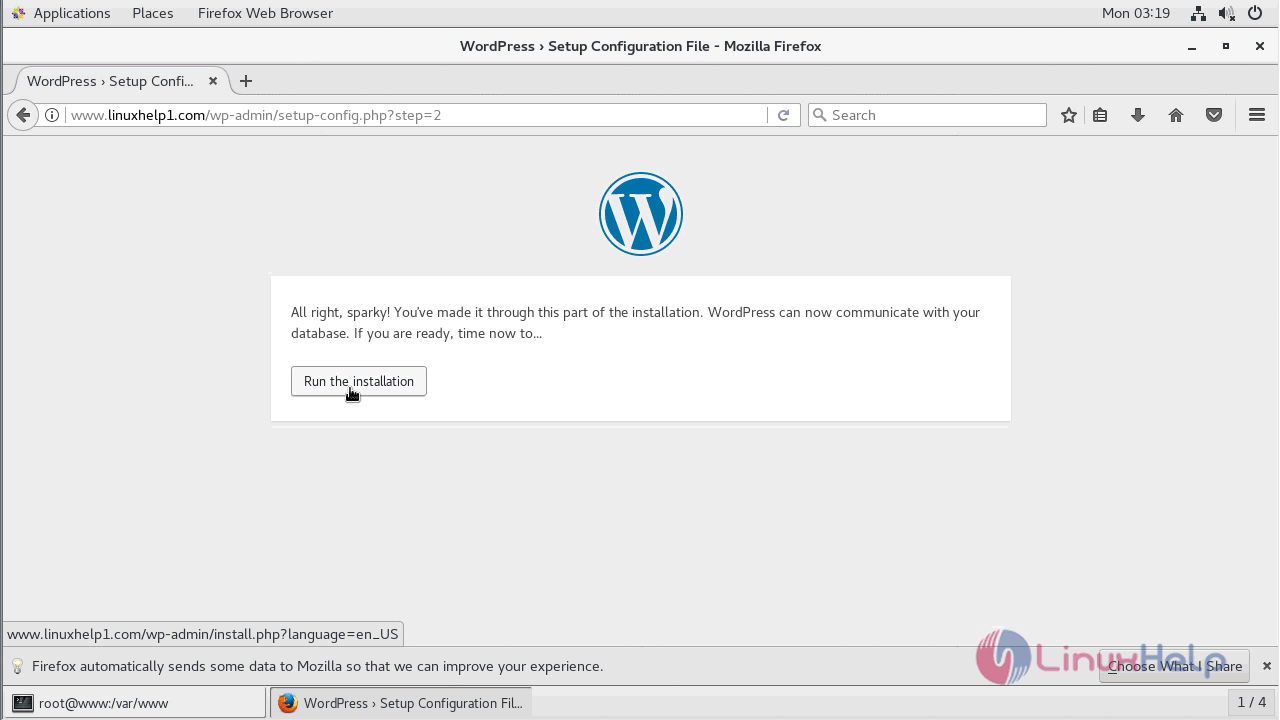
After which you need to click on Run the installation button.
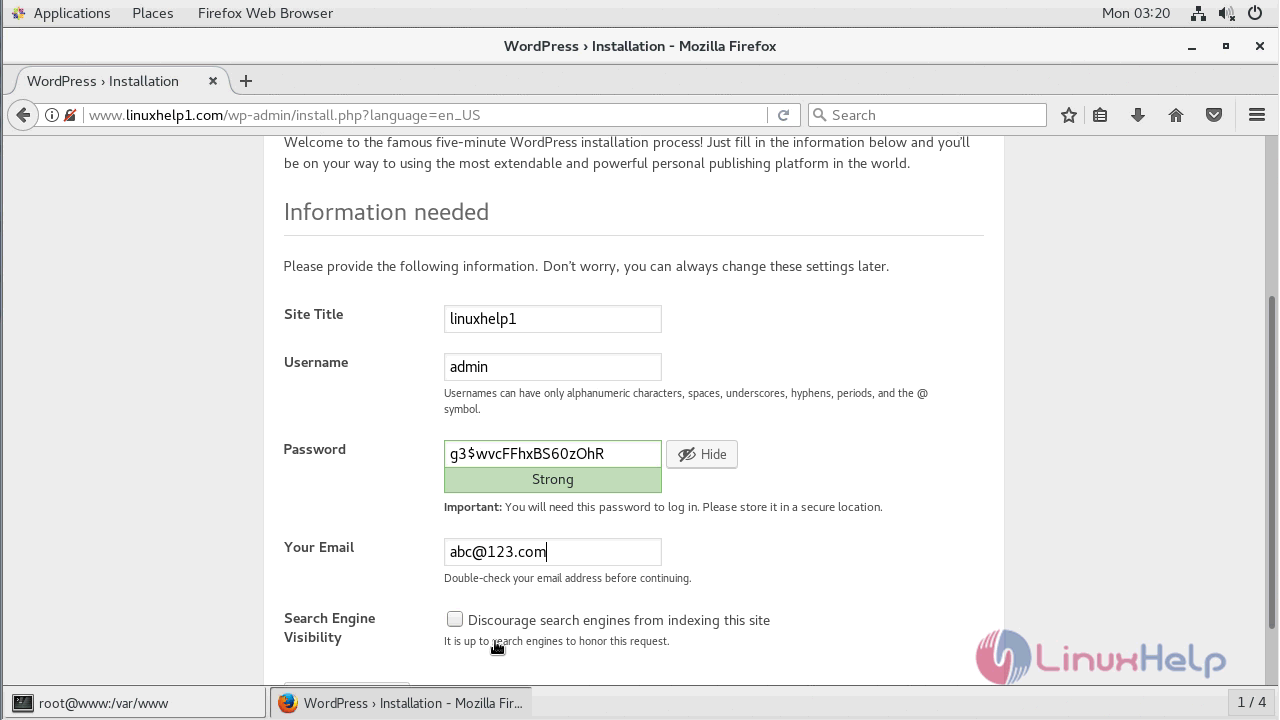
Next, configure the site information.
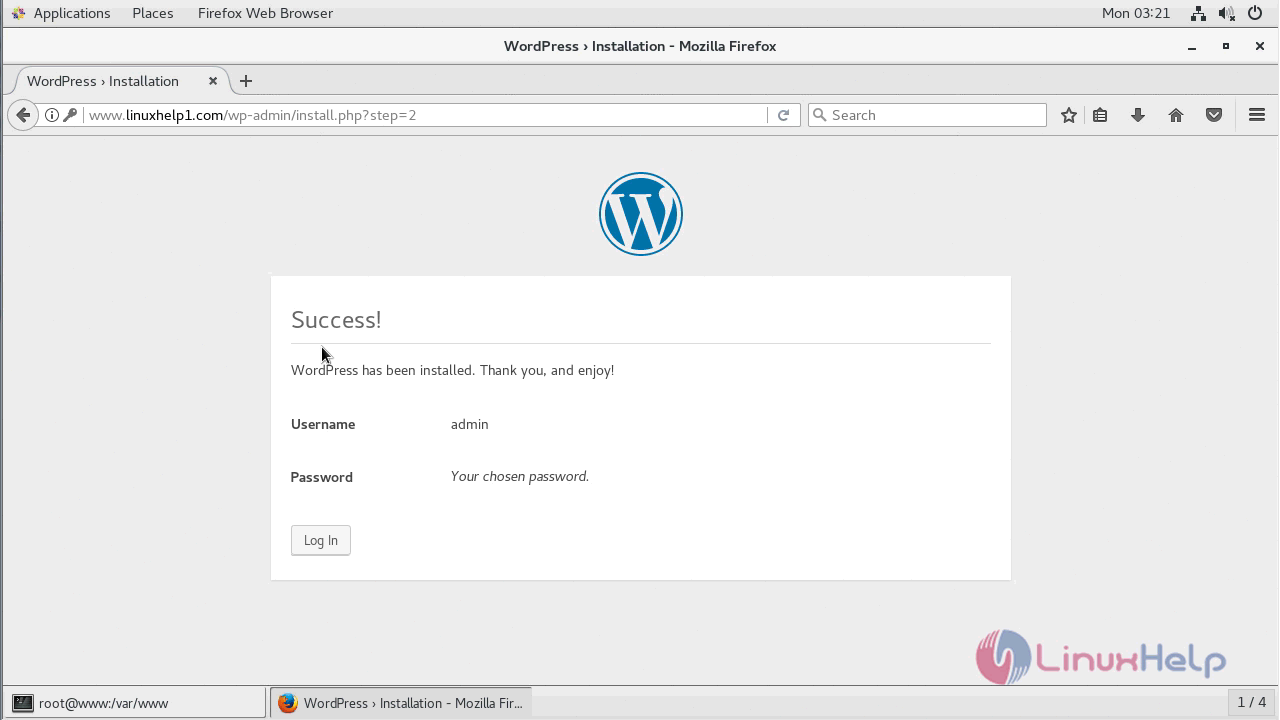
The success message of installation now appears and also the admin user credentials.
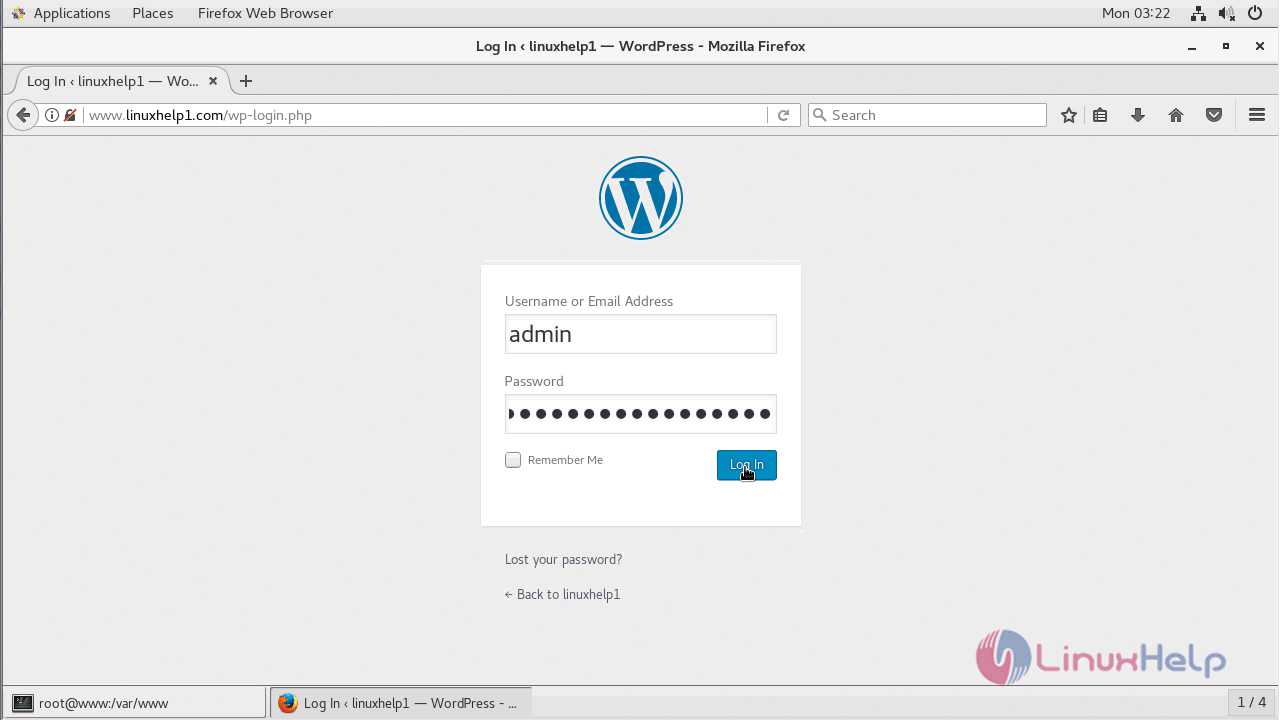
Log in with the help of using Admin user credentials.
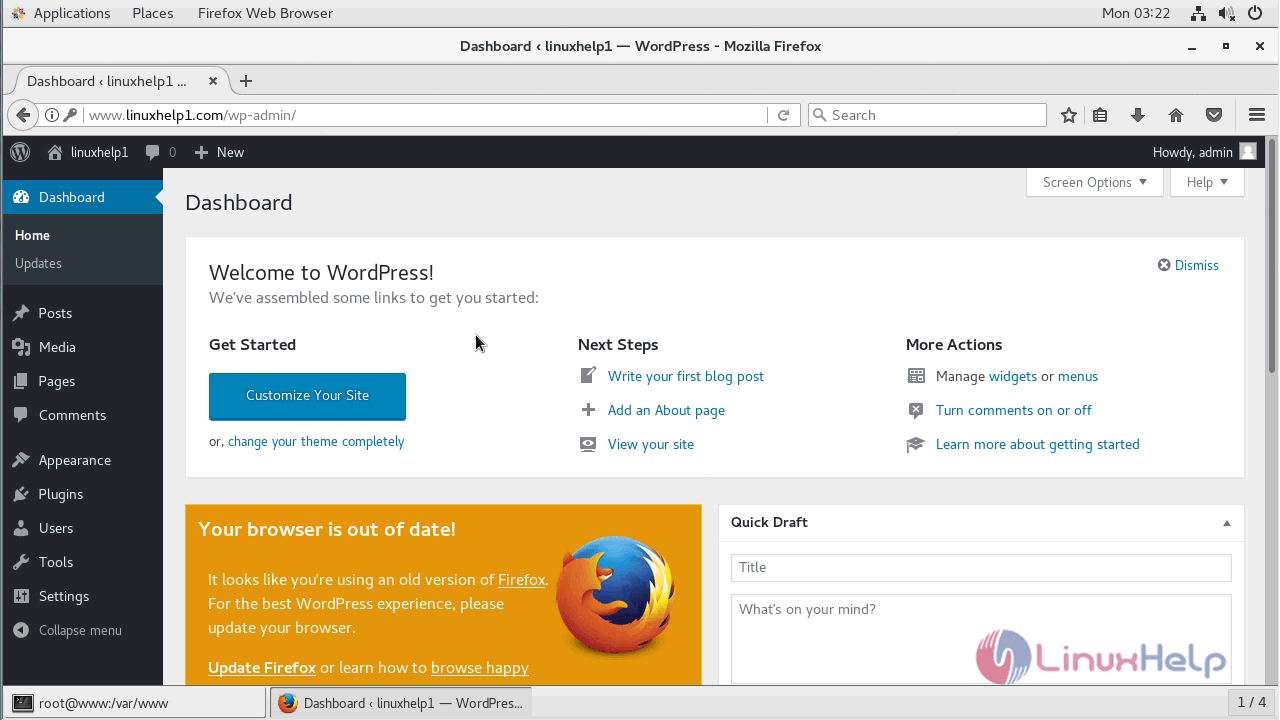
The dashboard now appears.
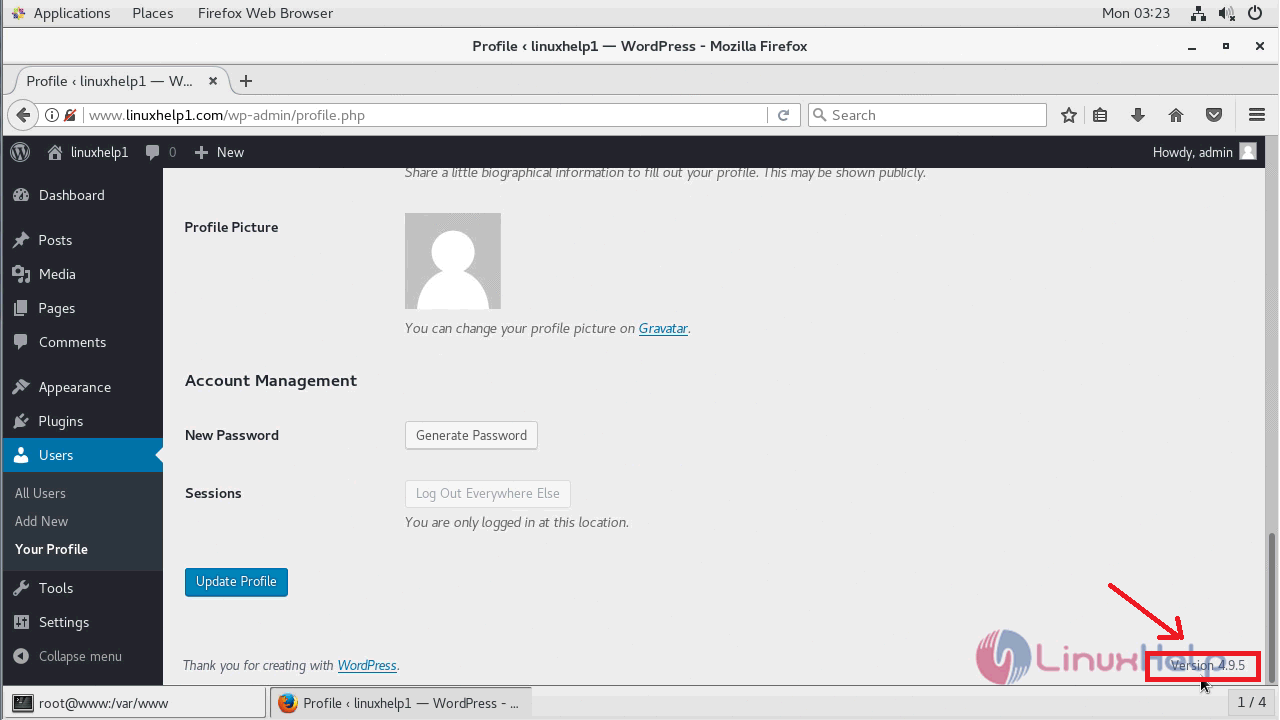
You can check the version of the application.
With this, the method to install Wordpress on CentOS 7 comes to an end.
Comments ( 0 )
No comments available