How to install Xoops 2.5.10 on Ubuntu 18.04
To install Xoops 2.5.10 on Ubuntu 18.04
XOOPS is a popular and easy to use CMS written in PHP. It uses a modular architecture and it is an ideal tool for developing small to large dynamic community websites, weblogs etc. It is an acronym of extensible Object Oriented Portal System. It contains modules that can be installed or uninstalled within the XOOPS administration system, contains relational databases and a messaging system within the users.
Prerequisites
To install LAMP(Apache, MariaDB, php7)
In MariaDB (create database and user and give privileges to that user )
Php installation with required following modules
add-apt-repository ppa:ondrej/php
apt-get update
apt-get install php7.0 php7.0-mysql php7.0-curl php7.0-json php7.0-cgi libapache2-mod-php7.0 php7.0-mcrypt php7.0-xmlrpc php7.0-gd php7.0-mbstring php7.0  php7.0-common  php7.0-xmlrpc php7.0-soap
php7.0-xml php7.0-intl  php7.0-cli  php7.0-ldap php7.0-zip php7.0-readline php7.0-imap php7.0-tidy php7.0-recode php7.0-sq php7.0-intl
Download a Xoops CMS package using this following URL
root@linuxhelp1:~# wget https://github.com/XOOPS/XoopsCore25/archive/master.zip
--2018-05-28 17:33:10--  https://github.com/XOOPS/XoopsCore25/archive/master.zip
Resolving github.com (github.com)... 192.30.253.112, 192.30.253.113
Connecting to github.com (github.com)|192.30.253.112|:443... connected.
.
.
HTTP request sent, awaiting response... 200 OK
Length: 12203855 (12M) [application/zip]
Saving to: ‘ master.zip’

master.zip                       100%[=========================================================> ]  11.64M   474KB/s    in 16s

2018-05-28 17:33:29 (737 KB/s) - ‘ master.zip’  saved [12203855/12203855]
The downloaded package is a zip file, so we need to unzip the file now
root@linuxhelp1:~# unzip master.zip
Archive:  master.zip
c6c5455ca23edfd0d79bafa09142696d1a0eb8fc
   creating: XoopsCore25-master/
  inflating: XoopsCore25-master/CONTRIBUTING.md
  inflating: XoopsCore25-master/LICENSE
  inflating: XoopsCore25-master/README.md
.
.
   creating: XoopsCore25-master/upgrade/upd-2.5.8-to-2.5.9/
  inflating: XoopsCore25-master/upgrade/upd-2.5.8-to-2.5.9/index.php
   creating: XoopsCore25-master/upgrade/upd-2.5.9-to-2.5.10/
  inflating: XoopsCore25-master/upgrade/upd-2.5.9-to-2.5.10/index.php
  inflating: XoopsCore25-master/upgrade/upgrade_tpl.php
finishing deferred symbolic links:
  XoopsCore25-master/htdocs/class/libraries/vendor/bin/reloadpsl ->  ../geekwright/regdom/bin/reloadpsl
Move the extracted file into the following path
root@linuxhelp1:~# mv XoopsCore25-master /var/www/
Switch to the following directory
root@linuxhelp1:~# cd /var/www/
Change the ownership and permission of the file
root@linuxhelp1:/var/www# chown -R www-data.www-data XoopsCore25-master
root@linuxhelp1:/var/www# chmod -R 775 XoopsCore25-master
Create a new virtual host configuration to accessing thforXCart CMS application
root@linuxhelp1:/var/www# vim /etc/apache2/sites-available/xoops.conf
< VirtualHost *:80>
ServerName www.linuxhelp1.com
DocumentRoot /var/www/xoops-2.5.10/htdocs/

< Directory /var/www/xoops-2.5.10/htdocs/>
AllowOverride All
allow from all
< /Directory>

< /VirtualHost>
enable the site access
root@linuxhelp1:/var/www# a2ensite xoops.conf
Enabling site xoops.
To activate the new configuration, you need to run:
systemctl reload apache2
Disable the default access
root@linuxhelp1:/var/www# a2dissite 000-default.conf
Site 000-default disabled.
To activate the new configuration, you need to run:
systemctl reload apache2
Enable the rewrite module
root@linuxhelp1:/var/www# a2enmod rewrite
Enabling module rewrite.
To activate the new configuration, you need to run:
systemctl restart apache2
Rename the directory name
root@linuxhelp1:/var/www# mv XoopsCore25-master xoops-2.5.10
Restart the apache2 service
root@linuxhelp1:/var/www# systemctl restart apache2
Now you can proceed the further installation and configuration from the browser by navigating to the following URL: http://< ipaddress or domain name
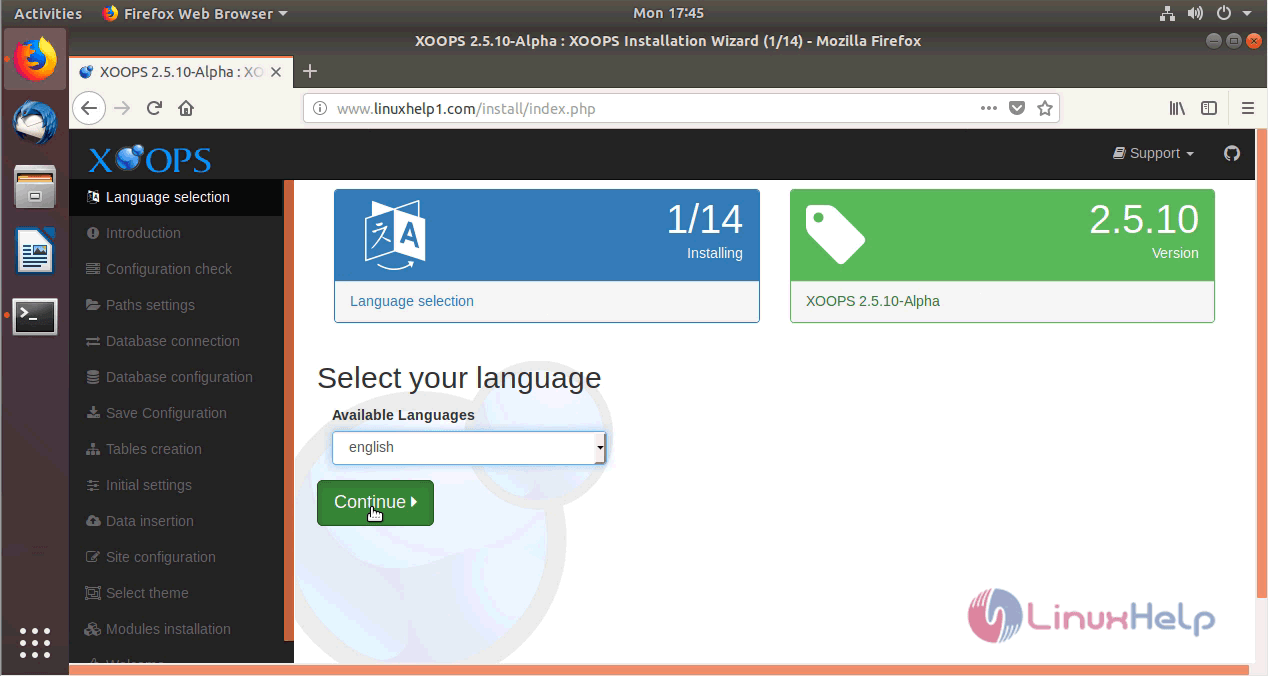
Choose the language to use the Xoops CMS
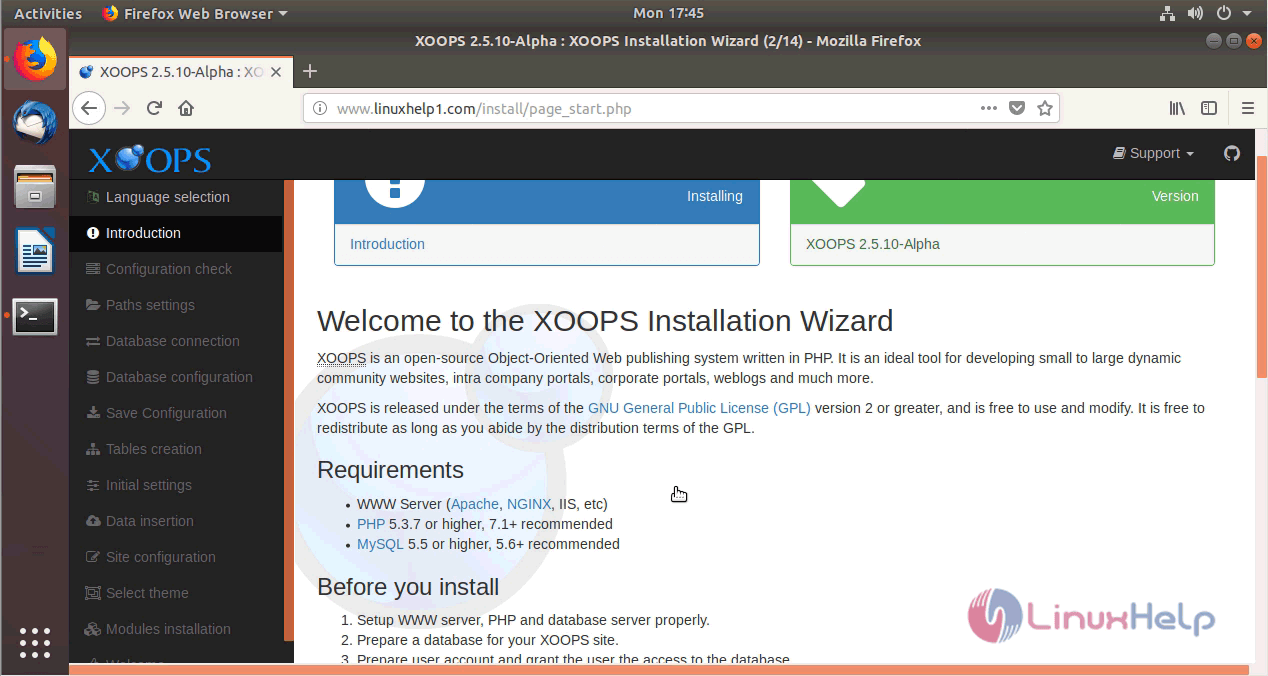
verify the requirement to install Xoops CMS
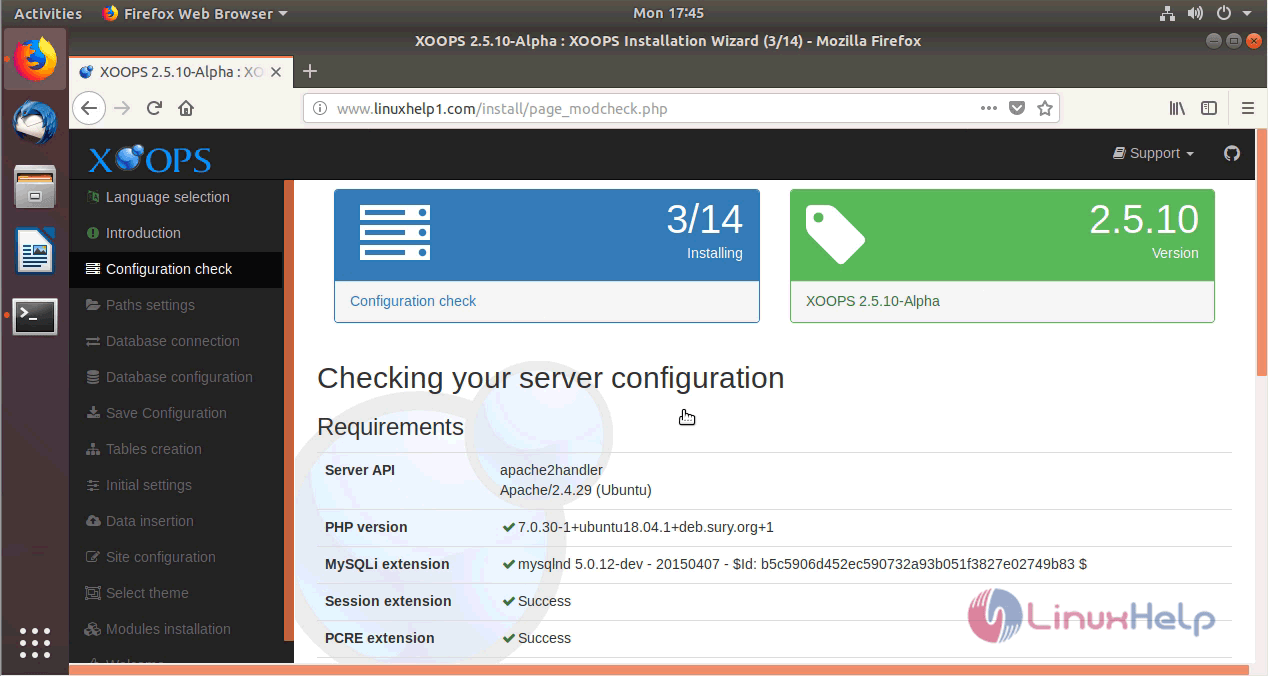
verify the server configuration
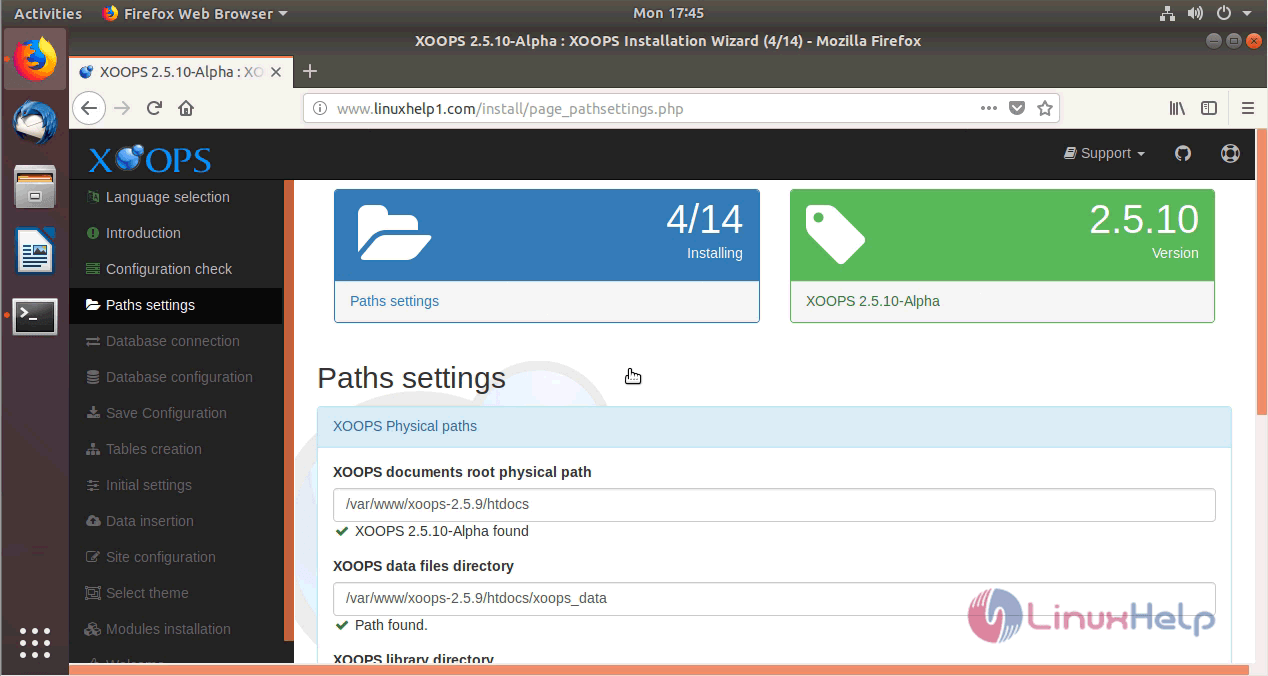
configure the path_settings
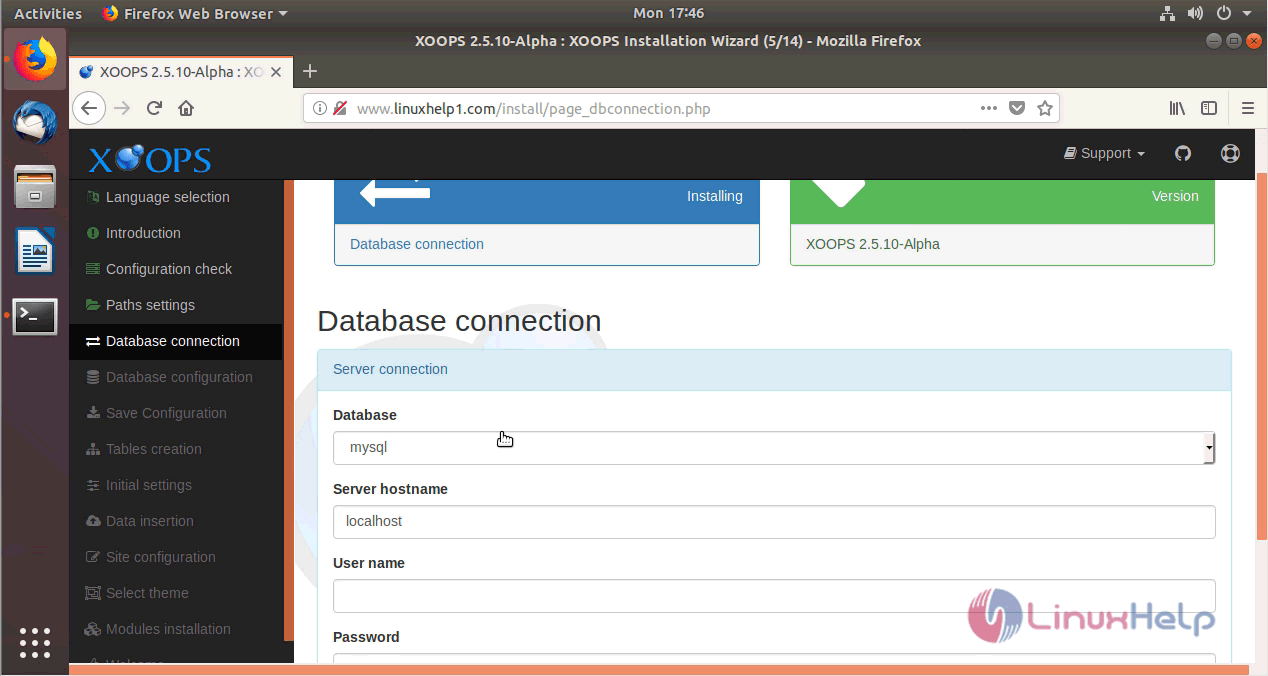
connect with the database
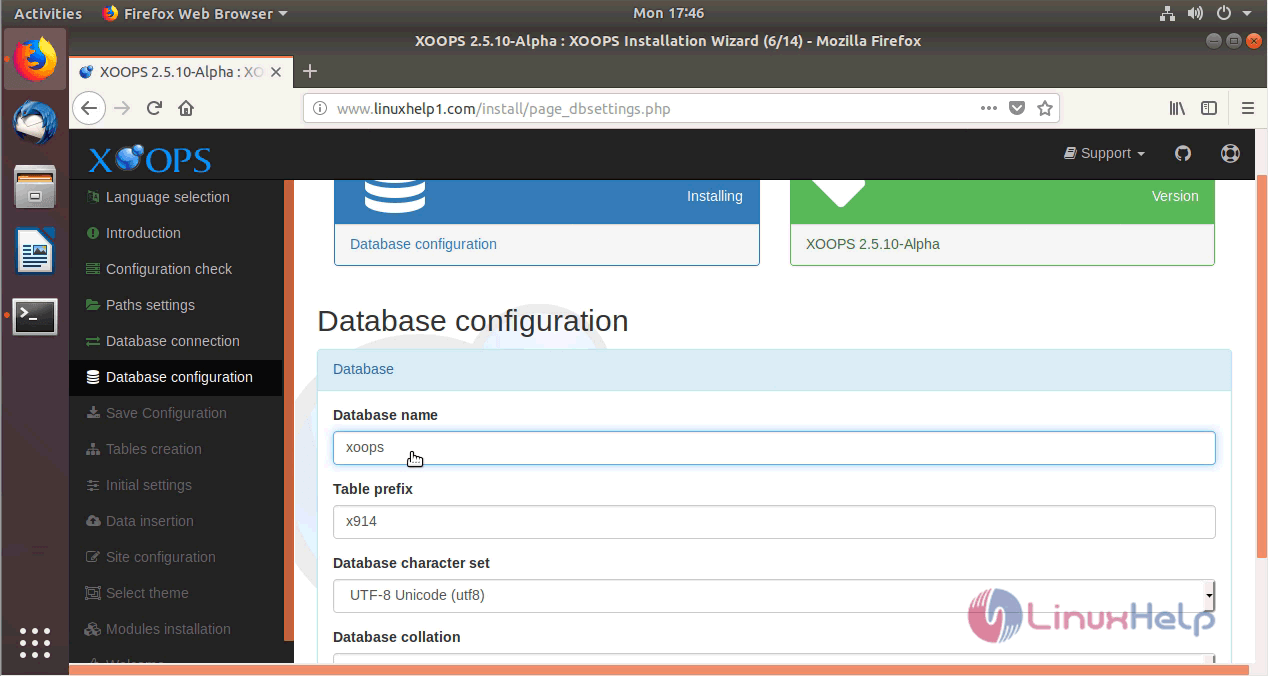
Configure Database setup
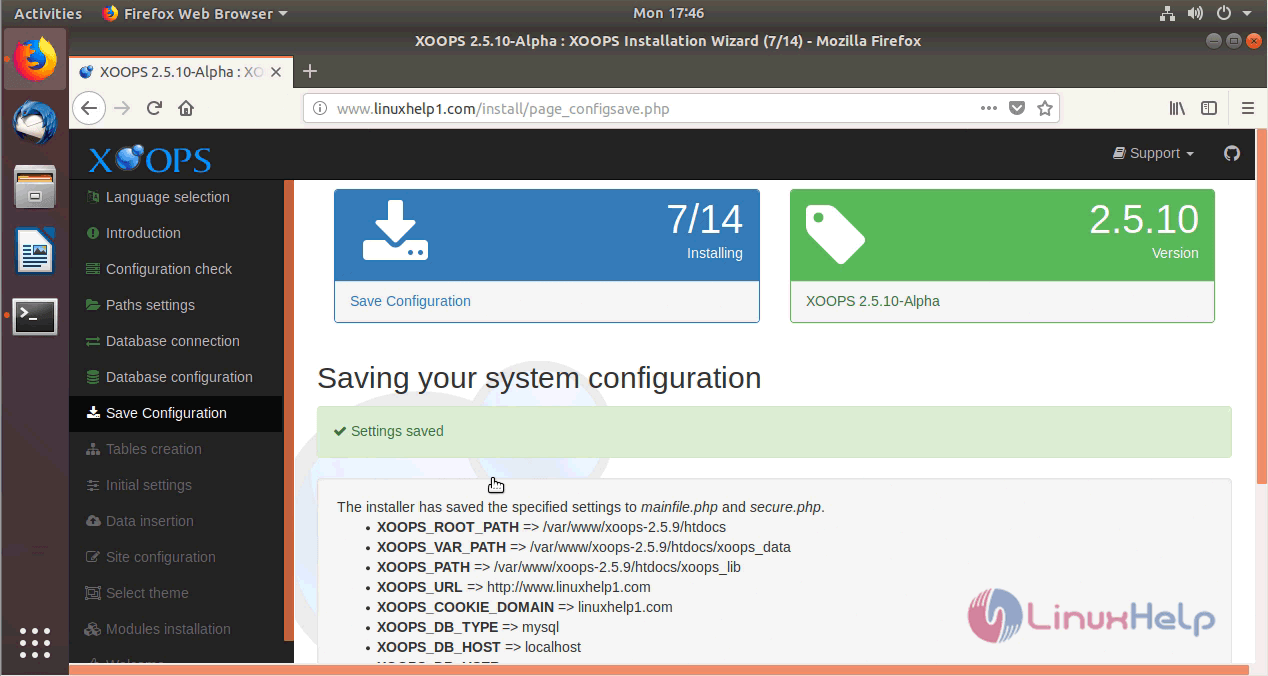
save all the system configuration
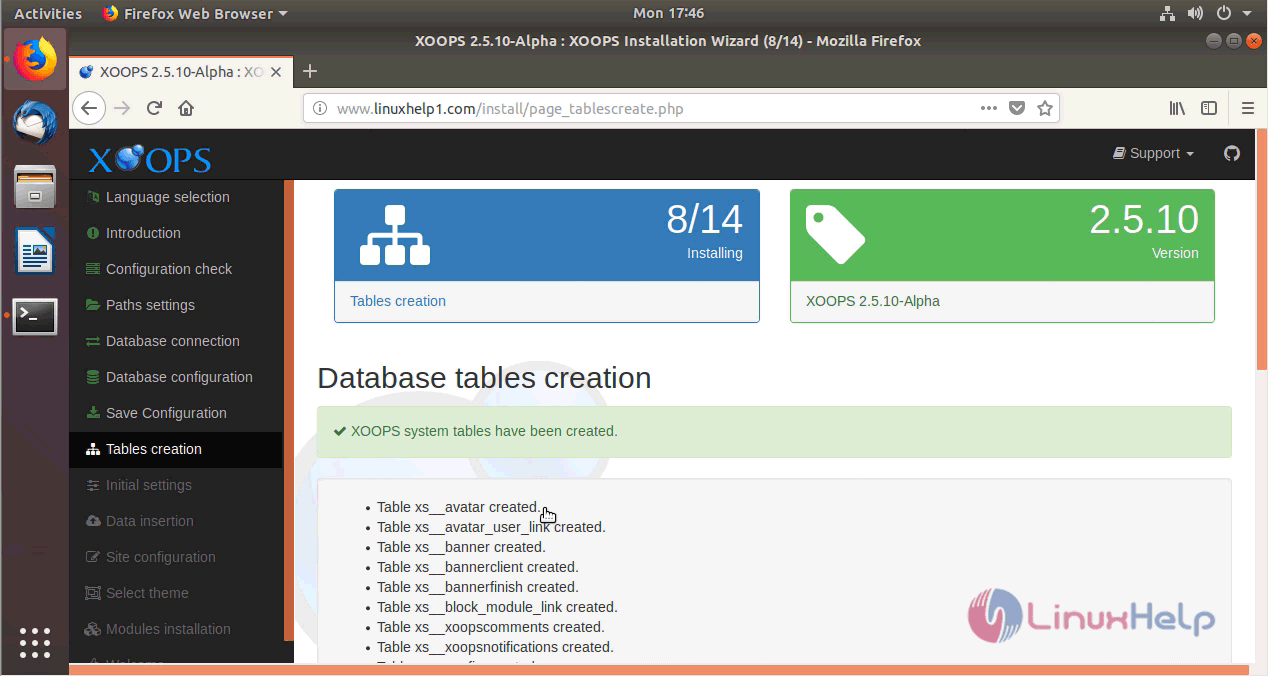
verify the database table creation
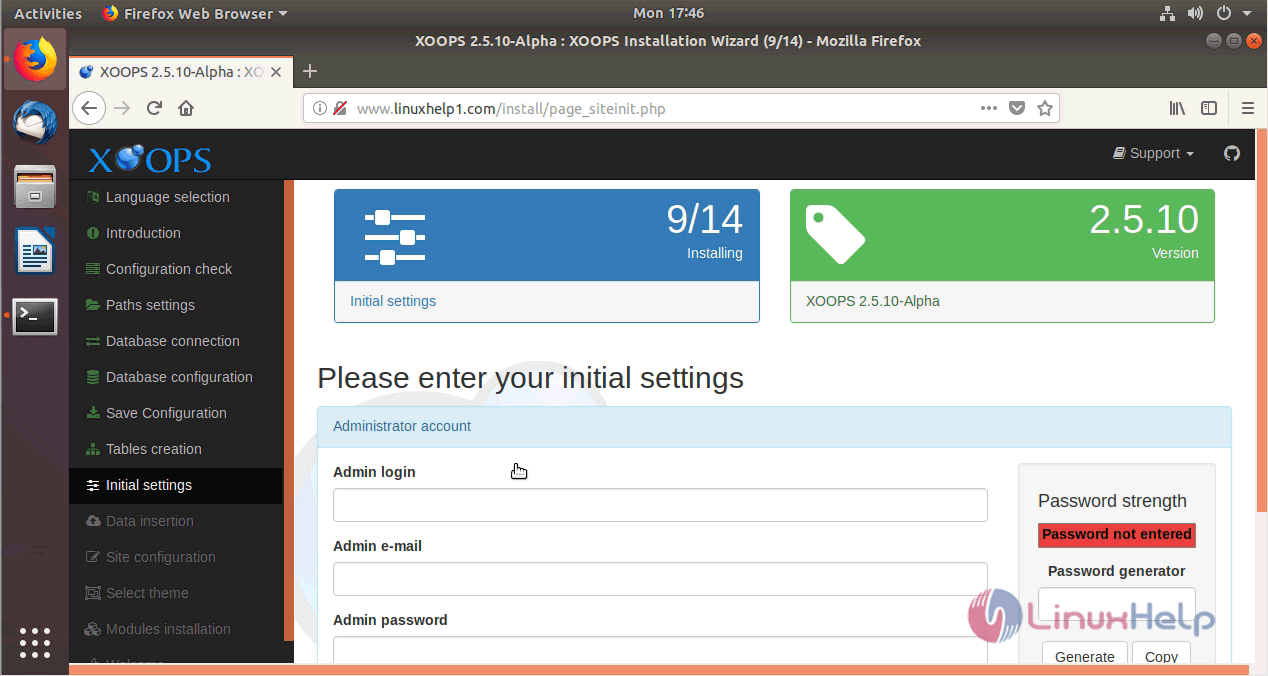
Configure the admin account setup
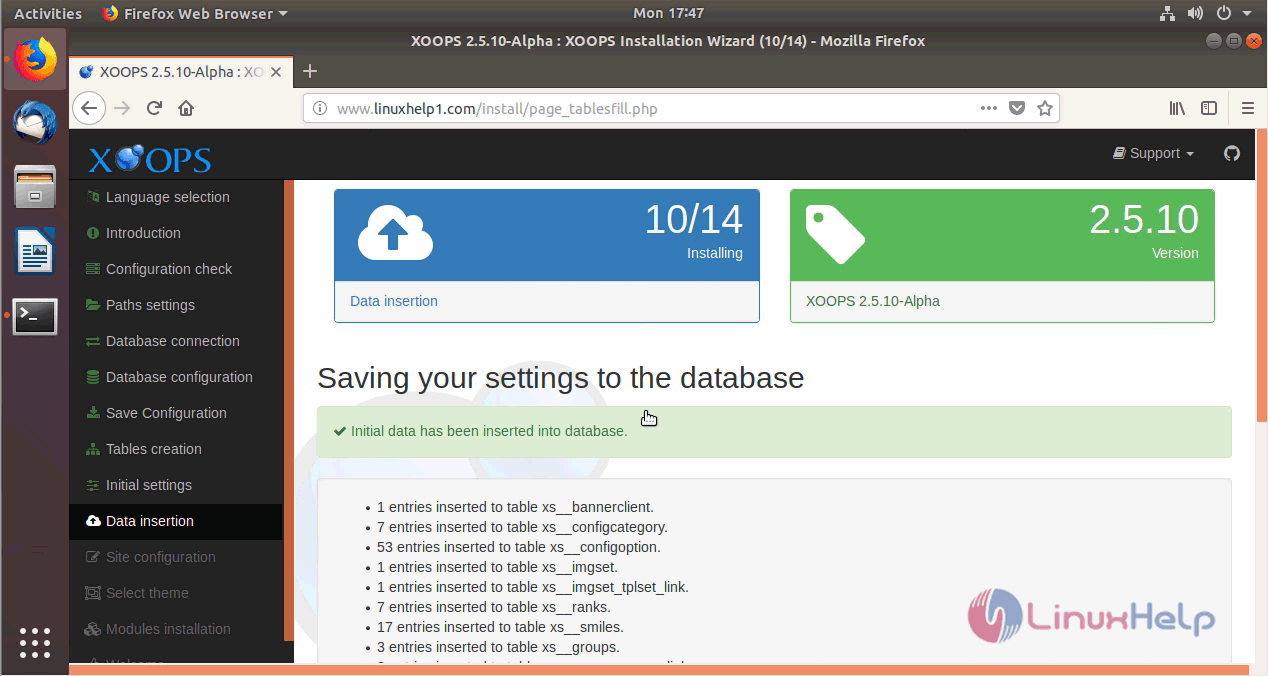
save settings to the database
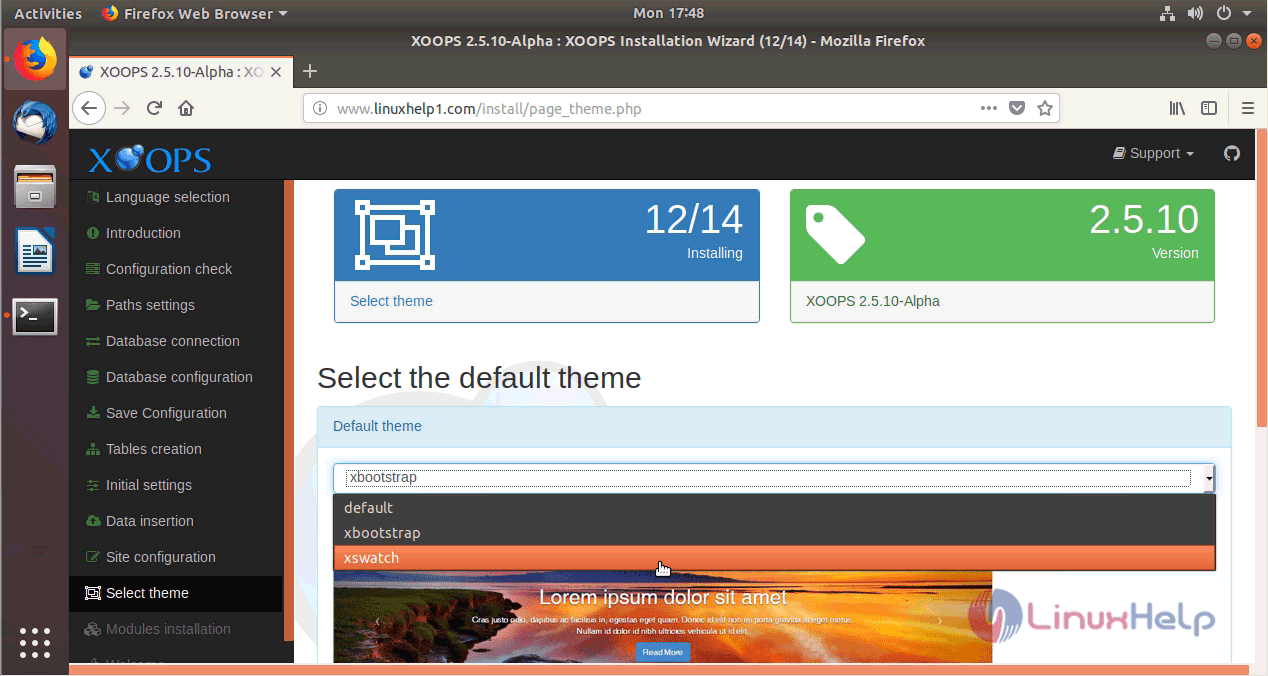
Choose the theme to use the Xoops CMS
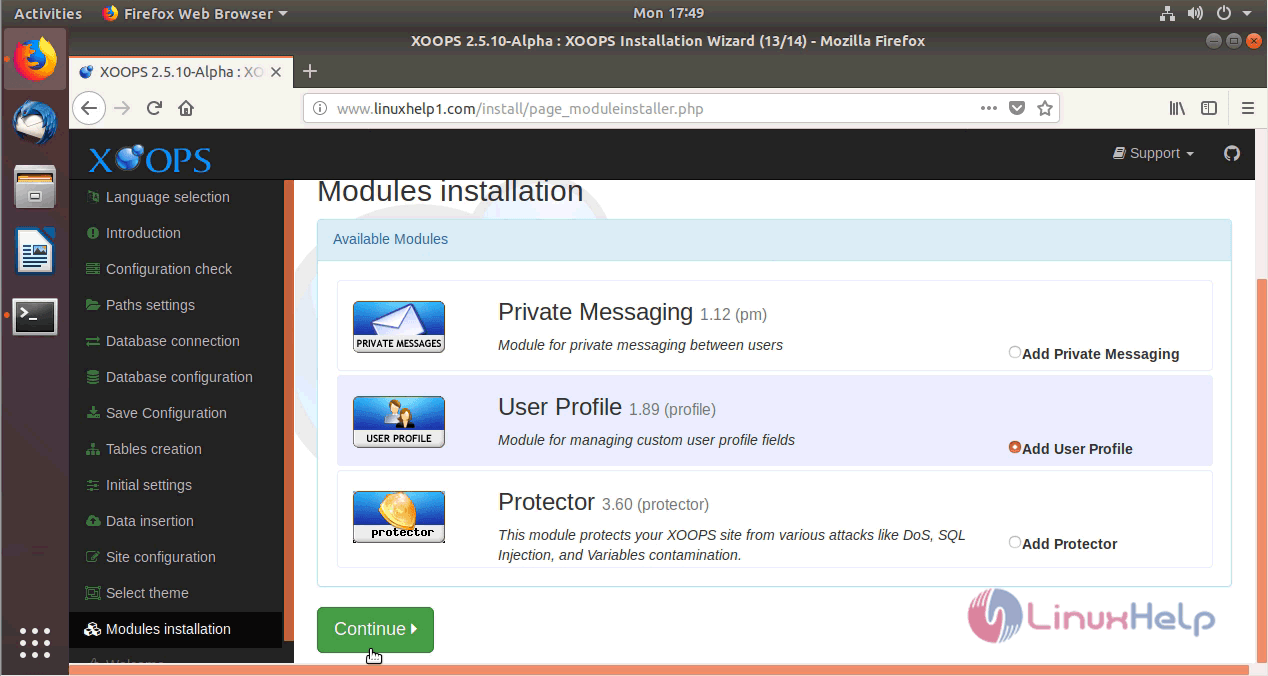
Choose the modules to install.
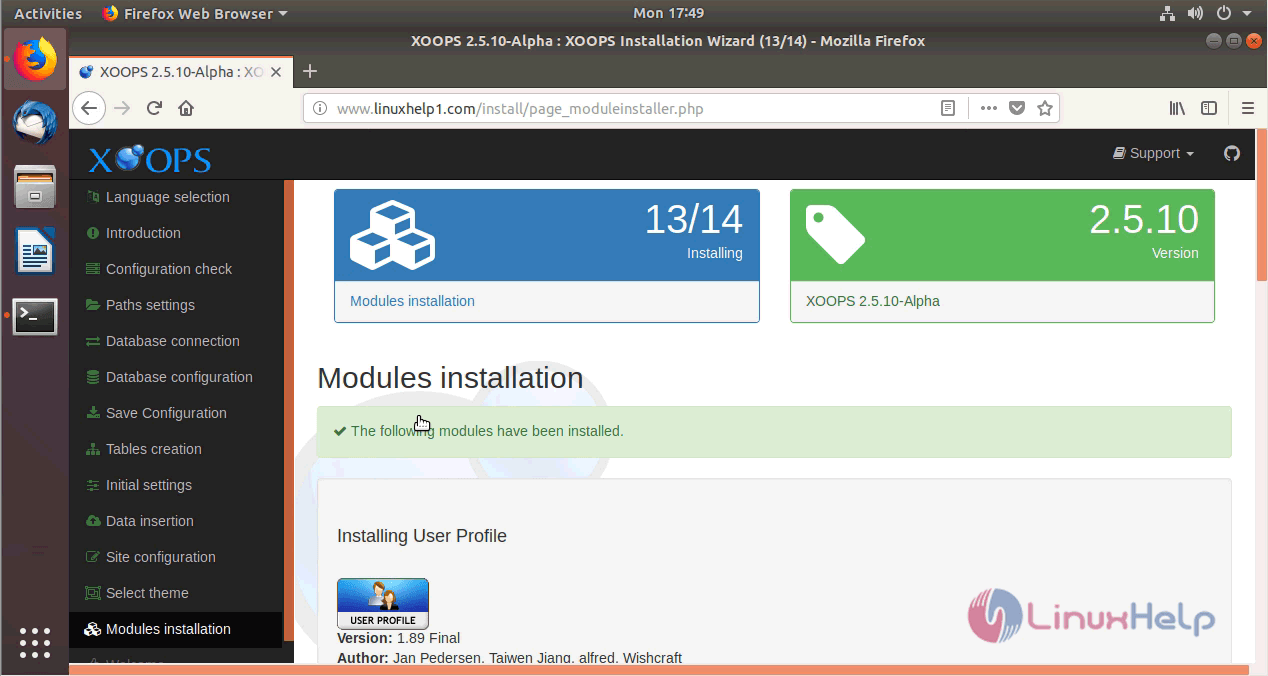
verify the installed modules
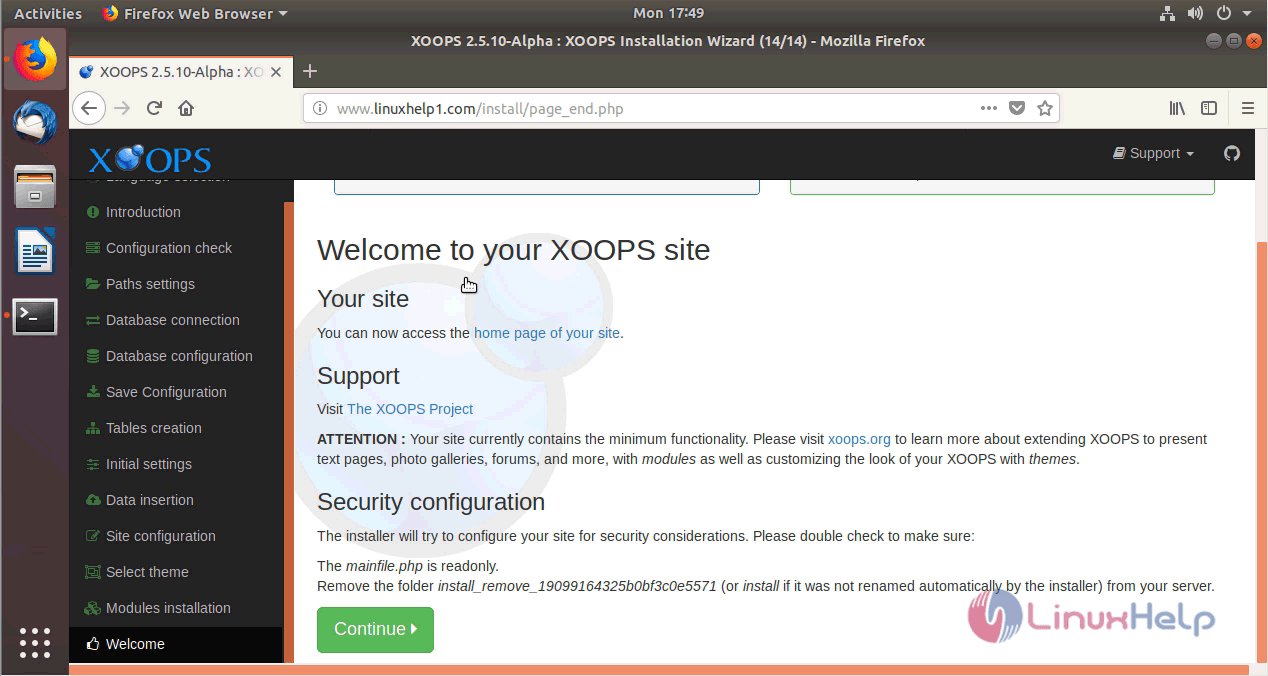
After all the configuration you will see the welcome page of Xoops site
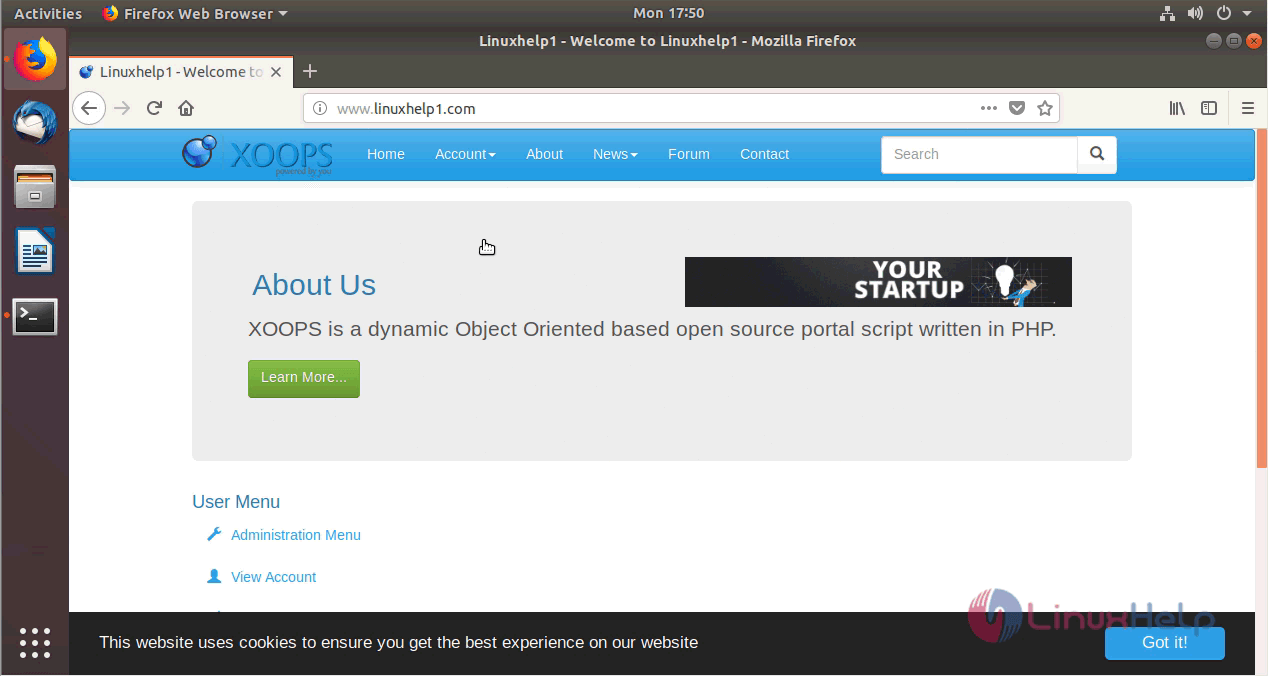
you will see the Hompage of Xoops as shown here
Xoops CMS Admin control panel

with this, the method to install Xoops 2.5.10 on Ubuntu 18.04 comes to an end.
Comments ( 0 )
No comments available