How to install xoops cms V2.5.9 on Linuxmint -18.03
To install Xoops cms V2.5.9 on Linuxmint -18.03
Pre-requirements
Install LAMP (Apache, php7.2, mariadb-server)
In MariaDB (create database, user and give privileges to the user)
PHP INSTALLATION
apt-get install php7.2 libapache2-mod-php7.2 php7.2-mbstring php7.2-curl php7.2-zip php7.2-gd php7.2-mysql php7.2-mcrypt  php7.2-imap php7.2-curl
php7.2-intl -y
Installation
Download the xoops cms package using wget command
linuxhelp ~ # wget https://github.com/XOOPS/XoopsCore25/archive/v2.5.9.zip
--2018-05-03 06:47:41--  https://github.com/XOOPS/XoopsCore25/archive/v2.5.9.zip
Resolving github.com (github.com)... 192.30.253.112, 192.30.253.113
Connecting to github.com (github.com)|192.30.253.112|:443... connected.
HTTP request sent, awaiting response... 302 Found
Location: https://codeload.github.com/XOOPS/XoopsCore25/zip/v2.5.9 \[following\]
--2018-05-03 06:47:43--  https://codeload.github.com/XOOPS/XoopsCore25/zip/v2.5.9
Resolving codeload.github.com (codeload.github.com)... 192.30.253.120, 192.30.253.121
Connecting to codeload.github.com (codeload.github.com)|192.30.253.120|:443... connected.
HTTP request sent, awaiting response... 200 OK
Length: unspecified \[application/zip\]
Saving to: &lsquo v2.5.9.zip&rsquo

v2.5.9.zip                   \[                     < =>           \]  11.43M   663KB/s    in 29s

2018-05-03 06:48:14 (398 KB/s) - &lsquo v2.5.9.zip&rsquo  saved \[11981300\]
Extract the downloaded package
linuxhelp ~ # unzip v2.5.9.zip
Archive:  v2.5.9.zip
ae1937996f5889a87f7b4c52e69d47e62bd45943
   creating: XoopsCore25-2.5.9/
  inflating: XoopsCore25-2.5.9/CONTRIBUTING.md
  inflating: XoopsCore25-2.5.9/LICENSE
  inflating: XoopsCore25-2.5.9/README.md
   creating: XoopsCore25-2.5.9/docs/
  inflating: XoopsCore25-2.5.9/docs/README.txt
  inflating: XoopsCore25-2.5.9/docs/changelog.250.txt
  inflating: XoopsCore25-2.5.9/docs/changelog.txt
  inflating: XoopsCore25-2.5.9/docs/fixing\_permissions.txt
  inflating: XoopsCore25-2.5.9/docs/install.html
  inflating: XoopsCore25-2.5.9/docs/lang\_diff.txt
  inflating: XoopsCore25-2.5.9/docs/license.txt
.
.
.
inflating: XoopsCore25-2.5.9/upgrade/upd-2.4.x-to-2.5.0/index.php
   creating: XoopsCore25-2.5.9/upgrade/upd-2.5.4-to-2.5.5/
  inflating: XoopsCore25-2.5.9/upgrade/upd-2.5.4-to-2.5.5/index.php
   creating: XoopsCore25-2.5.9/upgrade/upd-2.5.5-to-2.5.6/
  inflating: XoopsCore25-2.5.9/upgrade/upd-2.5.5-to-2.5.6/index.php
   creating: XoopsCore25-2.5.9/upgrade/upd-2.5.7-to-2.5.8/
  inflating: XoopsCore25-2.5.9/upgrade/upd-2.5.7-to-2.5.8/index.php
   creating: XoopsCore25-2.5.9/upgrade/upd-2.5.8-to-2.5.9/
  inflating: XoopsCore25-2.5.9/upgrade/upd-2.5.8-to-2.5.9/index.php
  inflating: XoopsCore25-2.5.9/upgrade/upgrade\_tpl.php
finishing deferred symbolic links:
  XoopsCore25-2.5.9/htdocs/class/libraries/vendor/bin/reloadpsl ->  ../geekwright/regdom/bin/reloadpsl
lin
Rename the extracted directory
linuxhelp ~ # ls
v2.5.9.zip  XoopsCore25-2.5.9
linuxhelp ~ # mv XoopsCore25-2.5.9/ xoops
linuxhelp ~ # ls
v2.5.9.zip  xoops
Move the xoops directory into the /var/www/html directory
linuxhelp ~ # mv xoops/ /var/www/html/
linuxhelp ~ # cd /var/www/html/
Go to /var/www/html directory
linuxhelp ~ # cd /var/www/html/
linuxhelp html # ls
index.html  xoops
Change ownership and permission for the xoops directory
linuxhelp html # chown -R www-data:www-data xoops/ & & chmod -R 775 xoops/
Configure the virtual host for xoops cms. Create an empty file named xoops.conf
linuxhelp html # cd /etc/apache2/sites-available/
linuxhelp sites-available # vim xoops.conf
< virtualhost \*:80>
servername  www.linuxhelp1.com
Documentroot  /var/www/html/xoops/
< Directory /var/www/html/xoops/>
AllowOverride
order allow,deny
allow from all
< /Directory>
< /virtualhost>
Enable the xoops.conf file
linuxhelp sites-available # a2ensite xoops.conf
Enabling site xoops.
To activate the new configuration, you need to run:
service apache2 reload
Make an entry to the host file as follows
linuxhelp sites-available # vim /etc/hosts
< give your ip >      < give your domain name>
Restart the Apache web server
linuxhelp sites-available # systemctl restart apache2.service
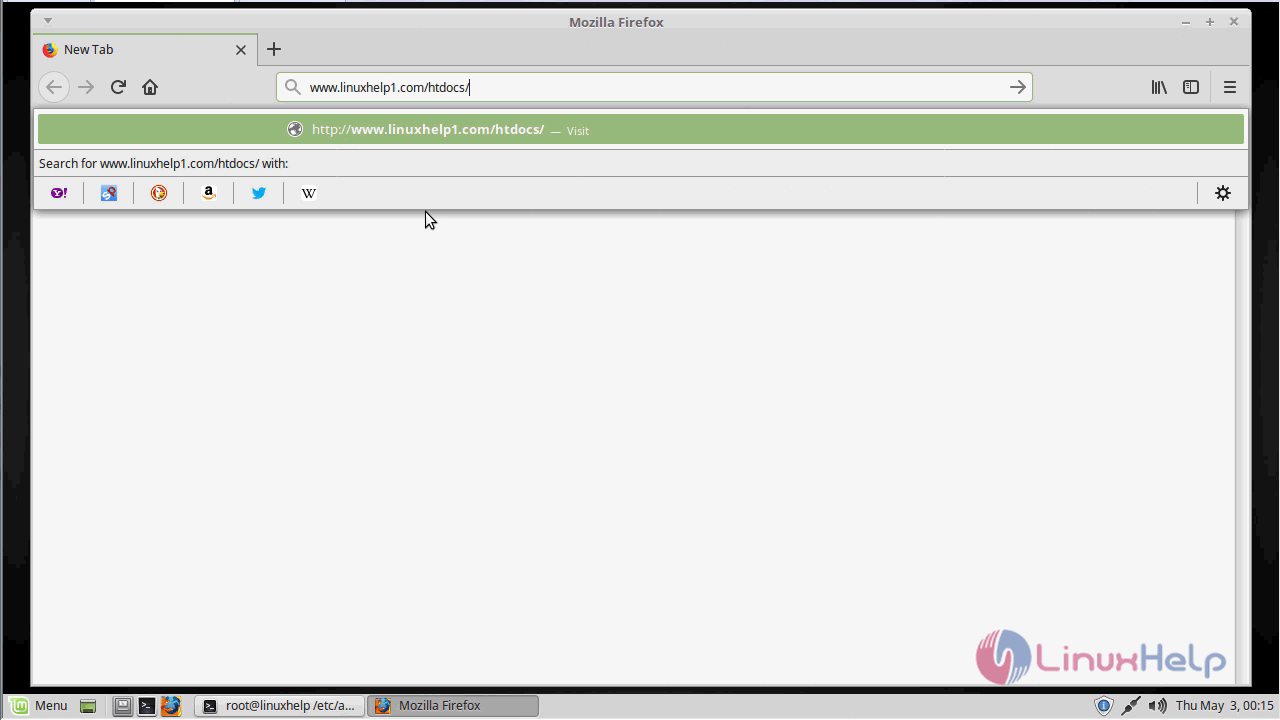
Now you can proceed the further installation and configuration from the browser by navigating to the following URL: http://< ipaddress or domain name
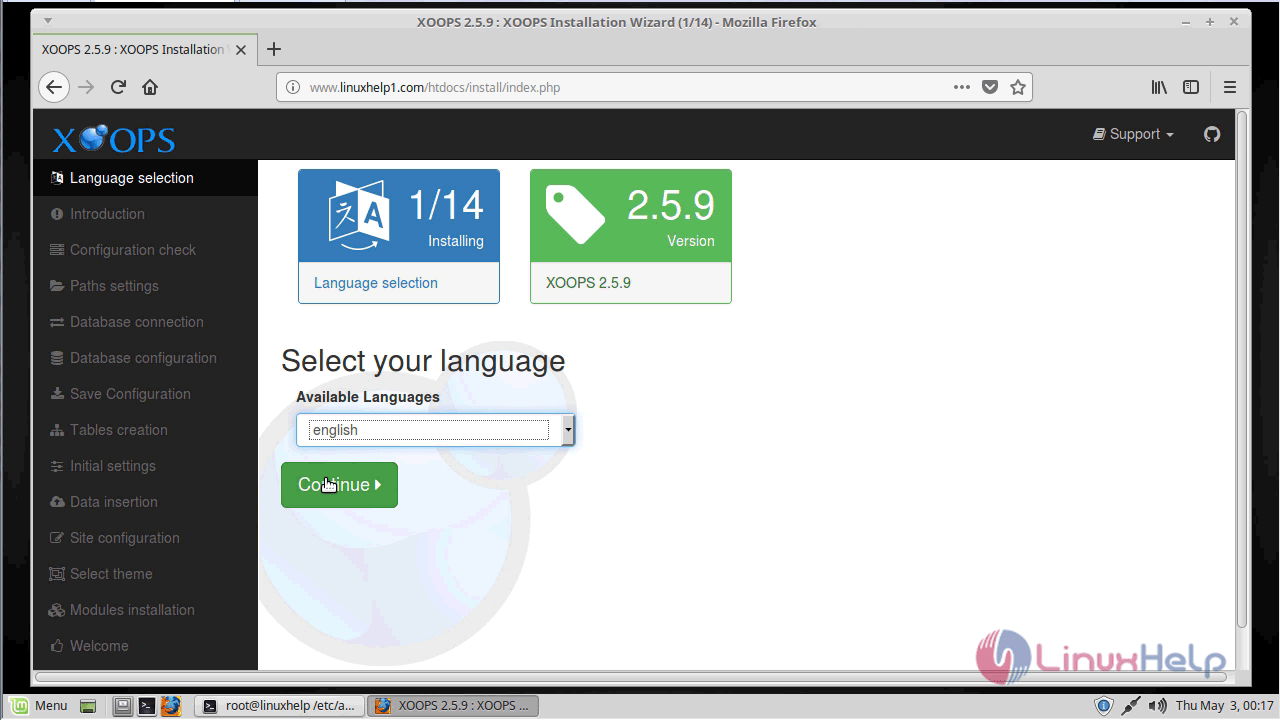
Language selection: Select the language for the installer.
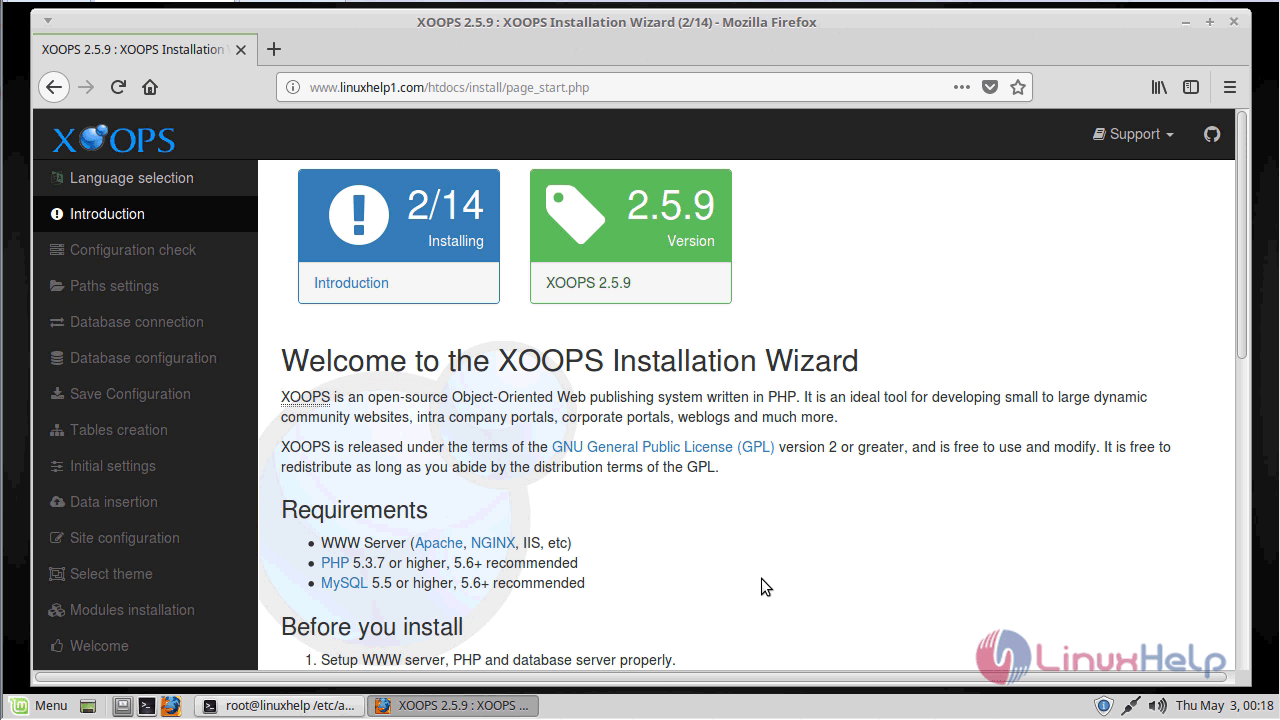
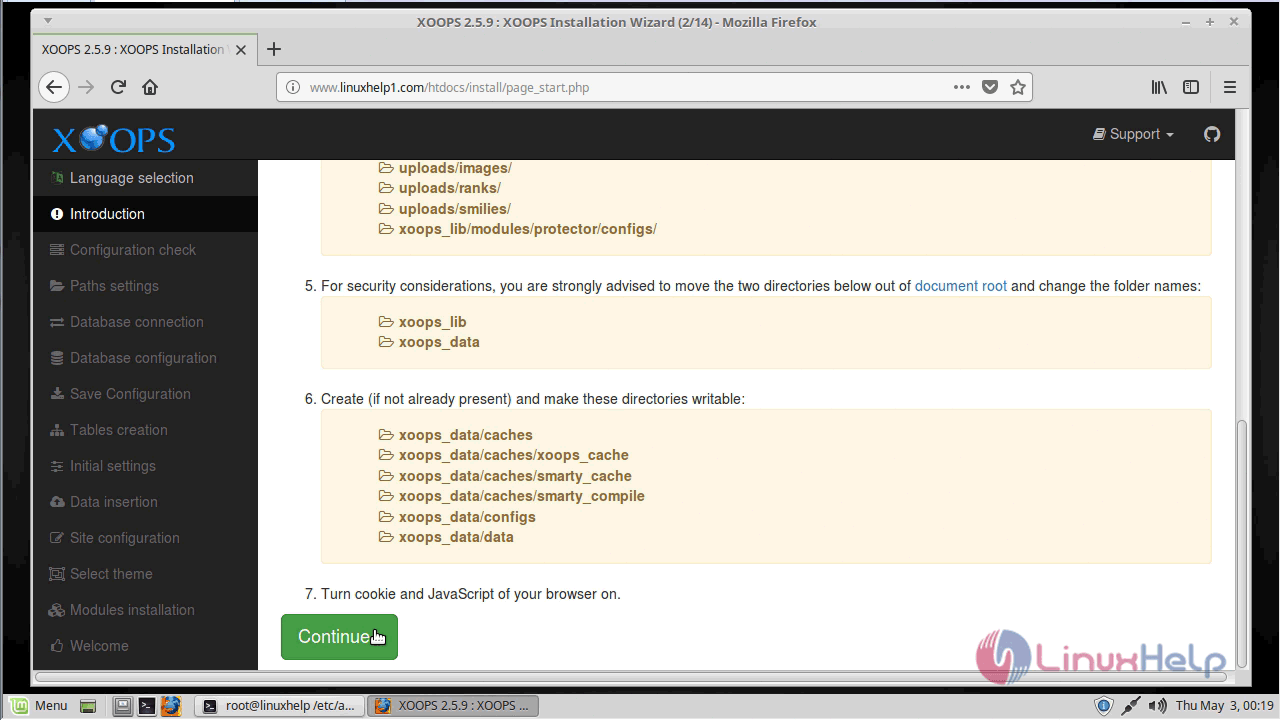
Introduction: Read about the installation process.
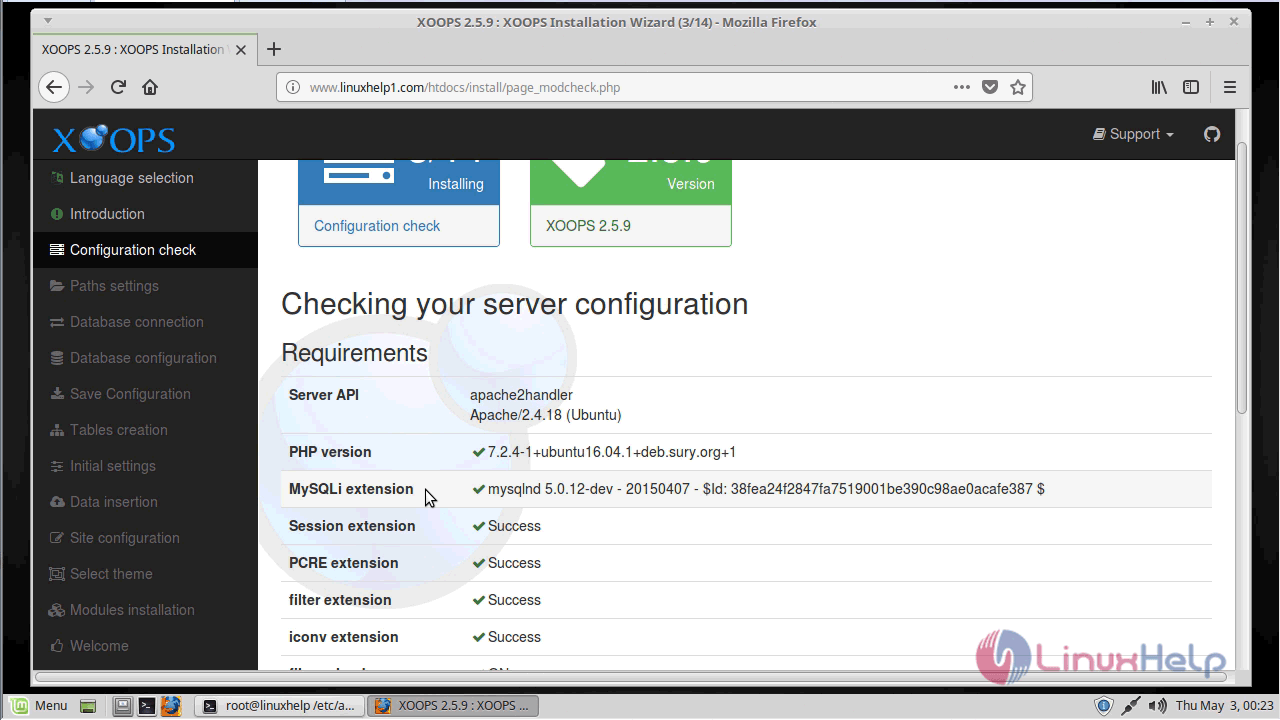
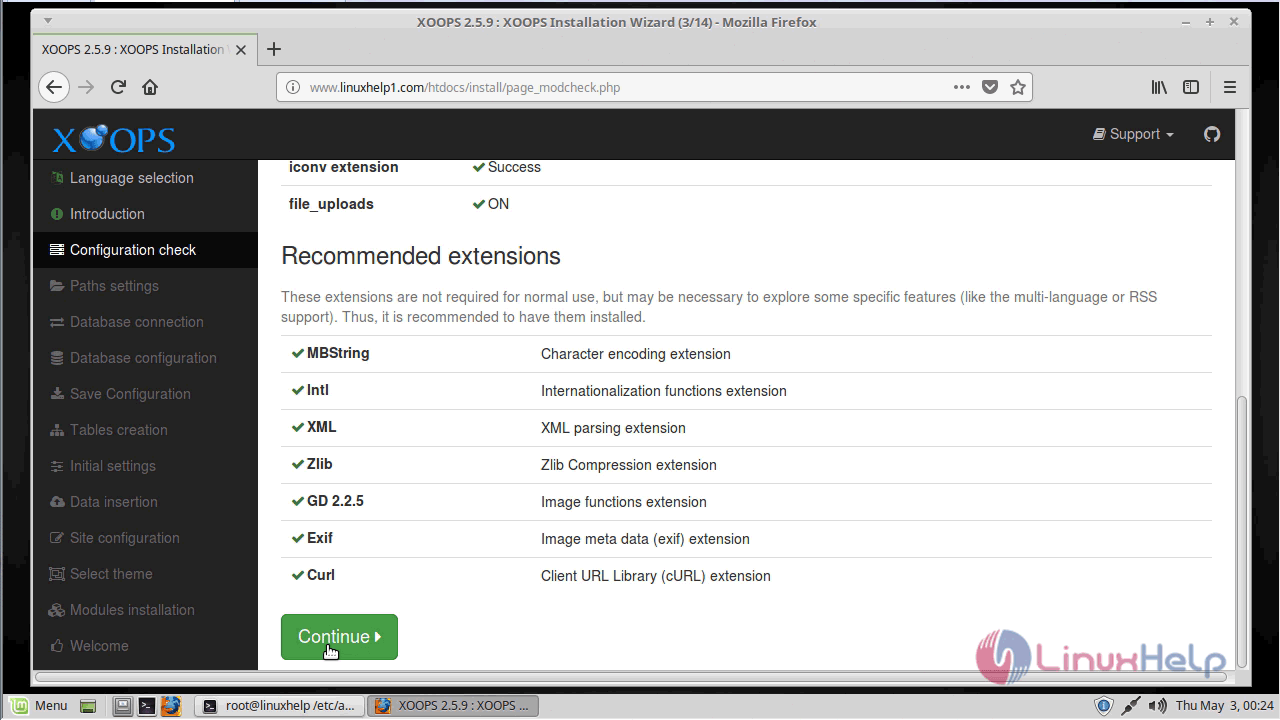
Configuration check: XOOPS installer checks to see if everything is ready.
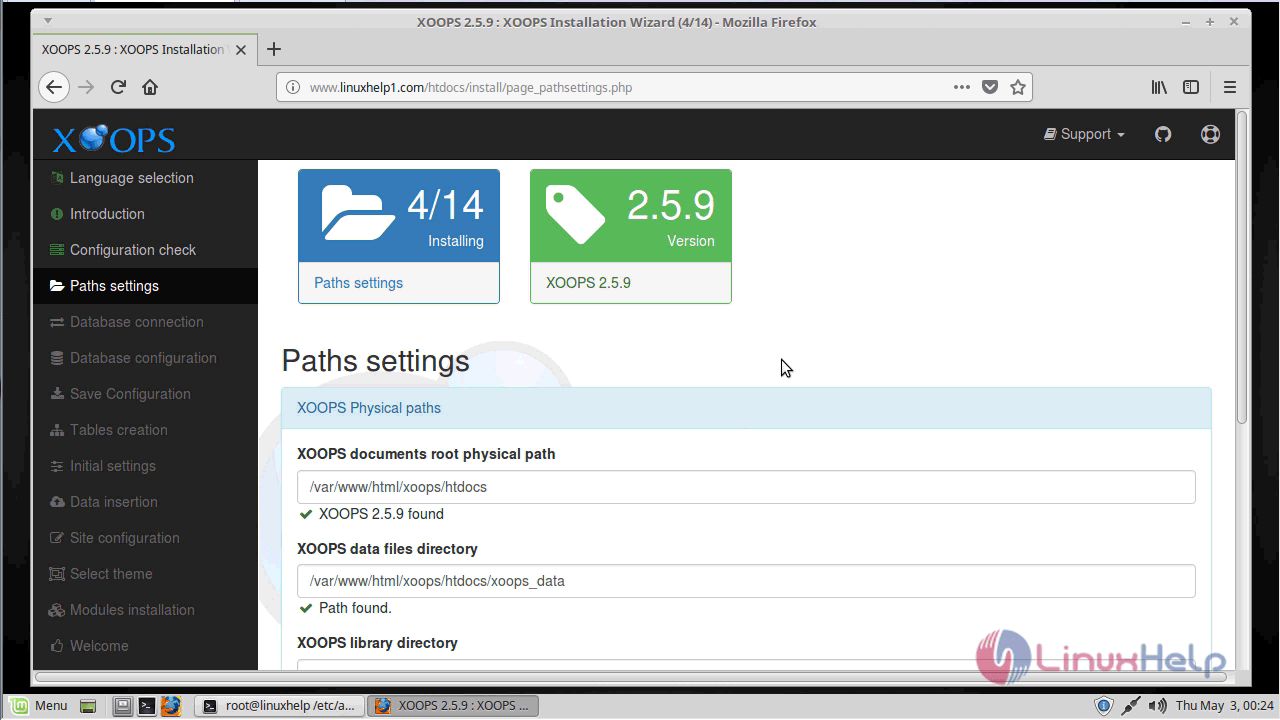
Paths settings: Verify whether all the given paths are correct

Database connection: Database server settings.


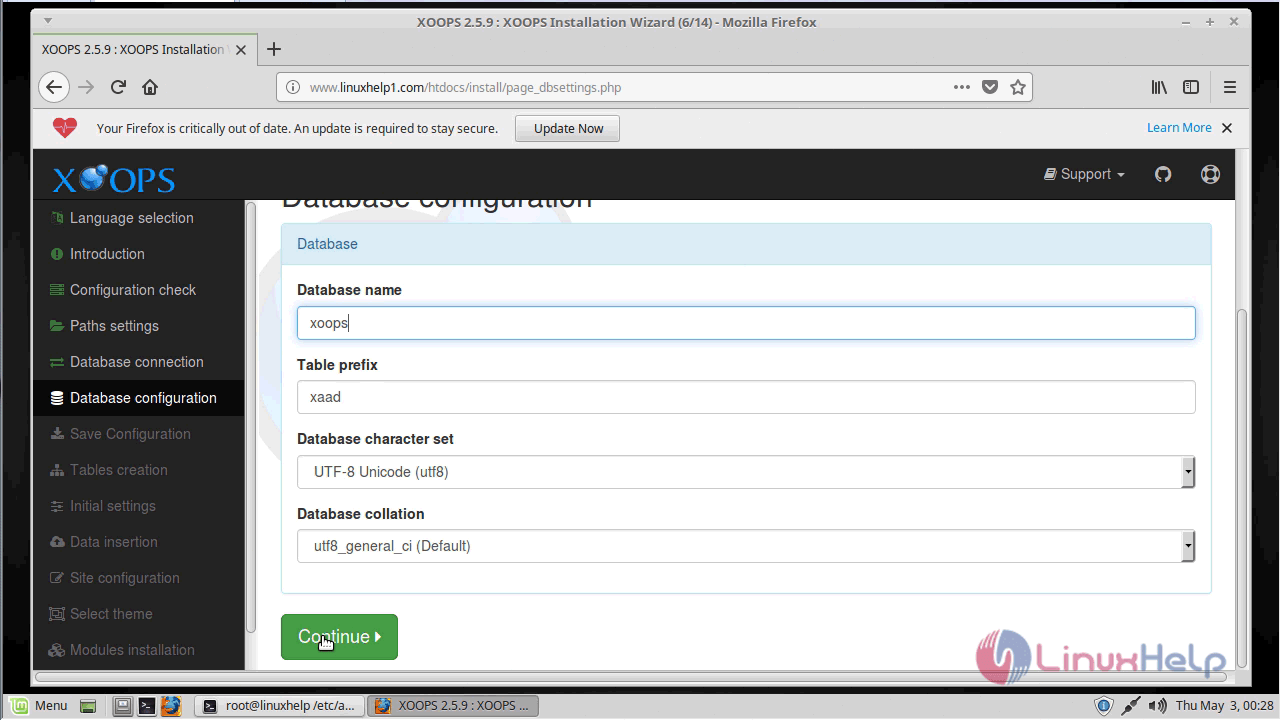
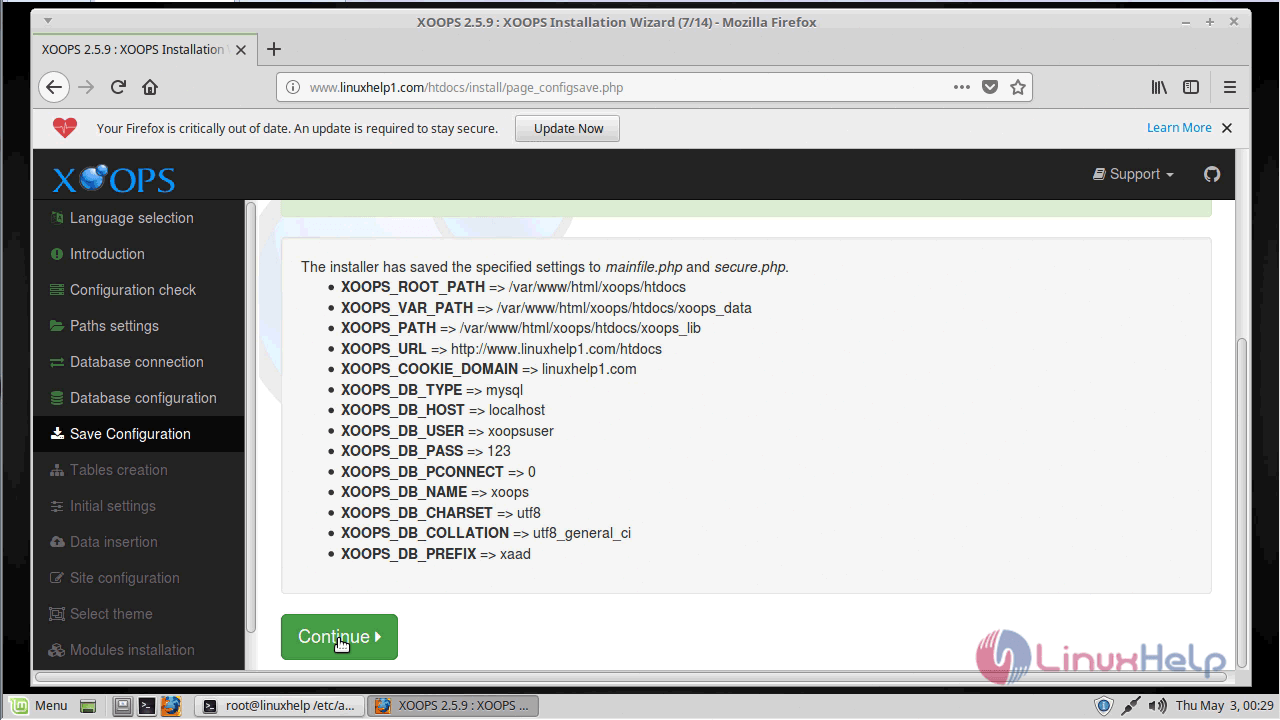
Database configuration: XOOPS database settings.
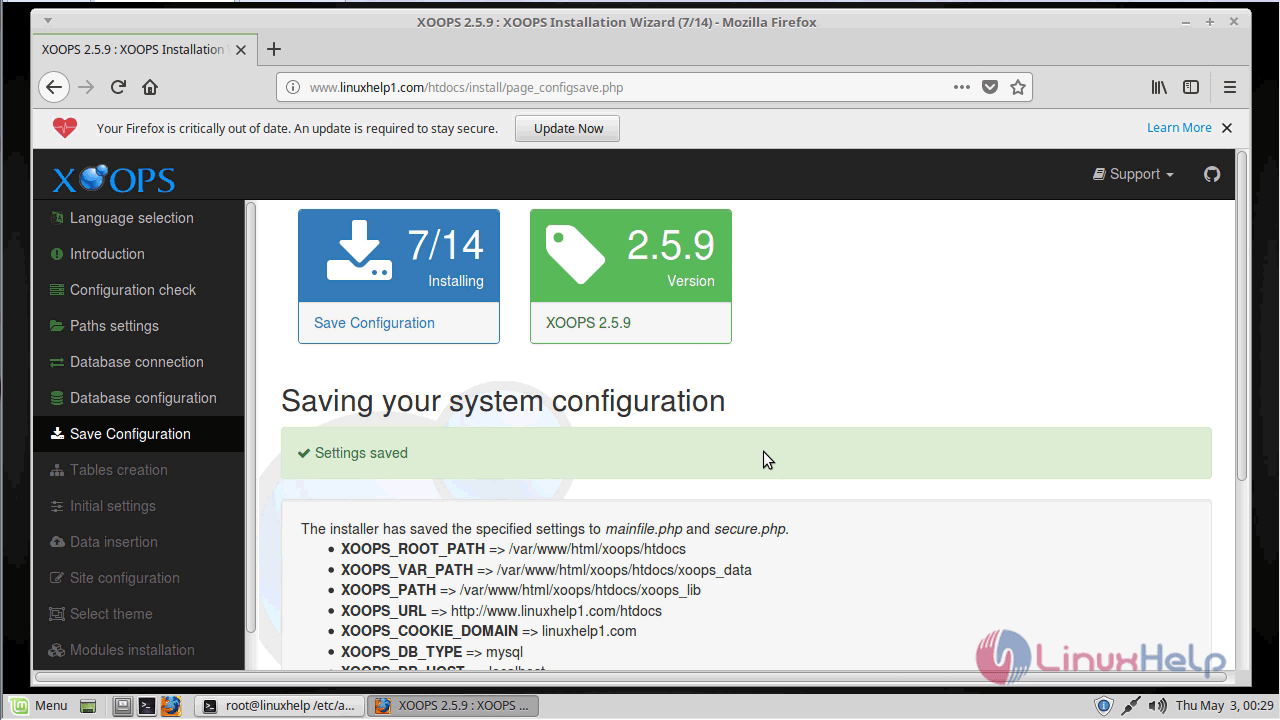
Configuration save: Write settings to mainfile.php.
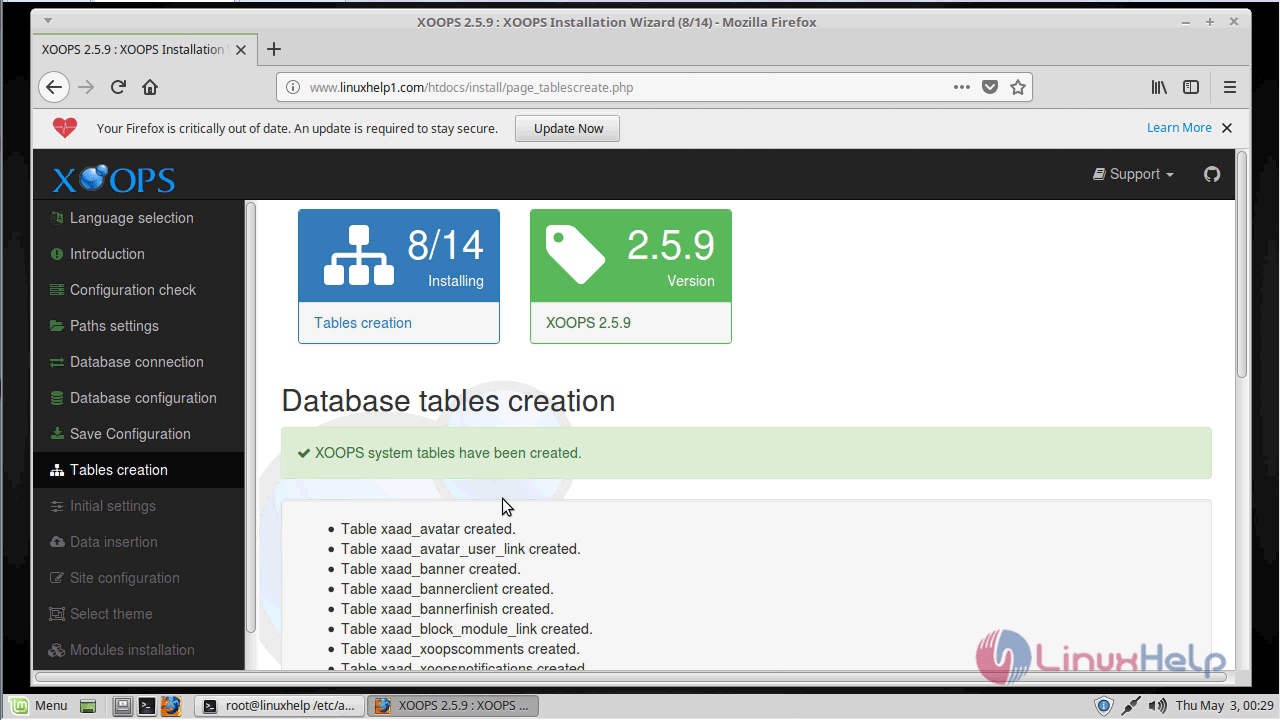
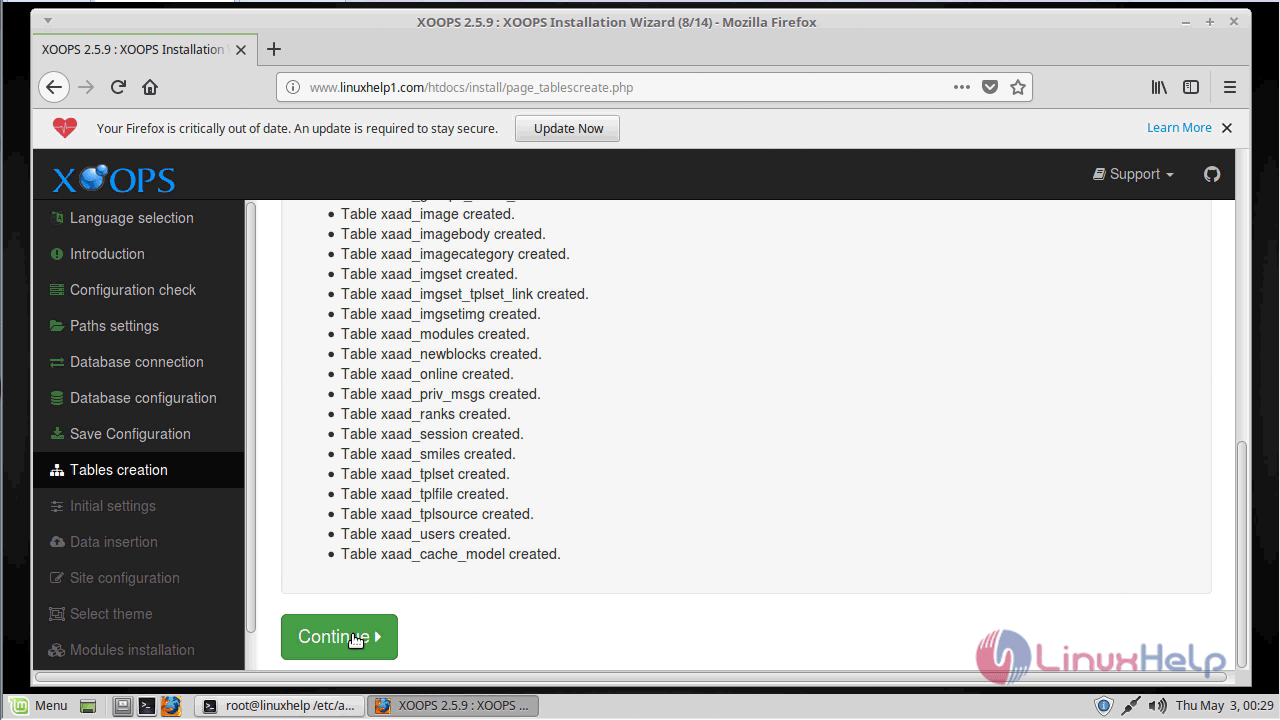
Tables creation: Create tables on the database.
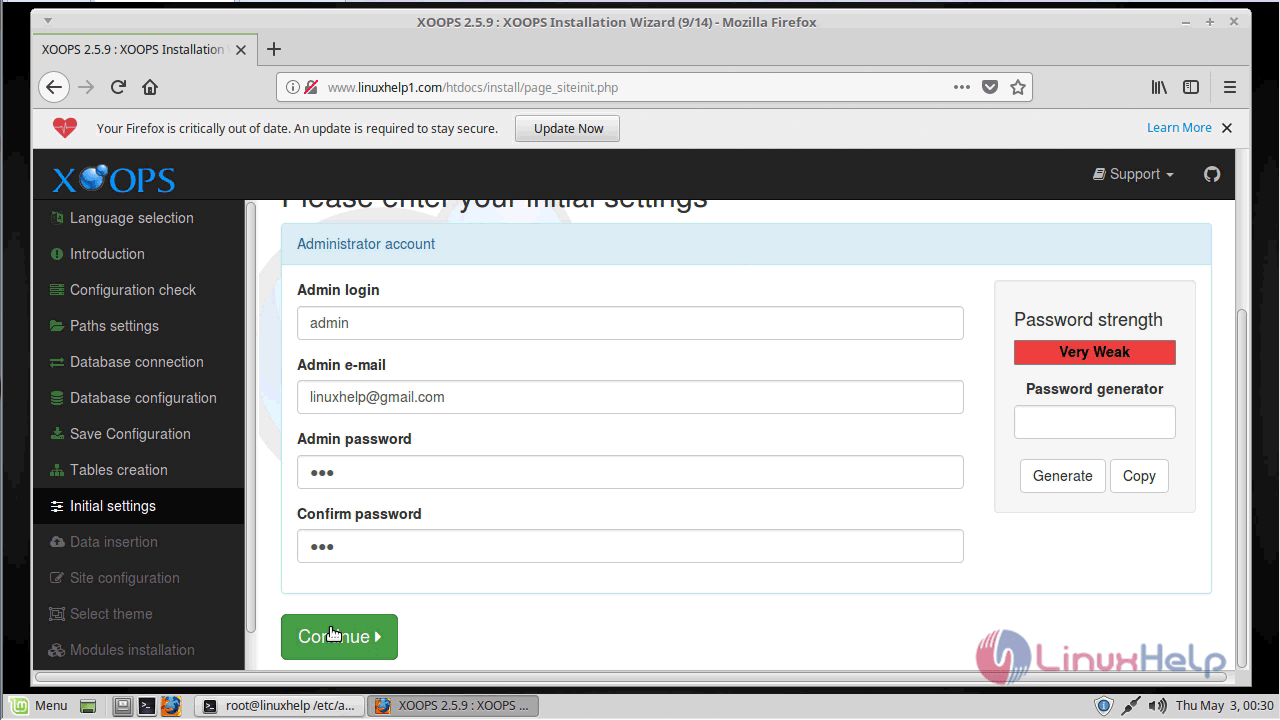
Initial settings: Admin user account creation.
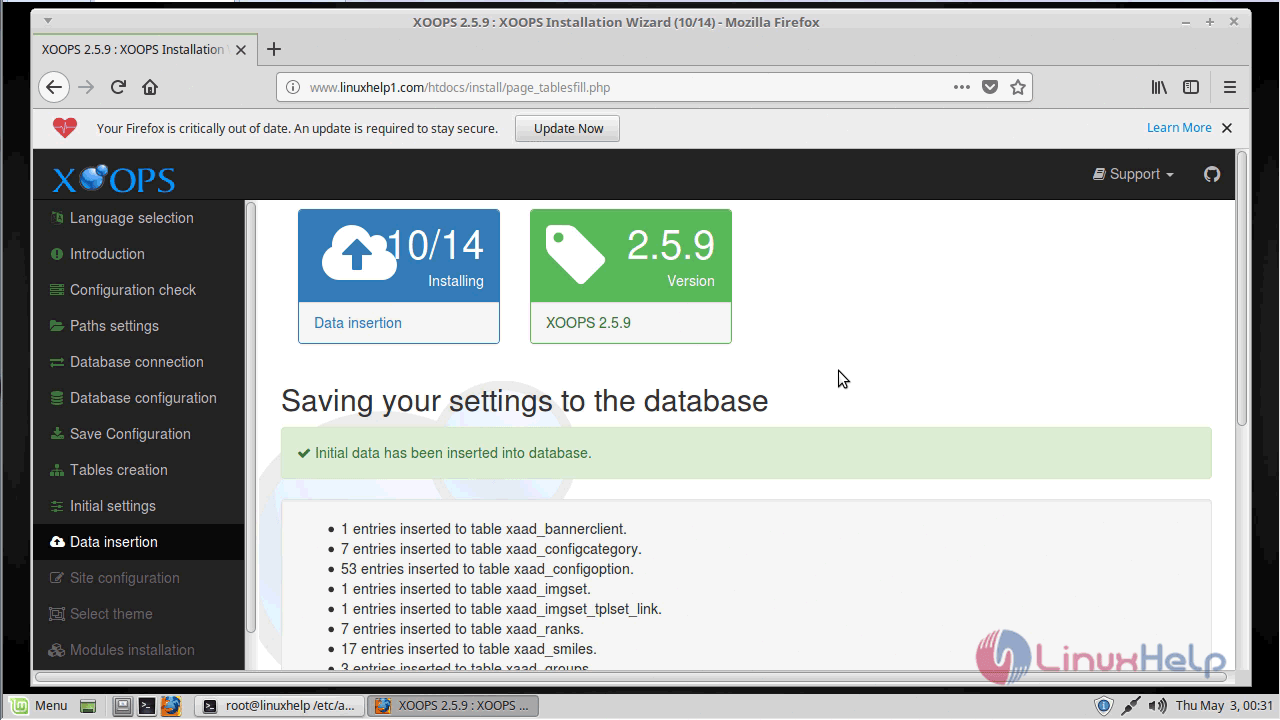
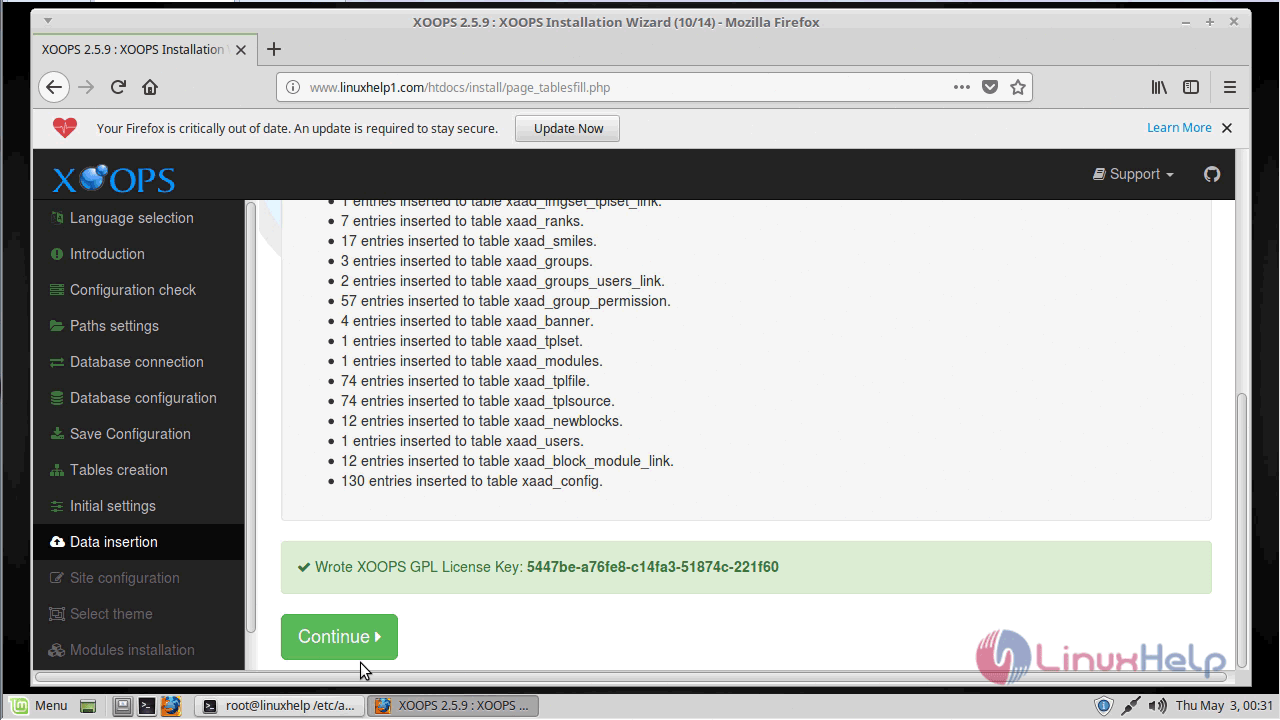
Data insertion: Data is inserted into tables.
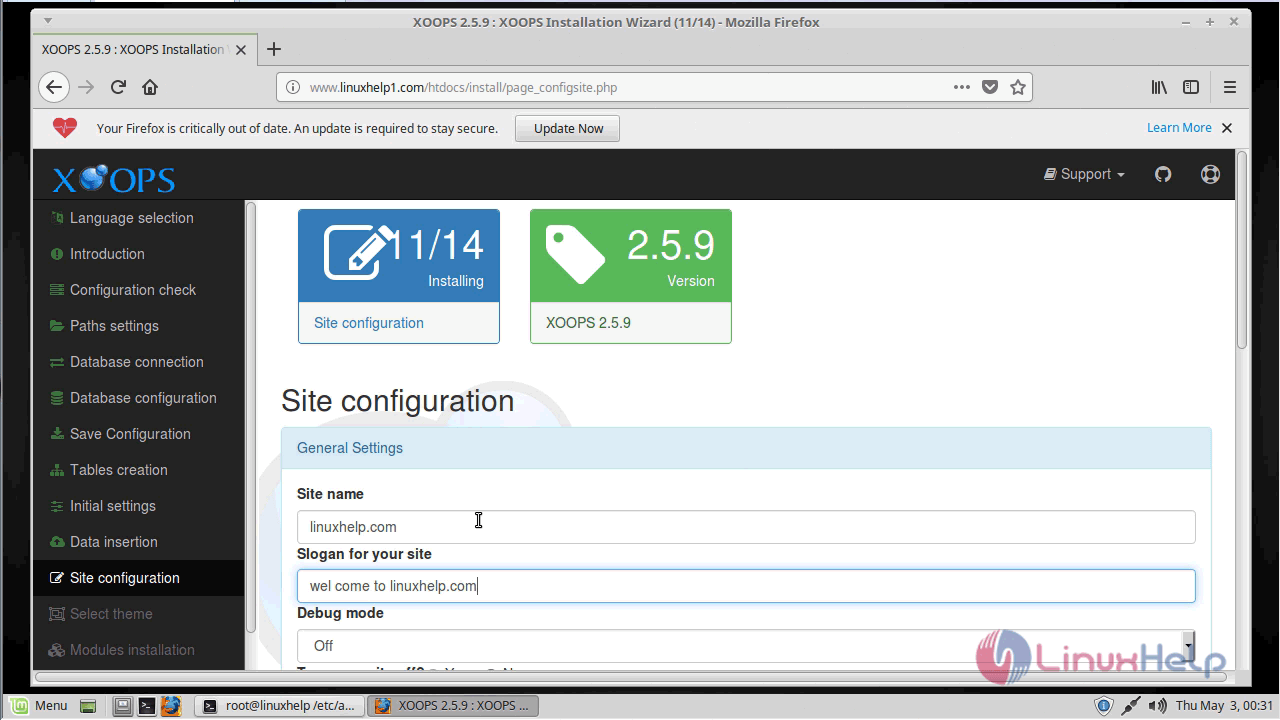
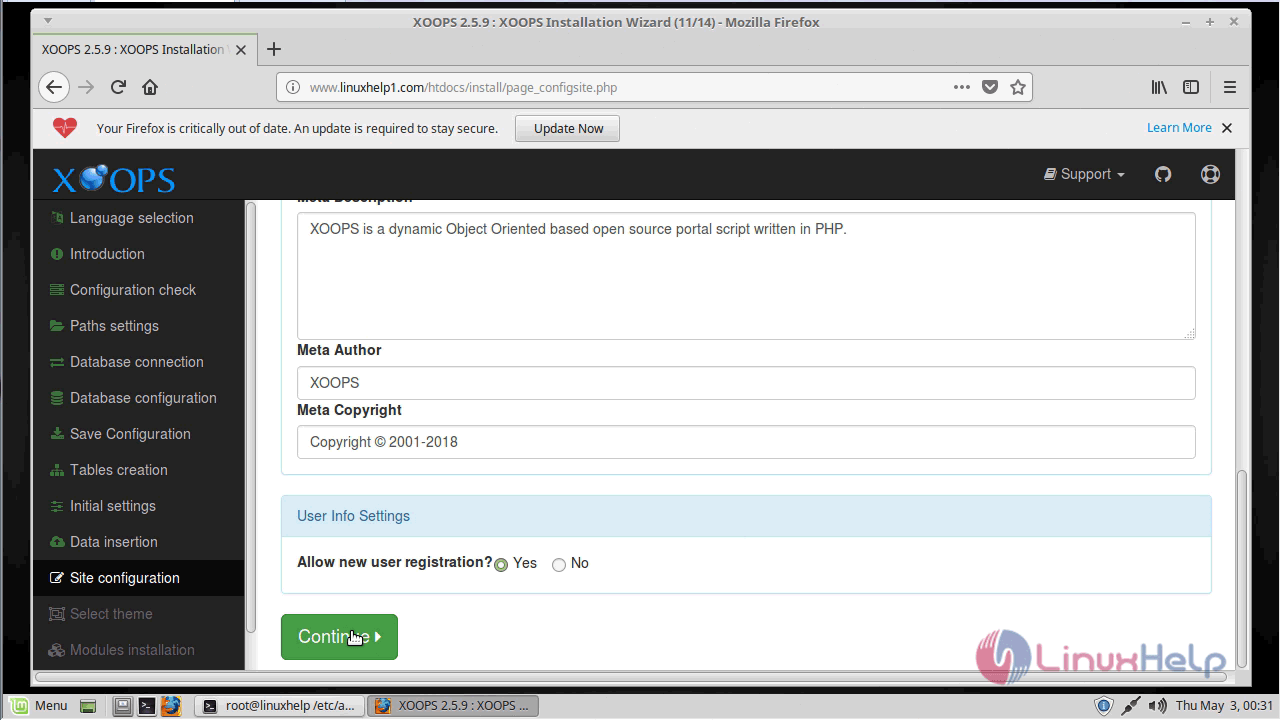
Site configuration: Configure your site information
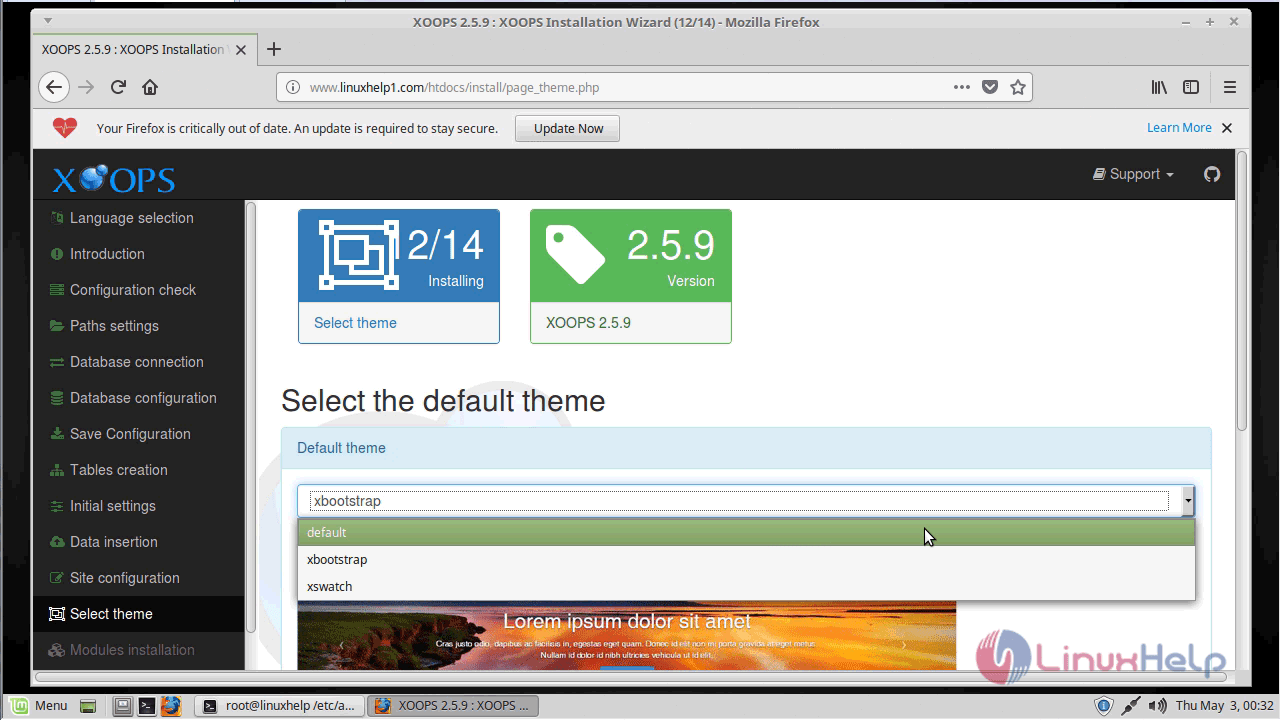
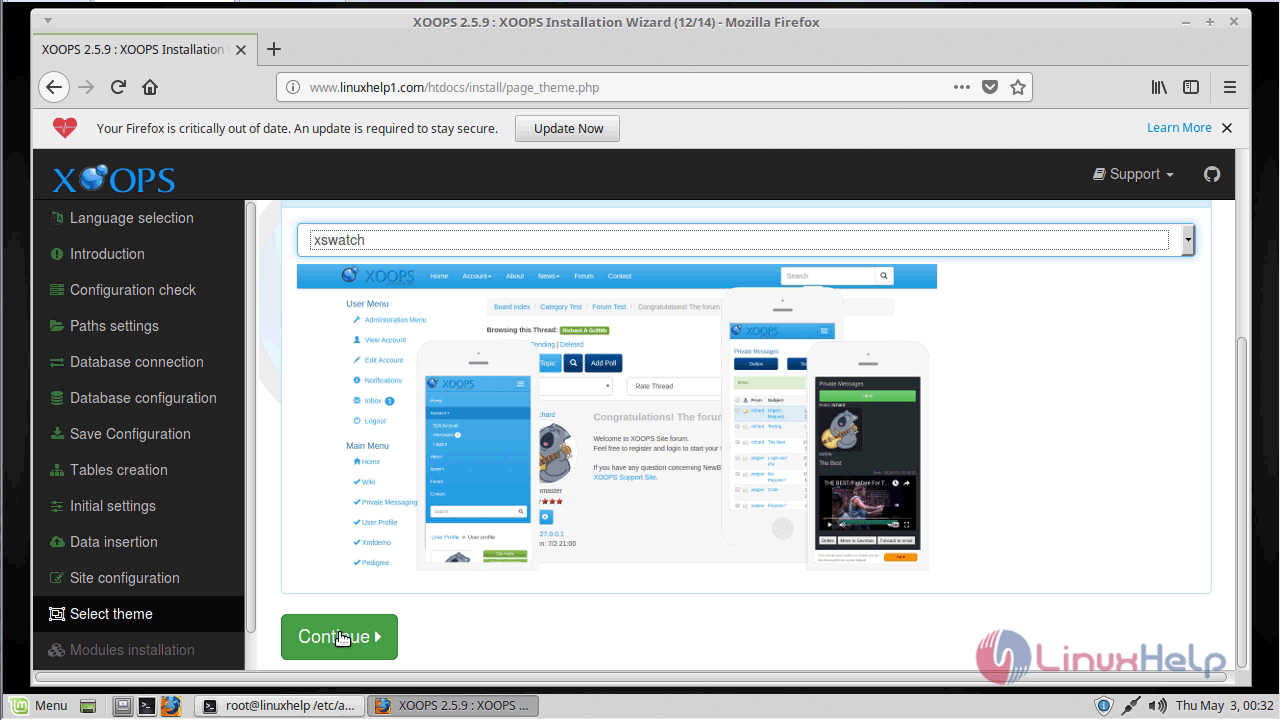
Select theme: Choose the default theme for your site.
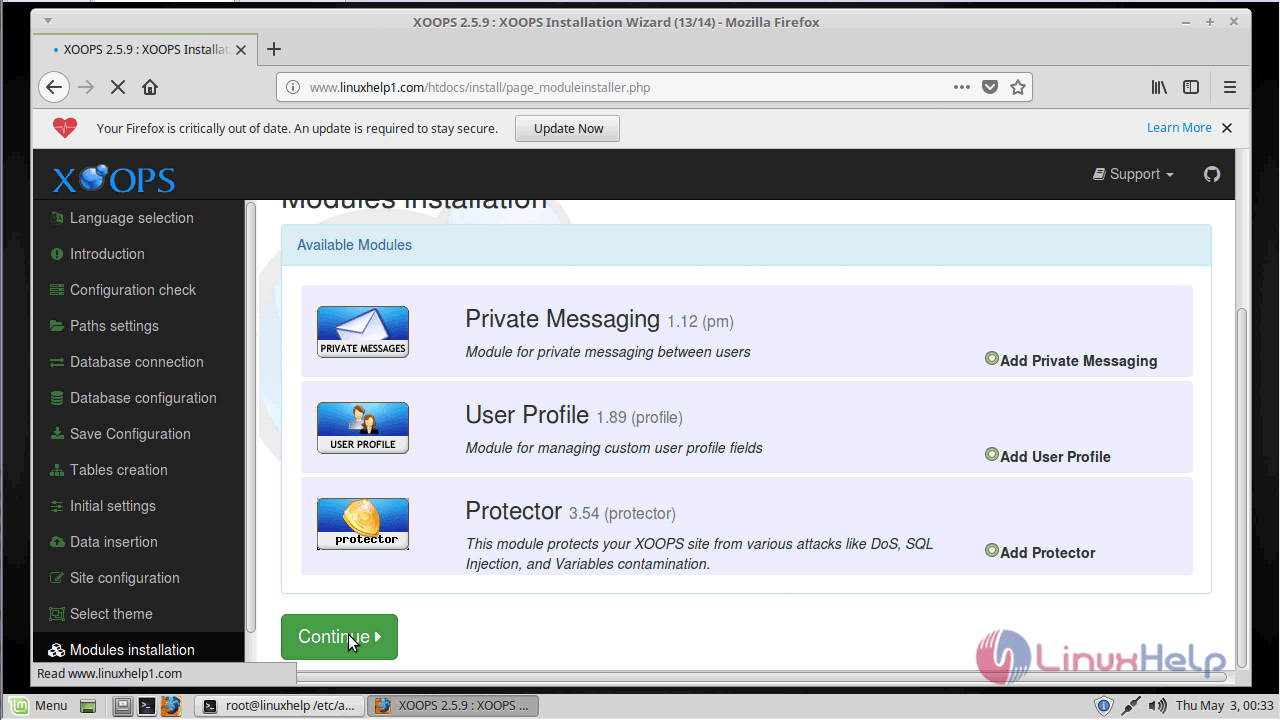
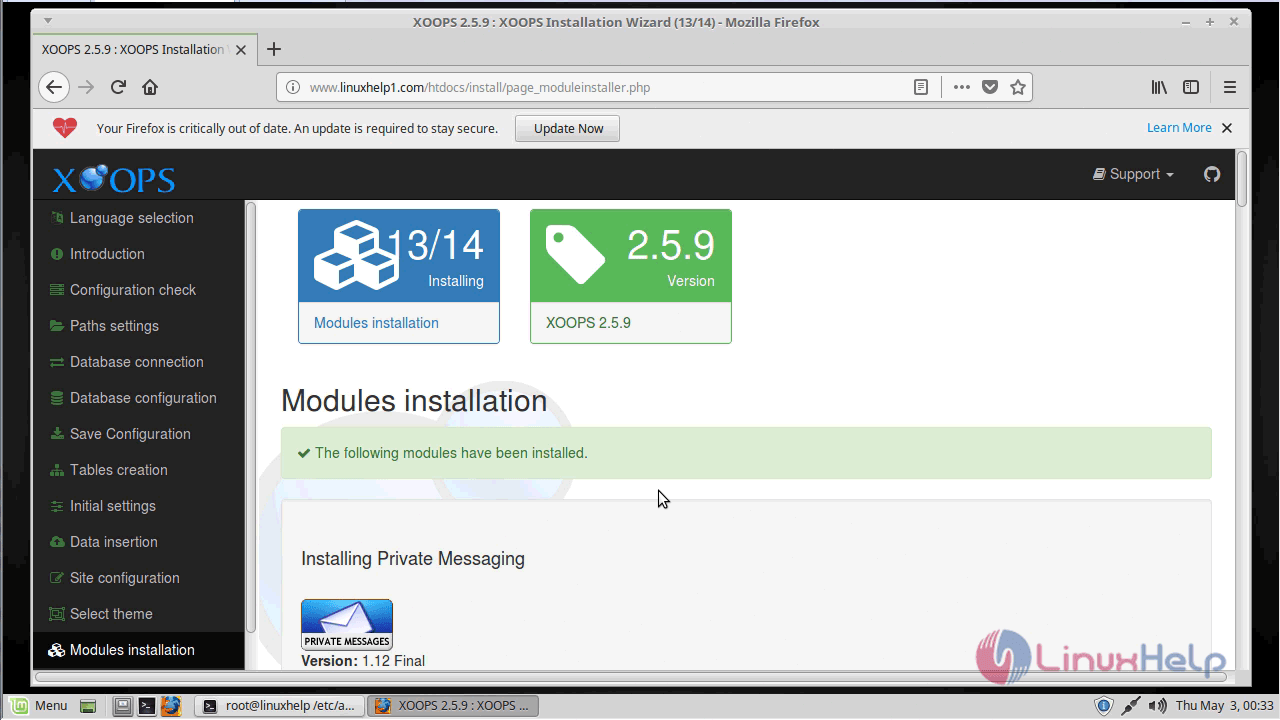
Modules installation: Select modules to install.
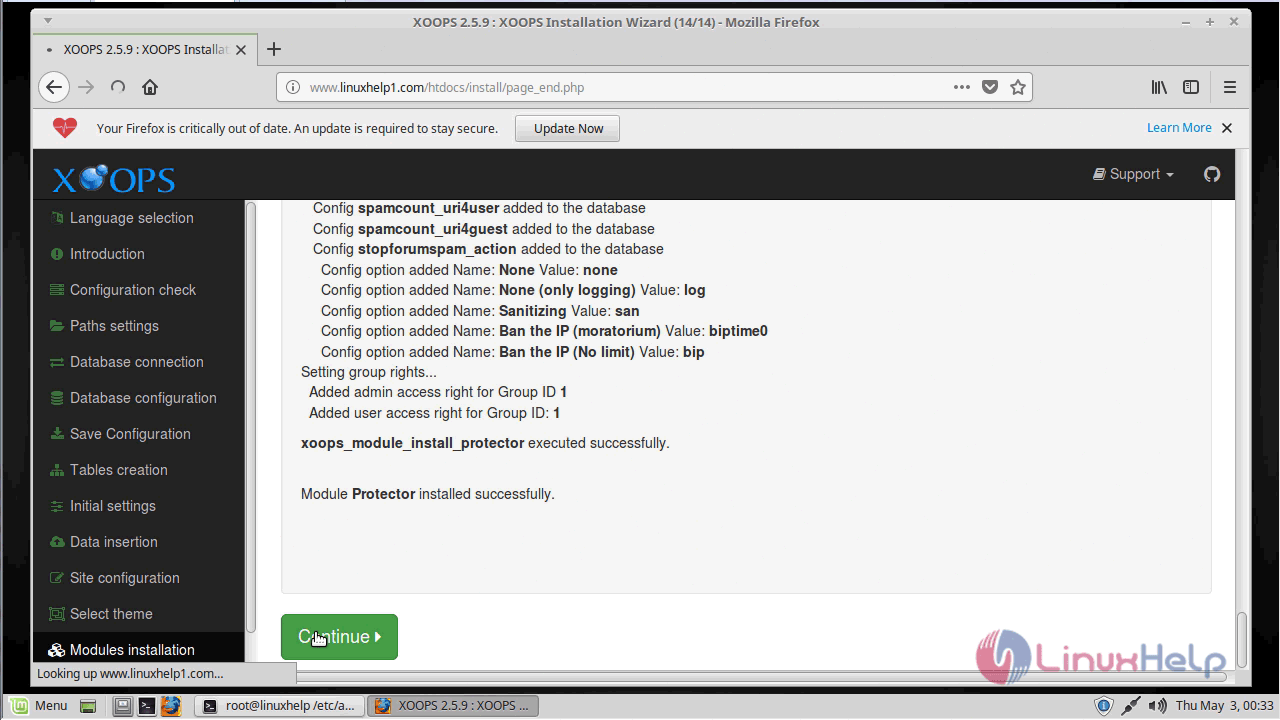
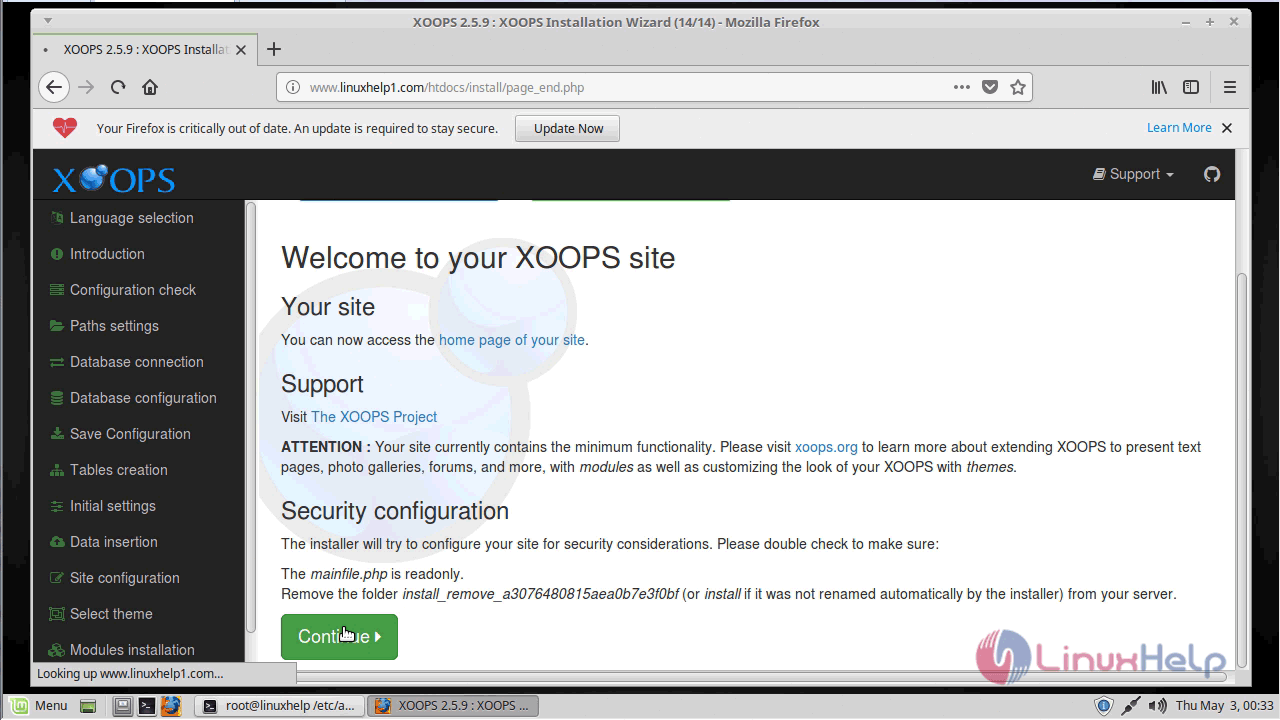
Welcome: Final notes.
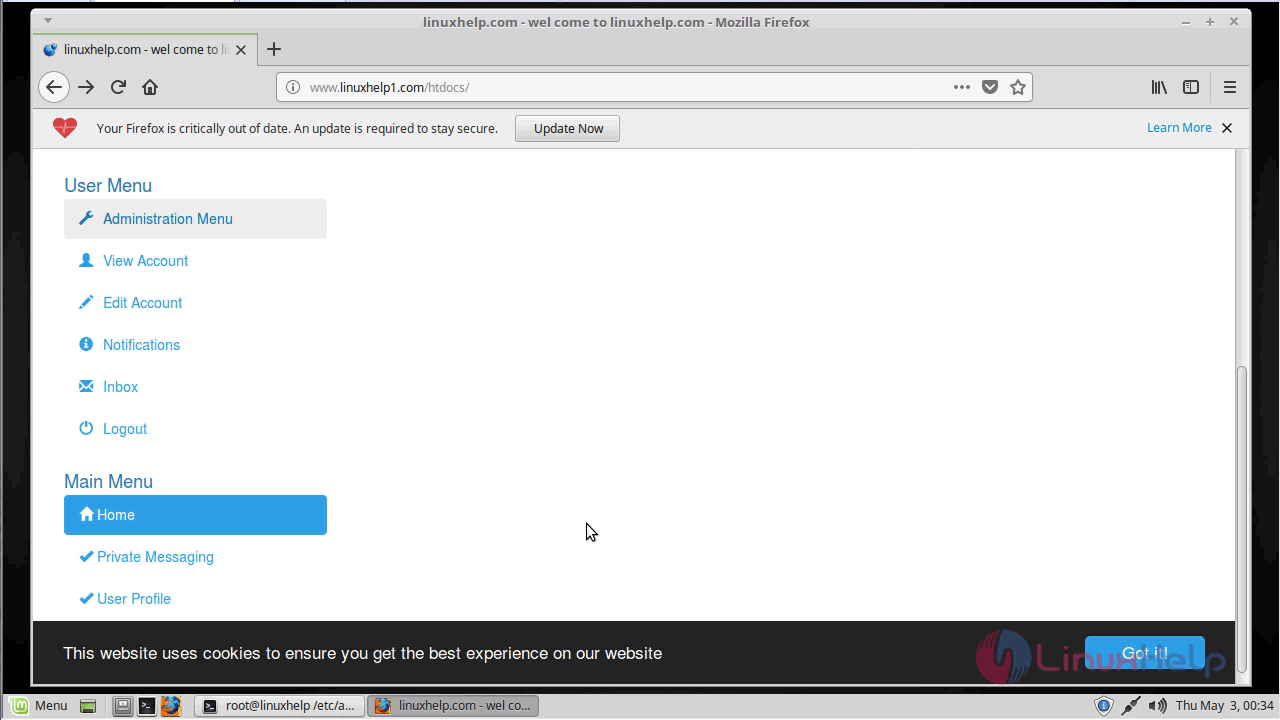
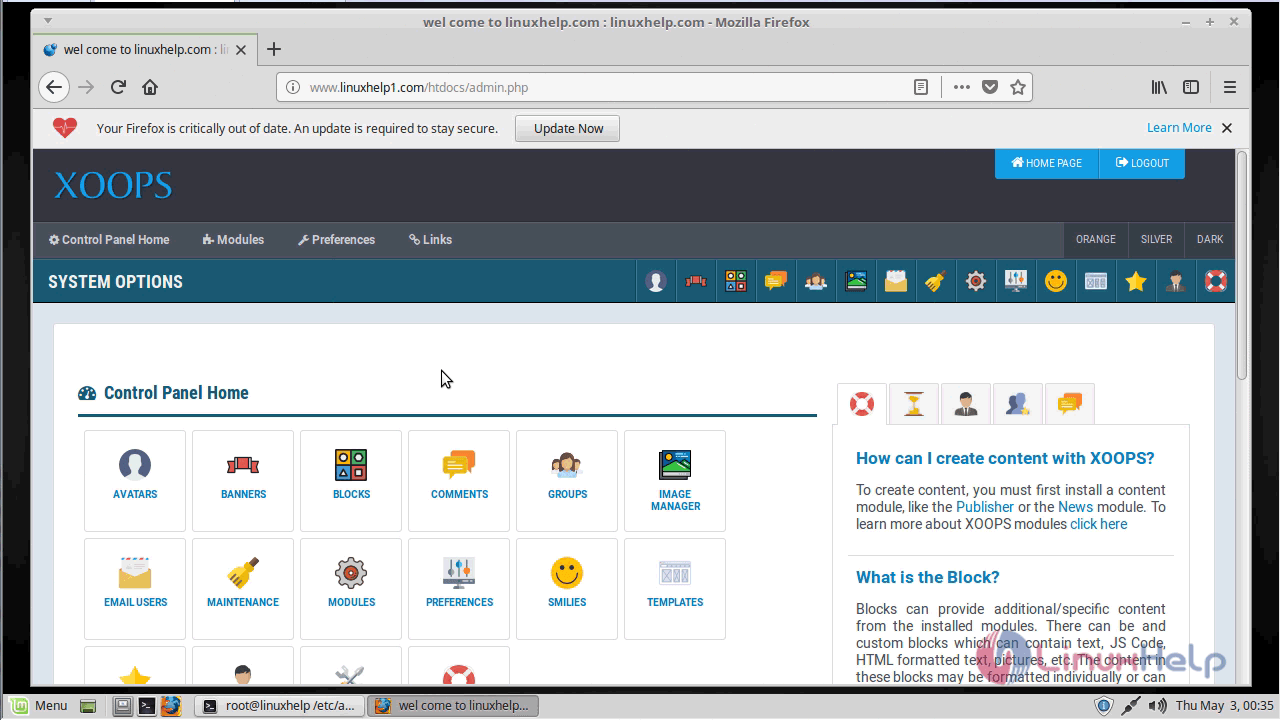
After all the configuration setup you can see the admin page of Xoops as shown below.
With this, the method to install Xoops cms V2.5.9 on Linuxmint -18.03 comes to an end.
Comments ( 0 )
No comments available