How to use Credit Module on Invoice Ninja
How to use Credit Module on Invoice Ninja
In our preceding article, we have seen how to create Recurring Invoice in Invoice Ninja. Today you will be explained about how to use credit module on Invoice Ninja. Invoice Ninja is a free, open-source solution for invoicing and billing customers. The concerned clients can print the invoices, download them as PDF files, and even pay the vendor from online from within the system. It also supports 45 integrated payment gateways to send invoices to customers within seconds.
Credit Module procedure
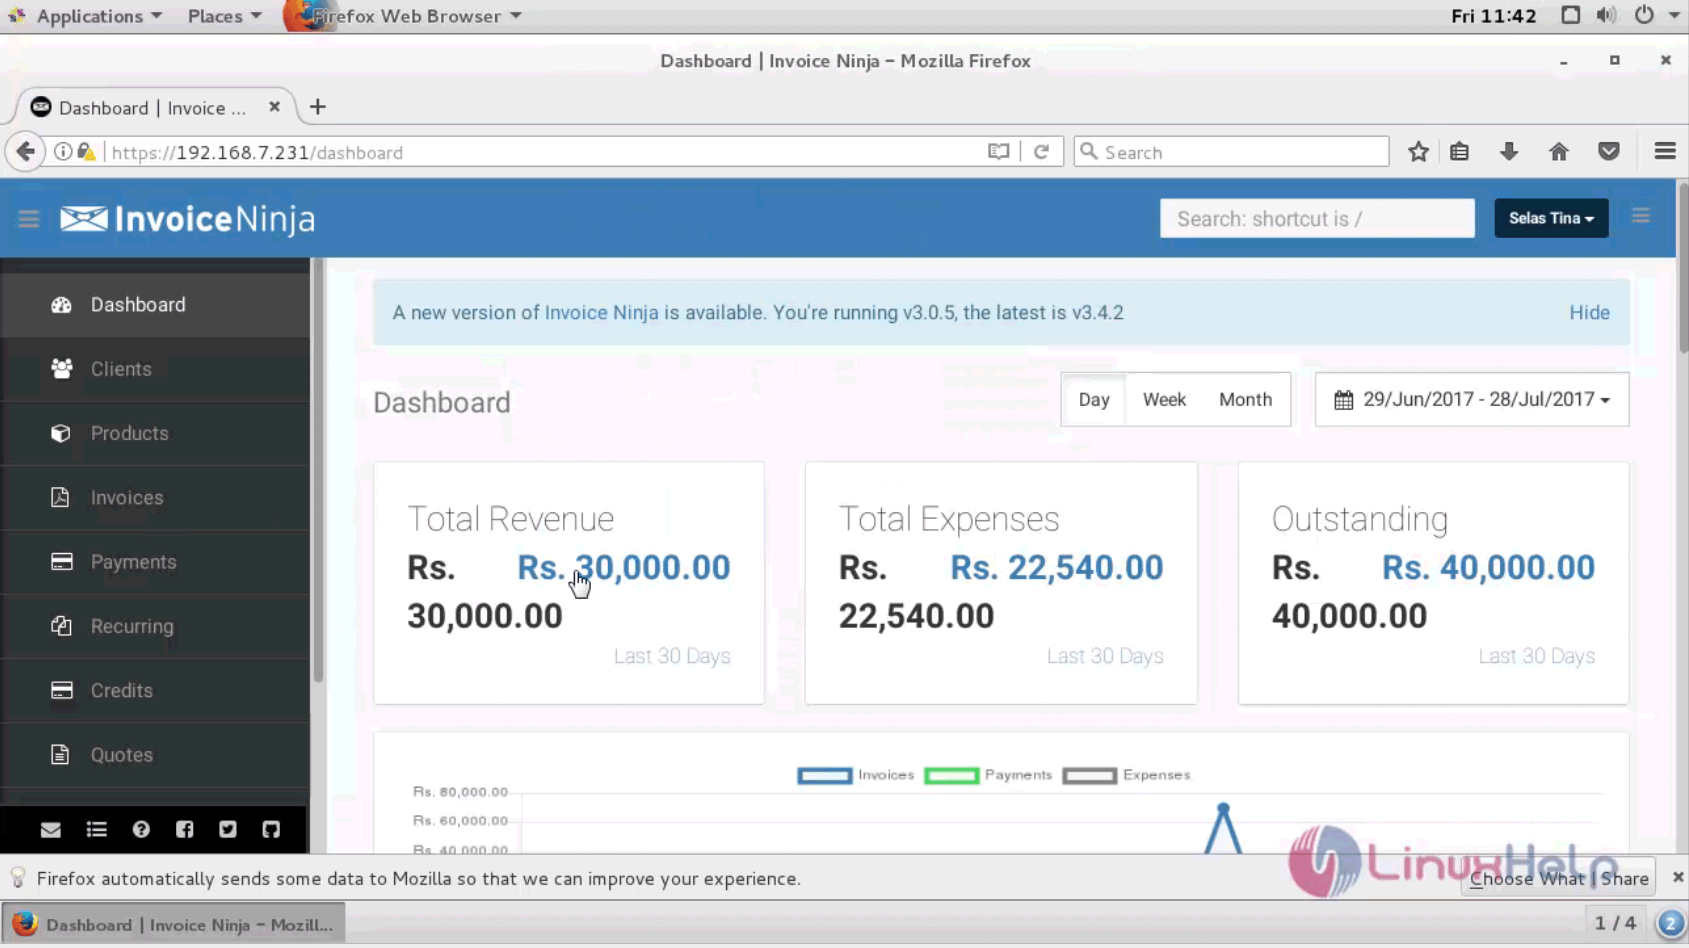
To start with the Recurring Invoice procedure, log in to Invoice Ninja with your credentials. The dashboard appears on the screen with all the required options.
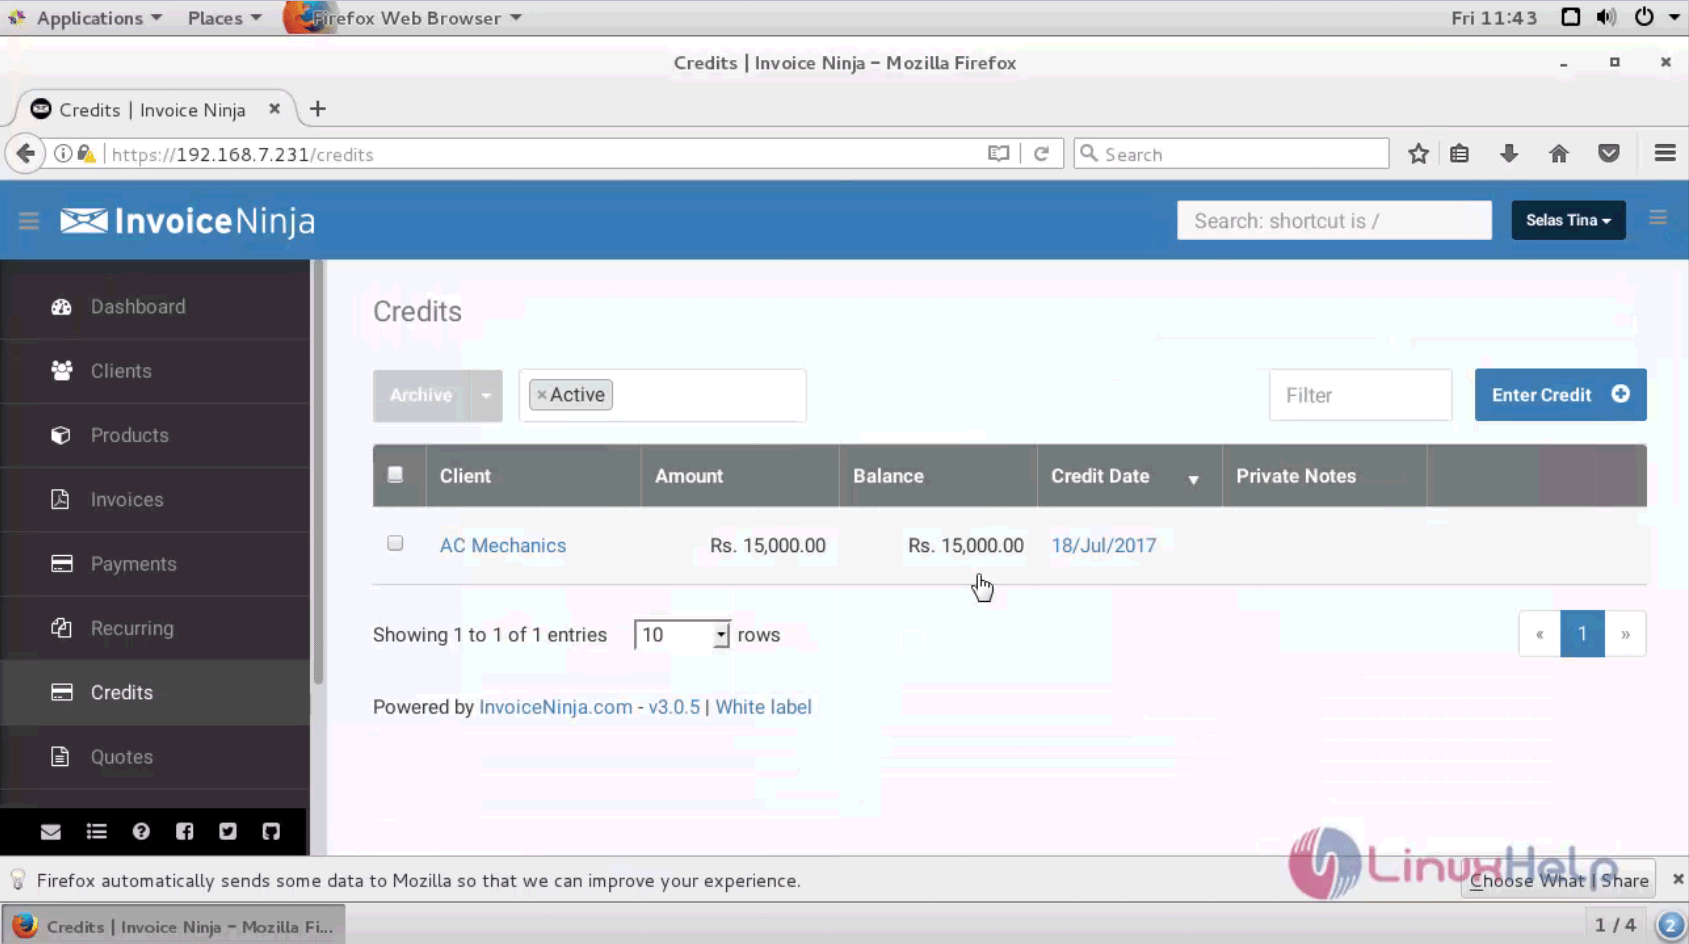
Go to the Credit menu on the left pane of menu and select a client with all the balance and and amount details.
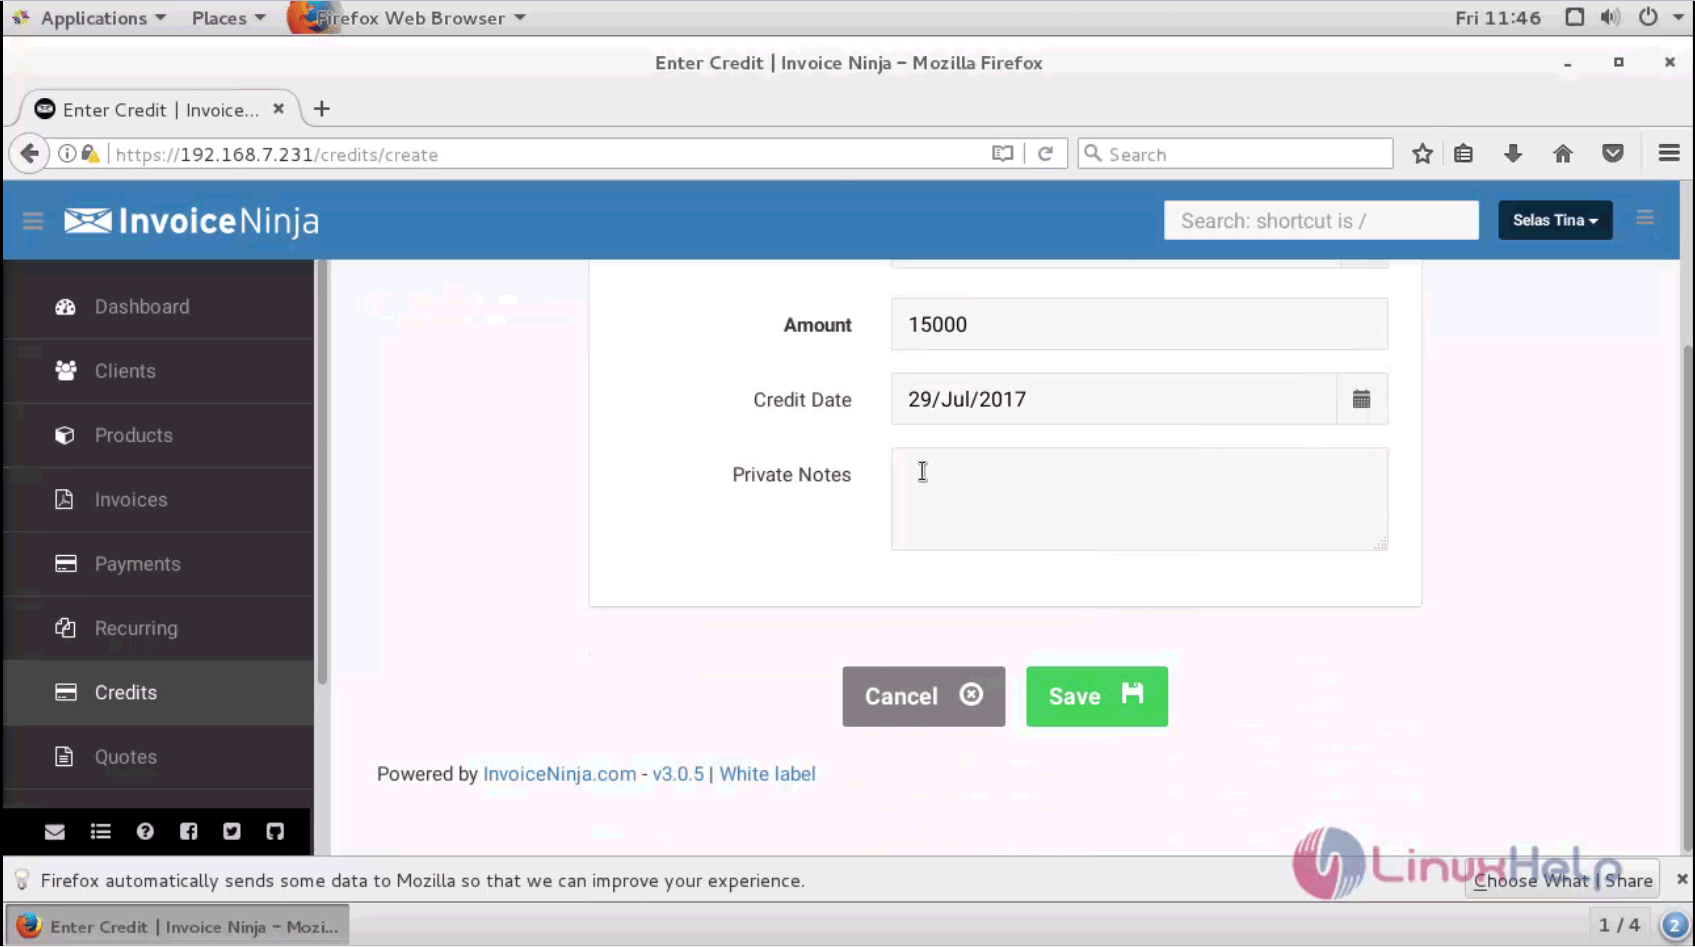
Provide the client name, amount, credit date and private notes and save your changes.

The credit details summary is shown as below. The credit for a customer is successfully created.
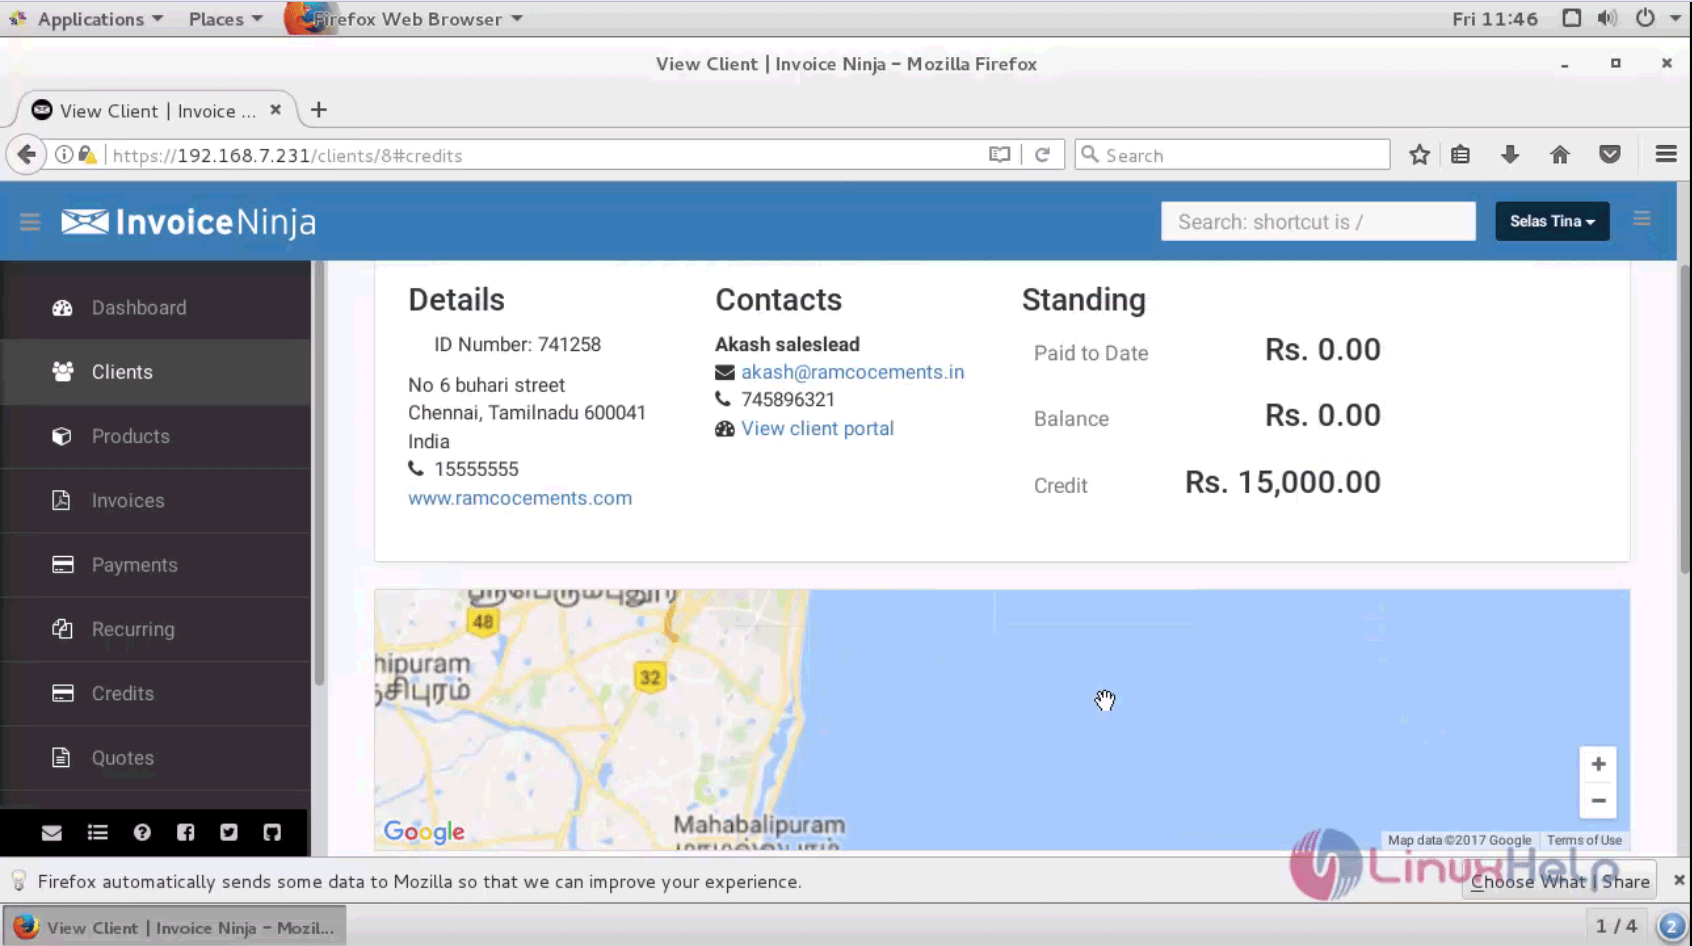
A new Credit is added successfully on Invoice Ninja. Stay tuned to know about how to use Quotes module in Invoice Ninja in our upcoming articles.
Comments ( 0 )
No comments available