How to use Expense Tracker Module on odoo
To use Expense Tracker Module on Odoo
For over a week, we have been posting several tutorials about Odoo and various other aspects of it. Today, in this tutorial you will be briefed about Expense Tracker, an app available on Odoo, and the method to use it. It will keep track on the expenses or purchases of products made by employees of an organization. Since keeping track of employees' account manual, collection of bill, and reimbursement is a tedious process, Odoo' s interface that has internal record of employees expenses in a separate tab and its account operation enhancement comes as an easy solution for tracking them. Odoo also has several essential and useful apps which makes ERP not only easy but fun.
Following are the Apps available on Odoo
- CRM
- Project
- Inventory Management
- MRP
- Sales Management
- Point of Sale
- Discuss
- Leave Management
- Accounting and Finance
- Invoicing
- Issue Tracking
- Productivity
- Website builder
- e- Commerce
- Purchase Management
- Employee Directory
- Dashboards
- Timesheets
- Recruitment Process
- Expense Tracker
- Survey
- Mass Mailing Campaign
- Lunch
- Equipment
- Calendar
- Online Events
- Blogs
- Slides
- Forum
- Fleet Management
- Website Live chat
- Repairs Management
Using Expense Tracker
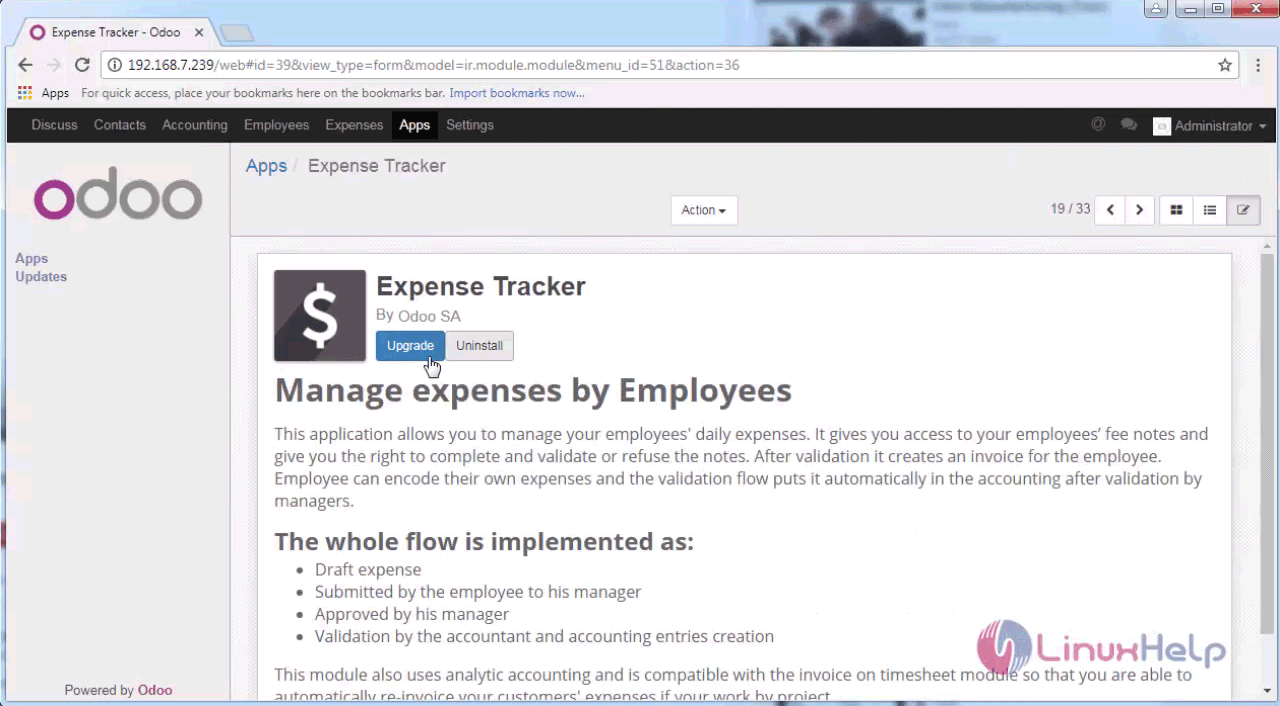
Once you are inside your Odoo application, go to the Expense tracker available under the Apps section and click “ install.”
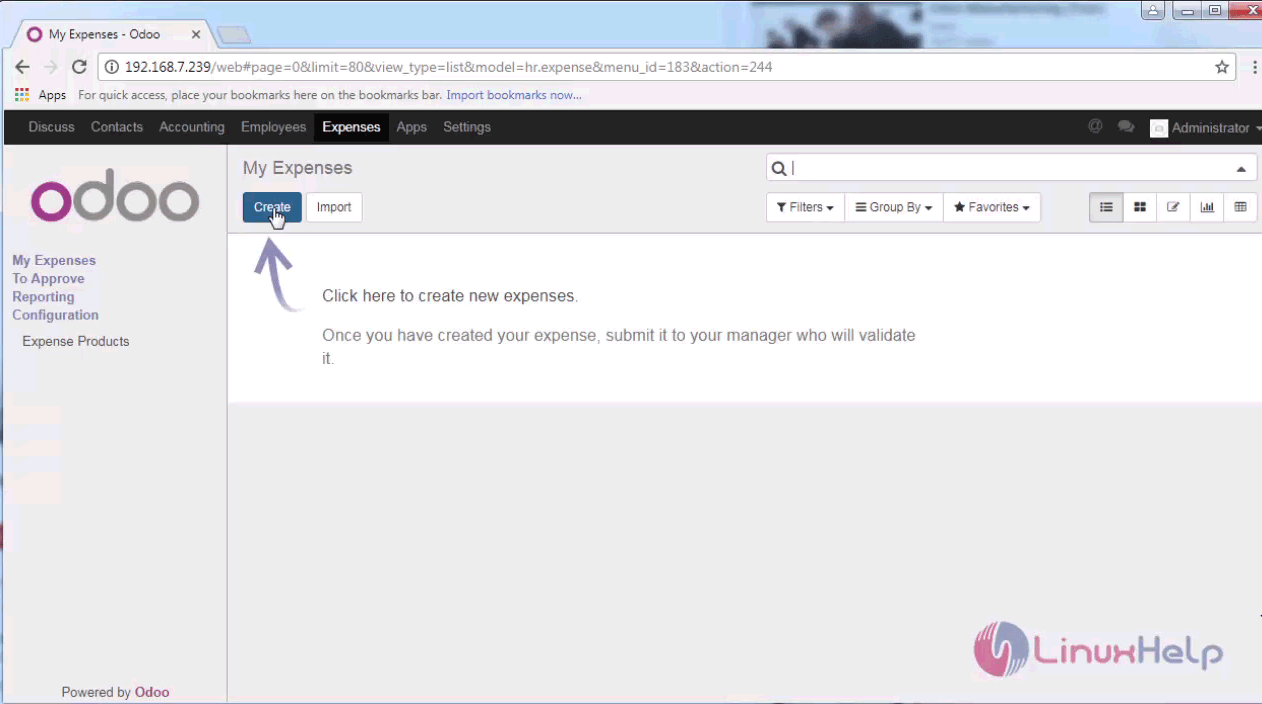
Once the installation is completed, a new expense record should be created.
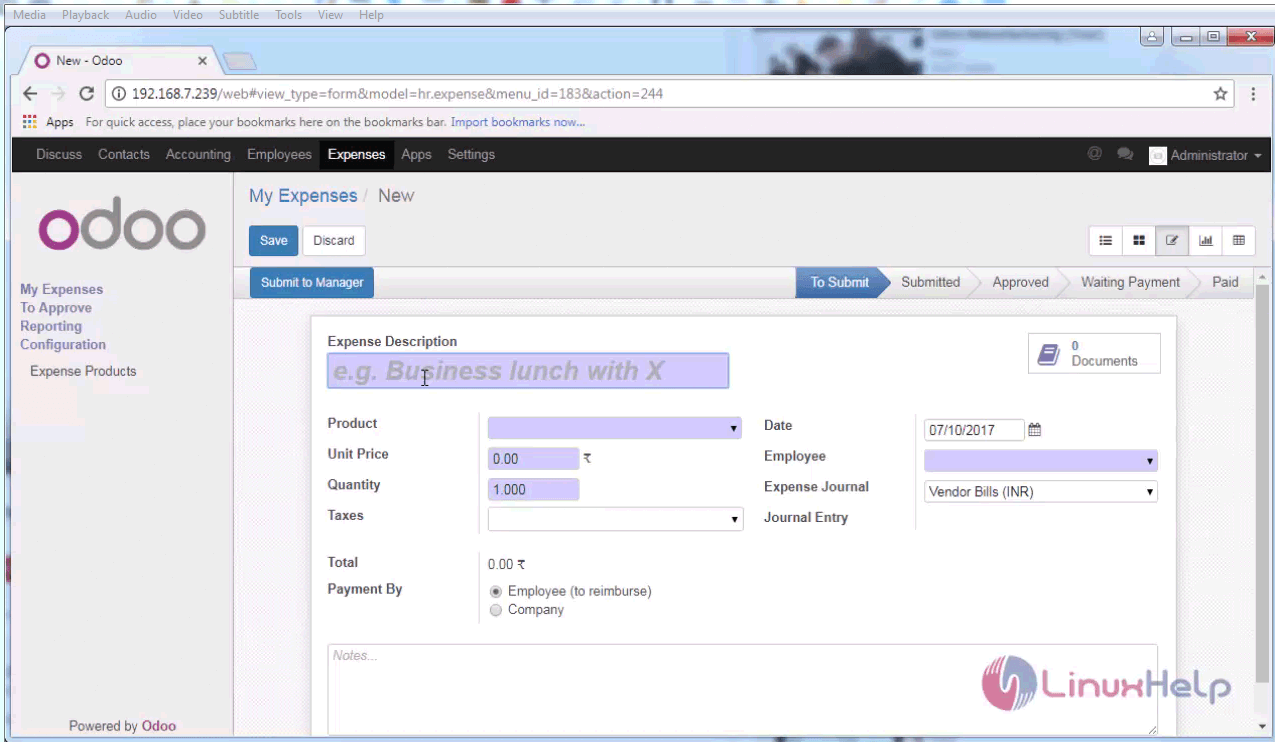
In the newly created expense record, provide all the necessary details such as product, unit price, date, quantity taxes, etc. Click on save once it is done.
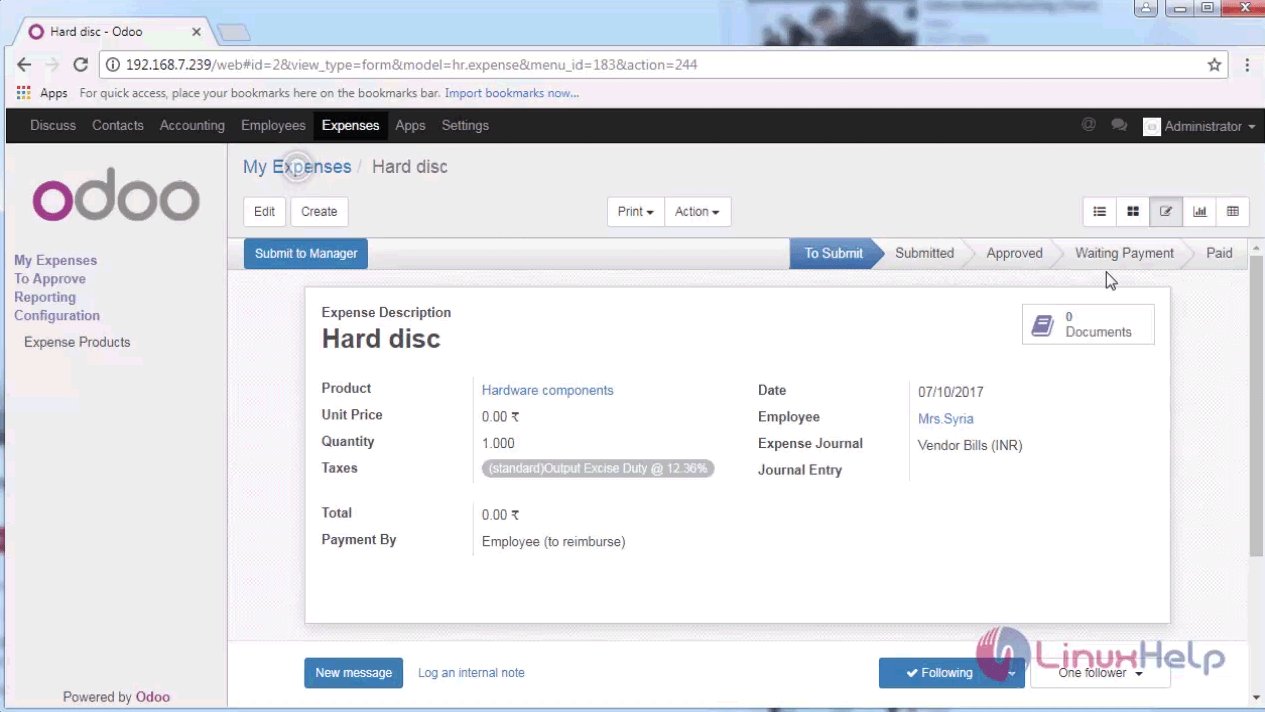
Once saved, you' ll have the Expense Description on your screen. Click on Submit to Manager, so that the details are sent to the manager.
That was all. It was simple to use, wasn' t it? More articles on Odoo is yet to come, so stay connected.
Comments ( 0 )
No comments available