How to add SSH key to a GitLab account
How to add SSH key to a GitLab account
Git is a distributed version control system, which means the user can work locally but also can share or " push" any changes to other servers. Before the user can push any changes to a GitLab server, it may need a secure communication channel for sharing information.This SSH protocol provides this security and allows the user to authenticate to the GitLab remote server without supplying the username or password each time. This tutorial covers the configuration process of adding SSH key to a GitLab account.
Configuration procedure
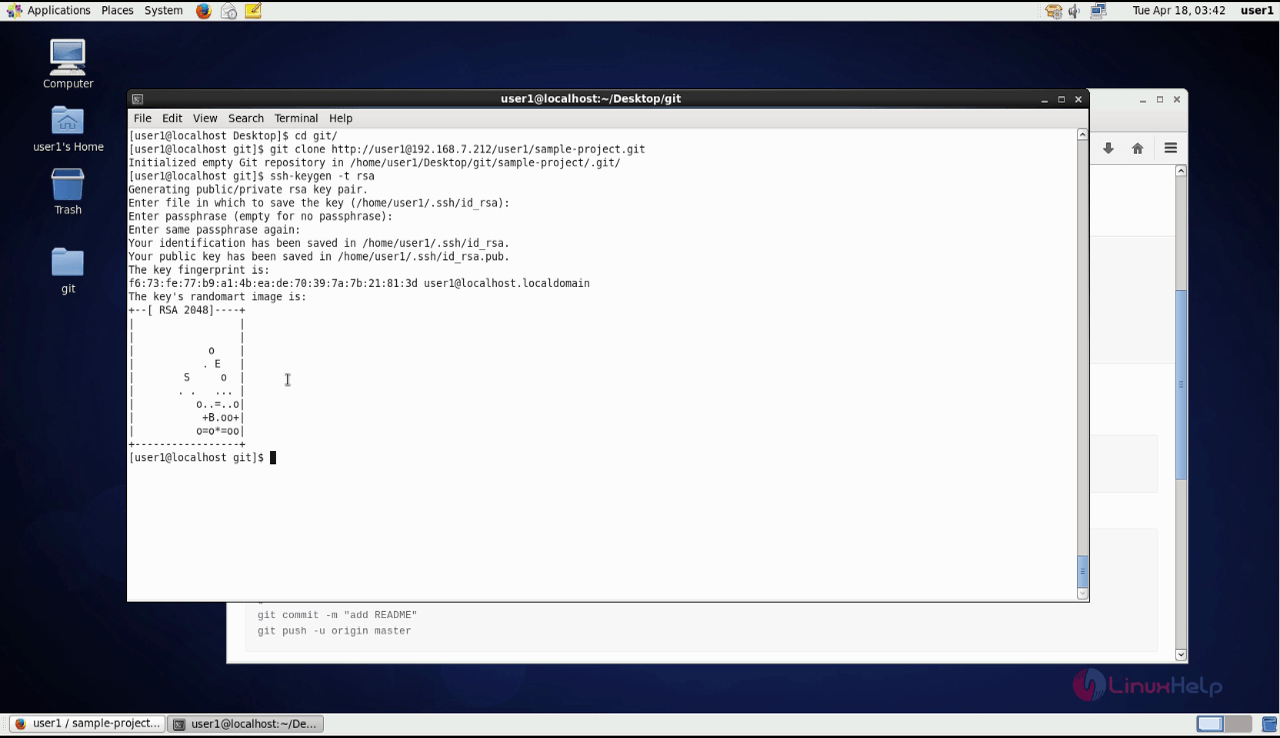
Before starting the configuration procedure, first generate the SSH key in the target local machine which has to be added to the GitLab account.
[user1@localhost git]$ ssh-keygen -t rsa
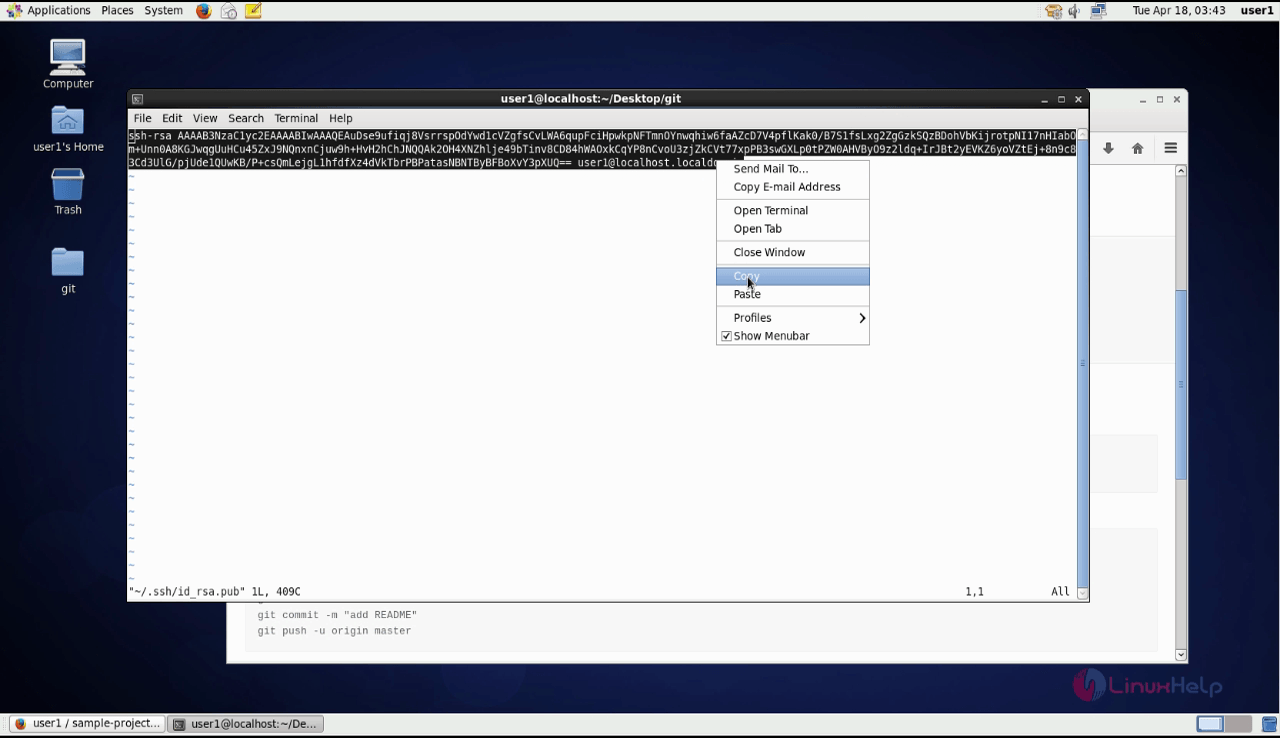
Run the following command to open the SSH public key file. Now copy the SSH key to the user account.
[user1@localhost git]$ vim /home/user1/.ssh/id_rsa.pub
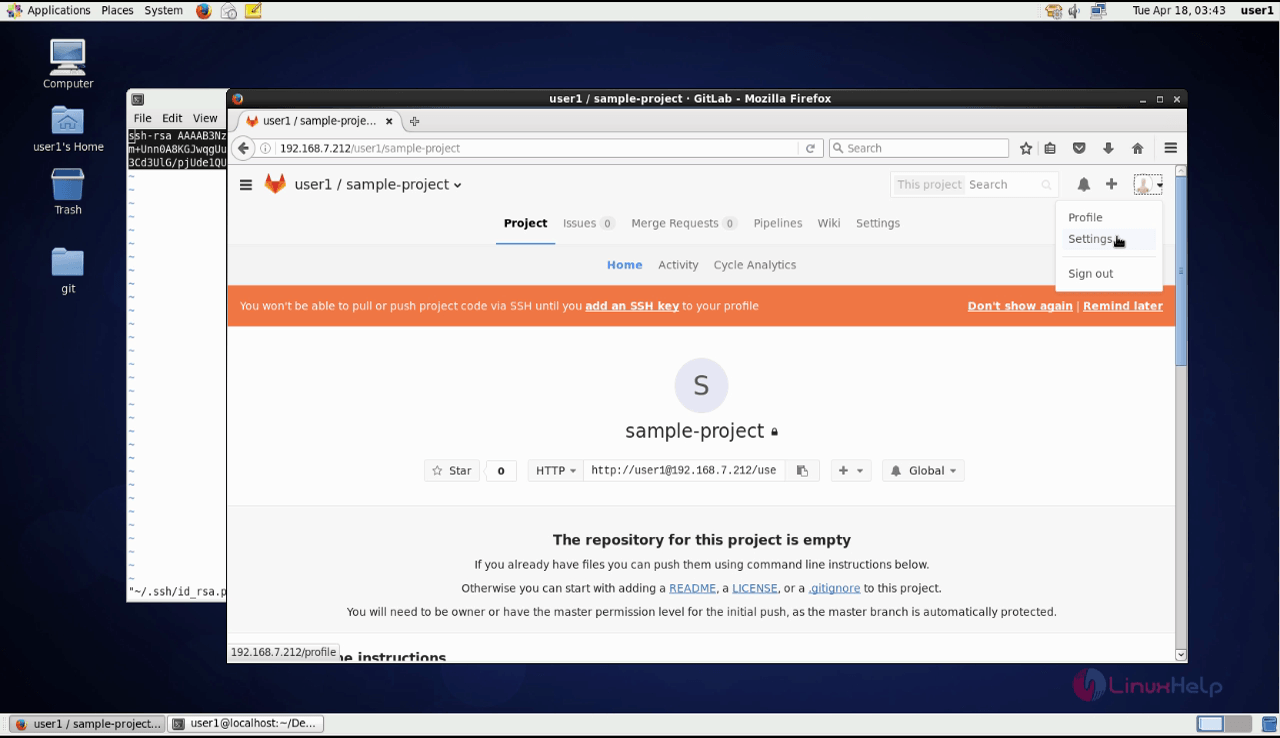
In the GitLab account, go to Settings option in the profile tab.
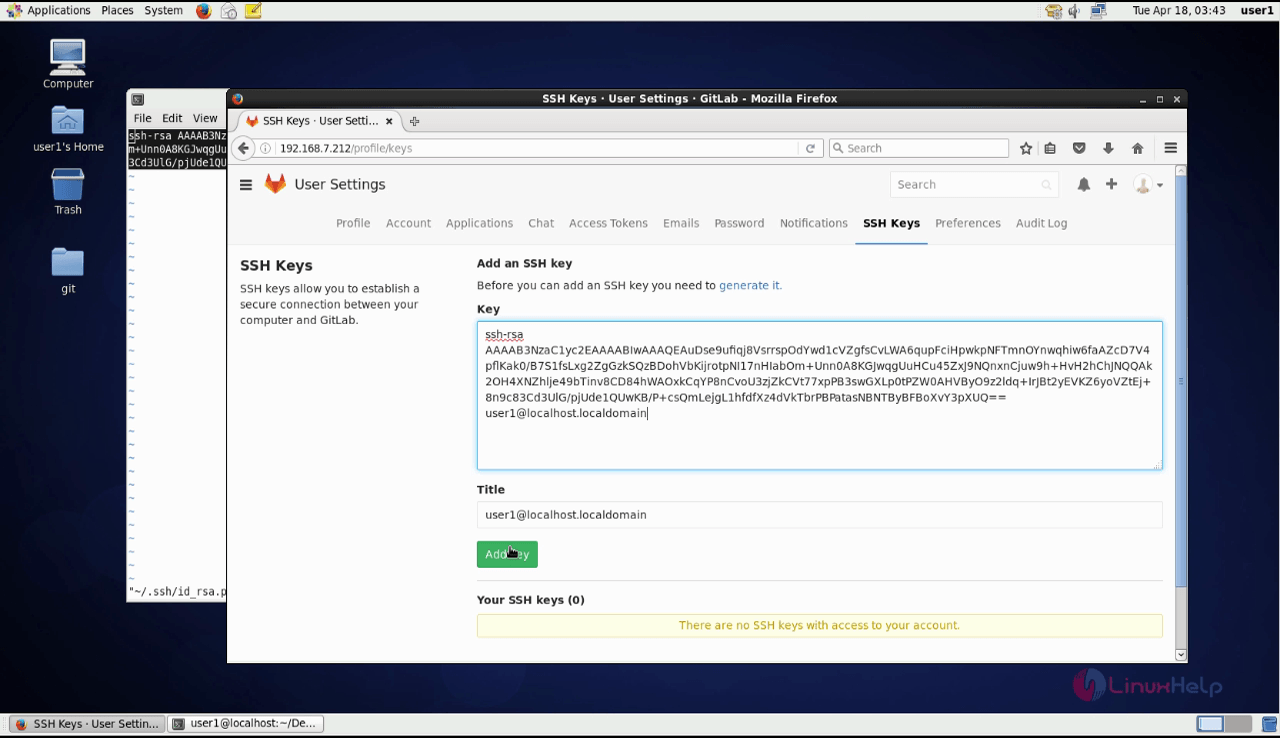
Select the SSH keys tab in the user settings and add the copied key from the terminal .
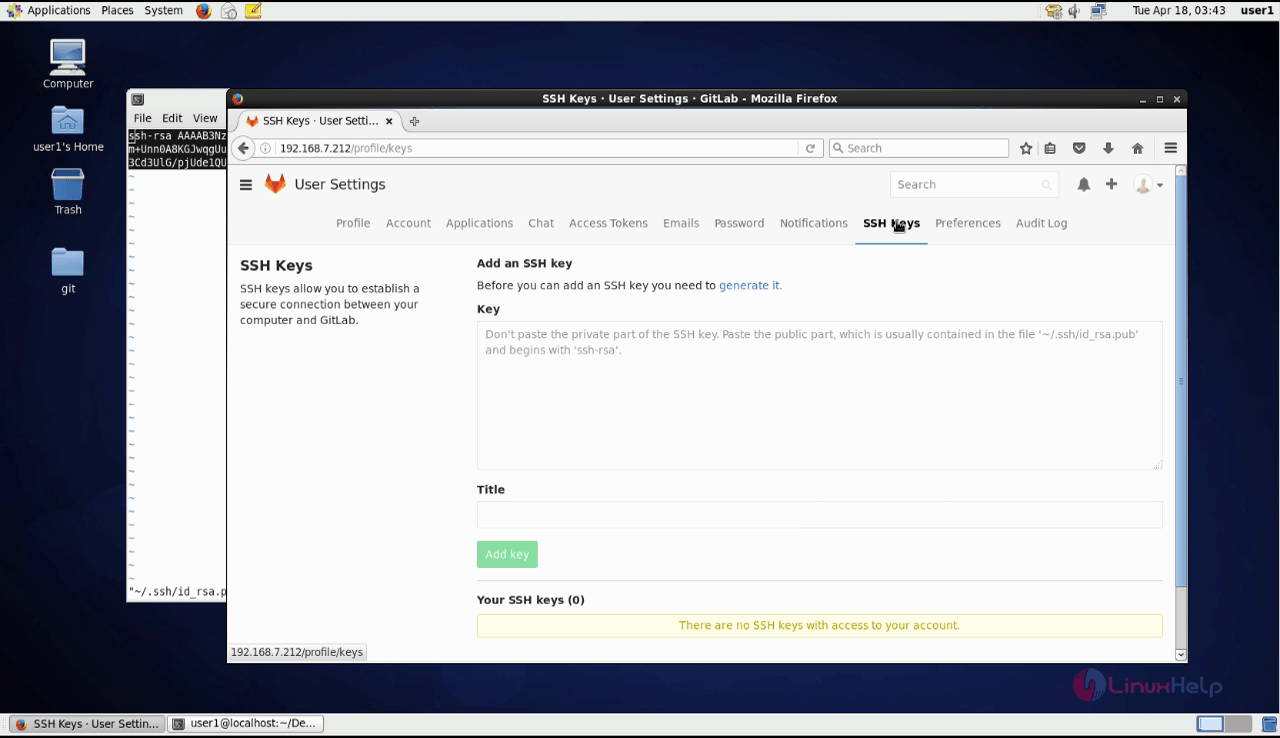
The key has been copied to the GitLab account. Click the Add key option to add the copied key and establish a connection between the GitLab and the local server.
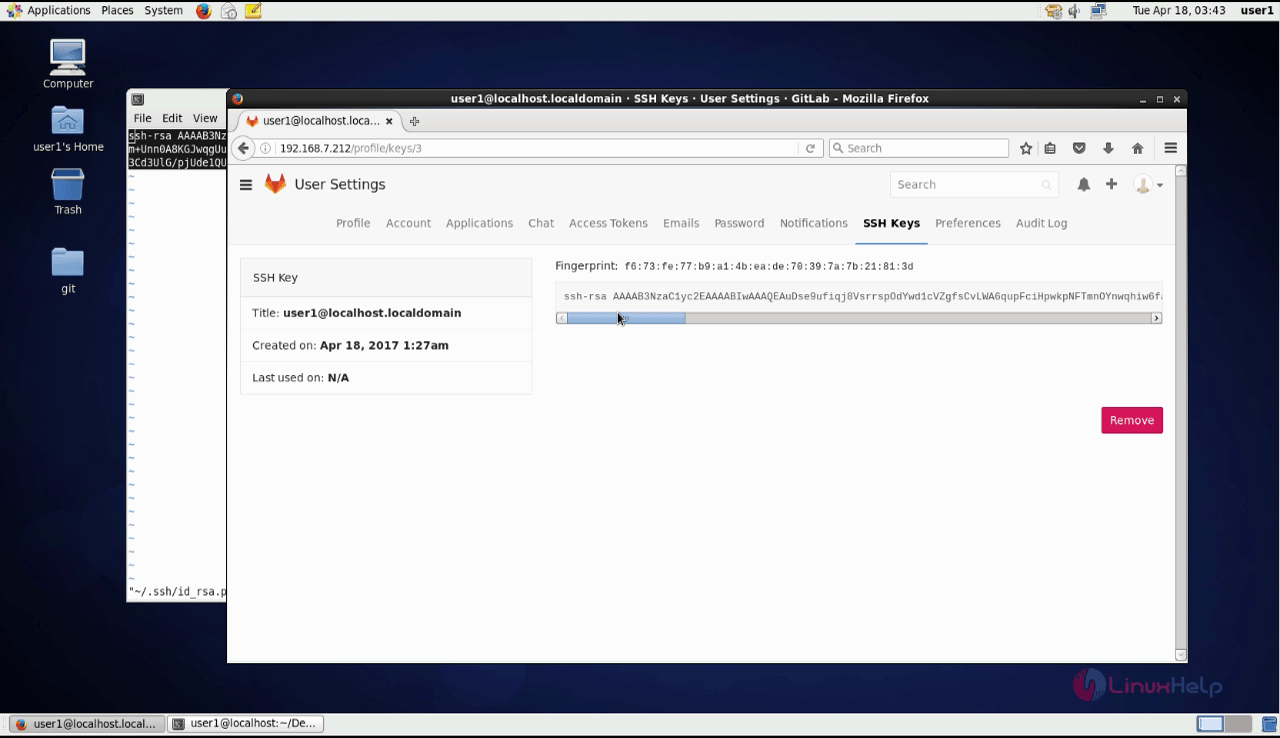
The key has been successfully added in the GitLab account.
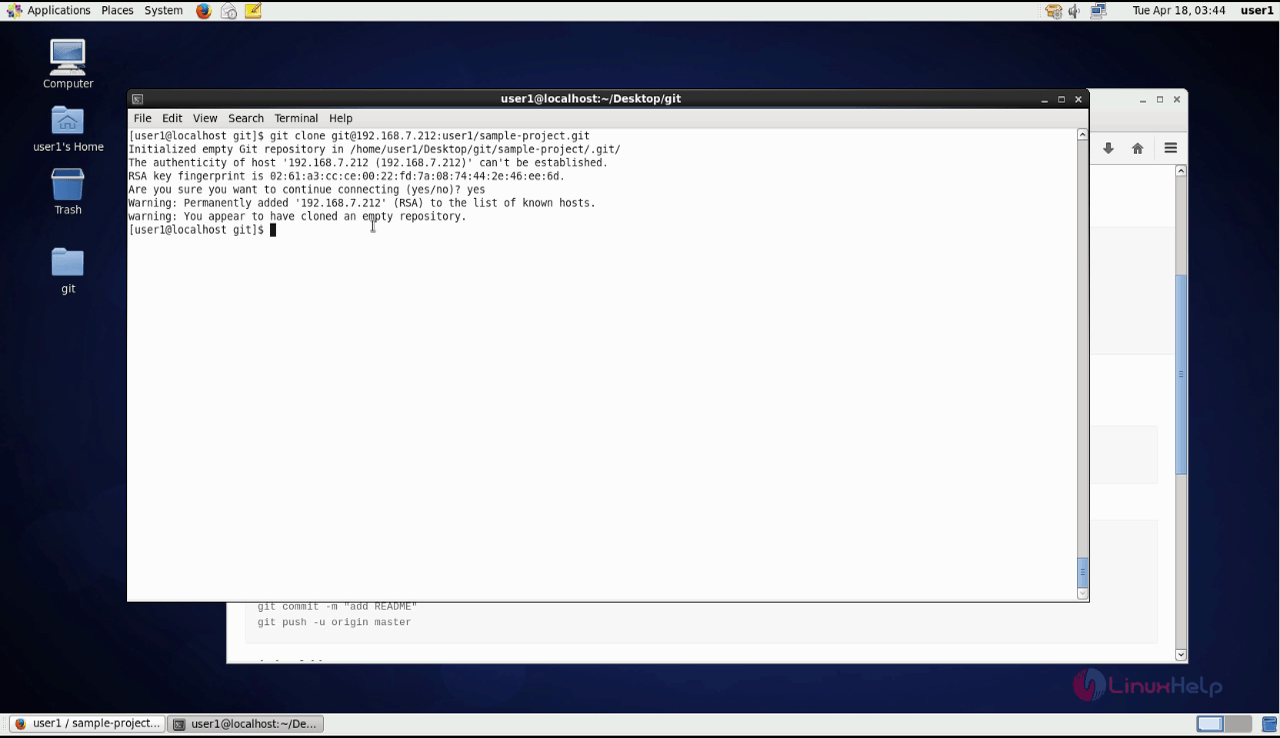
Once the SSH key is added logout from the account and login to GItLab again. Now the user can directly clone the project or do any other process without any authentication.
Wasn' t that an easy configuration process? Stay connected to know more about various other aspects of GitLab from our future articles.
Comments ( 0 )
No comments available