How to Cache-Control In Nginx Part -2
Cache-Control In Nginx Part -2
Caching is an important protocol as per as HTTP and browsing. The basic principle of content caching is to offload repetitive work from the upstream servers. There are specific directives for caching mechanisms and these directives need to be followed by caching servers either be it in the browser or a dedicated cache server. The cache policies are specified by the browsers and dedicated cache servers. The cache mechanism works with the help of cache-control header.
In our previous tutorial, we have covered expire header and some basics of cache-control header. If you have missed it, you can check it at the following link:
How To Cache-Control In Nginx - Part 1
Cache &ndash Control Header types
- Cache-control : no-store
- Cache-control : no-cache
- Cache-control : max-age=0
- Cache-control : s-maxage=0
- Cache-control : must-revalidate
- Pragma : no-cache
Cache Controlling
First, open the configuration file by making use of the following command.
[root@linuxhelp ~]# cd /etc/nginx/conf.d/
Create a VirtualHost.
[root@linuxhelp conf.d]# vim vir.conf
Provide the necessary configuration in that file.
server {
   server_name www.linuxhelp1.com
   location / {
    root /usr/share/nginx/html
    index index.html index.htm
         }
}
You’ ll notice that there isn’ t any cache-control header in the above configuration file. Now, if you execute curl, you’ ll notice the following output.
[root@linuxhelp html]# curl -I http://www.linuxhelp1.com/web1.html
HTTP/1.1 200 OK
Server: nginx/1.12.2
Date: Wed, 07 Feb 2018 12:34:19 GMT
Content-Type: text/html
Content-Length: 20
Last-Modified: Wed, 07 Feb 2018 12:33:50 GMT
Connection: keep-alive
ETag: " 5a7af22e-14"
Accept-Ranges: bytes
Once it is done, you need to open your configuration file.
[root@linuxhelp ~]# cd /etc/nginx/conf.d/
[root@linuxhelp conf.d]# vim vir.conf
And add the Cache-Control.
server {
   server_name www.linuxhelp1.com
   location / {
    root /usr/share/nginx/html
    index index.html index.htm
   add_header Cache-Control max-age=120
         }
}
Save and exit it and then restart your nginx service.
[root@linuxhelp html]# systemctl restart nginx
Now execute curl command again to check it in the browser.
[root@linuxhelp html]# curl -I http://www.linuxhelp1.com/web1.html
HTTP/1.1 200 OK
Server: nginx/1.12.2
Date: Wed, 07 Feb 2018 12:34:19 GMT
Content-Type: text/html
Content-Length: 20
Last-Modified: Wed, 07 Feb 2018 12:33:50 GMT
Connection: keep-alive
ETag: " 5a7af22e-14"
Cache-Control: max-age=120
Accept-Ranges: bytes
You’ ll notice the information on Cache-Control.
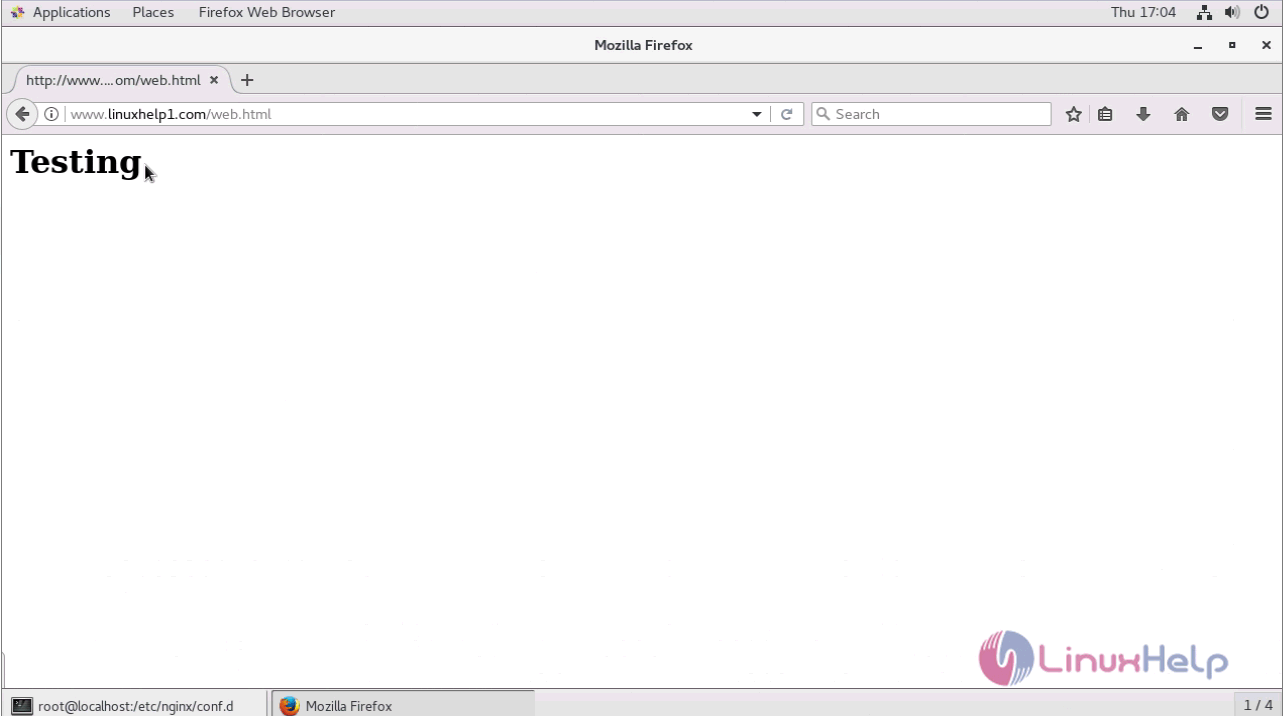
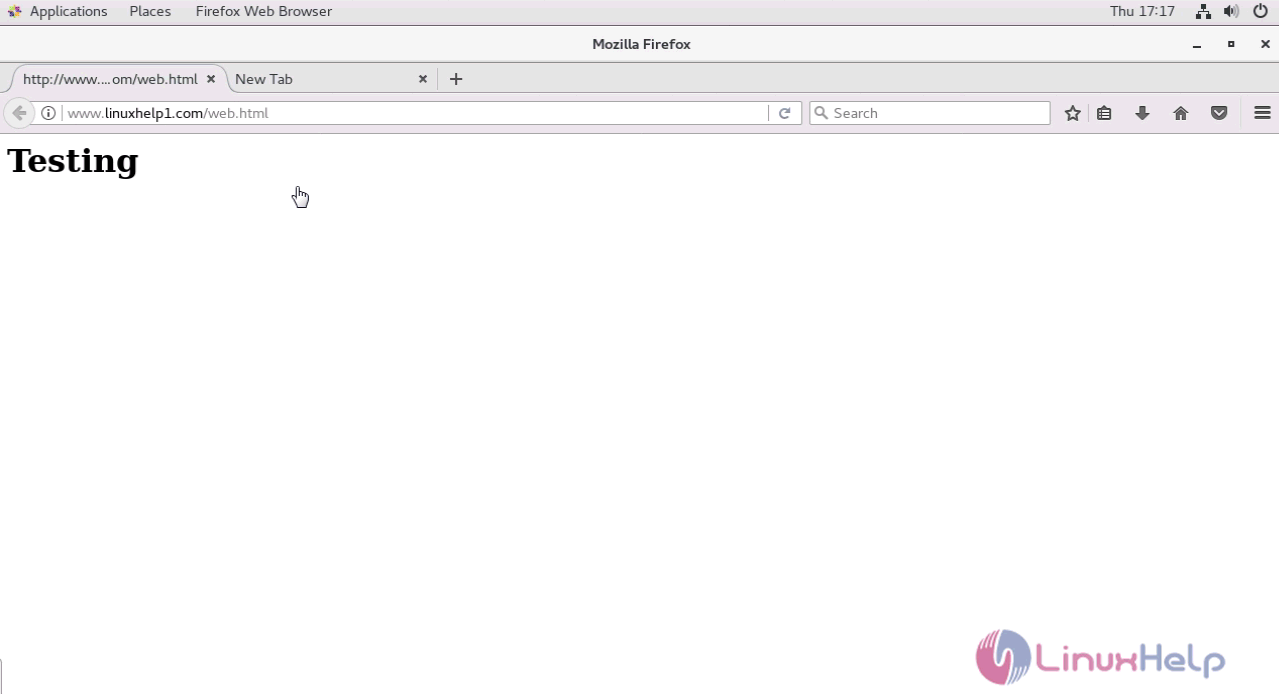
Now, you need to switch to your browser and type http://yourhostname/web1.html.
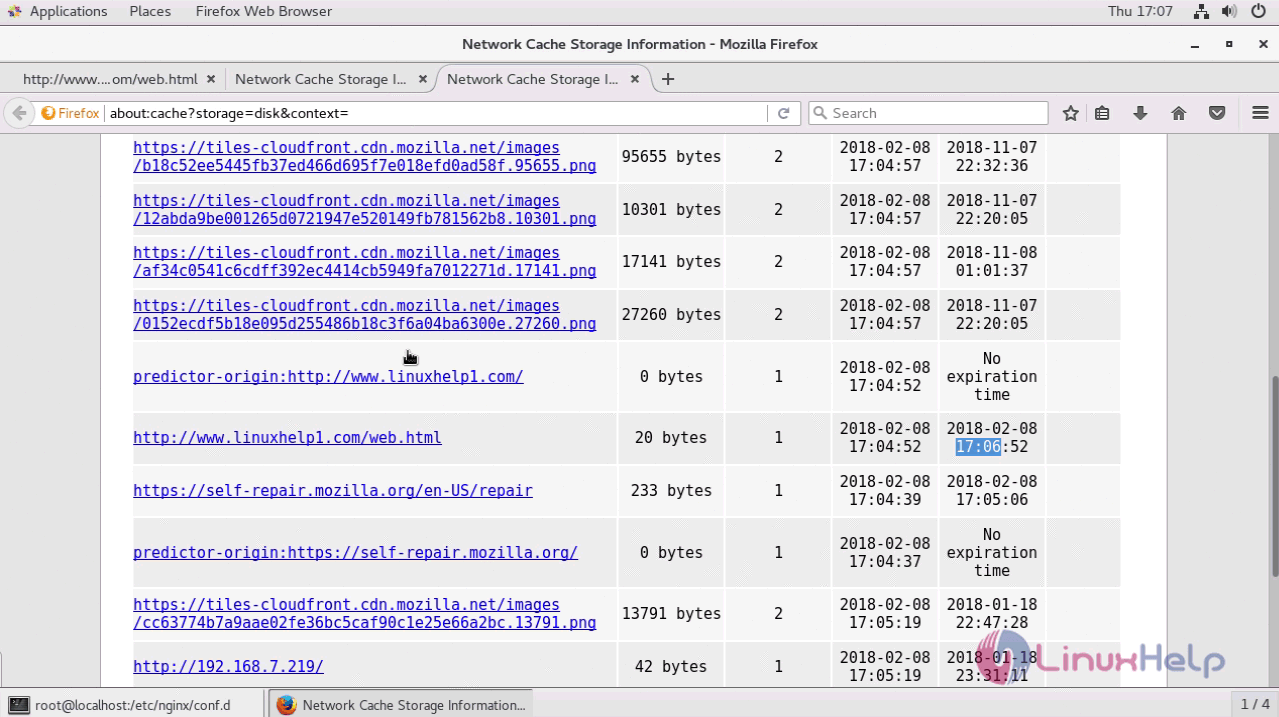
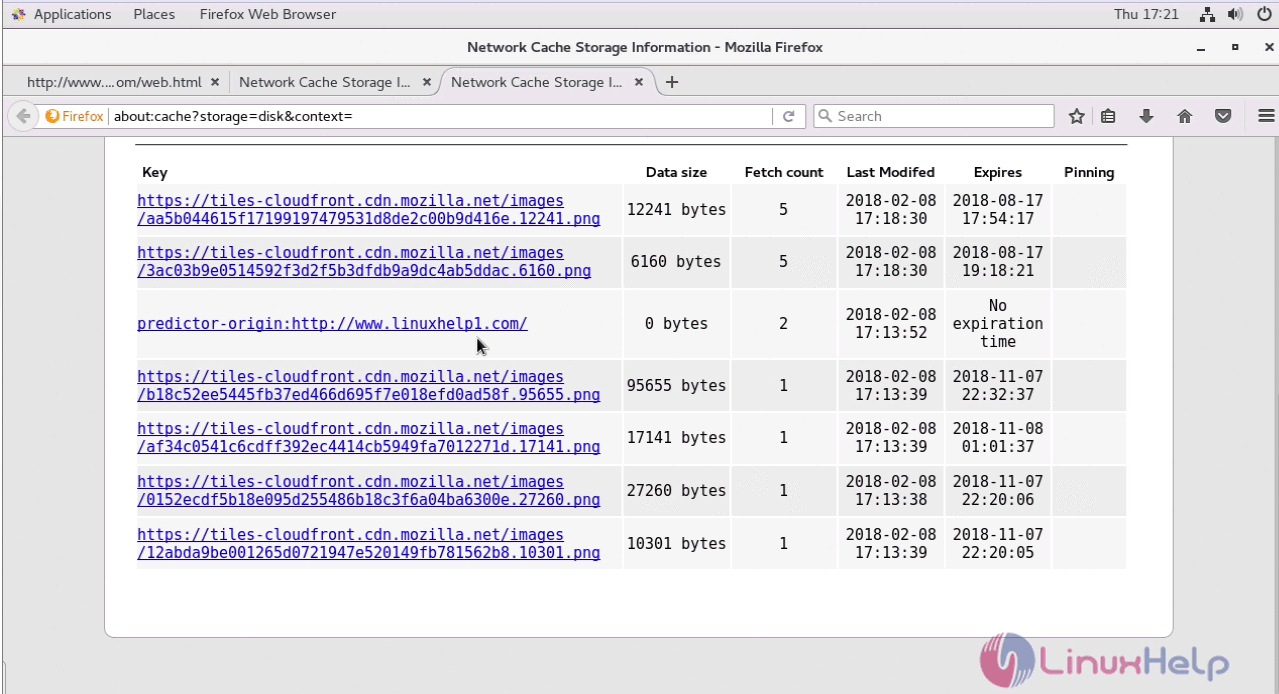
Next in browser open about:cache.
Now go back to your terminal and open the configuration file again.
[root@linuxhelp ~]# cd /etc/nginx/conf.d/
[root@linuxhelp conf.d]# vim vir.conf
And make the following changes to configure no-store Cache-control header.
server {
   server_name www.linuxhelp1.com
   location / {
    root /usr/share/nginx/html
    index index.html index.htm
   add_header Cache-Control no-store
         }
}
Now, if you run the curl command again, you will receive the following output.
[root@linuxhelp html]# curl -I http://www.linuxhelp1.com/web1.html
HTTP/1.1 200 OK
Server: nginx/1.12.2
Date: Wed, 07 Feb 2018 12:34:19 GMT
Content-Type: text/html
Content-Length: 20
Last-Modified: Wed, 07 Feb 2018 12:33:50 GMT
Connection: keep-alive
ETag: " 5a7af22e-14"
Cache-Control: no-store
Accept-Ranges: bytes
Again, switch to your browser and go to http://www.linuxhelp1.com/web.html.
With this, the tutorial on Cache-Control Part 2 comes to an end. Please stay tuned for further tutorials on Nginx.
Comments ( 0 )
No comments available