How to configure OpenLDAP Server and phpLDAP admin
To Install and configure OpenLDAP Server and phpLDAP admin in Linux
OpenLDAP is an open source protocol developed by OpenLDAP Project and released under OpenLDAP Public License. Its protocol is platform-independent. Installation and Configuration of an OpenLDAP server and Administration with phpLDAPadmin in Debian/Ubuntu systems is explained in this article.
To Install OpenLDAP server
To install LDAP the respective package name in Ubuntu is slapd.
root@server:~# apt-get install slapd
Reading package lists... Done
Building dependency tree
Reading state information... Done
The following packages were automatically installed and are no longer required:
  libavahi-client-dev libavahi-common-dev libavahi-compat-libdnssd1
  libdbus-1-dev libntdb1 libruby2.1 libyaml-0-2 python-ntdb ruby2.1
  rubygems-integration
Use ' apt-get autoremove'  to remove them.
Suggested packages:
  libsasl2-modules-gssapi-mit libsasl2-modules-gssapi-heimdal
The following NEW packages will be installed:
  slapd
.
.
.
Backing up /etc/ldap/slapd.d in /var/backups/slapd-2.4.41+dfsg-1ubuntu2... done.
Processing triggers for libc-bin (2.21-0ubuntu4.1) ...
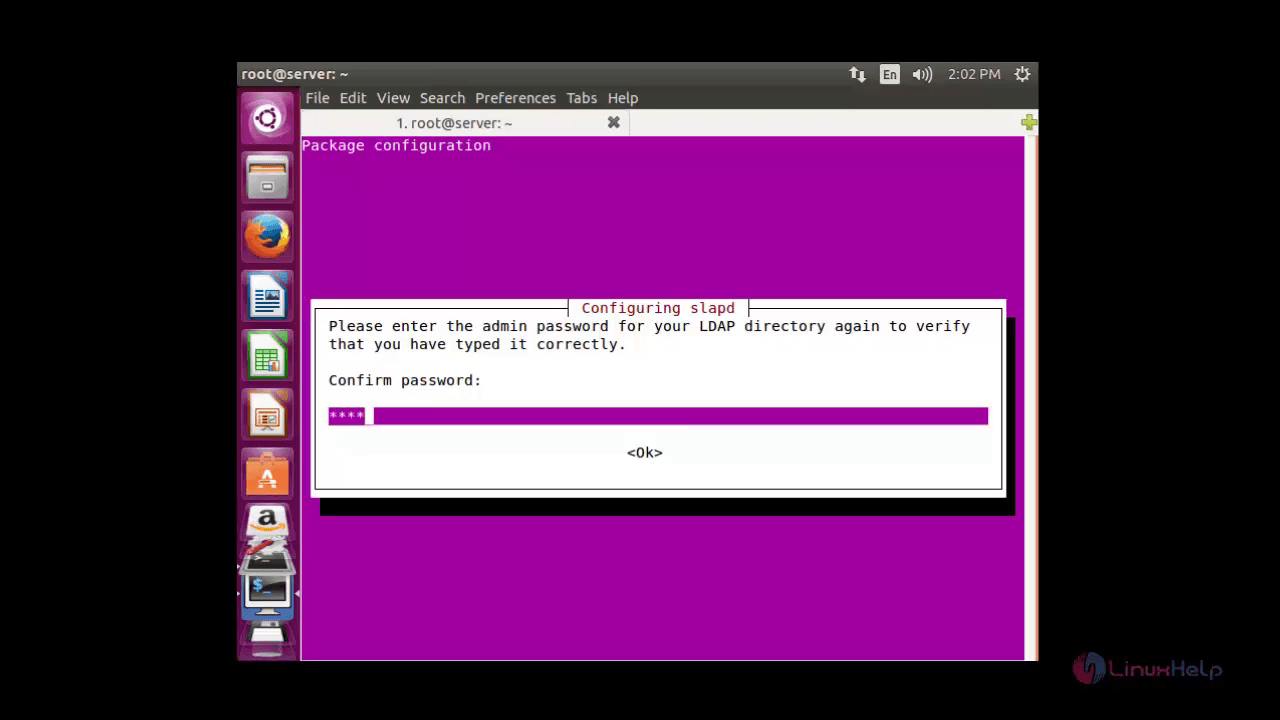
Enter the admin password for LDAP directory.

Re-type to verify your password.
Execute the below command to install LDAP utilities.
root@server:~# apt-get install ldap-utils
Reading package lists... Done
Building dependency tree
Reading state information... Done
The following packages were automatically installed and are no longer required:
libavahi-client-dev libavahi-common-dev libavahi-compat-libdnssd1
libdbus-1-dev libntdb1 libruby2.1 libyaml-0-2 python-ntdb ruby2.1
.
.
.
Setting up ldap-utils (2.4.41+dfsg-1ubuntu2) ...
To Configure OpenLDAP Server
Edit the ldap.conf file, which is located in the /etc/ldap/ldap.conf directory.
root@server:~# sudo nano /etc/ldap/ldap.conf
#
# LDAP Defaults
#
# See ldap.conf(5) for details
# This file should be world readable but not world writable.
#BASE dc=example,dc=com
#URI ldap://ldap.example.com ldap://ldap-master.example.com:666
#SIZELIMIT 12
#TIMELIMIT 15
#DEREF never
# TLS certificates (needed for GnuTLS)
TLS_CACERT /etc/ssl/certs/ca-certificates.crt
Uncomment the BASE and URI lines, then add your domain name and IP.
BASE dc=linuxhelp1,dc=com
URI ldap://server.linuxhelp1.com ldap://server.linuxhelp1.com:666
#SIZELIMIT 12
#TIMELIMIT 15
#DEREF never
# TLS certificates (needed for GnuTLS)
TLS_CACERT /etc/ssl/certs/ca-certificates.crt
Save and exit the file.
Execute the below command to reconfigure the LDAP package.
root@server:~# sudo dpkg-reconfigure slapd
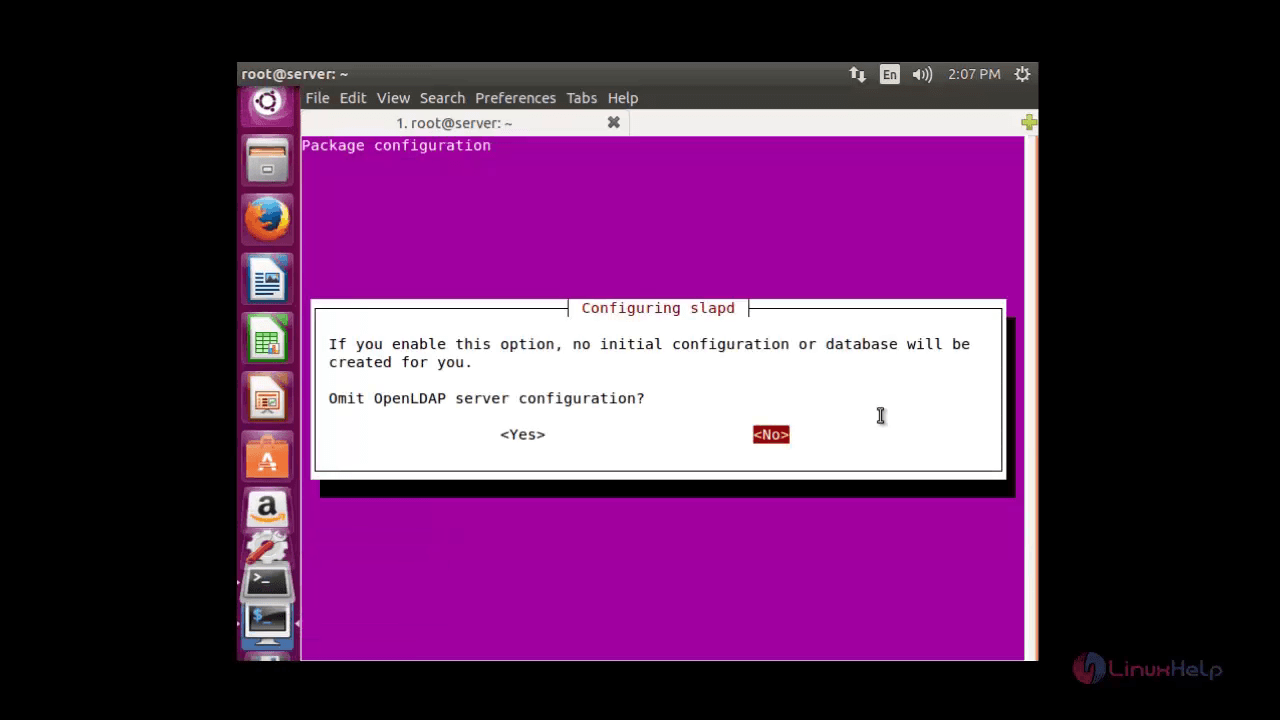
The package configuration page appears. Choose ' no' to continue with the configuration.
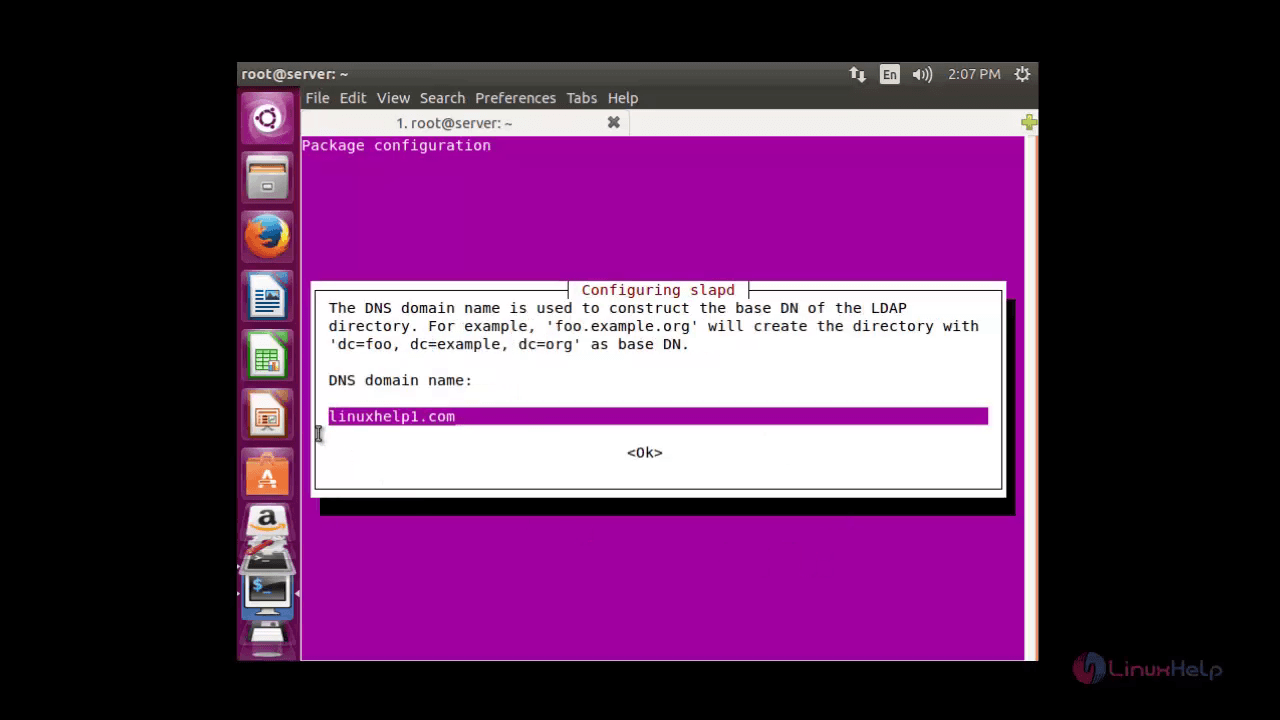
To Construct the base Domain Name of the LDAP directory, Enter the DNS domain name and click Enter to confirm it.
Then Enter the name of your organisation and click ok .

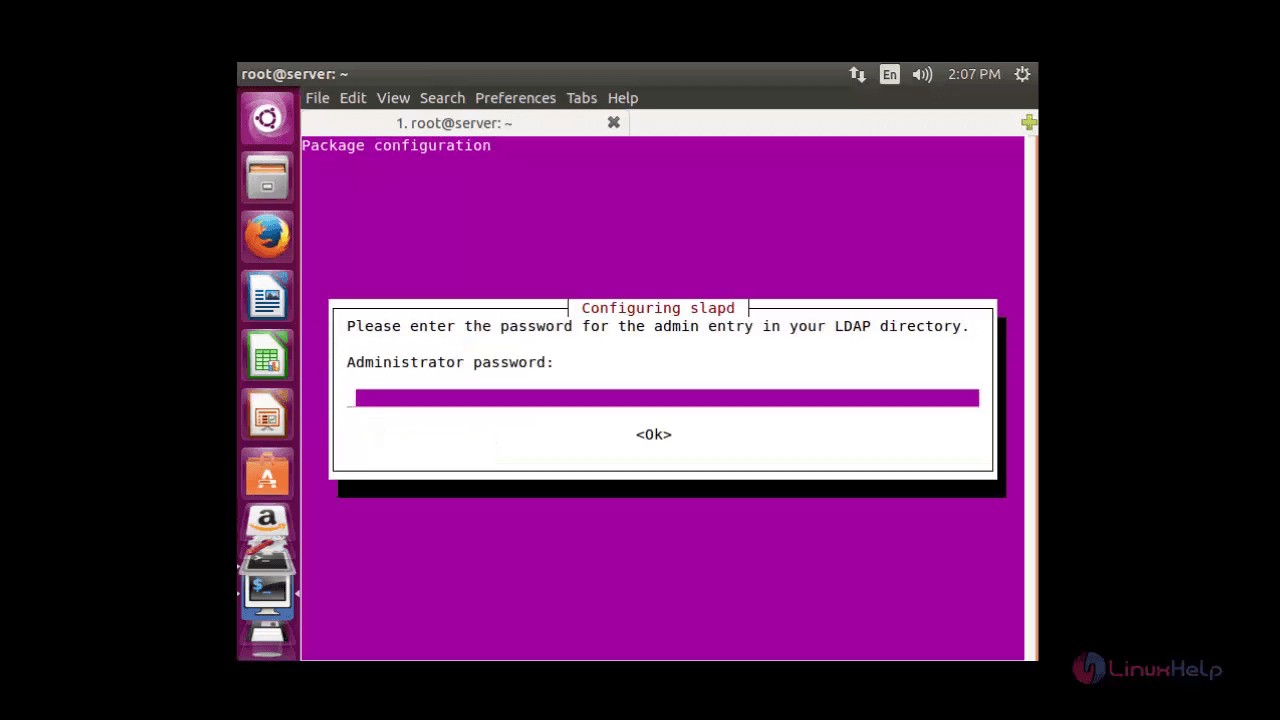
Once the organisation name is added, the package configuration request for the administrator password. Enter the password that you have created during installation.
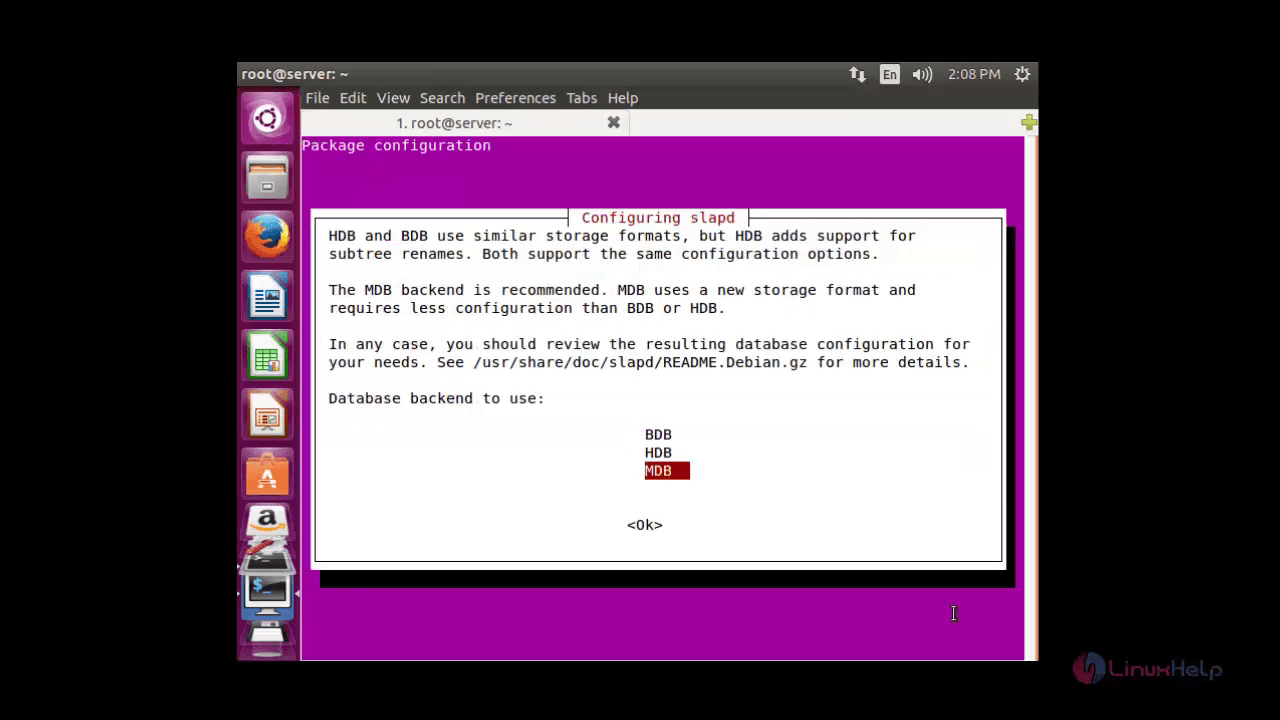
Now choose the database of your choice. The BDB and HDB database supports the same configuration options using similar storage formats, whereas MDB adds additional support for sub-tree renames.
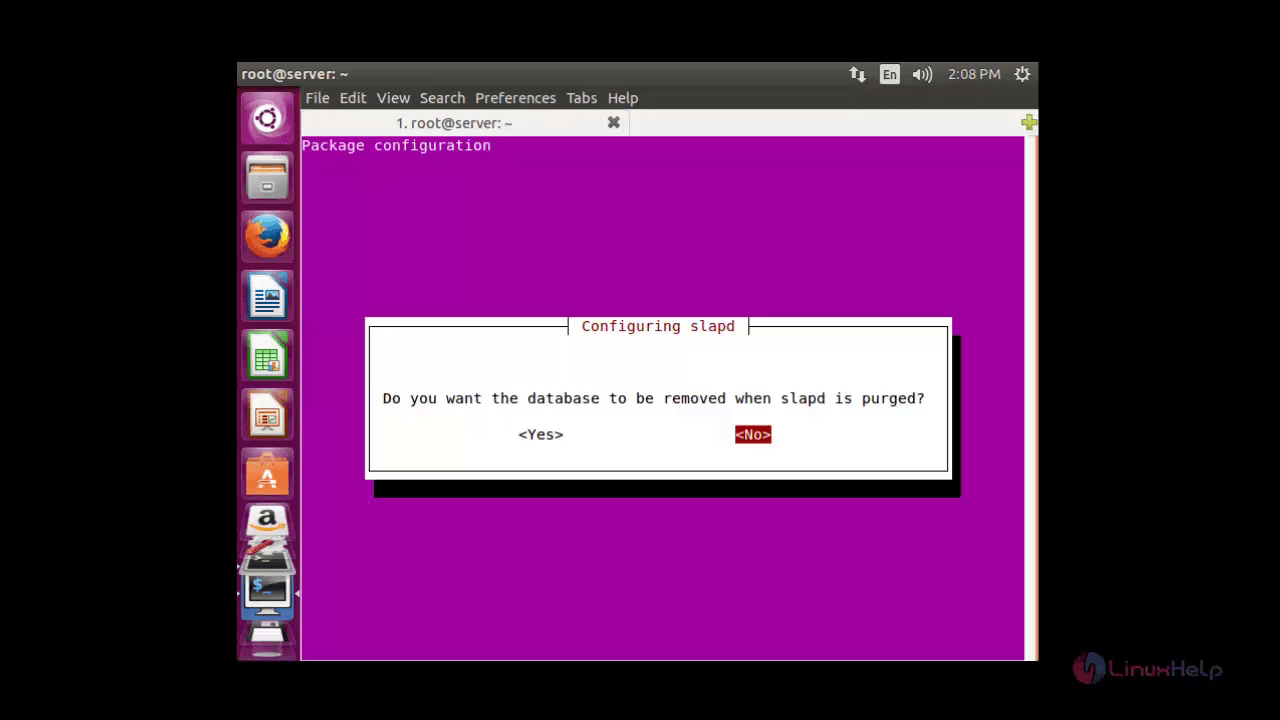
Choose ' No' to save the database selected. If you choose ' Yes' the database will be removed.
In the confirmation window choose ' Yes' to move the old database.

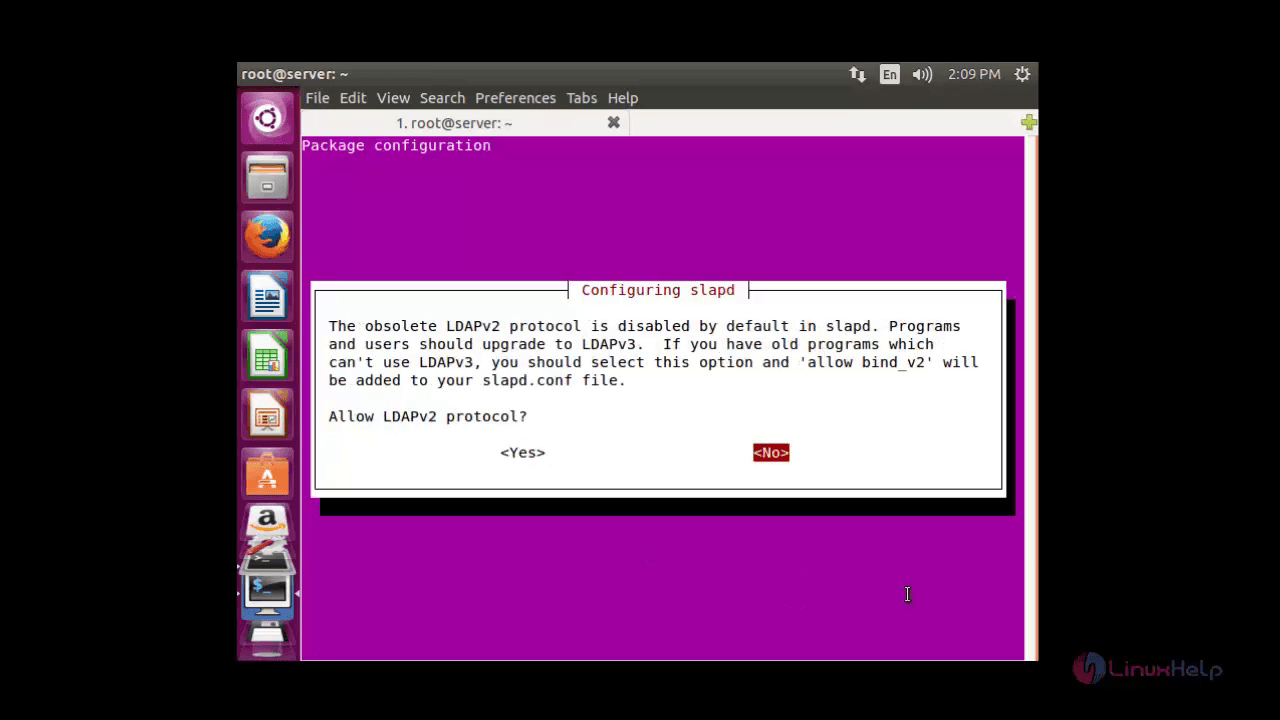
If you want to continue with LDAPv2 protocol choose ' Yes' , in case LDAPv3 protocol is pre-installed then continue with ' No' .
Moving old database directory to /var/backups:
- directory unknown... done.
Creating initial configuration... done.
Creating LDAP directory... done.
Processing triggers for libc-bin (2.21-0ubuntu4.1) ...
Now the LDAP server is installed successfully.
To test LDAP server
Run the ' ldapsearch -x' command to test the server.
root@server:~# ldapsearch -x
# extended LDIF
#
# LDAPv3
# base < dc=linuxhelp1,dc=com>  (default) with scope subtree
# filter: (objectclass=*)
# requesting: ALL
#
# linuxhelp1.com
dn: dc=linuxhelp1,dc=com
objectClass: top
objectClass: dcObject
objectClass: organization
o: linuxhelp.com
dc: linuxhelp1
# admin, linuxhelp1.com
dn: cn=admin,dc=linuxhelp1,dc=com
objectClass: simpleSecurityObject
objectClass: organizationalRole
cn: admin
description: LDAP administrator
# search result
search: 2
result: 0 Success
# numResponses: 3
# numEntries: 2
LDAP Administration with phpLDAPadmin
phpLDAPadmin is a GUI tool for the LDAP server administration. The GUI tool helps us to interact with your LDAP server via web interface.
Install phpLDAPadmin by running the following command.
Note: Your system must contain Apache web server and PHP before installing phpLDAPadmin.
root@server:~# apt-get install phpldapadmin
Reading package lists... Done
Building dependency tree
Reading state information... Done
The following packages were automatically installed and are no longer required:
libavahi-client-dev libavahi-common-dev libavahi-compat-libdnssd1
libdbus-1-dev libntdb1 libruby2.1 libyaml-0-2 python-ntdb ruby2.1
.
.
.
Setting up phpldapadmin (1.2.2-5.2) ...
To Configure phpldapadmin
To configure phpLDAPadmin open the ' config.php' file located in ' /etc/phpldapadmin/config.php' .
root@server:~# vim /etc/phpldapadmin/config.php
Edit the following lines in the configuration file.
$config-> custom-> appearance[' timezone' ] = ' Asia/Kolkata'
$servers-> setValue(' server' ,' name' ,' linuxhelp1 LDAP Server' )
$servers-> setValue(' server' ,' host' ,' 192.168.5.192' )
$servers-> setValue(' server' ,' base' ,array(' dc=linuxhelp1,dc=com' ))
$servers-> setValue(' login' ,' bind_id' ,' cn=admin,dc=linuxhelp1,dc=com' )
Now Restart the Apache service.
root@server:~# service apache2 restart
Open the port 80 and port 389, which are the default ports for LDAP in the firewall by executing the following command.
root@server:~# ufw allow 80
Rules updated
Rules updated (v6)
root@server:~# ufw allow 389
Rules updated
Rules updated (v6)
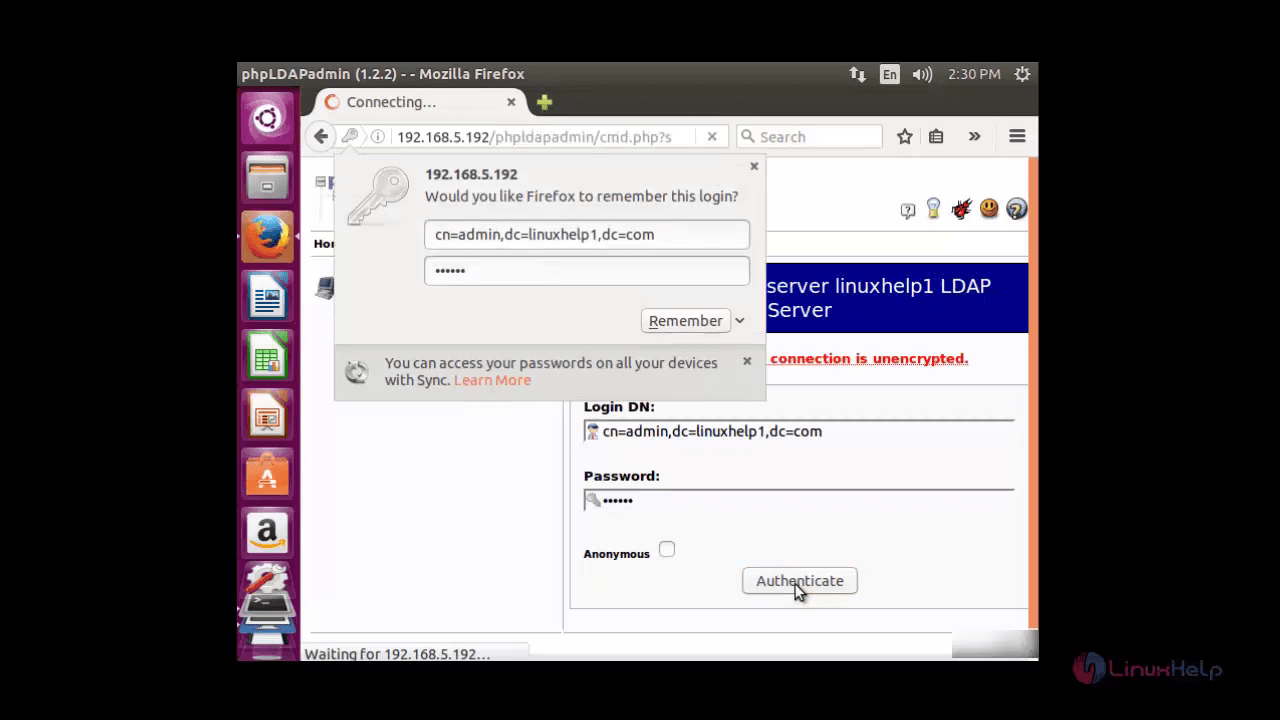
Navigate to ' http://< ip_address> /phpldapadmin' and click Enter
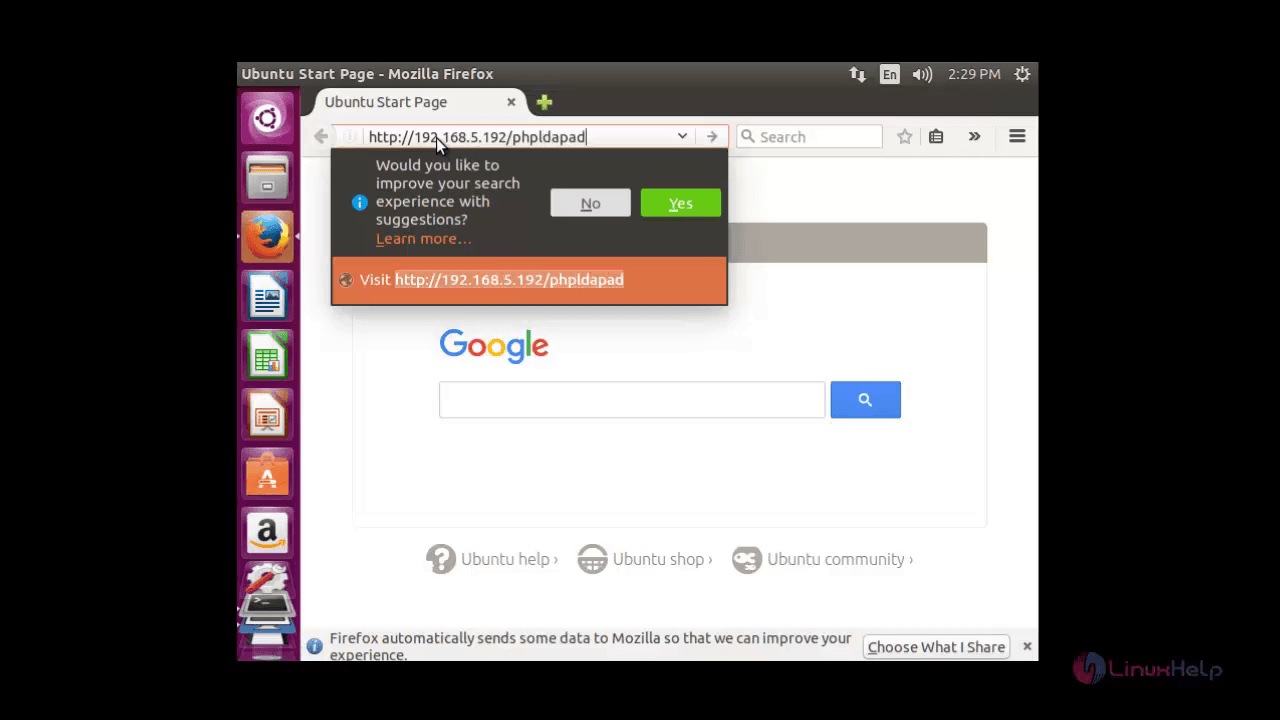
The LDAP home page appears as shown below.

Click ' login' on the left panel. Enter the LDAP Admin password and click ' authenticate' .
The main console of the phpadmin appears.
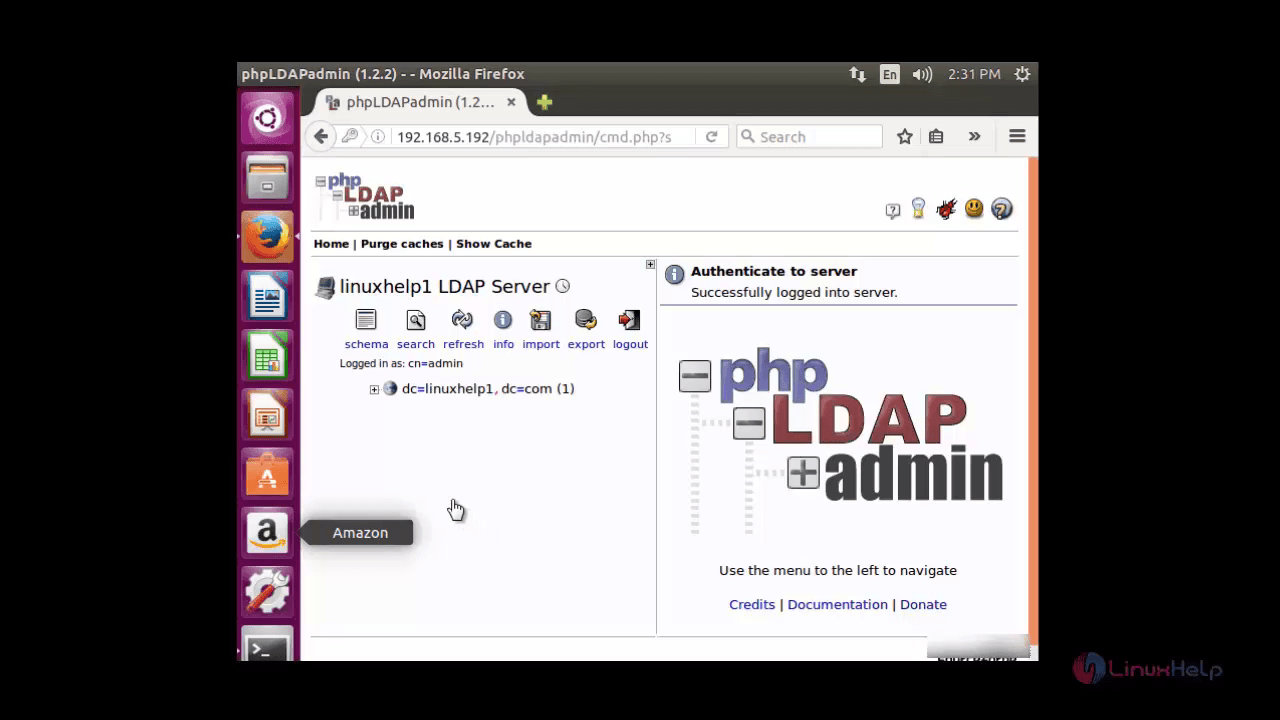
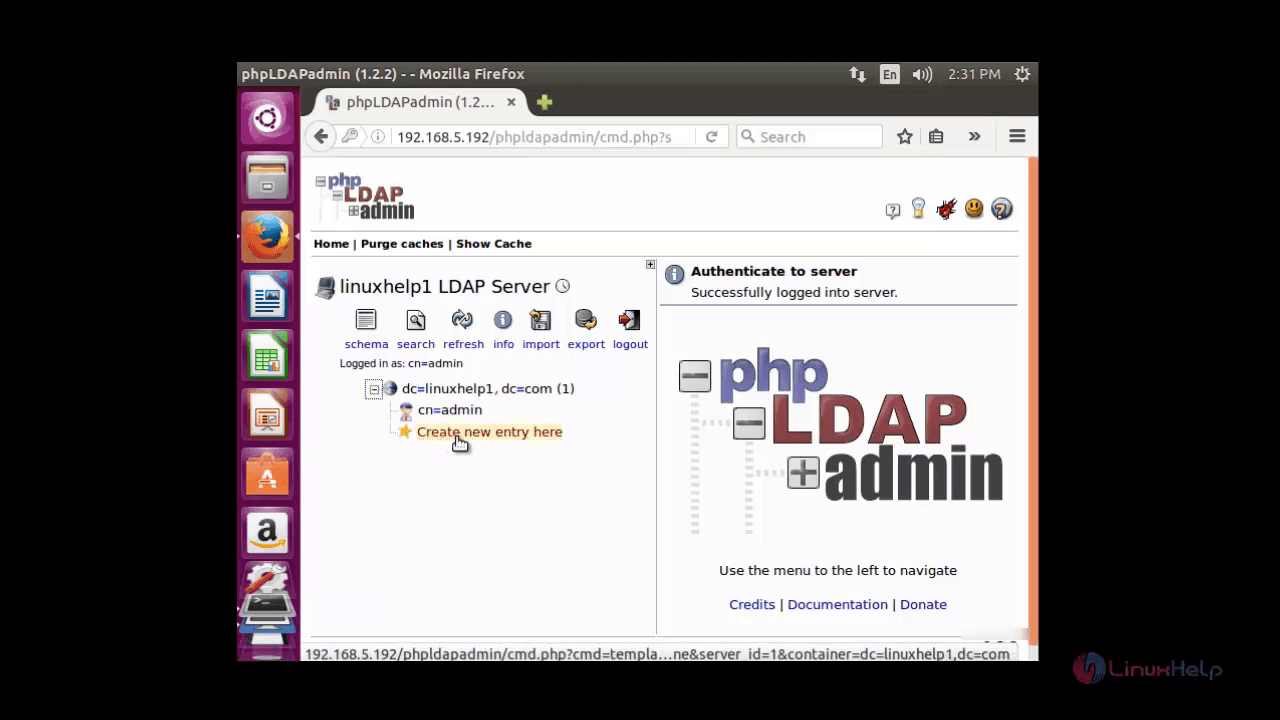
Now you can add additional object, such as organizational unit, users, group etc., to phpadmin. Click on ' +' sign and click ' create new entry here' .
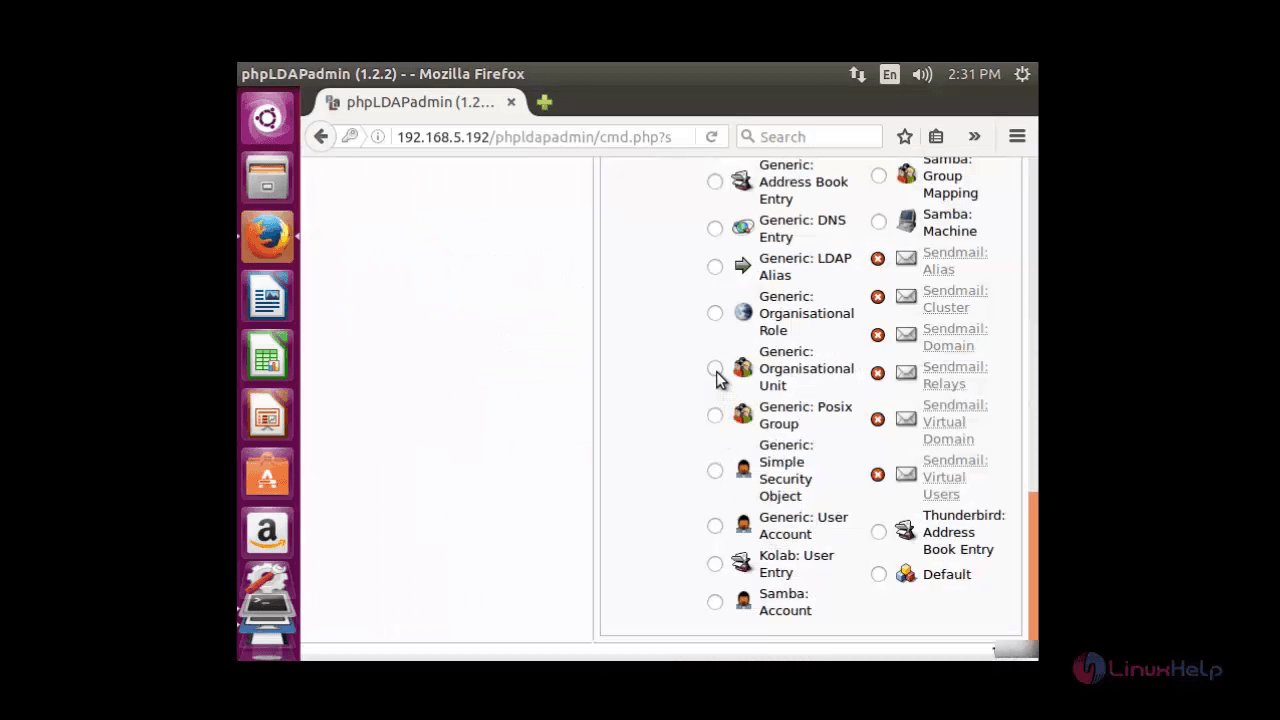
Choose the ' Generic-Organizational Unit' for creating Active Directory.
Enter the name of the organizational unit and click ' create object'
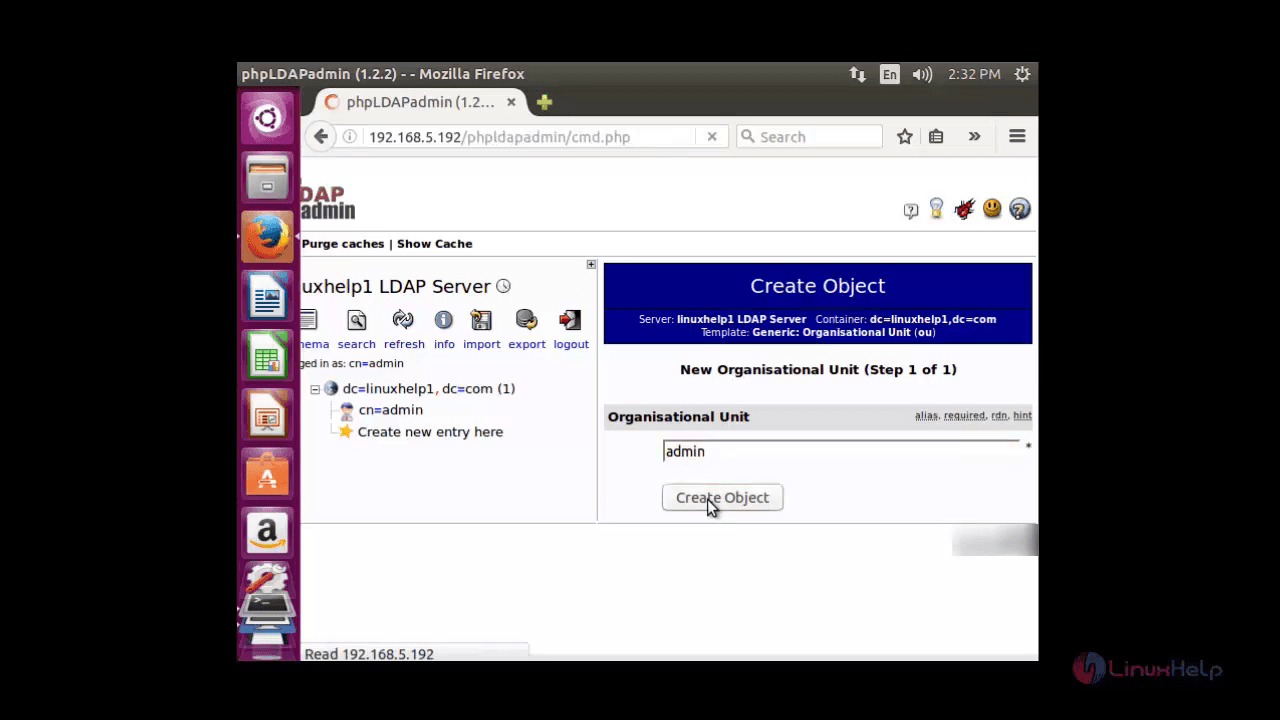
Click ' commit' to save changes.

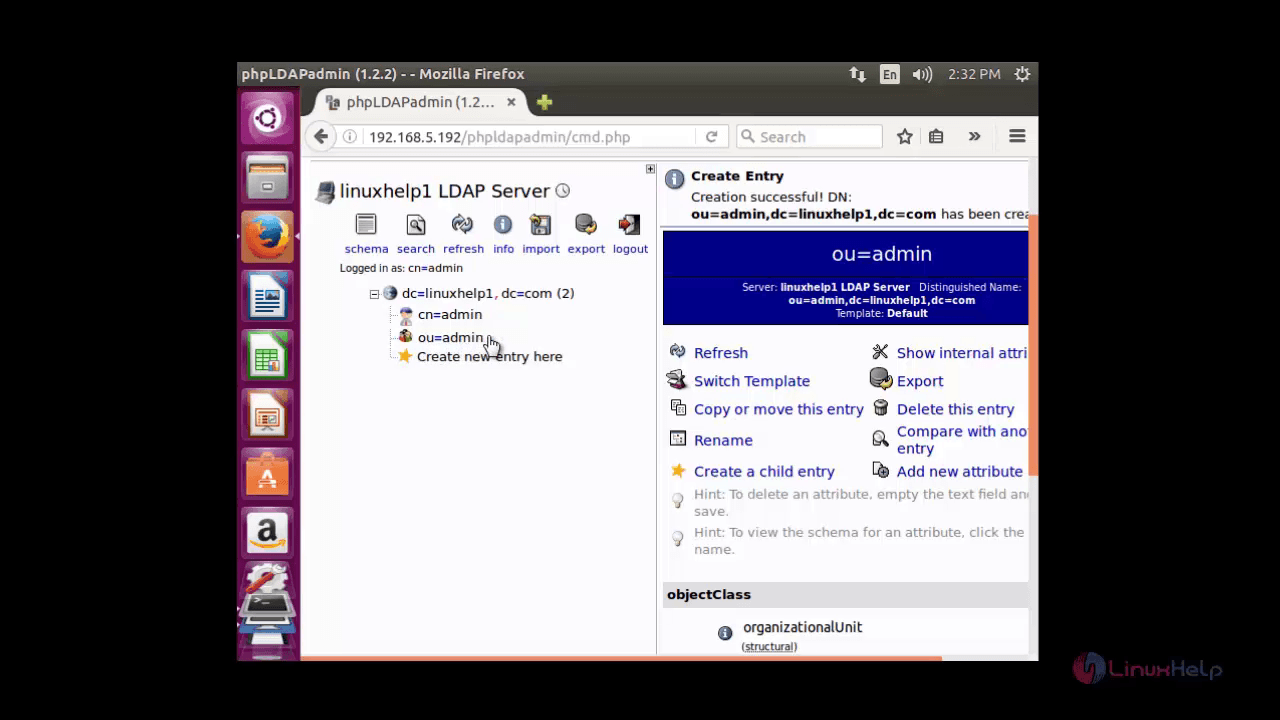
Now the newly created organizational unit (ou=admin) will appear on the left panel.
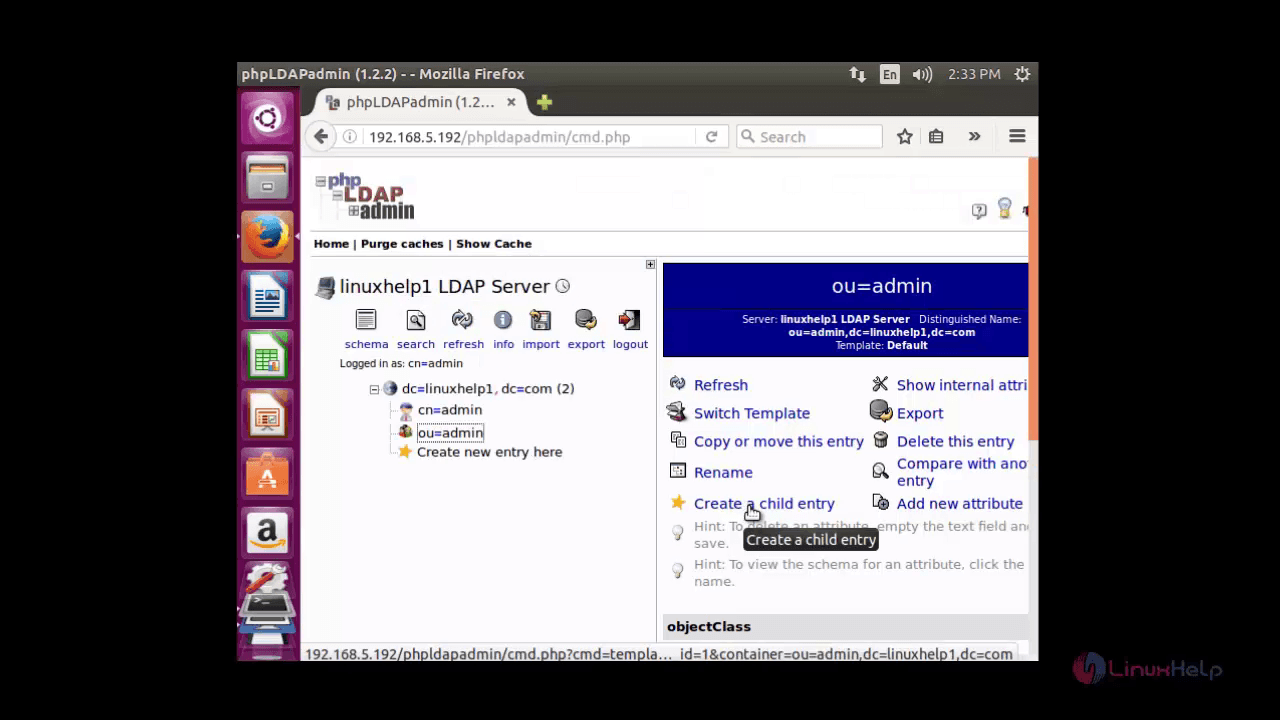
To create a group, click on admin-group on the left panel and hit on ' create a child entry' .
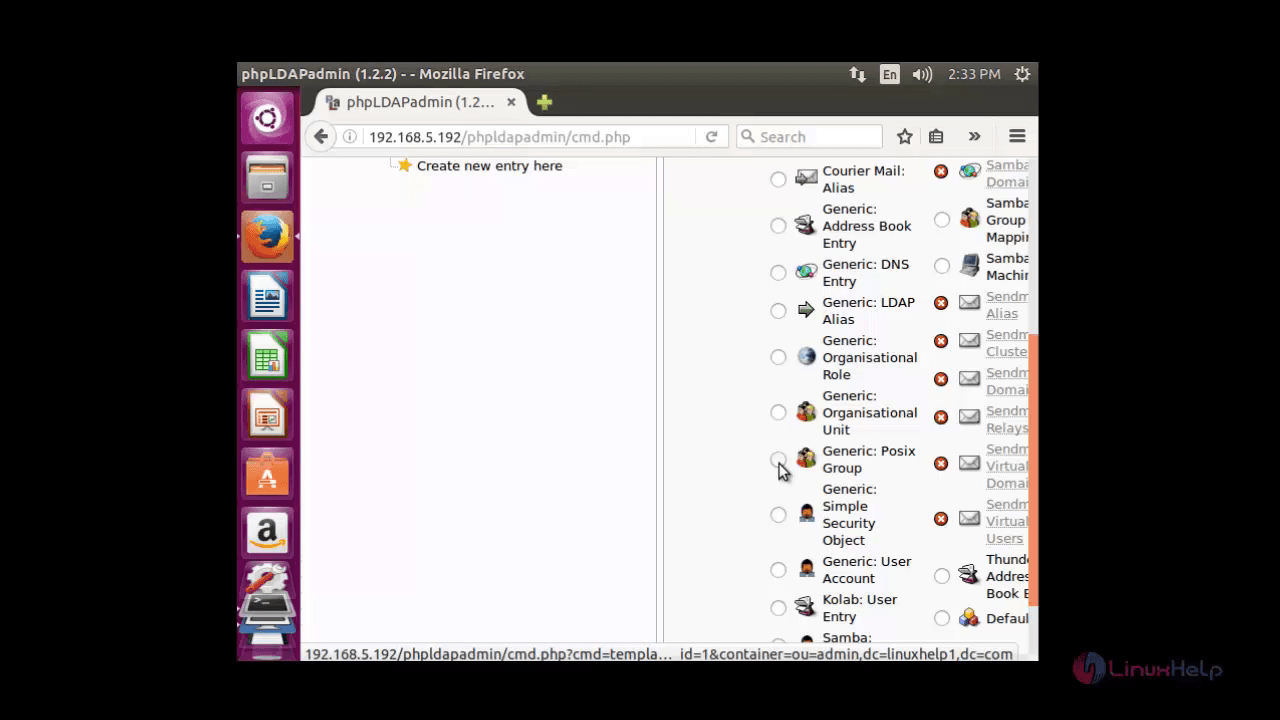
Now select ' generic: posix group' to create the group.
Now enter the name of the group and click create object button.
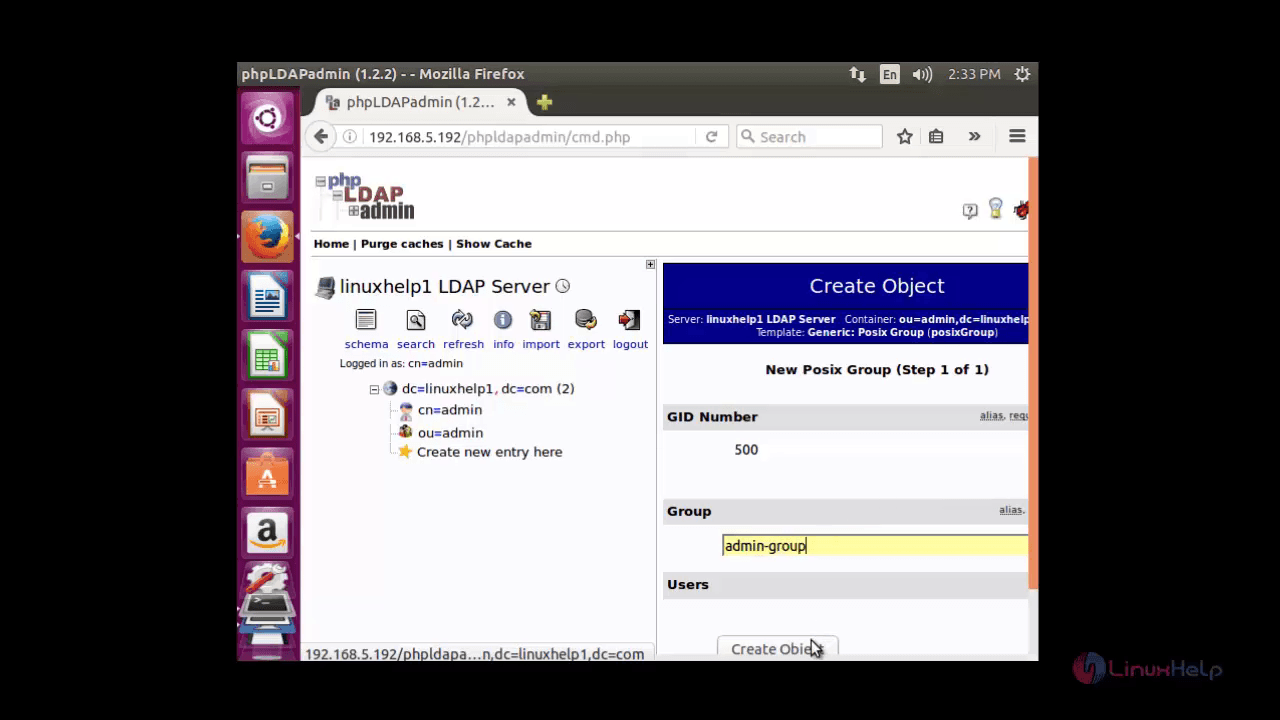
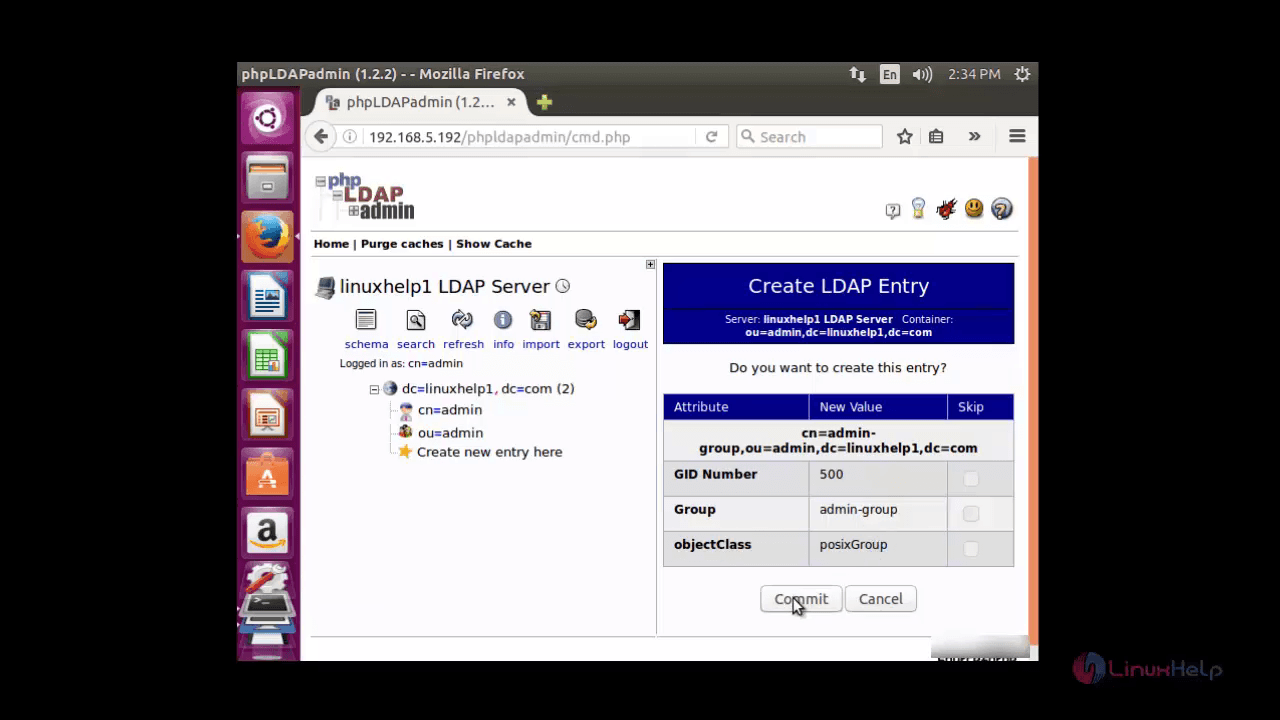
Click commit to save changes.
Now the newly created group is available inside the organisational unit.
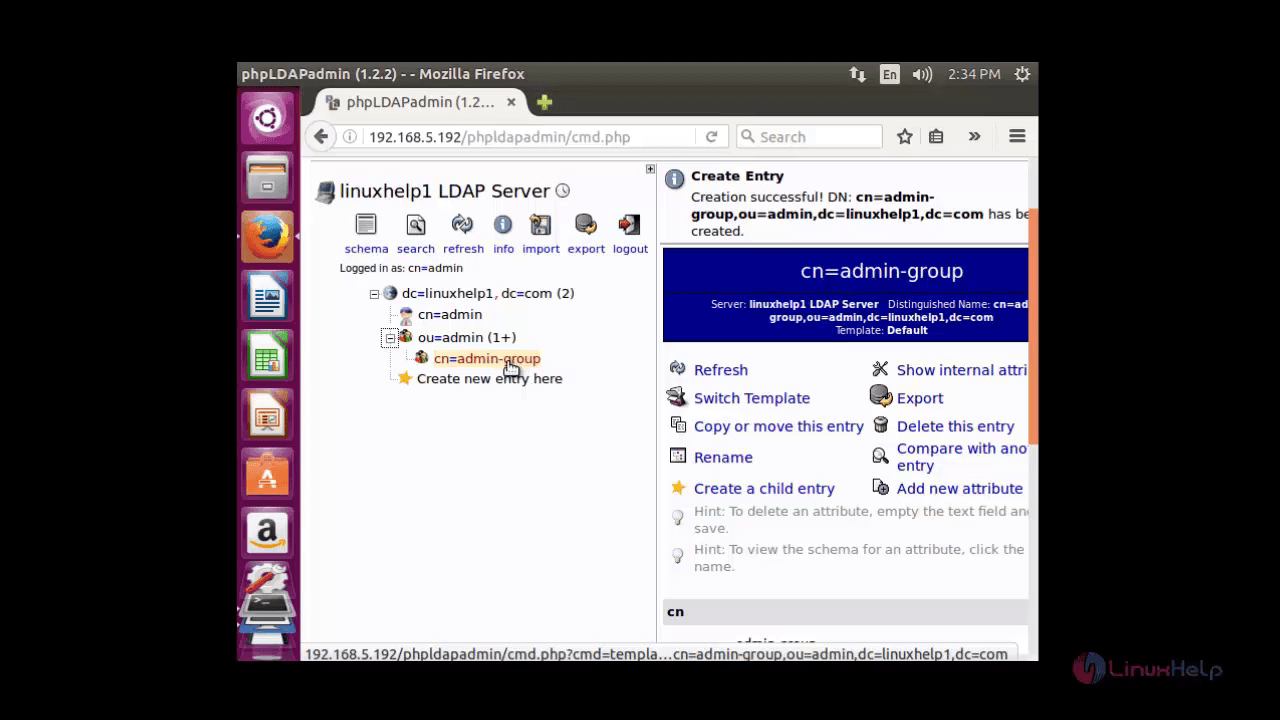
Now to create a user click on the group and inside that click on ' create child entry button' .

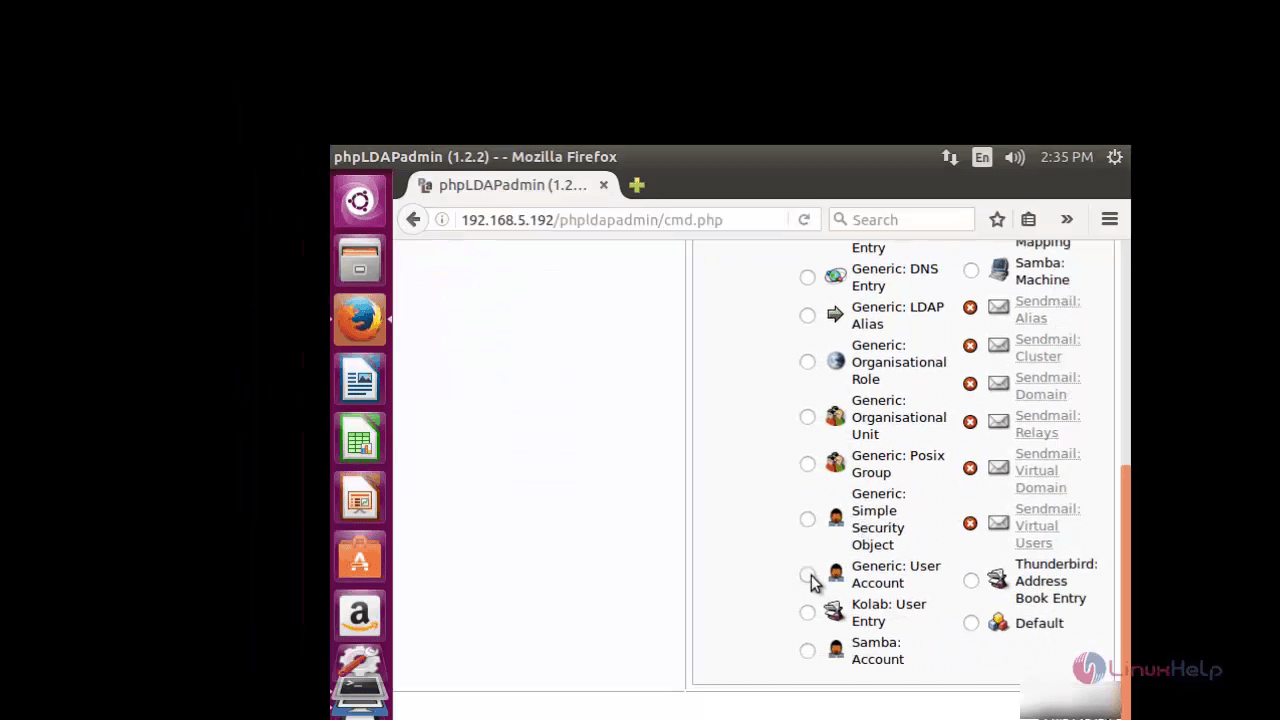
Click on ' Generic: user account' to create user.
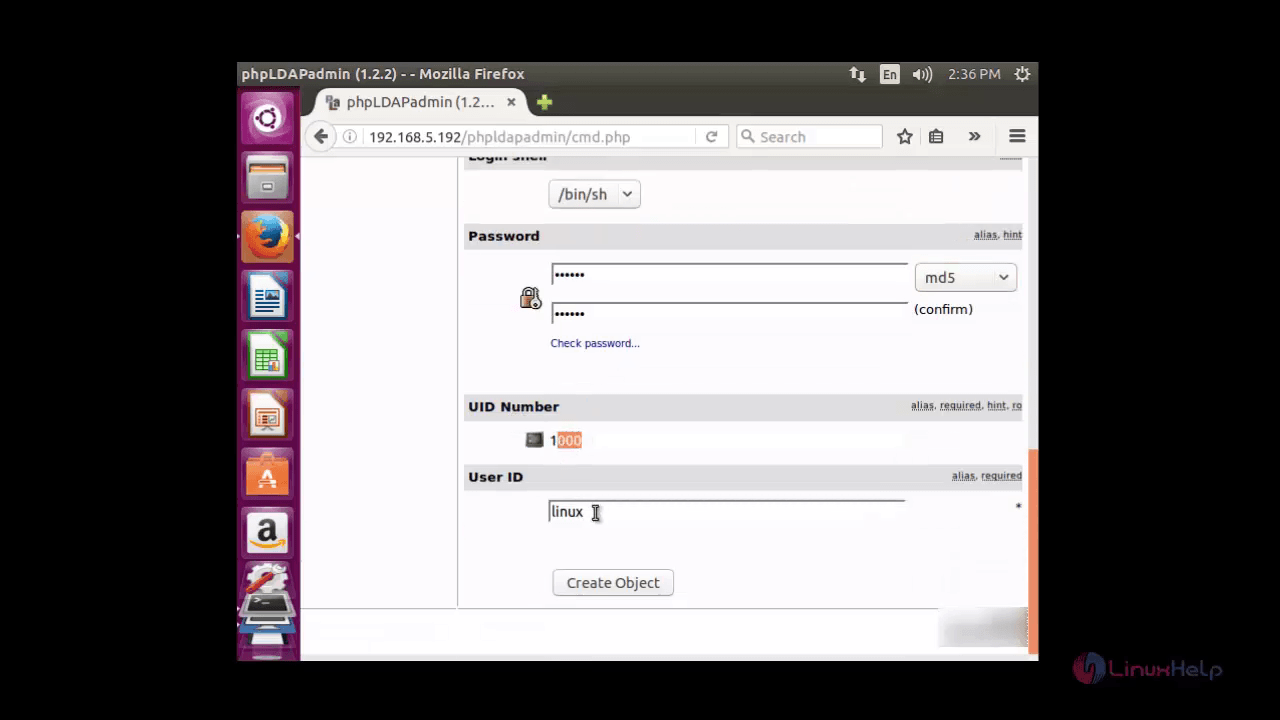
Now enter the details for the user such as common name, gid number, last name, login shell, user id and user password .
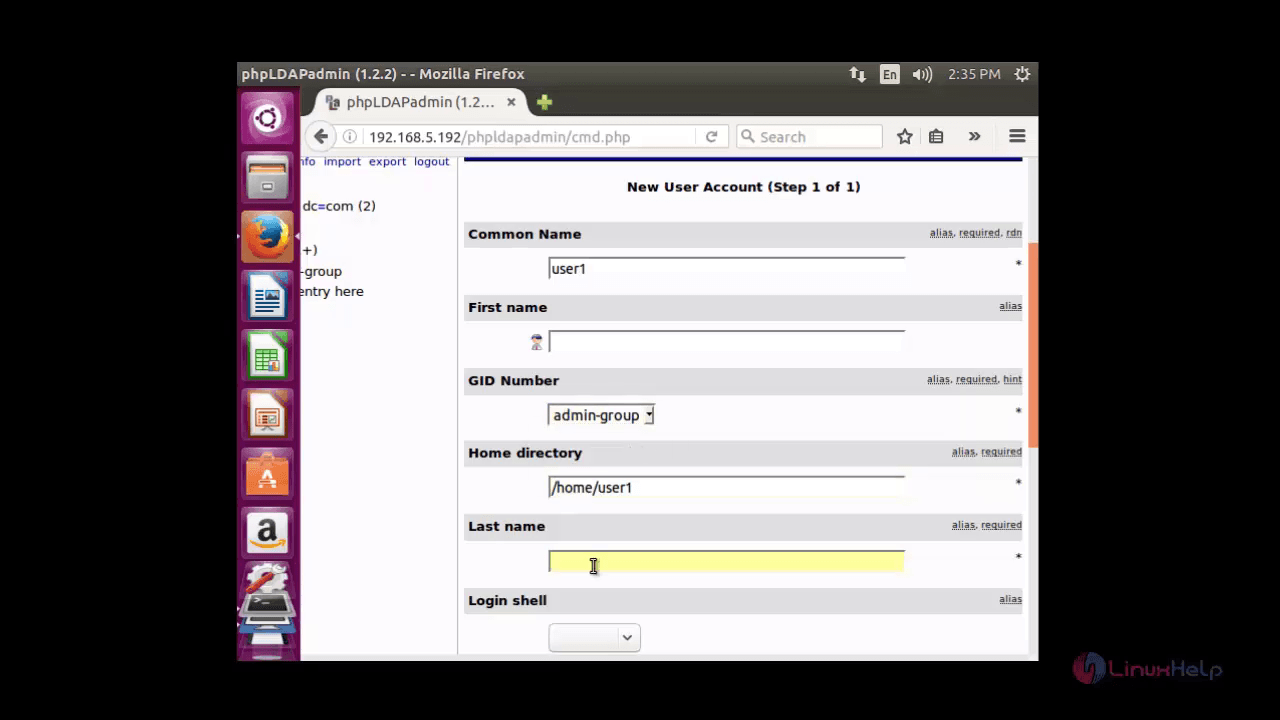
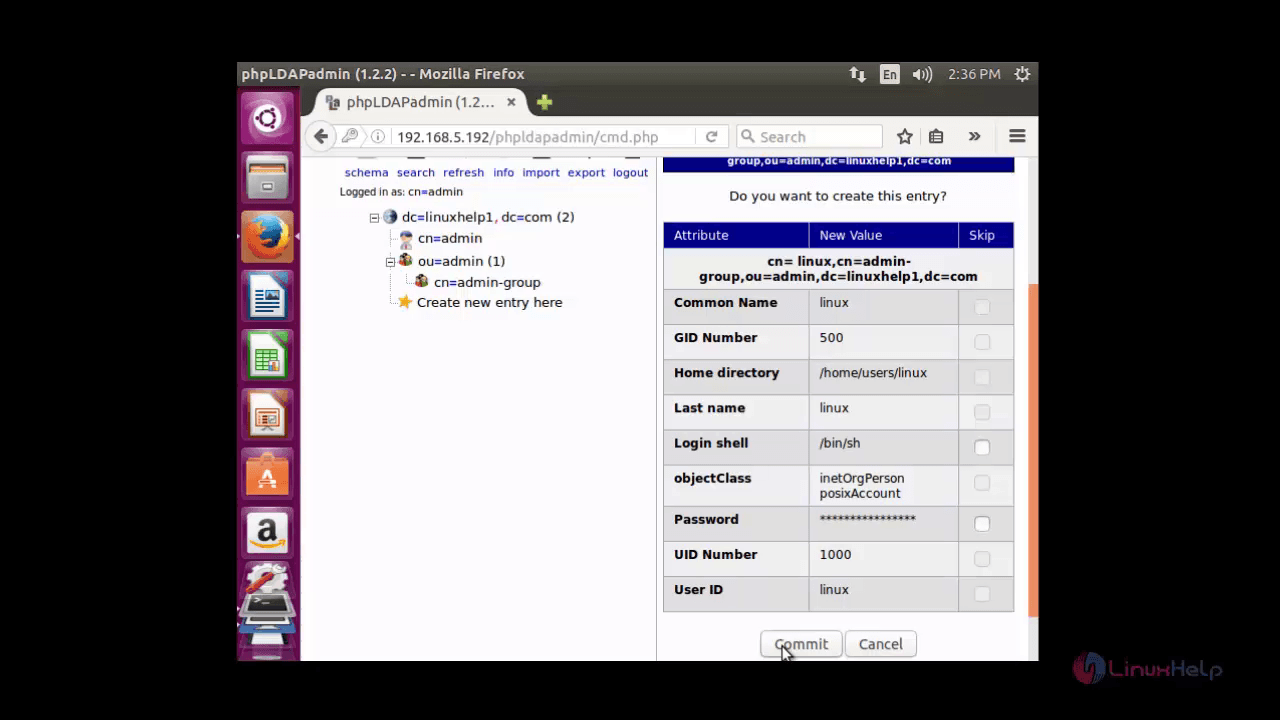
After all the details are filled, Click create object.
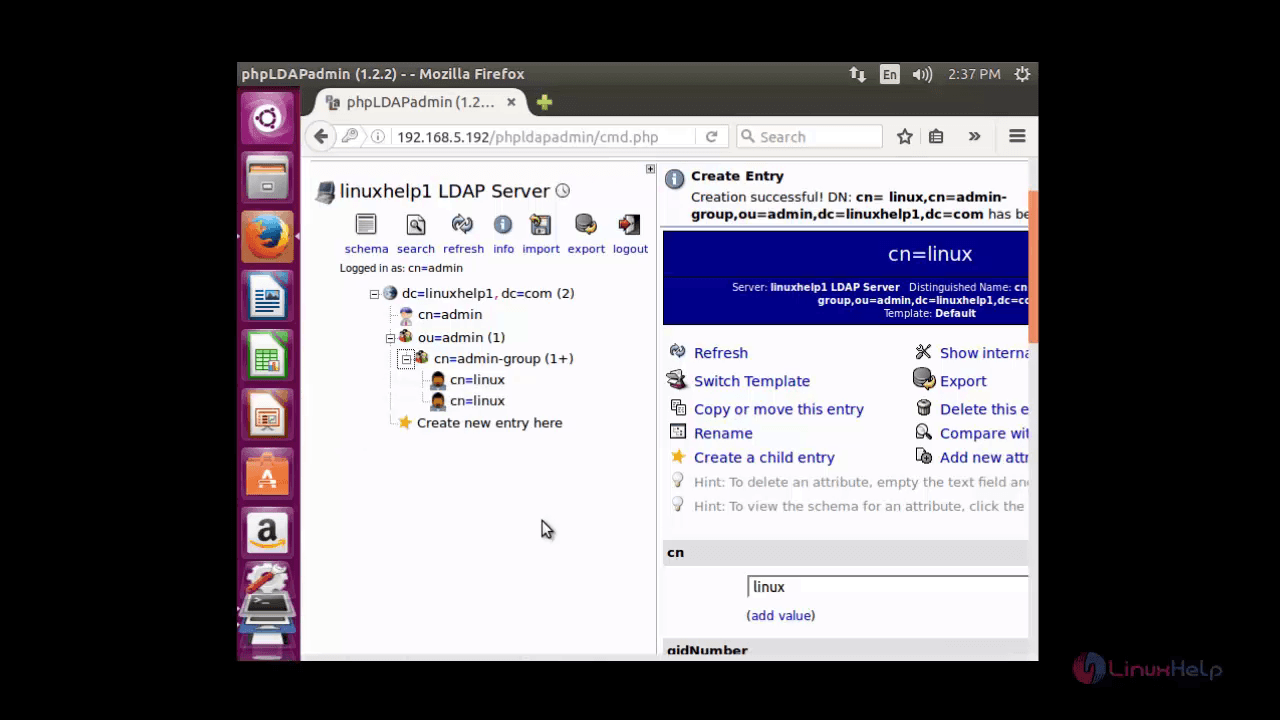
Now click commit to save changes
Here you can see a newly created user in the admin group object
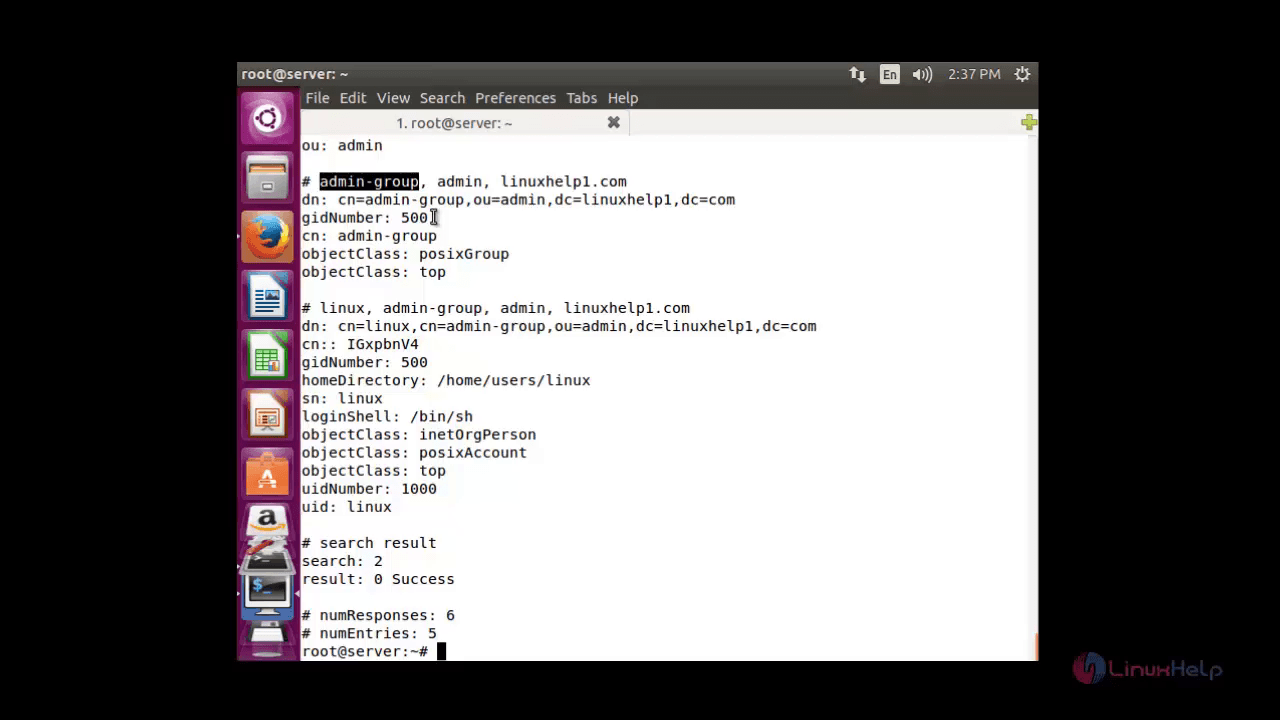
Lets verify the user created using the following command.
root@server:~# ldapsearch &ndash x
This command will display all the details like user, group etc.
Comments ( 2 )