How to Configure OpenNMS in CentOS
To Configure OpenNMS in CentOS
OpenNMS is an open Source network monitoring system that can be used for monitoring unlimited devices at a single instance. It detects the services or nodes automatically in your network. The procedures to configure OpenNMS in CentOS is explained in this article.
To install OpenNMS
First add the OpenNMS RPM Repository.
[root@localhost Desktop]# wget http://yum.opennms.org/repofiles/opennms-repo-stable-rhel7.noarch.rpm
--2016-10-05 21:24:00--  http://yum.opennms.org/repofiles/opennms-repo-stable-rhel7.noarch.rpm
&hellip
&hellip
2016-10-05 21:24:01 (1.27 MB/s) - ‘ opennms-repo-stable-rhel7.noarch.rpm’  saved [3882/3882]

[root@localhost Desktop]# rpm -Uvh opennms-repo-stable-rhel7.noarch.rpm
warning: opennms-repo-stable-rhel7.noarch.rpm: Header V3 DSA/SHA1 Signature, key ID 5b9efd43: NOKEY
Preparing...                          ################################# [100%]
Updating / installing...
   1:opennms-repo-stable-1.0-107      ################################# [100%]
Run the following command to install Java.
[root@localhost Desktop]# yum install java
Loaded plugins: fastestmirror, langpacks
Loading mirror speeds from cached hostfile
 * base: centos.webwerks.com
&hellip
&hellip
Dependency Updated:
  java-1.7.0-openjdk-headless.x86_64 1:1.7.0.111-2.6.7.2.el7_2
Complete!
Using the following command install PostgreSQL.
[root@localhost Desktop]# yum install postgresql-server postgresql-contrib
Loaded plugins: fastestmirror, langpacks
Loading mirror speeds from cached hostfile
 * base: centos.webwerks.com
.
.
.
Dependency Installed:
  postgresql.x86_64 0:9.2.15-1.el7_2   postgresql-libs.x86_64 0:9.2.15-1.el7_2
  uuid.x86_64 0:1.6.2-26.el7
Complete!
Initialize the Database for OpenNMS.
[root@localhost Desktop]# postgresql-setup initdb
Initializing database ... OK
Start and enable the postgreSQL service
[root@localhost Desktop]#  /sbin/service postgresql start
[root@localhost Desktop]# systemctl enable postgresql
ln -s ' /usr/lib/systemd/system/postgresql.service'  ' /etc/systemd/system/multi-user.target.wants/postgresql.service'
To Configure PostgreSQL
Edit the postgresql.conf file as follows.
#------------------------------------------------------------------------------
# CONNECTIONS AND AUTHENTICATION
#------------------------------------------------------------------------------
listen_addresses = ' localhost'
max_connections = 256
#------------------------------------------------------------------------------
# RESOURCE USAGE
#------------------------------------------------------------------------------
shared_buffers = 1024MB
Then permit the access to the Database by editing the " pg_hba.conf" file as shown below.
# TYPE DATABASE USER ADDRESS METHOD
# " local"  is for Unix domain socket connections only
local all all trust
# IPv4 local connections:
host all all 127.0.0.1/32 trust
# IPv6 local connections:
host all all ::1/128 trust
After setting the permission, Start installing OpenNMS by executing the below command.
[root@localhost Desktop]# yum -y install opennms
Loaded plugins: fastestmirror, langpacks
Loading mirror speeds from cached hostfile
* base: centos.webwerks.com
.
.
Installed:
opennms.noarch 0:18.0.2-1
Dependency Installed:
jdk1.8.0_60.x86_64 2000:1.8.0_60-fcs jicmp.x86_64 0:1.4.5-2 jicmp6.x86_64 0:1.2.4-1 opennms-core.noarch 0:18.0.2-1 opennms-webapp-jetty.noarch 0:18.0.2-1
Complete!
Once the installation is successfully built, configure JAVA for OpenNMS
[root@localhost Desktop]# /opt/opennms/bin/runjava -s
runjava: Looking for an appropriate JRE...
runjava: Checking for an appropriate JRE in JAVA_HOME...
runjava: skipping... JAVA_HOME not set
runjava: Checking JRE in user' s path: " /usr/bin/java" ...
runjava: /usr/bin/java is not Java 1.8 or newer.
runjava: did not find an appropriate JRE in user' s path: " /usr/bin/java"
runjava: searching for a good JRE...
runjava: found a good JRE in " /usr/java/jdk1.8.0_60/bin/java"
runjava: value of " /usr/java/jdk1.8.0_60/bin/java"  stored in configuration file
Upgrade OpenNMS by adding the following command.
[root@localhost Desktop]# /opt/opennms/bin/install -dis
==============================================================================
OpenNMS Installer
==============================================================================
Configures PostgreSQL tables, users, and other miscellaneous settings.
DEBUG: Platform is IPv6 ready: true
.
.
.
- Running post-execution phase
Removing backup /opt/opennms/etc/discovery-configuration.xml.zip
Finished in 0 seconds
Upgrade completed successfully!
Then follow the below instruction to configure firewall for permitting OpenNMS.
[root@localhost Desktop]# firewall-cmd --permanent --add-port=8980/tcp
success
[root@localhost Desktop]# firewall-cmd --reload
Success
Start OpenNMS and Login to Web Interface as follows.
[root@localhost Desktop]# systemctl start opennms
[root@localhost Desktop]# systemctl enable opennms
ln -s ' /usr/lib/systemd/system/opennms.service'  ' /etc/systemd/system/multi-user.target.wants/opennms.service'
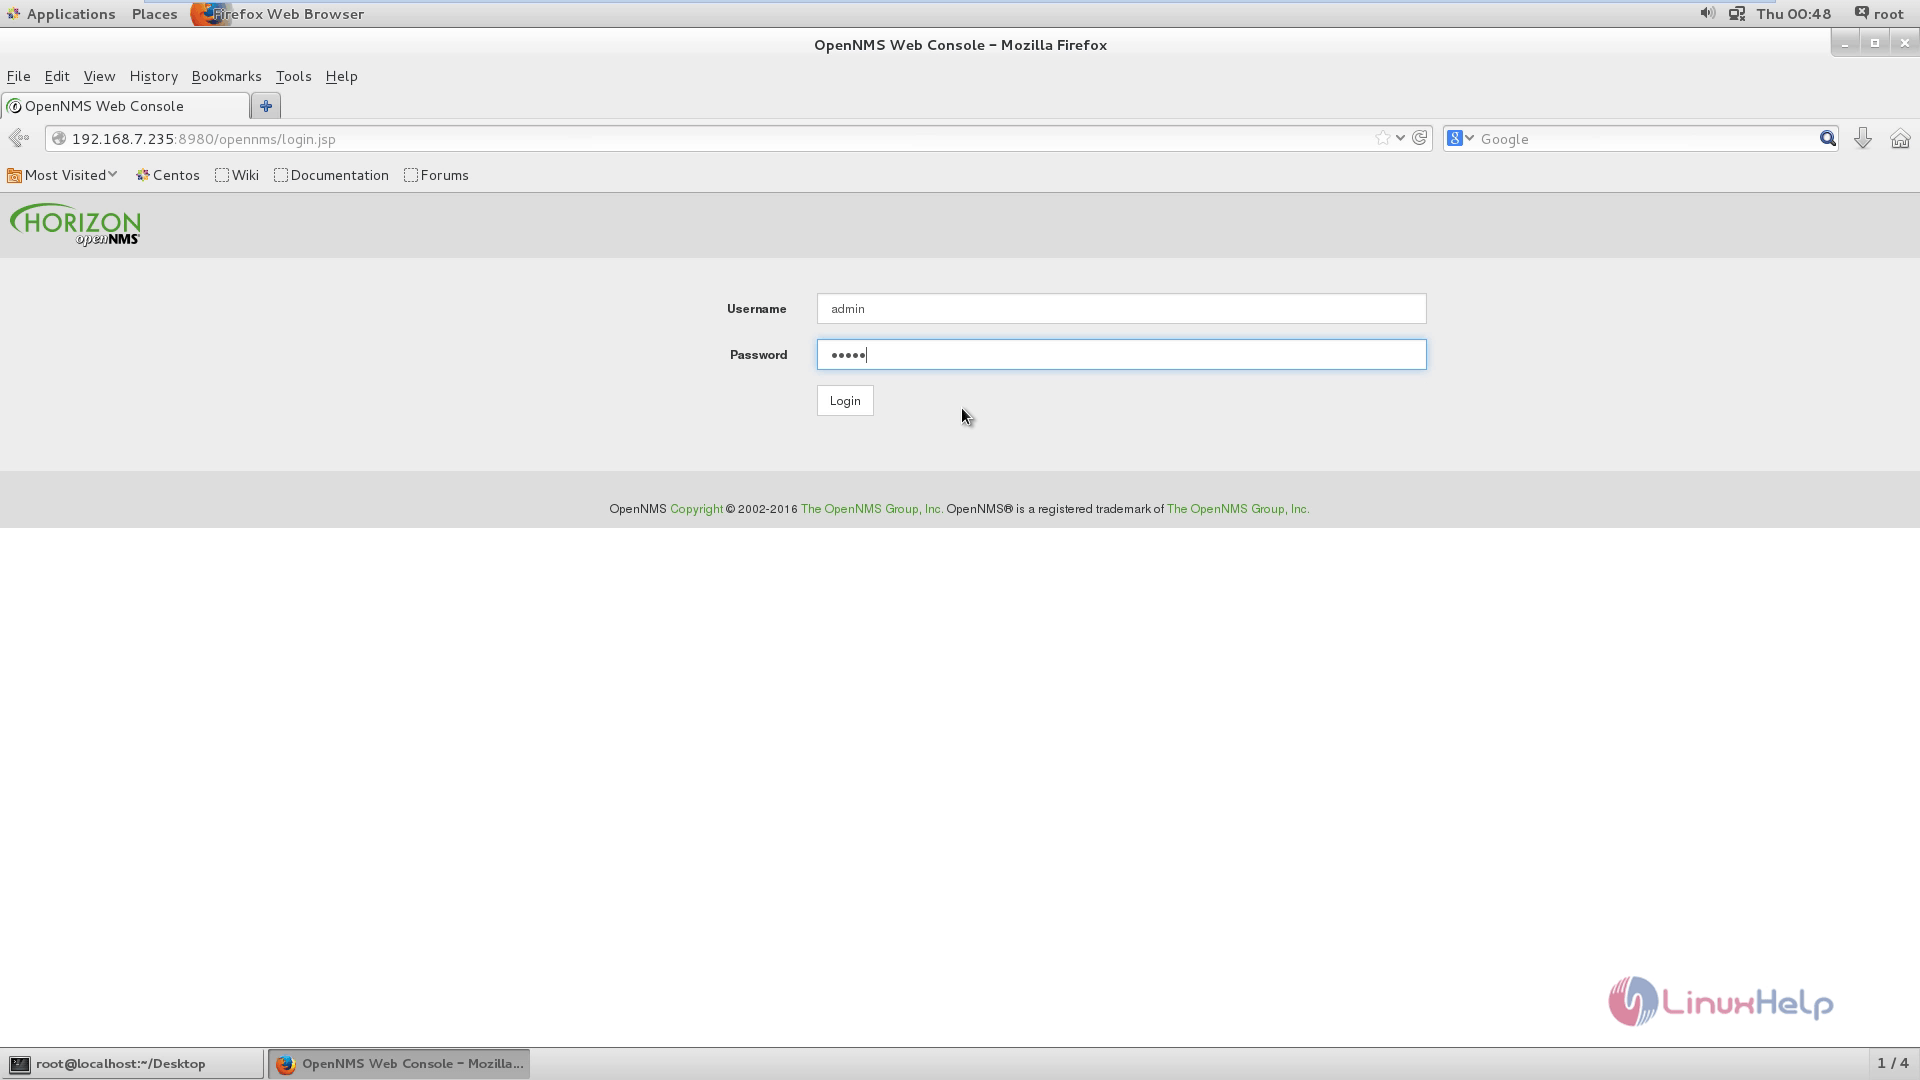
Open the web browser and enter the URL http://< IP_address> :8980/opennms/login.jsp
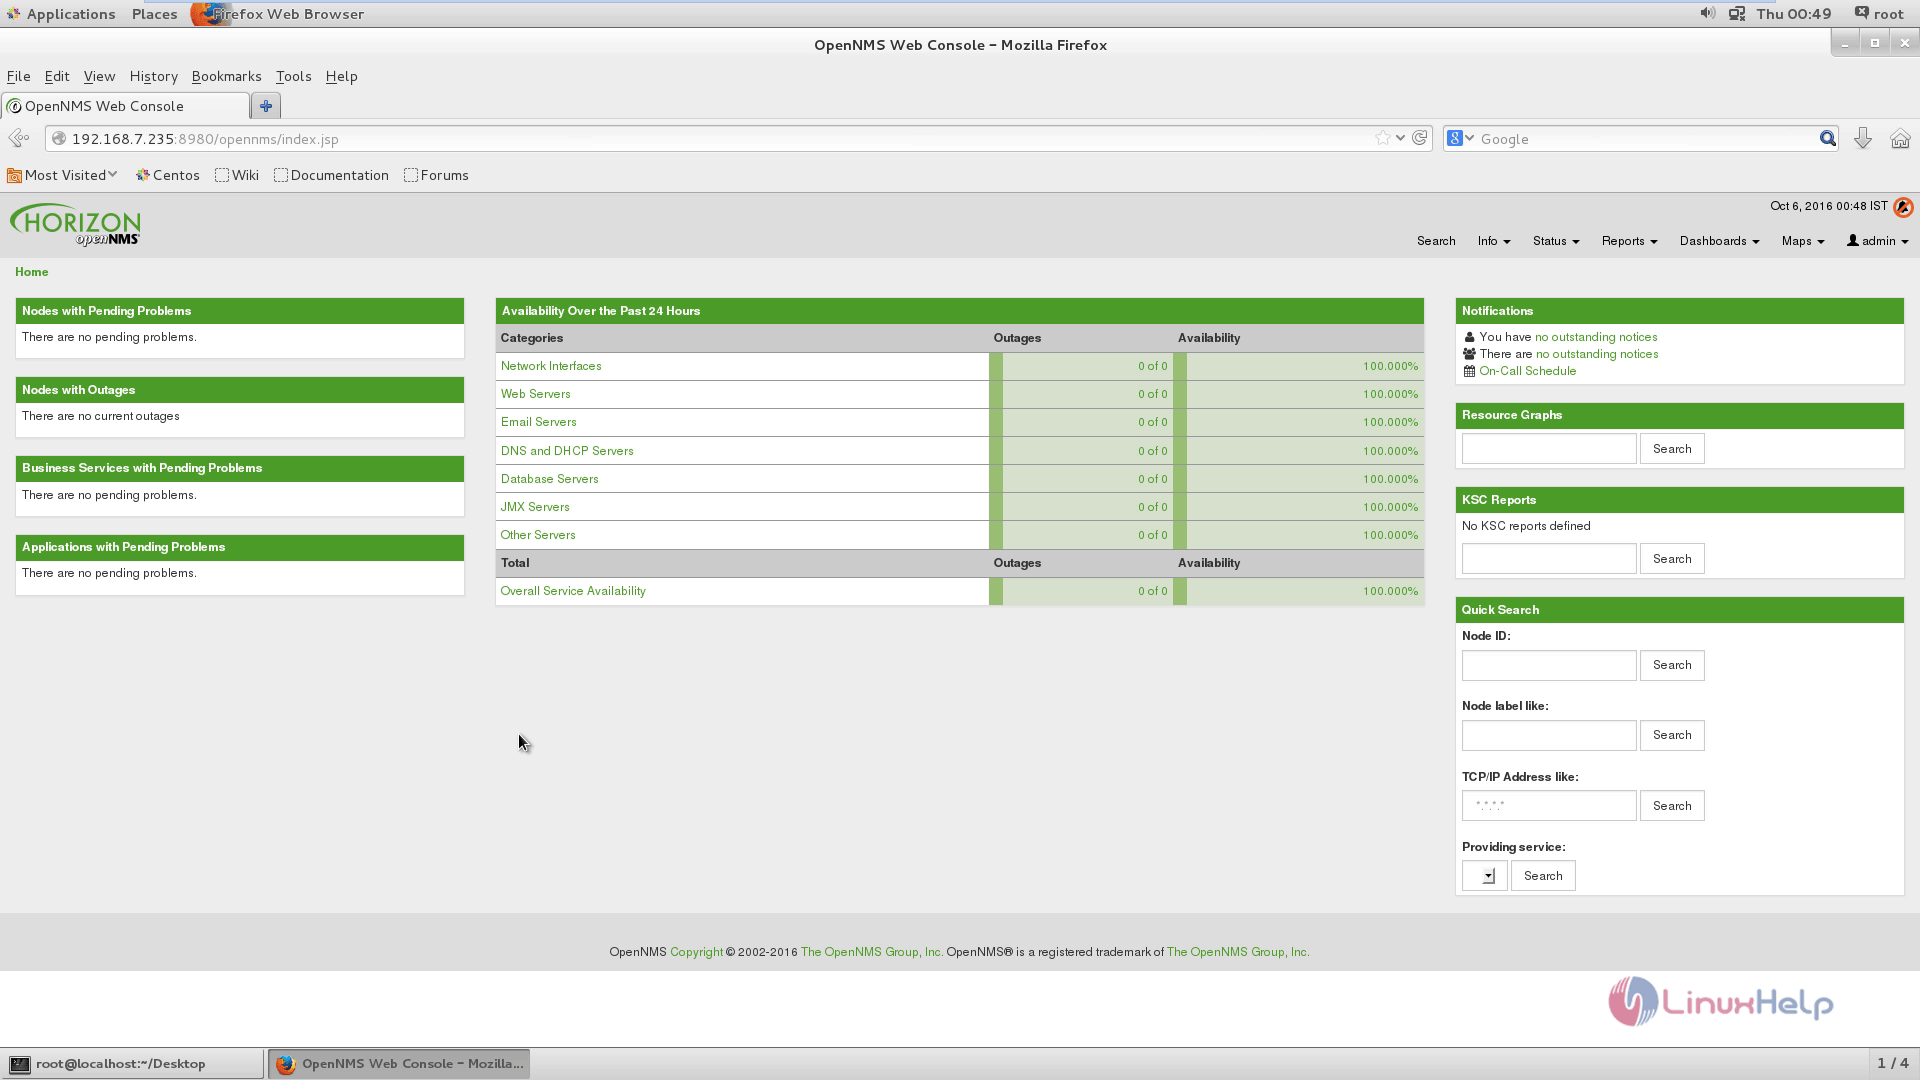
OpenNMS Home Page appears as follows.
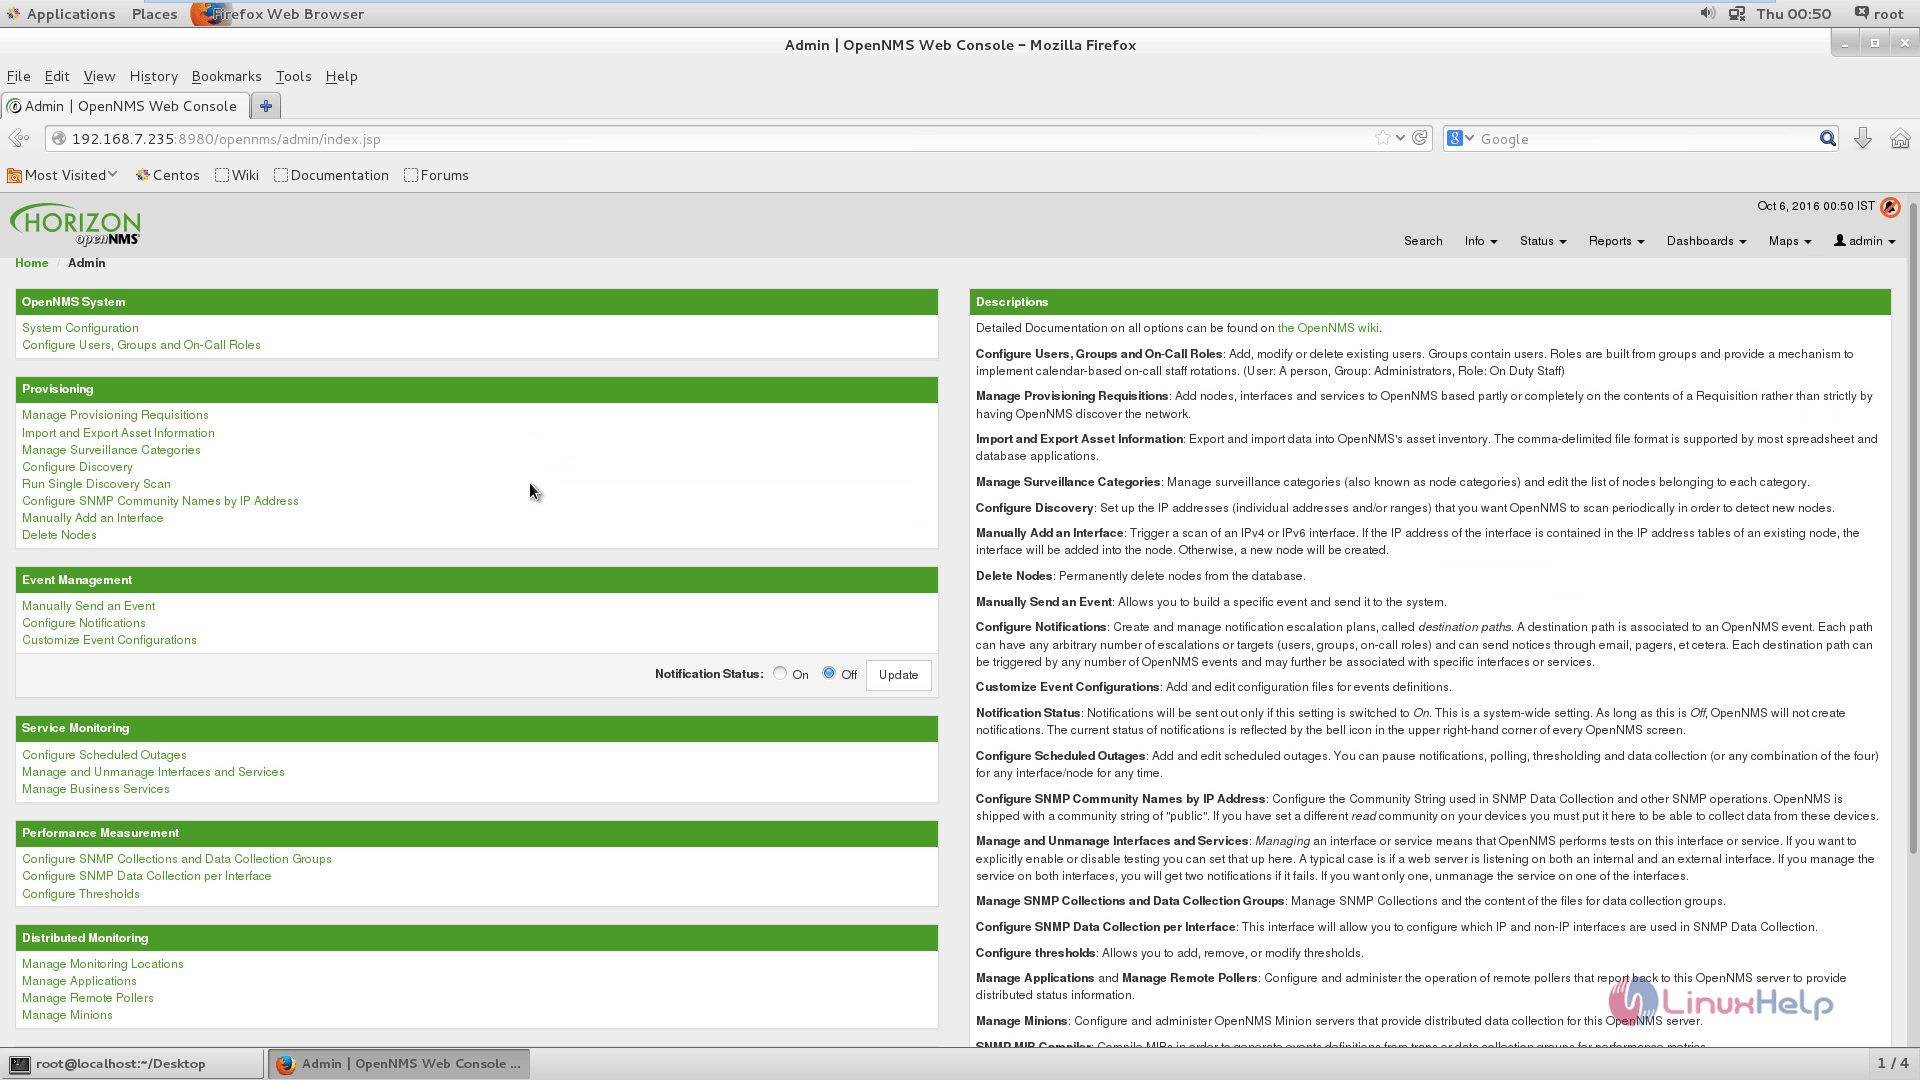
OpenNMS configuration option
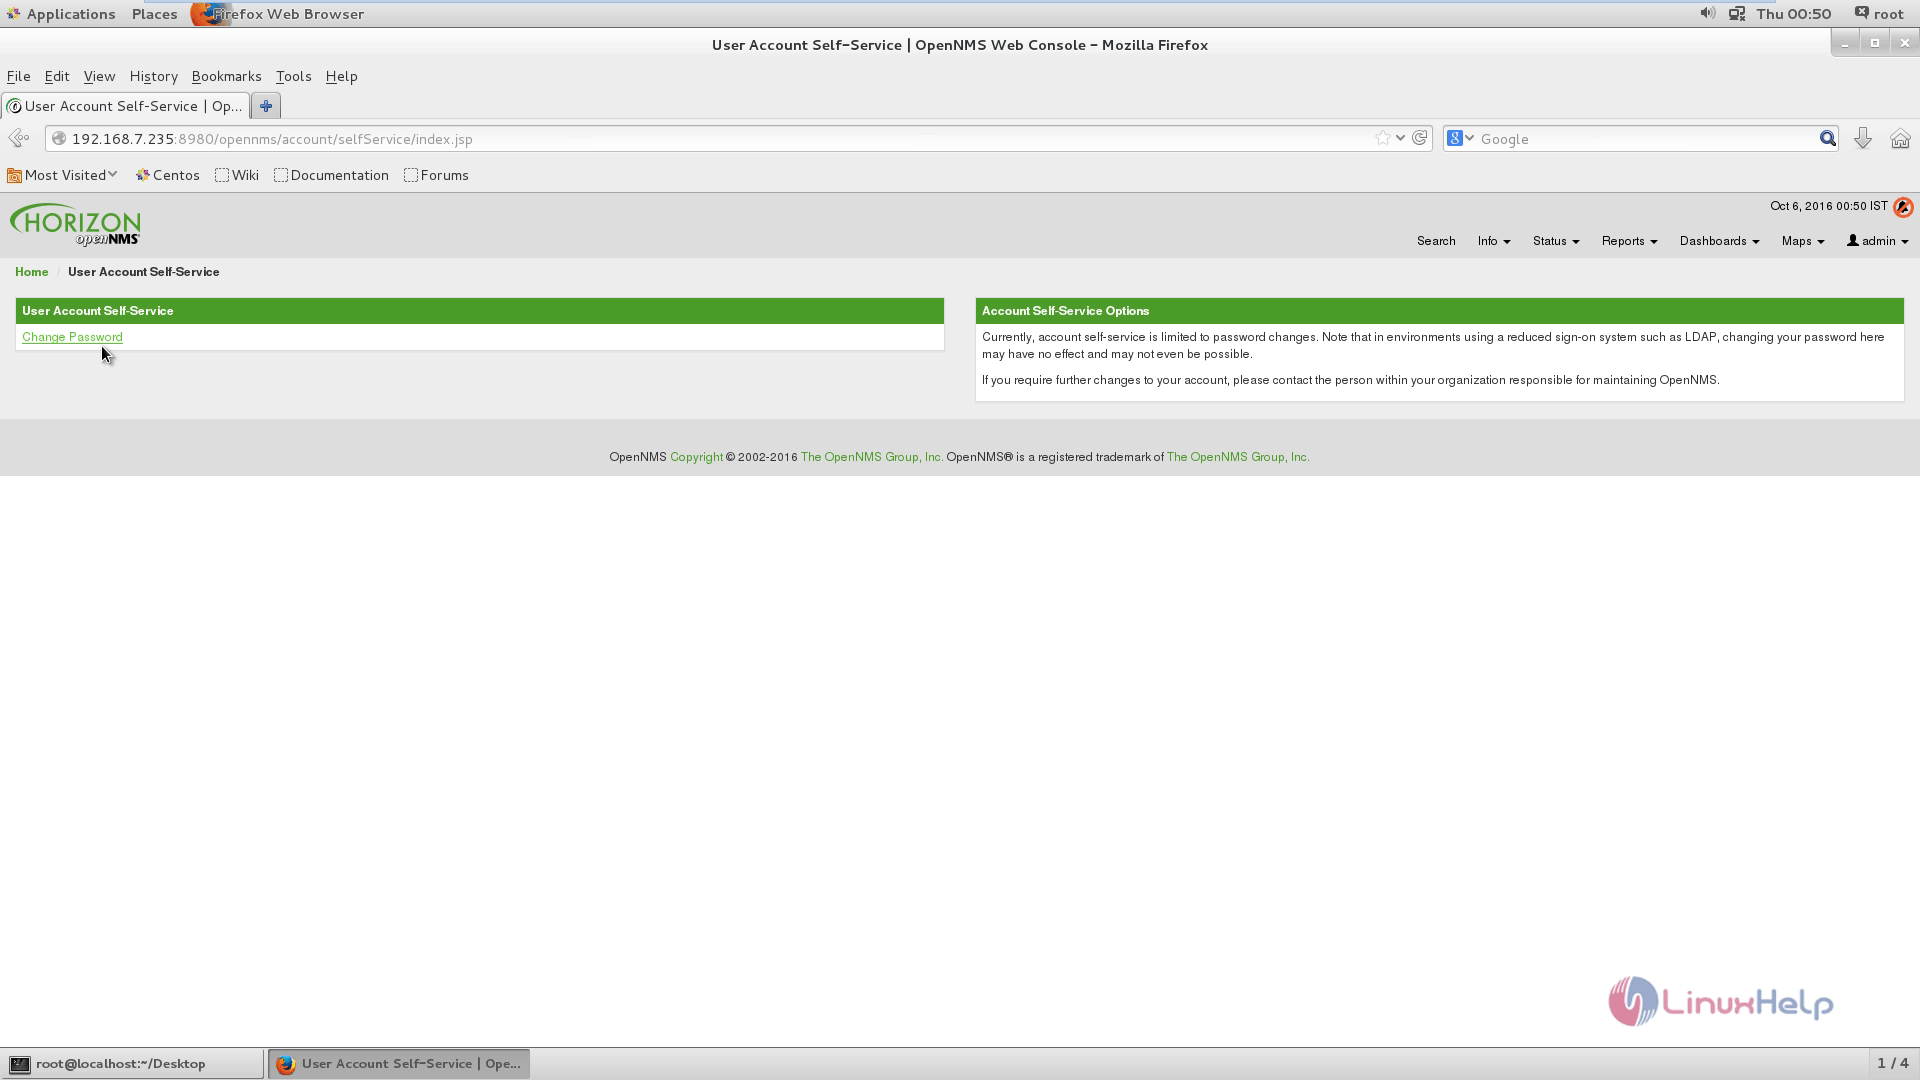
Change admin password by clicking Change password.
Comments ( 0 )
No comments available