How To Create And Use Custom Category On CTRLify
To Create And Use Custom Category On Ctrlify
Introduction
CTRLify provides a comprehensive suite of features including website blocking, content filtering, personalized block lists, customizable rules, real-time activity tracking, and seamless integration, all aimed at improving overall productivity. The custom categories feature enables users to manage access by allowing or blocking specific groups of domains.
Procedure:
Step 1: Login to the ctrlify.com
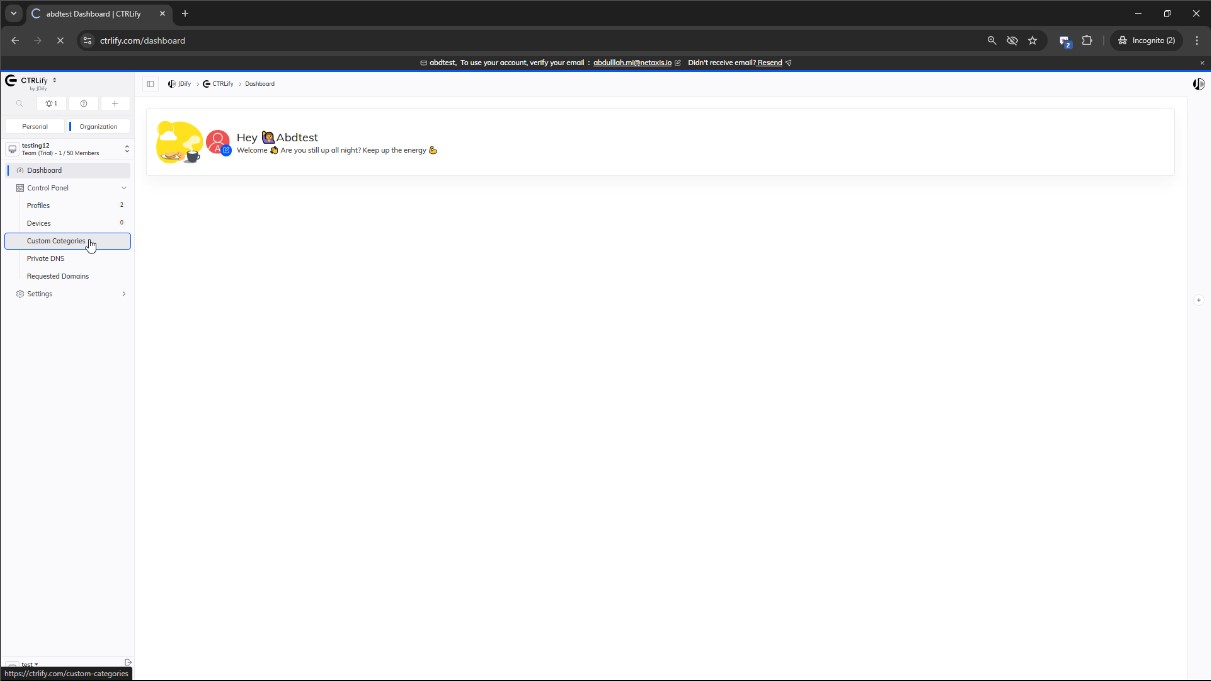
Step 2: Click Control Panel -> Custom categories from the left side panel
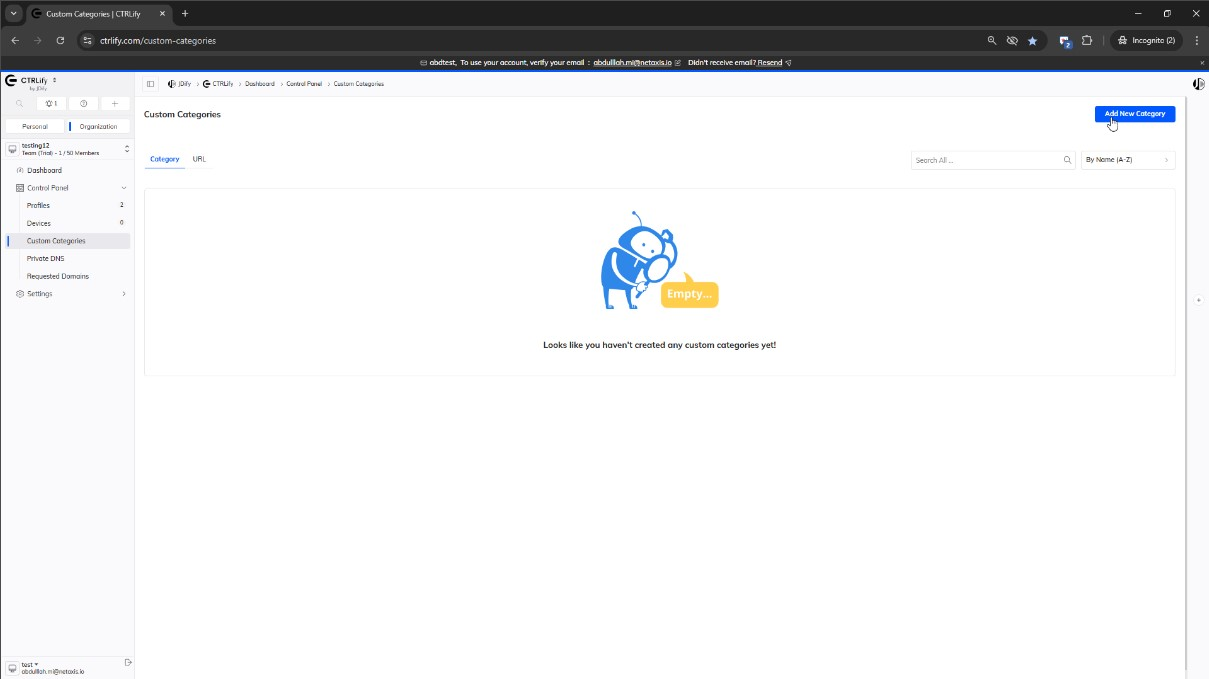
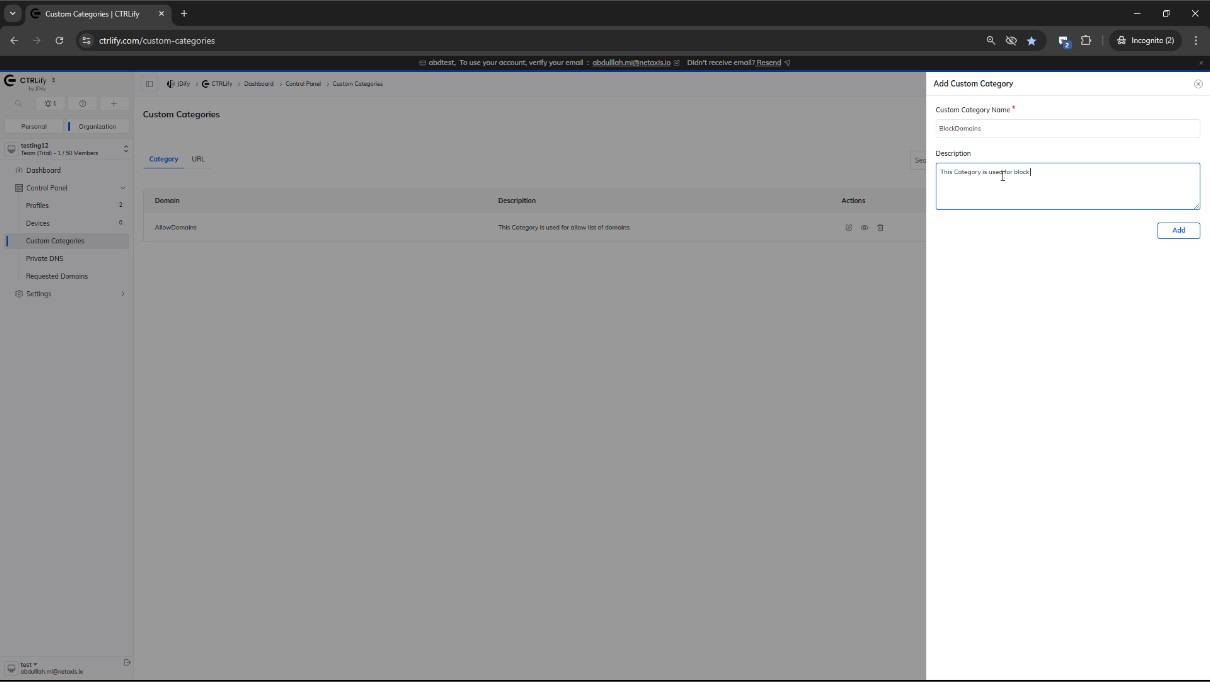
Step 3 : Click Add New Category
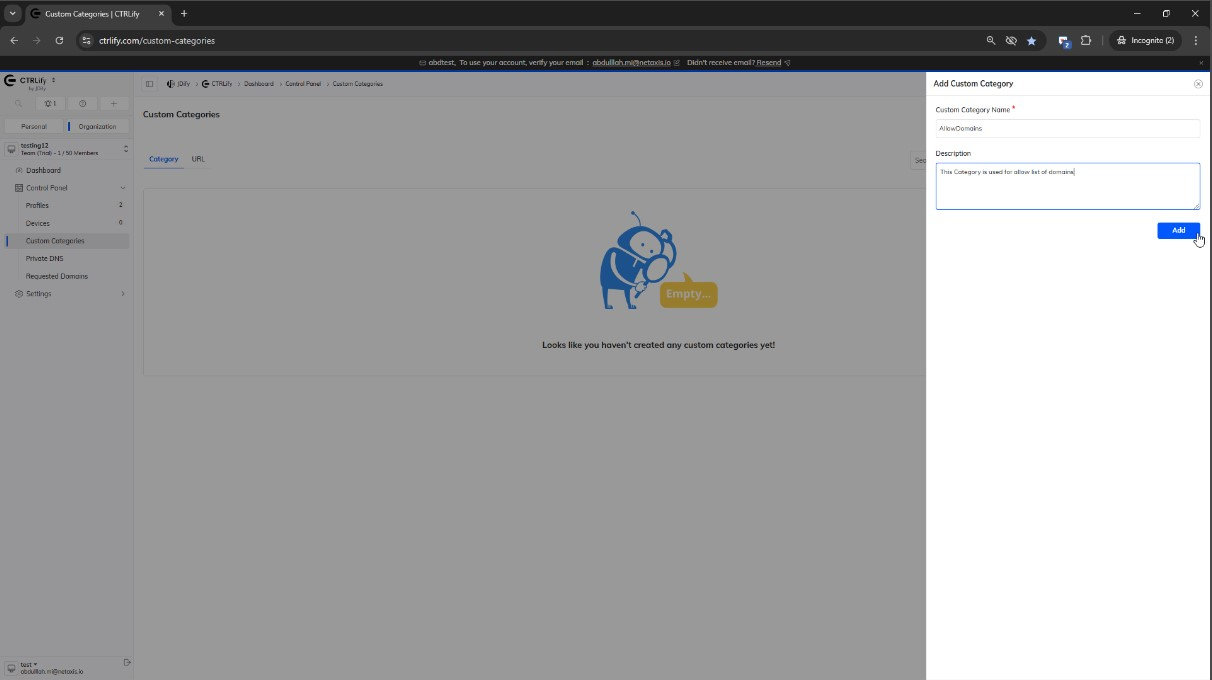
Step 4: Then Enter Custom Category Name, Description and click Add button
Step 5: Again do the same procedure to create another category
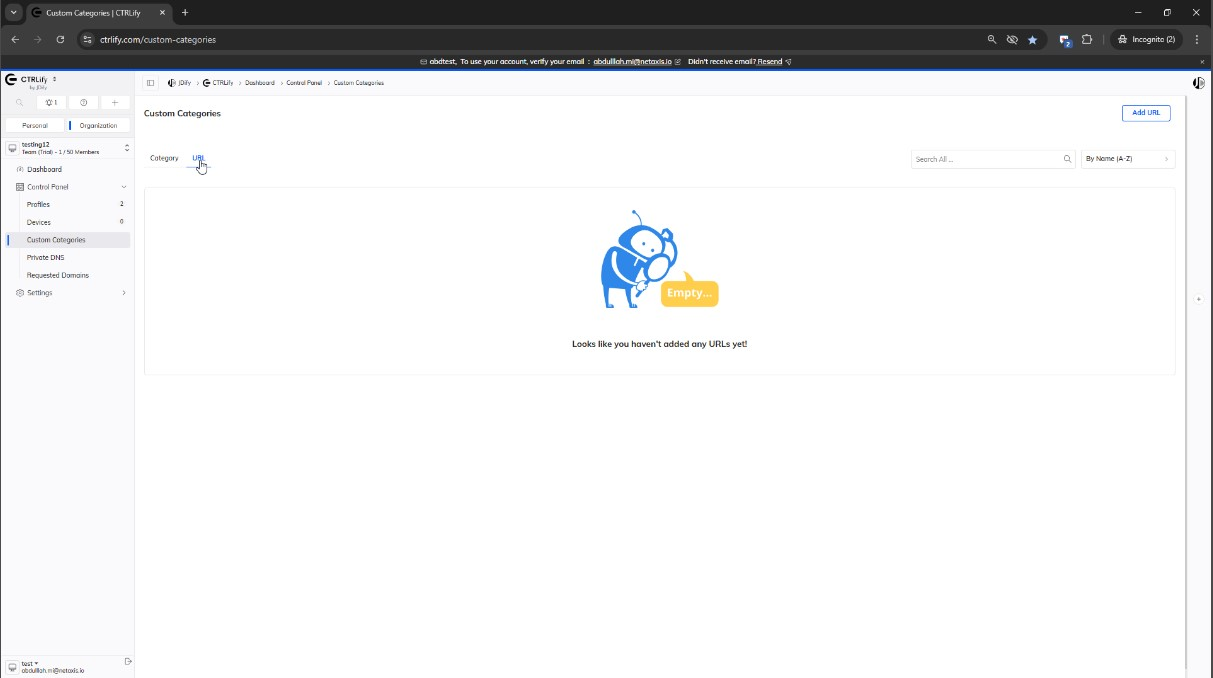
Step 6: Click URL on the top
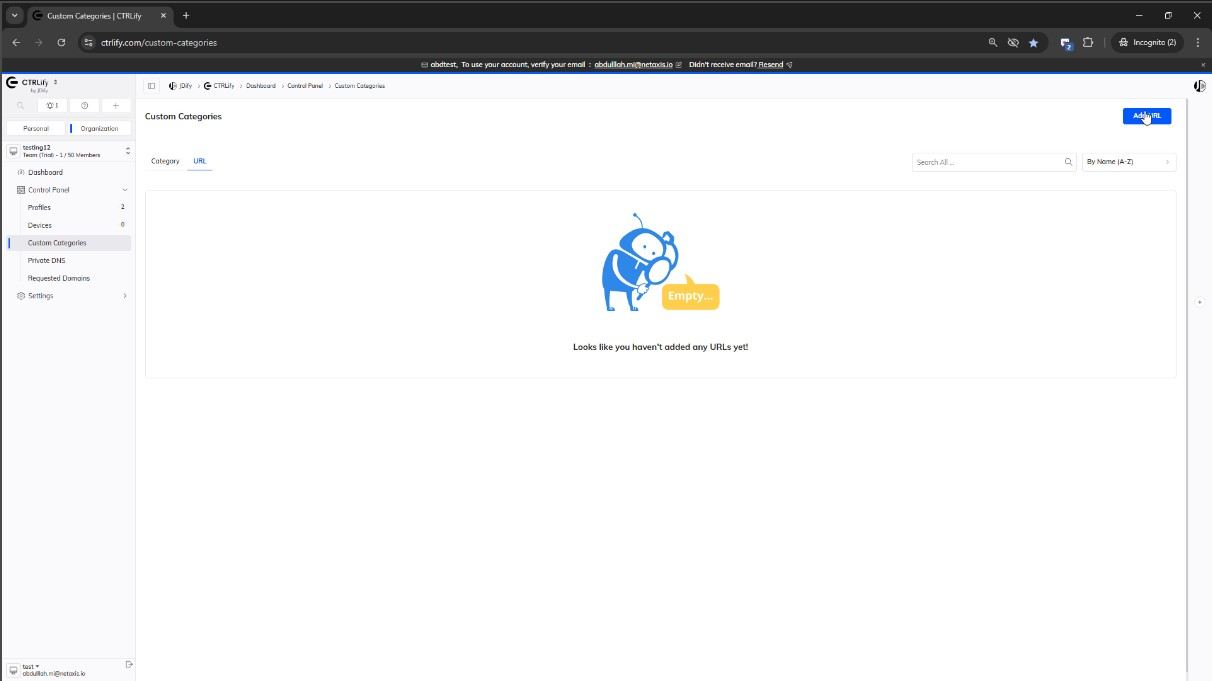
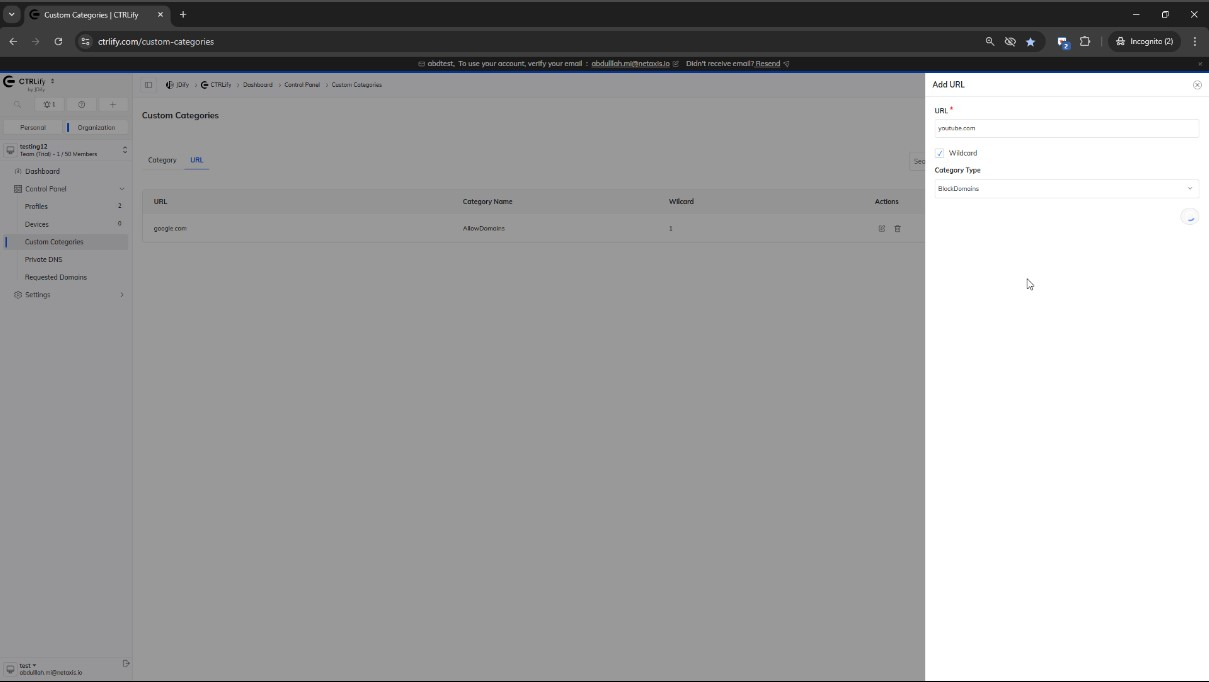
Step 7: Then click Add URL on the right top
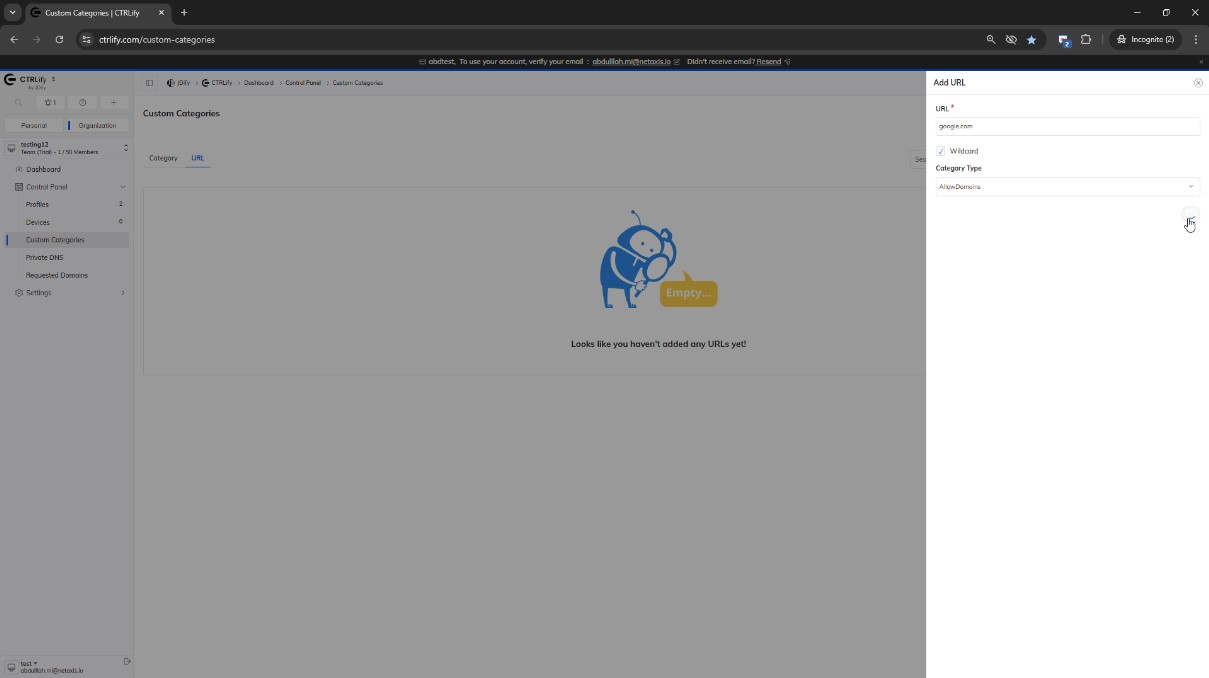
Step 8: Enter URL, tick the wildcard checklist if you need to allow wildcard for the entered domain and then select the Category type
Step 9: Again do the same procedure and add another URL in different Category type
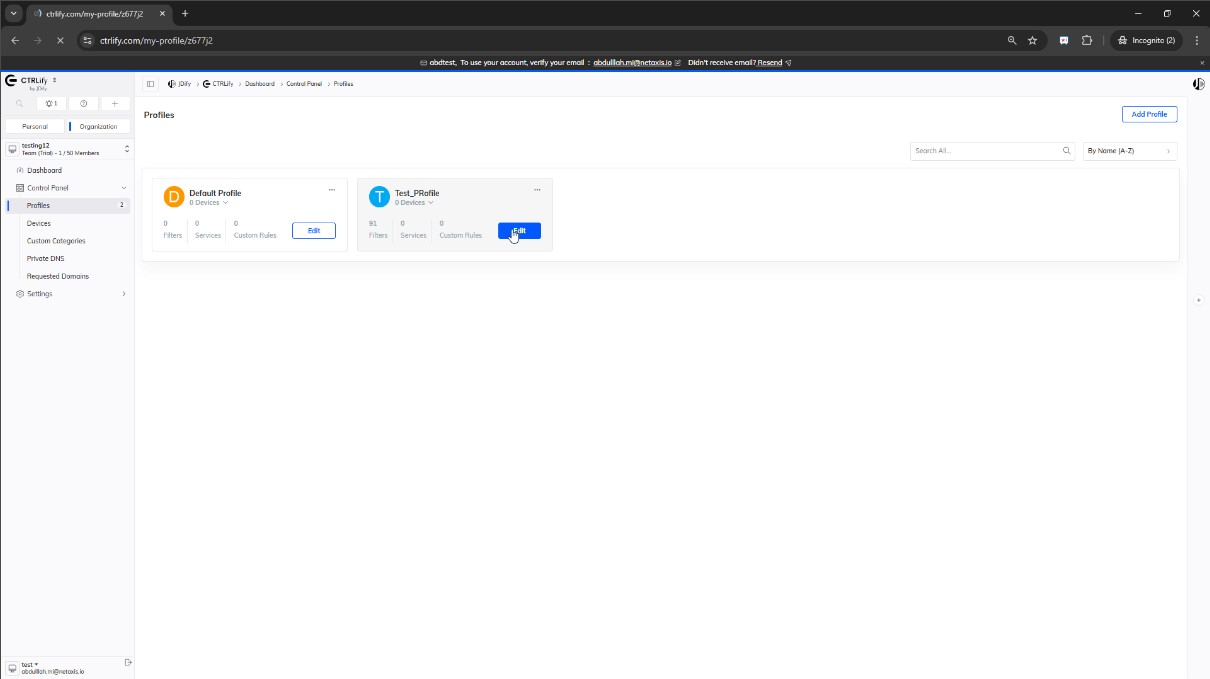
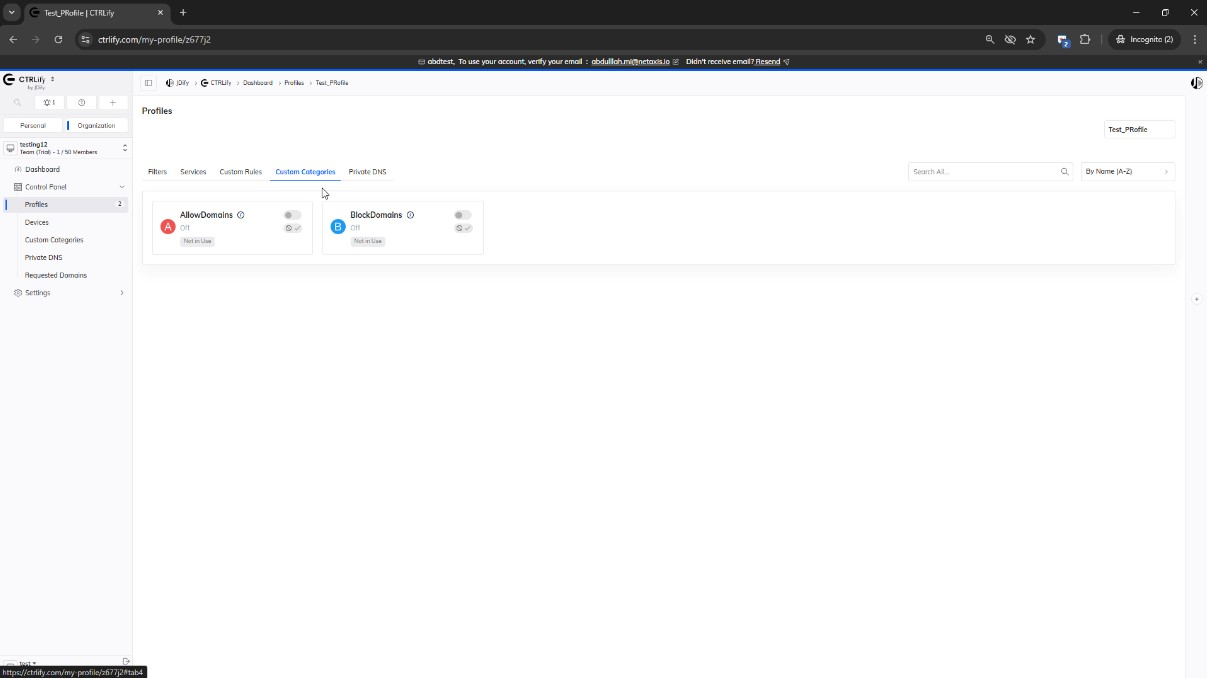
Step 10: Click Profiles on the left side panel
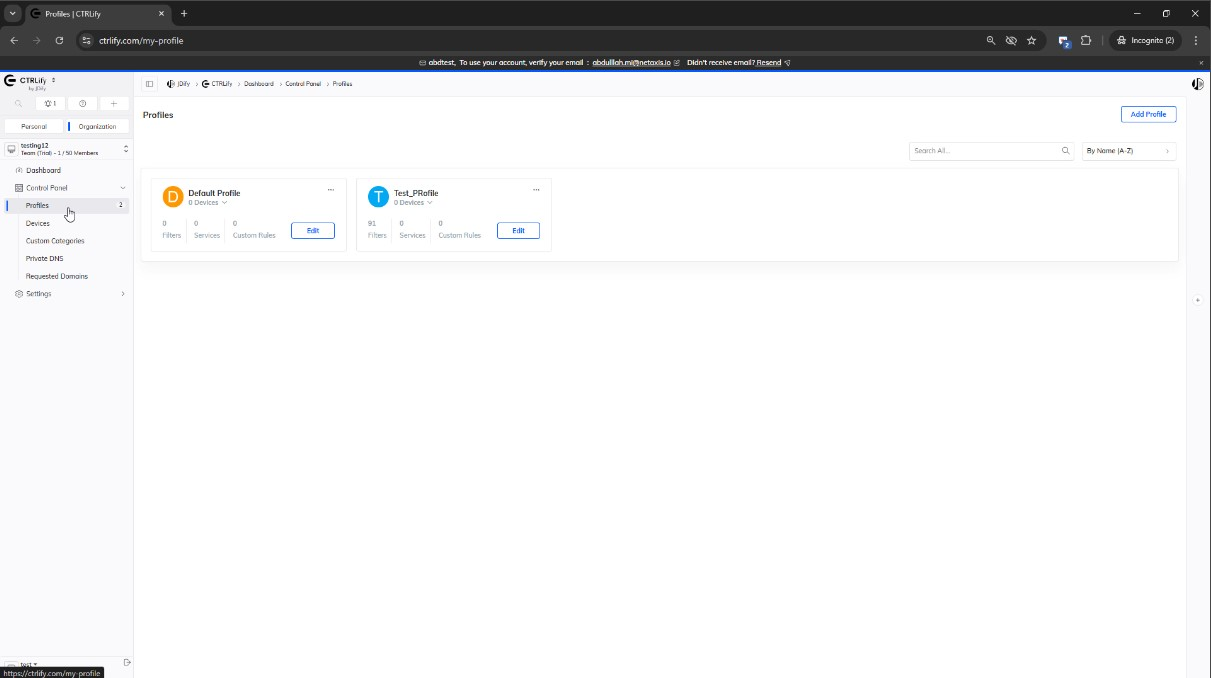
Step 11: Click Edit on the profile
Step 12: Then click custom categories on the top
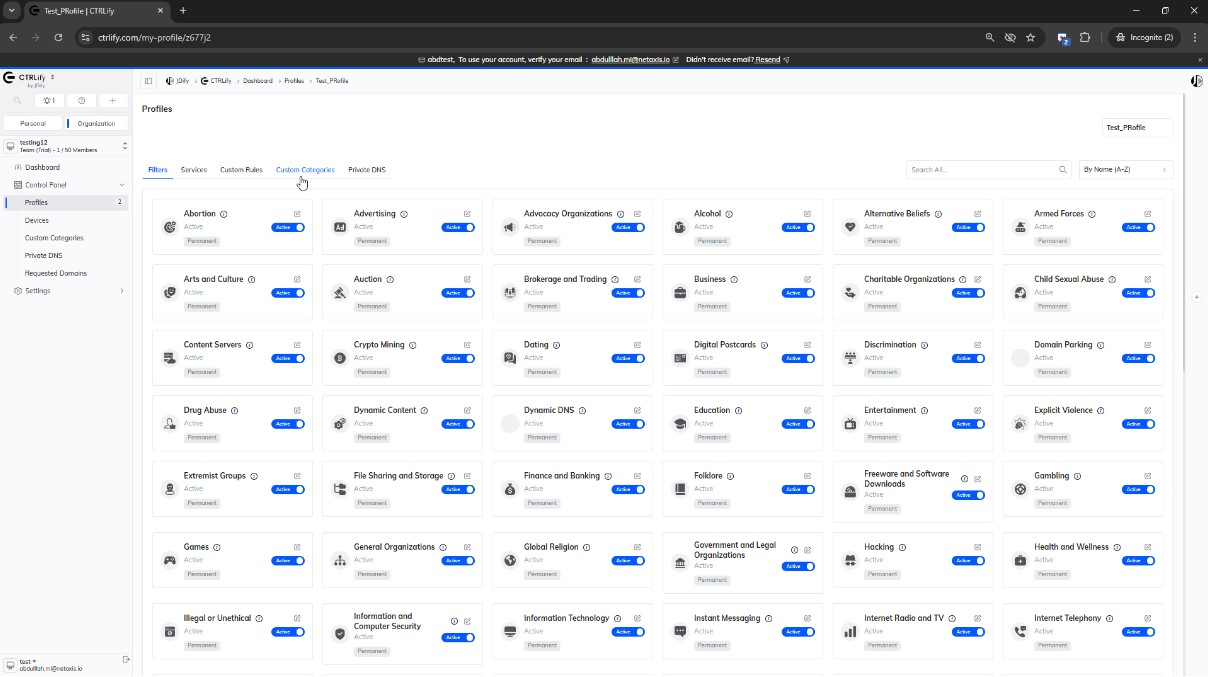
Step 13: Here it shows all the categories you created in the before steps
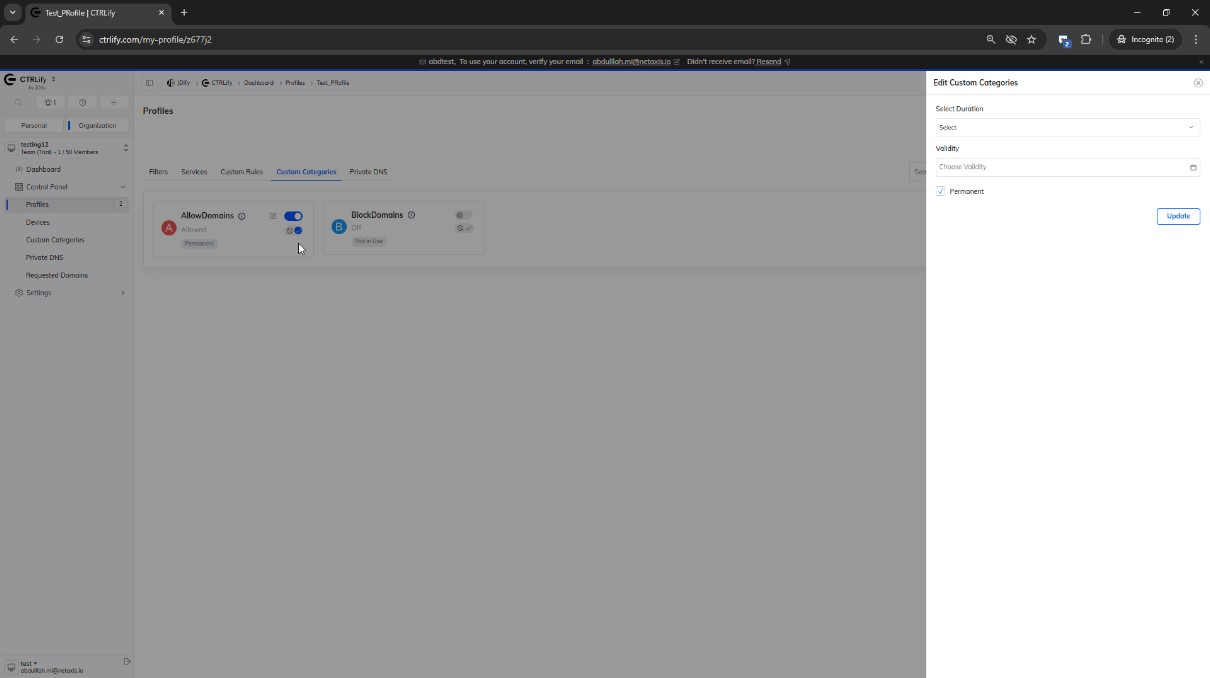
Step 14: Then you can enable the custom category and allow or block the list of domains. You can also set the Duration and validity here.
Conclusion:
We have reached the end of this article. In this guide, we have walked you through the steps required to create and use custom category on ctrlify. Your feedback is much welcome.
Comments ( 0 )
No comments available