How to create Client on Invoice Ninja
How to create Client on Invoice Ninja
In our previous article, we have seen the installation and configuration procedure of Invoice Ninja. Today you are going to be briefed about how to create client on Invoice Ninja. Invoice Ninja is a popular, open source application for invoicing, tracking time, expenses and accepting payments from customers. It supports 45 integrated payment gateways to send invoices to customers within seconds. It also sets invoice payment due dates, alerts when invoices are paid and easier tax settings. The customer can also print invoices and download them as PDF files.
The Modules availabe inside Invoice Ninja are as follows.
- Dashboard
- Clients
- Products
- Invoicing
- payments
- Recurring
- Credits
- Quotes
Now let us see the creation of a new client on Invoice Ninja.
Creation of a New Client - Procedure
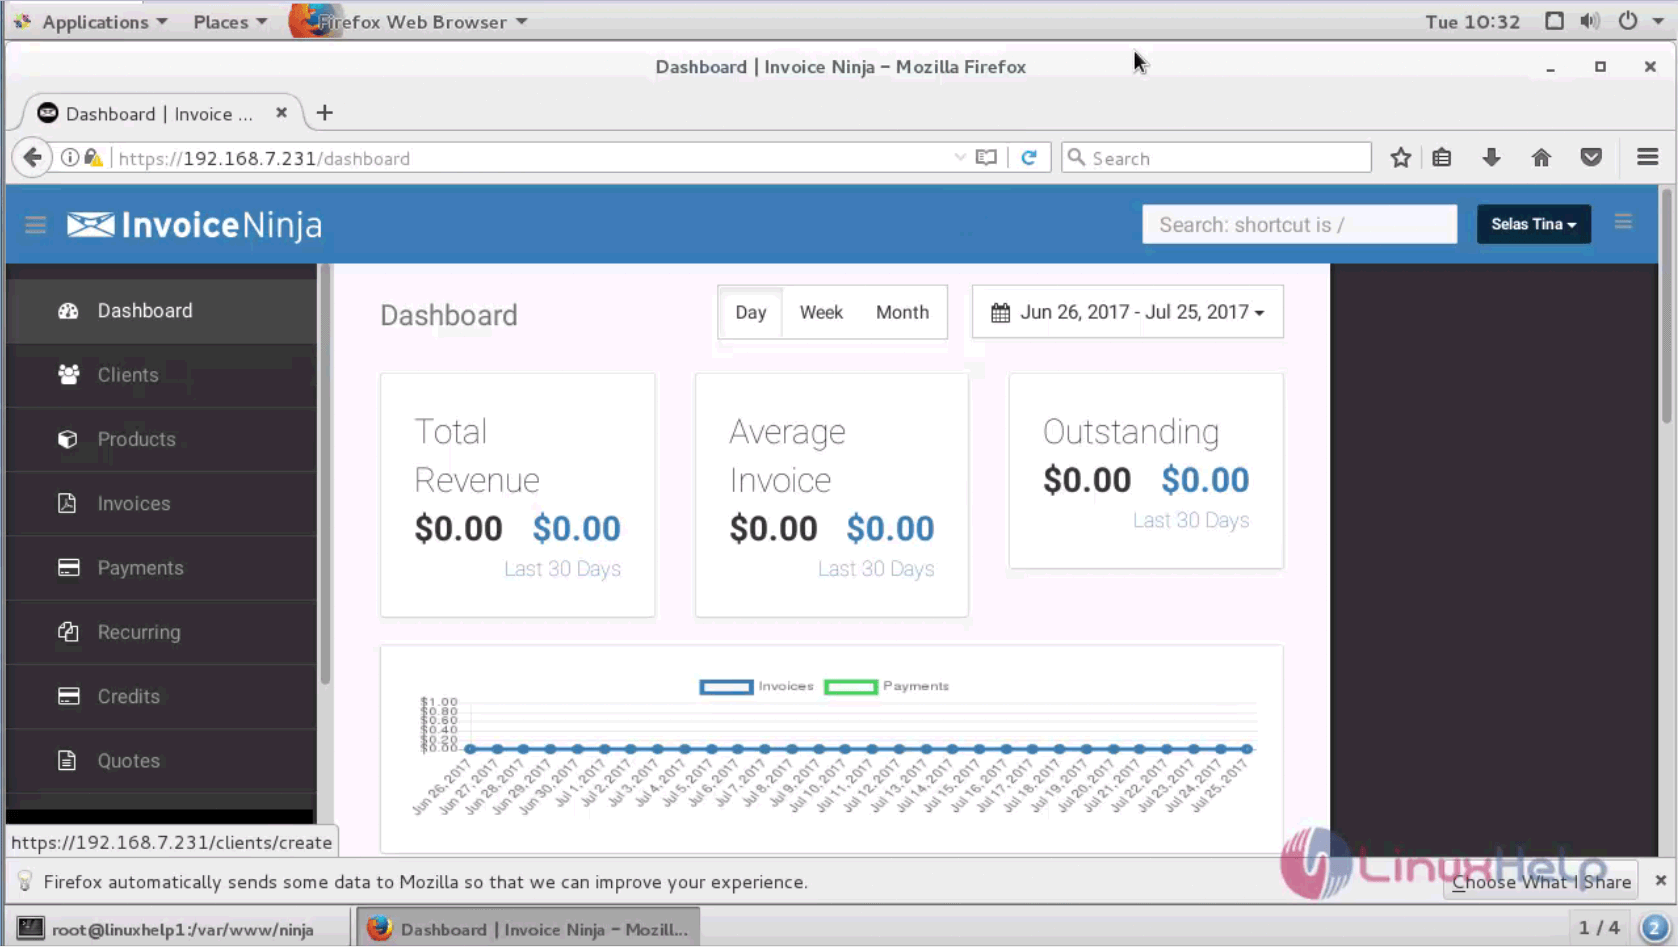
To create a new client, log in with your required credentials in Invoice Ninja. The dashboard comprises of the overview of total expenditure, Revenue and actions taken.
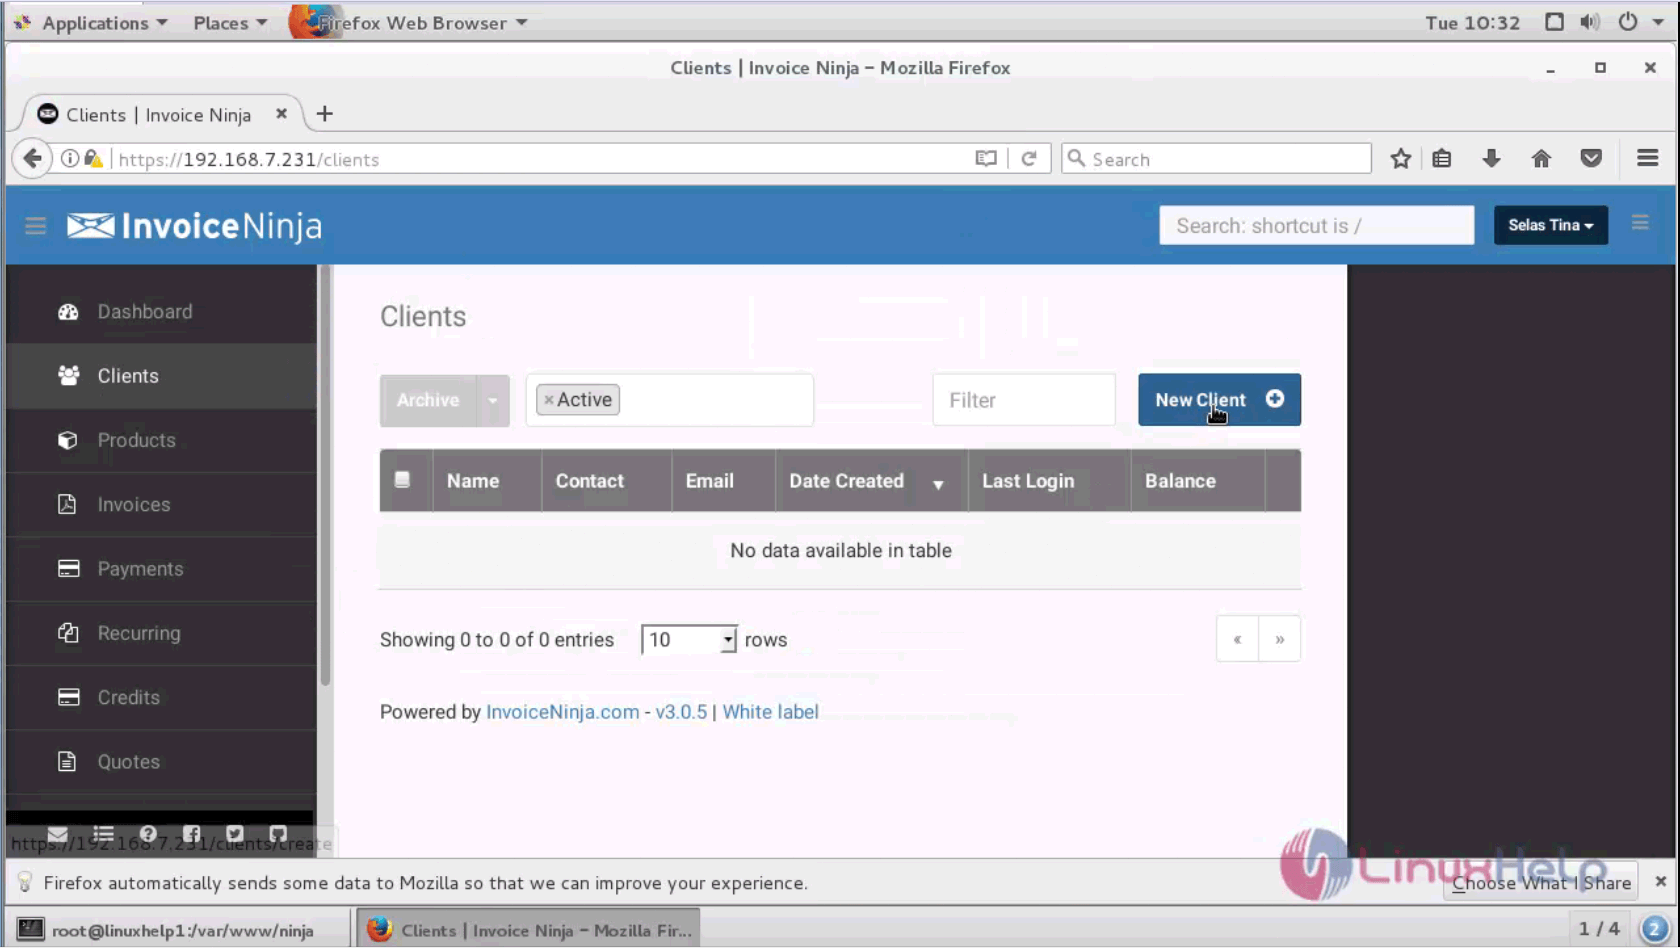
Go to client menu on the left pane and click create new client option.
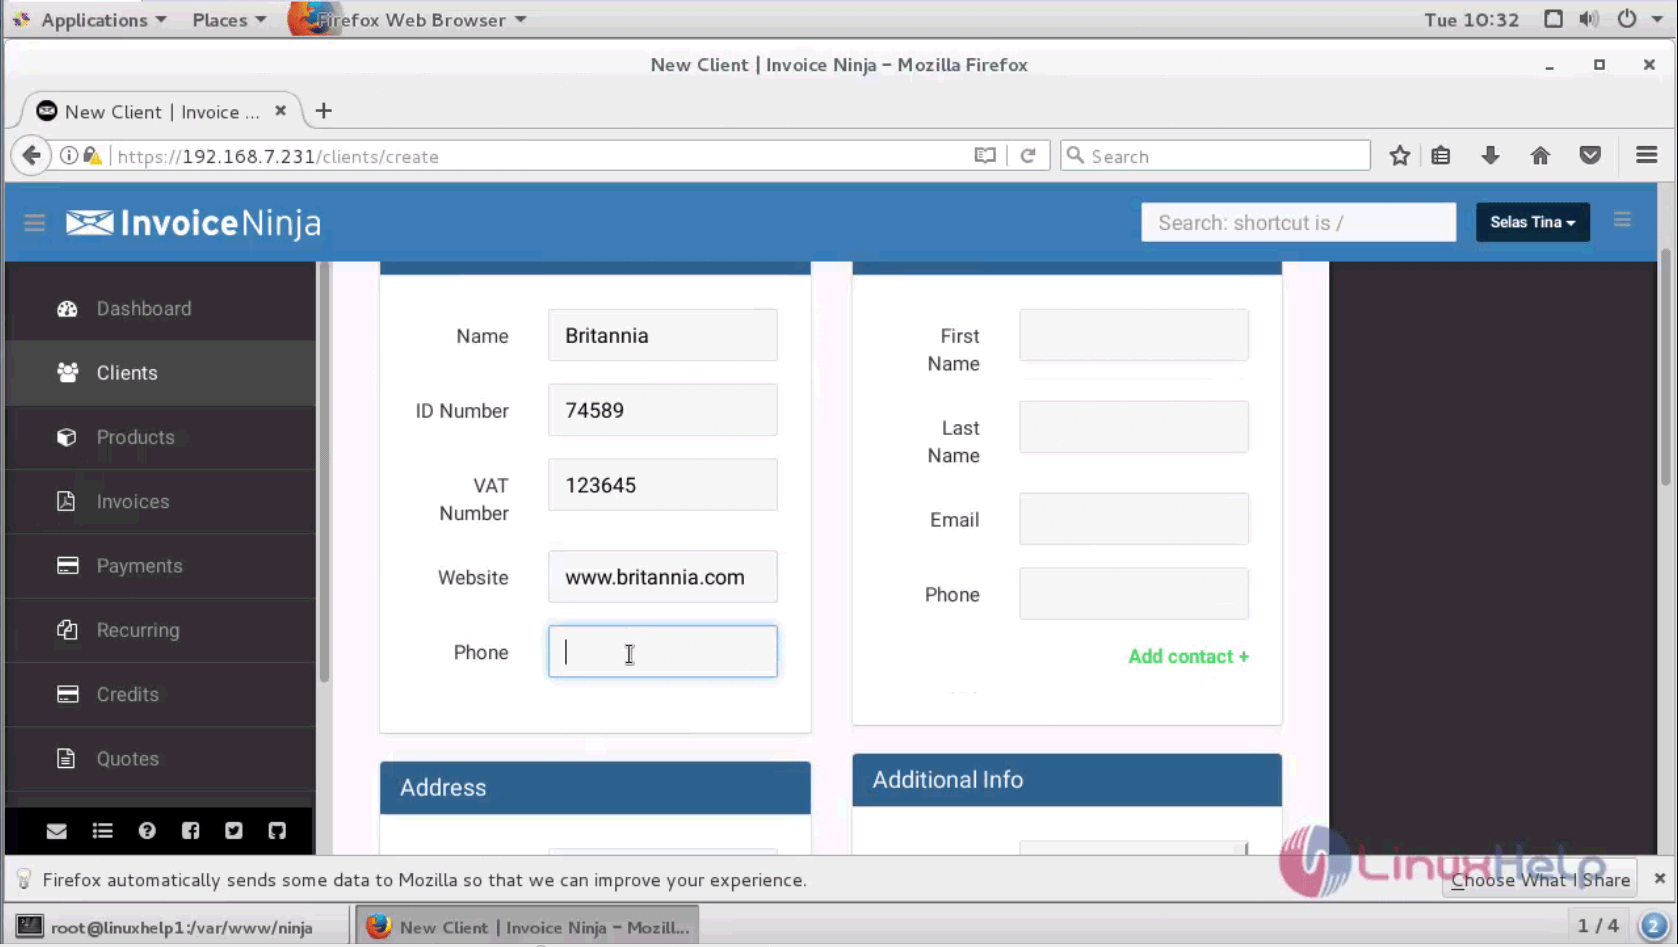
Next, provide the concerned client' s personal information like name, contact details, payment term and other relevant details.
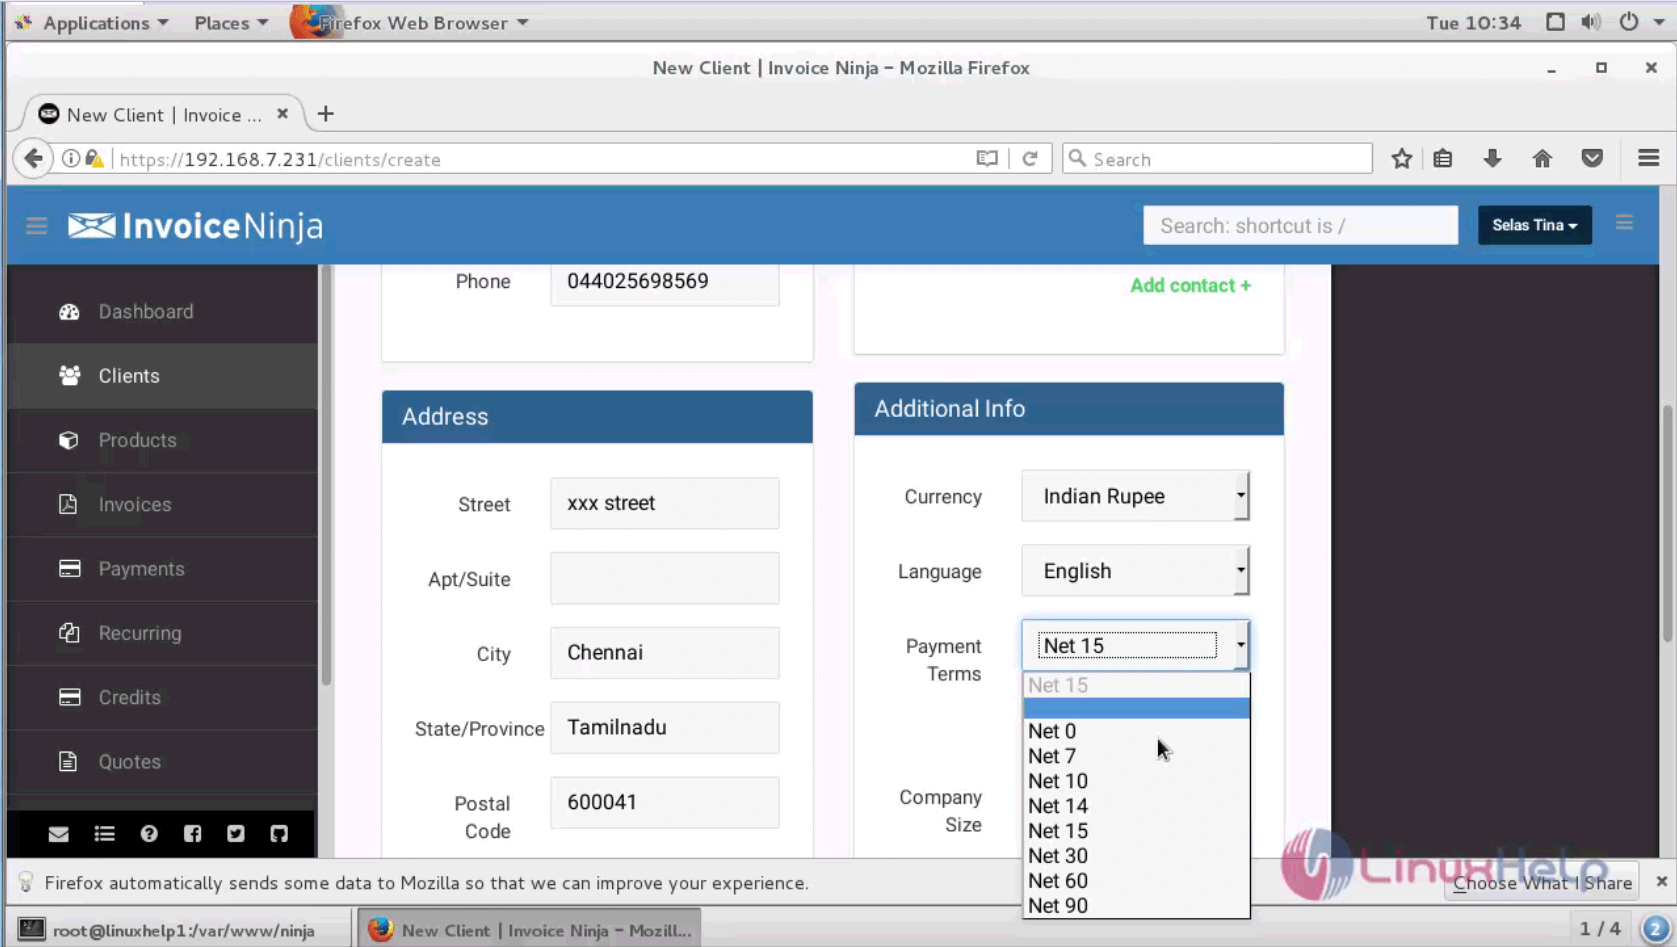
You can also give address of the client and the additional information as shown below.
Save the changes. A summary of the client' s details is shown on the screen. You can also edit the details by clicking Edit Client option.
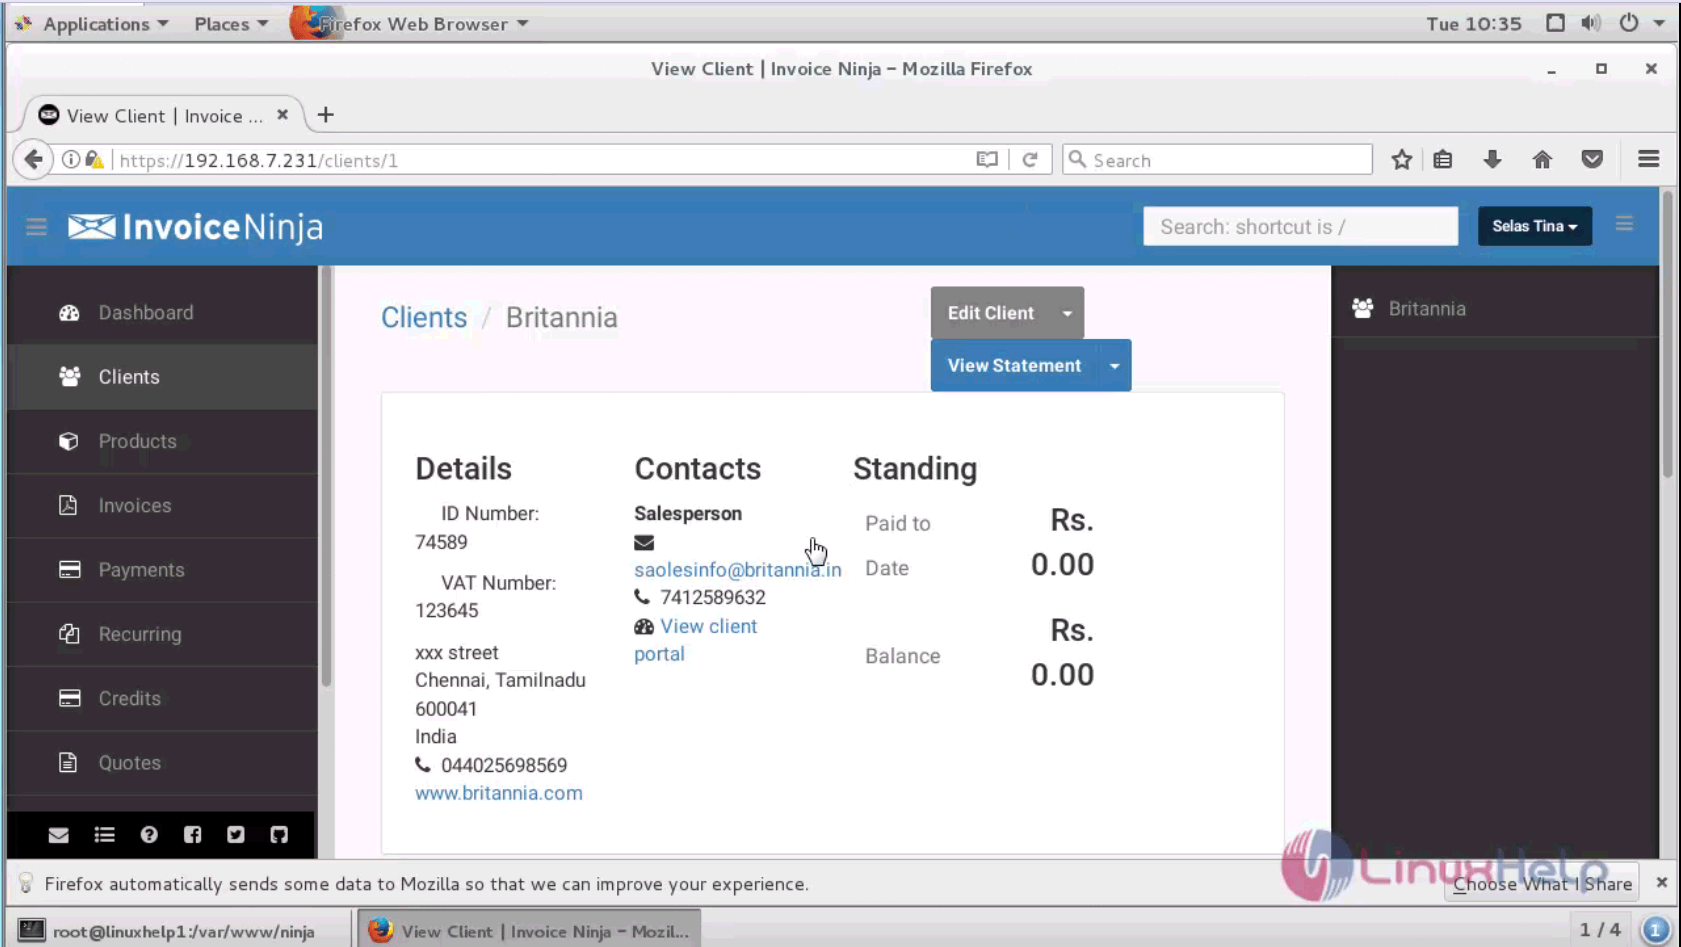
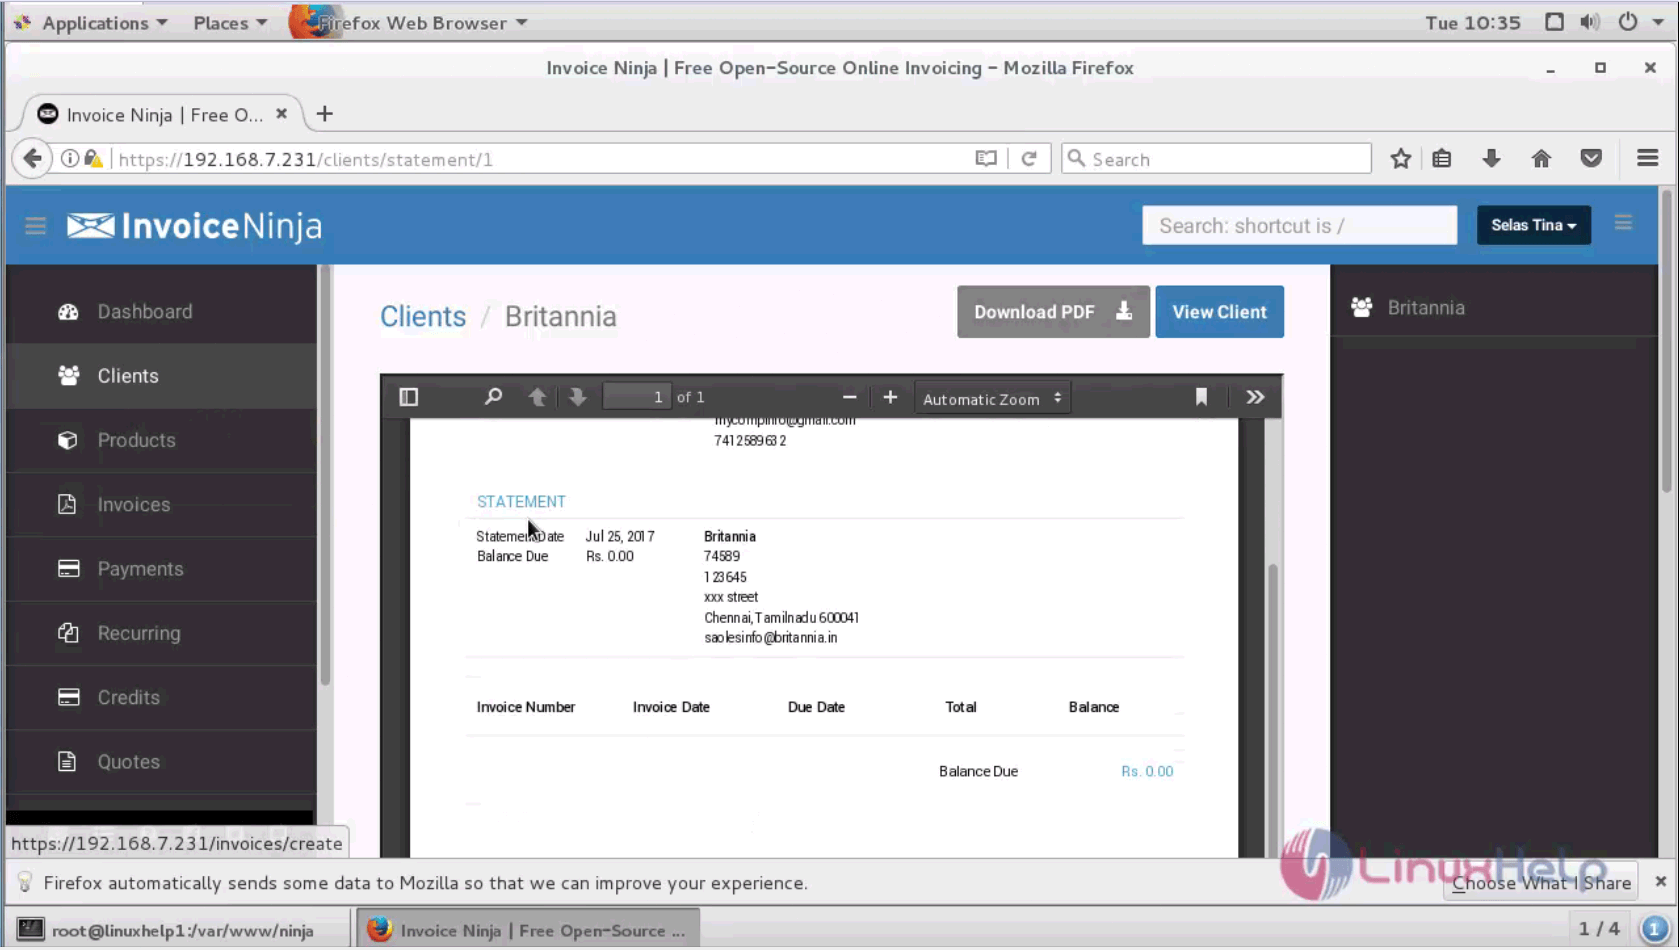
If all the information is given, click the View statement option to view the summary of the client along with the details given and other invoice details.
An Activity pane shows the activity log of the administrator creating a new client.
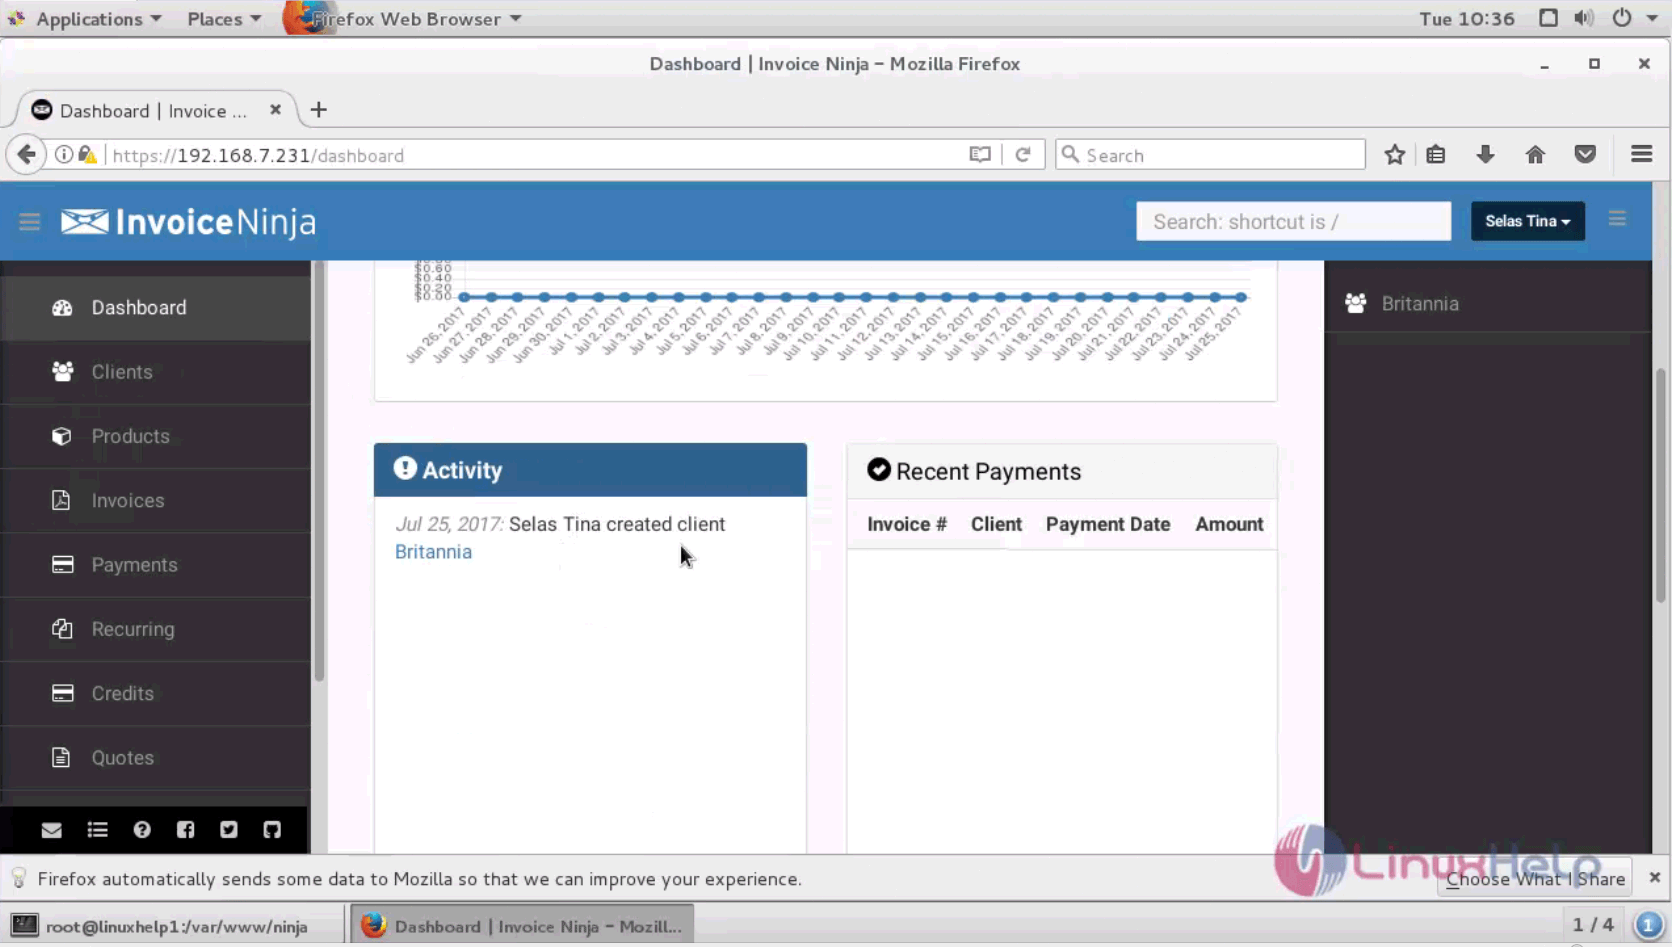
The client is created successfully on Invoice Ninja. Stay tuned to know about adding a product in Invoice Ninja in our upcoming article.
Comments ( 0 )
No comments available