How to Create Name-Based Virtual Host on Oracle Linux 8.5
- 00:35 cat /etc/os-release
- 00:50 yum install httpd -y
- 01:12 systemctl enable httpd
- 01:22 systemctl start httpd
- 02:08 mkdir /var/www/html/example1
- 02:22 mkdir /var/www/html/example2
- 02:35 vim /var/www/html/example1/index.html
- 03:12 vim /var/www/html/example2/index.html
- 03:52 vim /etc/httpd/conf.d/example1.conf
- 04:54 vim /etc/httpd/conf.d/example2.conf
- 05:58 chown -R apache:apache /var/www/html/example1
- 06:18 chown -R apache:apache /var/www/html/example2
- 06:32 chmod -R 775 /var/www/html/example1
- 06:54 chmod -R 775 /var/www/html/example2
- 07:15 systemctl restart httpd
To Create Name Based Virtual Host on Oracle Linux 8.5
Introduction:
Name-based virtual hosting uses the host name presented by the client. With the name based virtual hosting you can host several domains/websites on a single machine with a single IP.
Procedure:
Step 1: Check the Oracle Linux Version by using the below command
[root@localhost ~]# cat /etc/os-release
NAME="Oracle Linux Server"
VERSION="8.5"
ID="ol"
Step 2: Install the Apache Web Server by using the below command
[root@localhost ~]# yum install httpd -y
Last metadata expiration check: 0:04:11 ago on Sat 06 Aug 2022 01:43:04 AM IST.
Dependencies resolved.
=====================================================================================
 Package    Arch   Version                                       Repository         Size
=====================================================================================
Installing:
 httpd      x86_64 2.4.37-47.0.1.module+el8.6.0+20683+407db9f5.2 ol8_appstream     1.4 M


Installing dependencies:
httpd-filesystem
            noarch 2.4.37-47.0.1.module+el8.6.0+20683+407db9f5.2 ol8_appstream      41 k
 httpd-tools
            x86_64 2.4.37-47.0.1.module+el8.6.0+20683+407db9f5.2 ol8_appstream     108 k
 mod_http2  x86_64 1.15.7-5.module+el8.6.0+20548+01710940        ol8_appstream     154 k
 oracle-logos-httpd
Complete!
Step 3: Enable, Start and Check the Status of Apache by using the below command
[root@localhost ~]# systemctl enable httpd
Created symlink /etc/systemd/system/multi-user.target.wants/httpd.service → /usr/lib/systemd/system/httpd.service.

[root@localhost ~]# systemctl start httpd

[root@localhost ~]# systemctl status httpd
● httpd.service - The Apache HTTP Server
   Loaded: loaded (/usr/lib/systemd/system/httpd.service; enabled; vendor preset: disabl>
   Active: active (running) since Sat 2022-08-06 01:47:44 IST; 6s ago
Step 4: Create Directory for Example1 and Example2 by using the below command
[root@localhost ~]# mkdir /var/www/html/example1
[root@localhost ~]# mkdir /var/www/html/example2
Step 5: Create html file for Example1 and Example 2 by using the below command
[root@localhost ~]# vim /var/www/html/example1/index.html
This is Example1.com
[root@localhost ~]# vim /var/www/html/example2/index.html
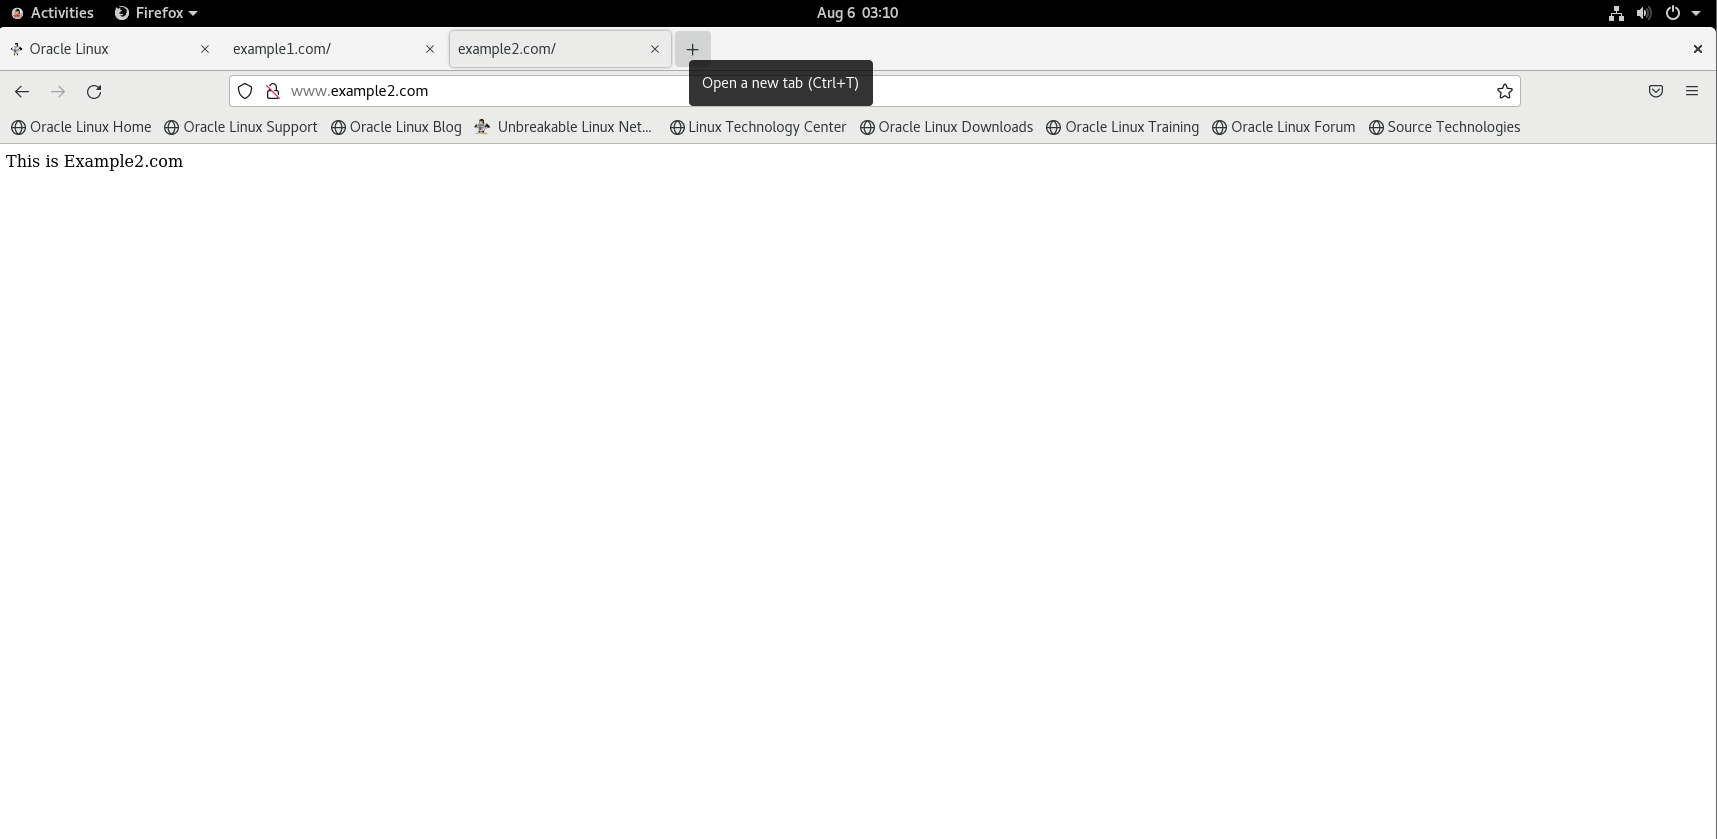
This is Example2.com
Step 6: Create Virtual host for Example 1 and Example 2 by using the below command
[root@localhost ~]# vim /etc/httpd/conf.d/example1.conf
<virtualhost *:80>
servername www.example1.com
documentroot /var/www/html/example1/
</virtualhost>
[root@localhost ~]# vim /etc/httpd/conf.d/example2.conf
<virtualhost *:80>
servername www.example2.com
documentroot /var/www/html/example2/
</virtualhost>
Step 7: Grant Permission and Ownership by using the below command.
[root@localhost ~]# chown -R apache:apache /var/www/html/example1
[root@localhost ~]# chown -R apache:apache /var/www/html/example2

[root@localhost ~]# chmod -R 775 /var/www/html/example1
[root@localhost ~]# chmod -R 775 /var/www/html/example2
Step 8: Restart apache by using the following command
[root@localhost ~]# systemctl restart httpd
Step 9: Open the Browser and Enter the Server name as shown in the below images.

Conclusion:
We have reached the end of this article. In this guide, we have walked you through the steps required to Create Name Based Virtual Host on Oracle Linux 8.5. Your feedback is much welcome.
Comments ( 0 )
No comments available