How to create vApp in Xenserver
To create vApp in Xenserver
vApp is a logical group of one or more related virtual machines (VMs) which can be managed as a single entity. The VMs within a vApp do not have to reside on one host server and will be distributed within a pool using the normal rules.
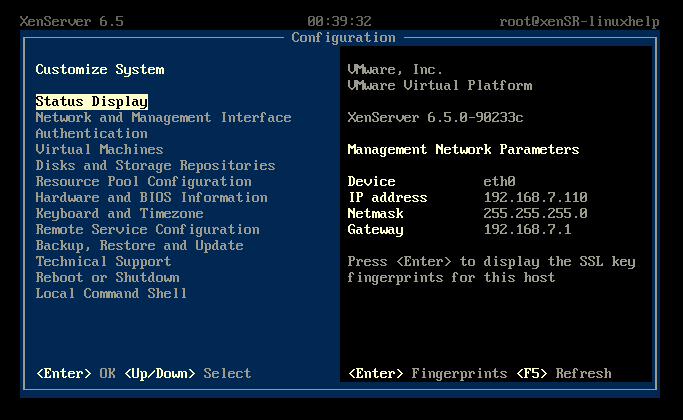
Start your xenserver.
Open xencenter tool and connect to Xenserver.
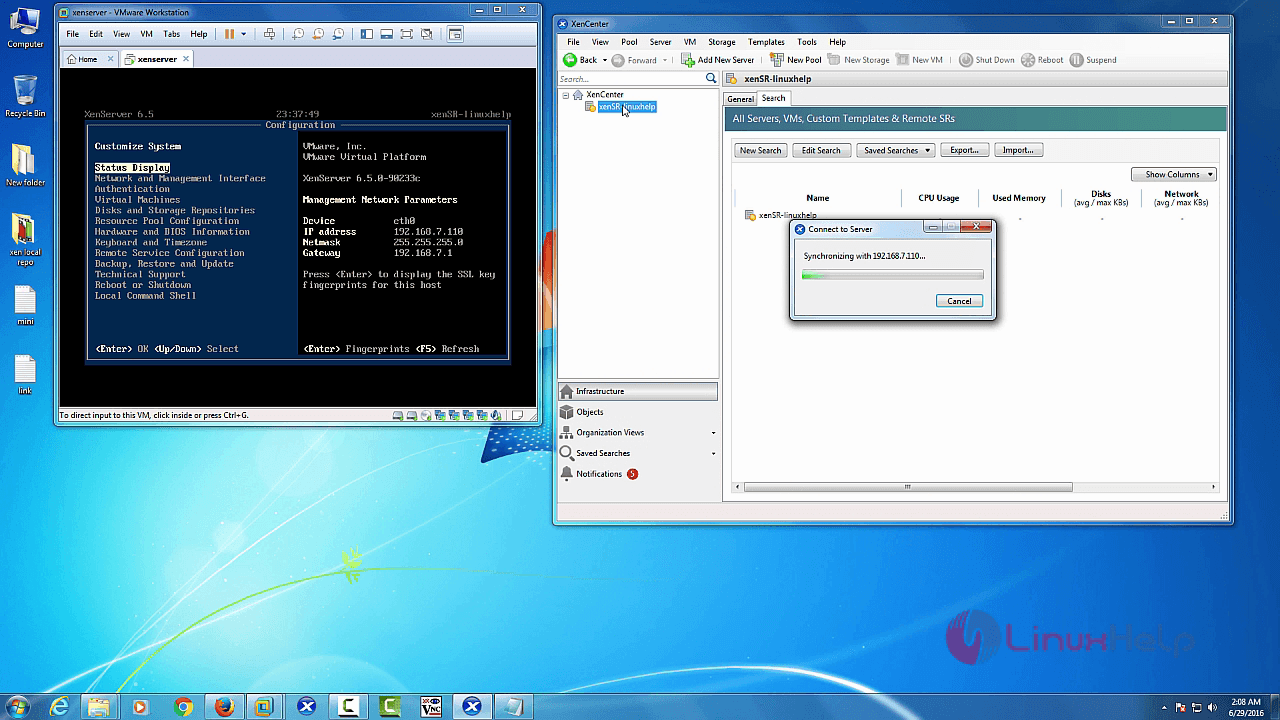
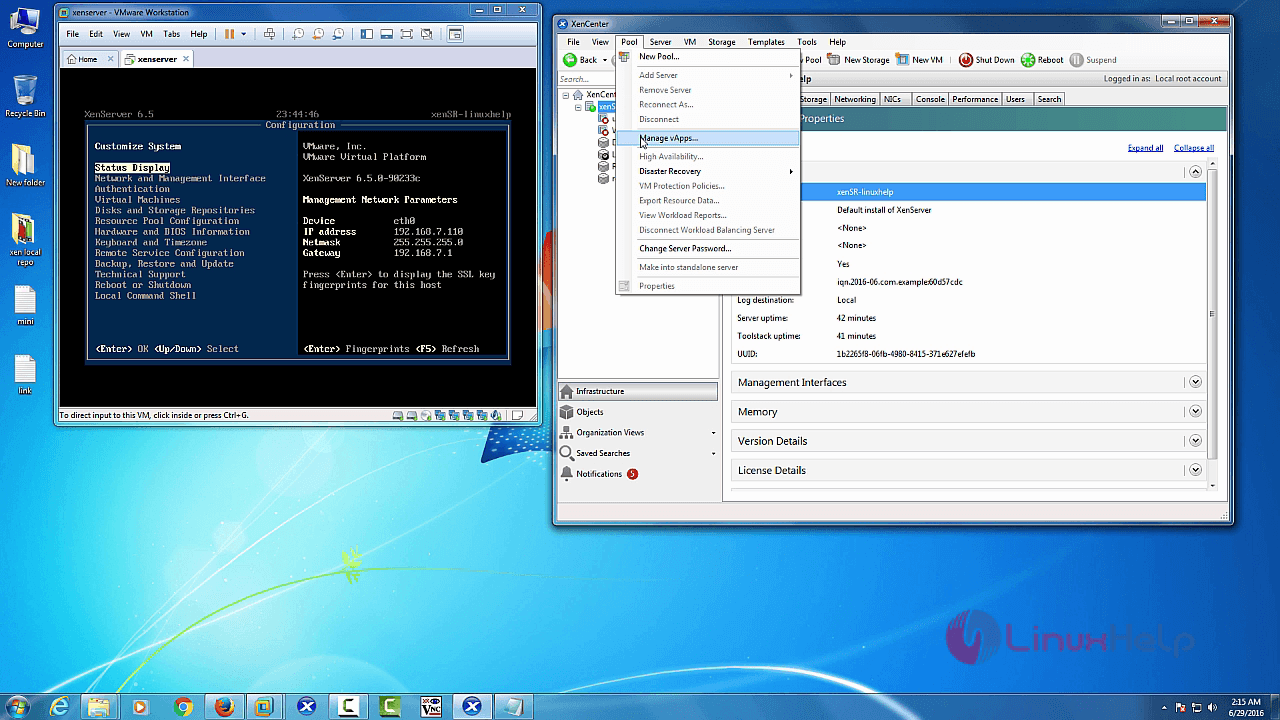
Select “ Pool” in xencenter menu bar and choose “ Manage vApps”

Now you can get “ Manage vApps” wizard.
Select “ New vApp” menu bar.

Enter vApp “ Name” and click “ Next” .

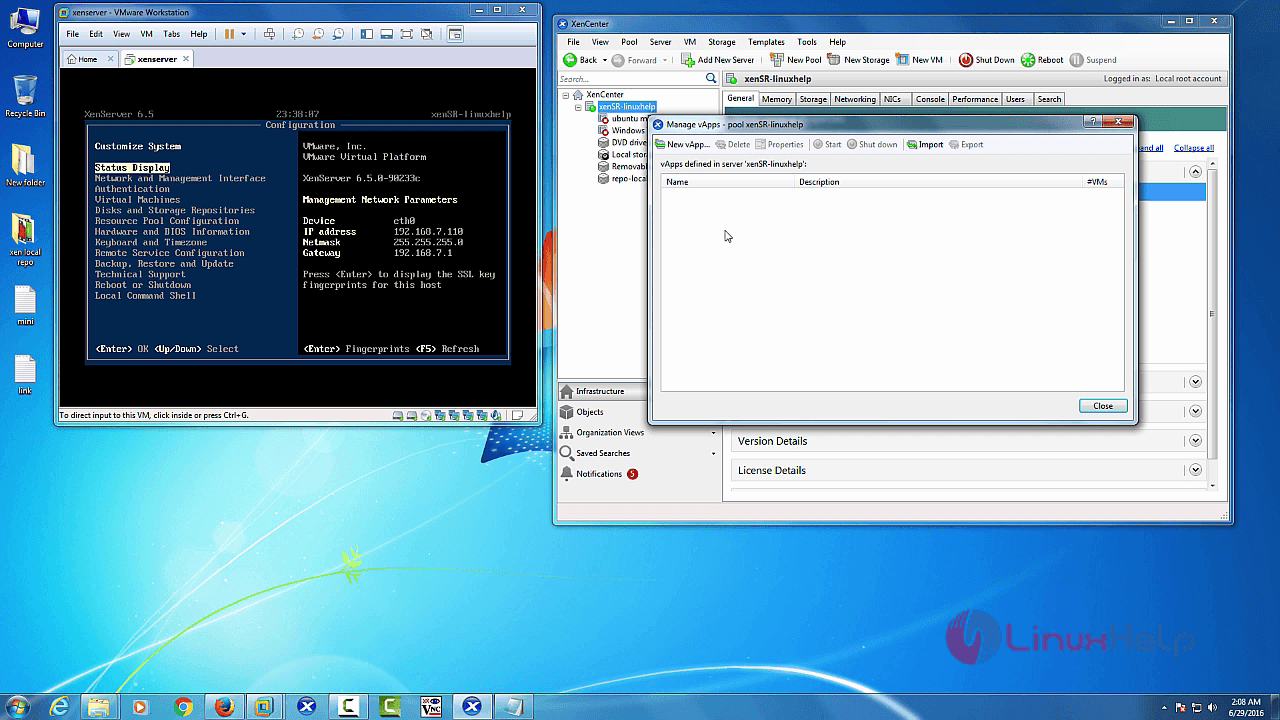
Select “ Virtual machines” and click “ next”
Then set “ VM startup sequence” and click “ Next” .

Check your configuration and click “ Finish” .

Now vApp is created successfully.
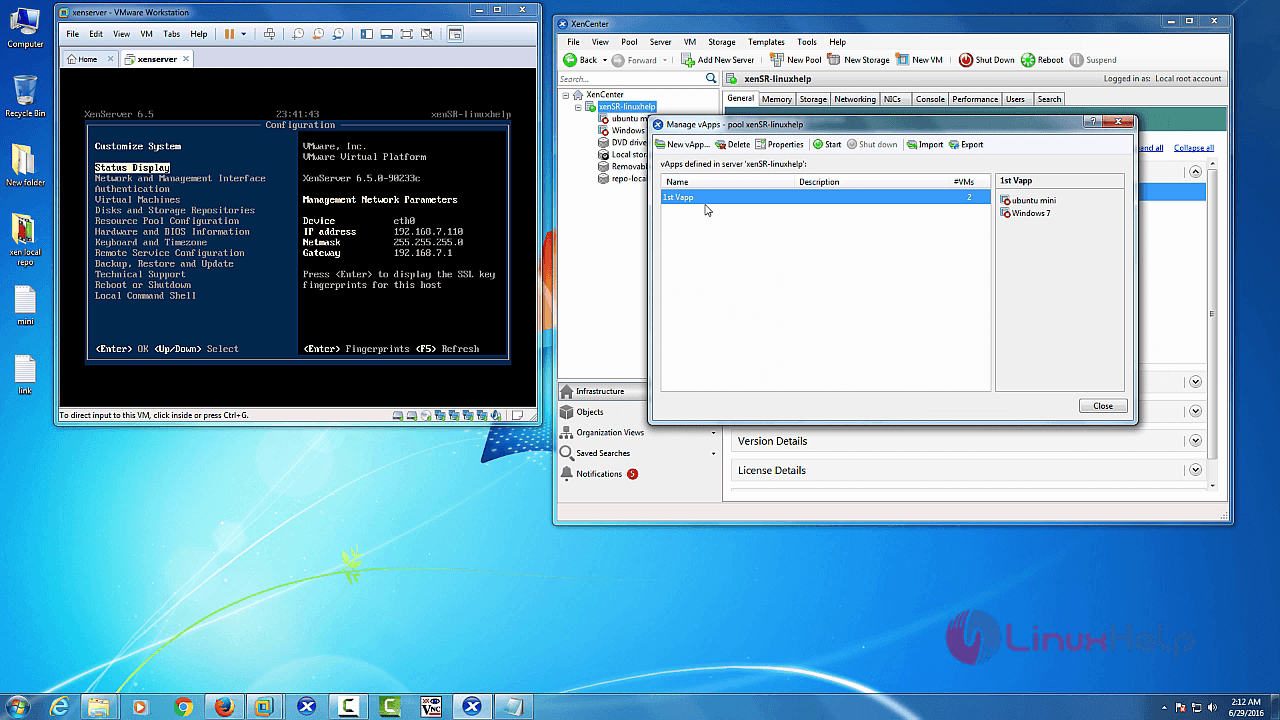
Click “ Properties” in vApp menu bar, to view multiple options in vApp.

Next click start.

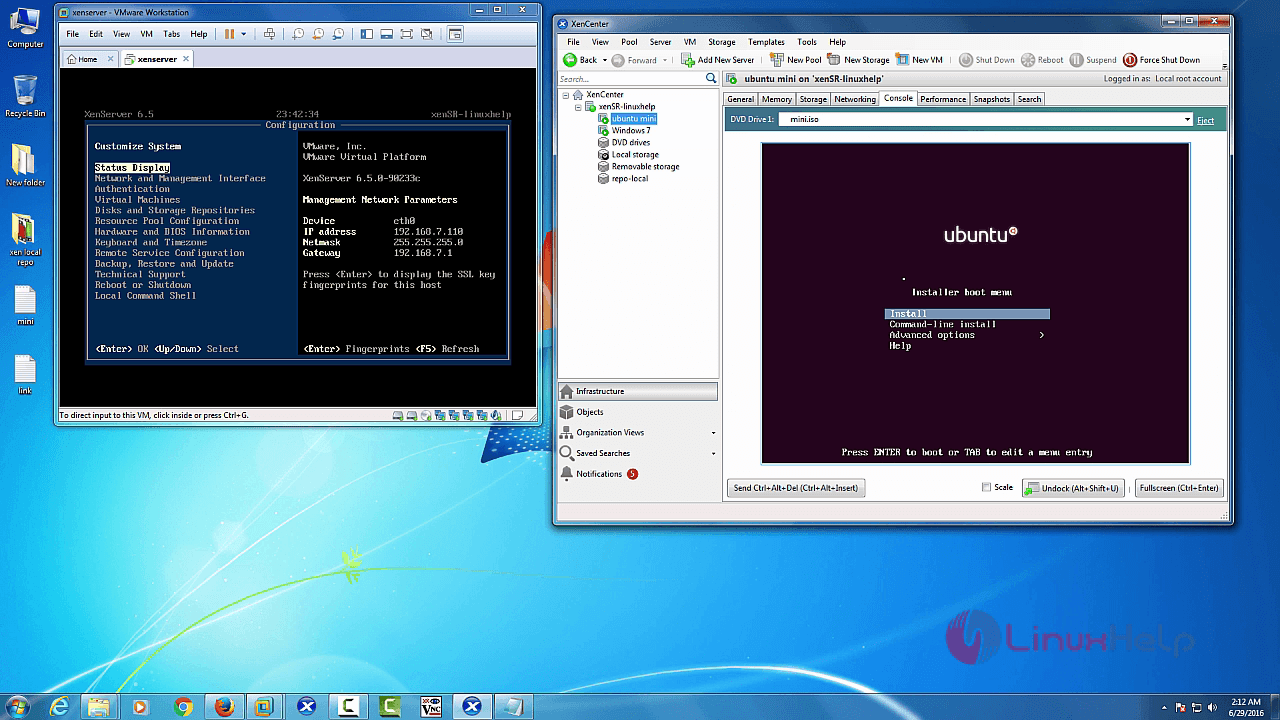
Select the respective VM and choose console tabs to check the VM is running.
VM: Ubuntu mini
VM : windows 7

Delete vApps:
Select “ Pool” and choose “ Manage vApps”
Then select “ vAapp” and click “ delete” in vApp menu bar.

Confirmation message box will appear as shown below.
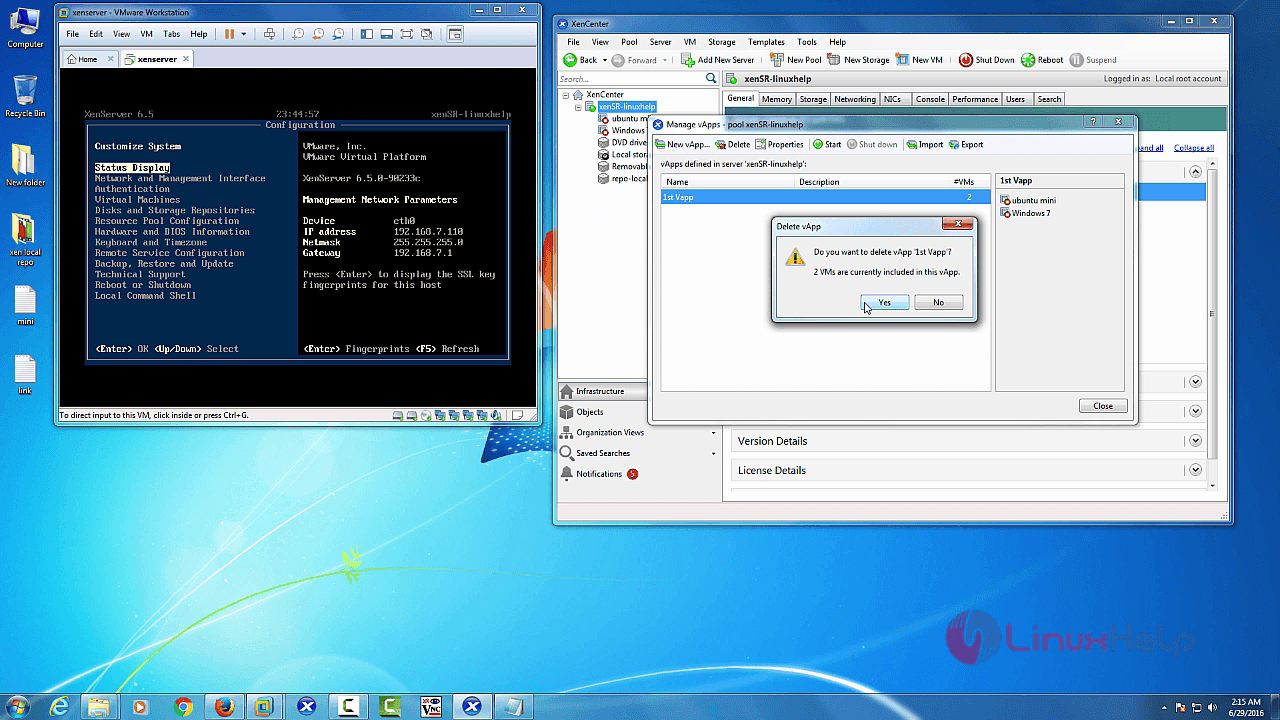
Click “ Yes” to delete the respective vApps.
Comments ( 0 )
No comments available