How to install and configure Nessus Vulnerability in Ubuntu
To install and configure Nessus Vulnerability Scanner in Ubuntu
Nessus is a free source remote security scanning tool, that scans a computer. It alerts the system and discovers any vulnerabilities found in the system. It also discovers any malicious hackers who could gain access to any computer you have connected to a network. During the scanning process it does 1200 checks on a given computer. In this article, the installation of Nessus Vulnerability Scanner in Ubuntu is covered.
To install Nessus Vulnerability Scanner
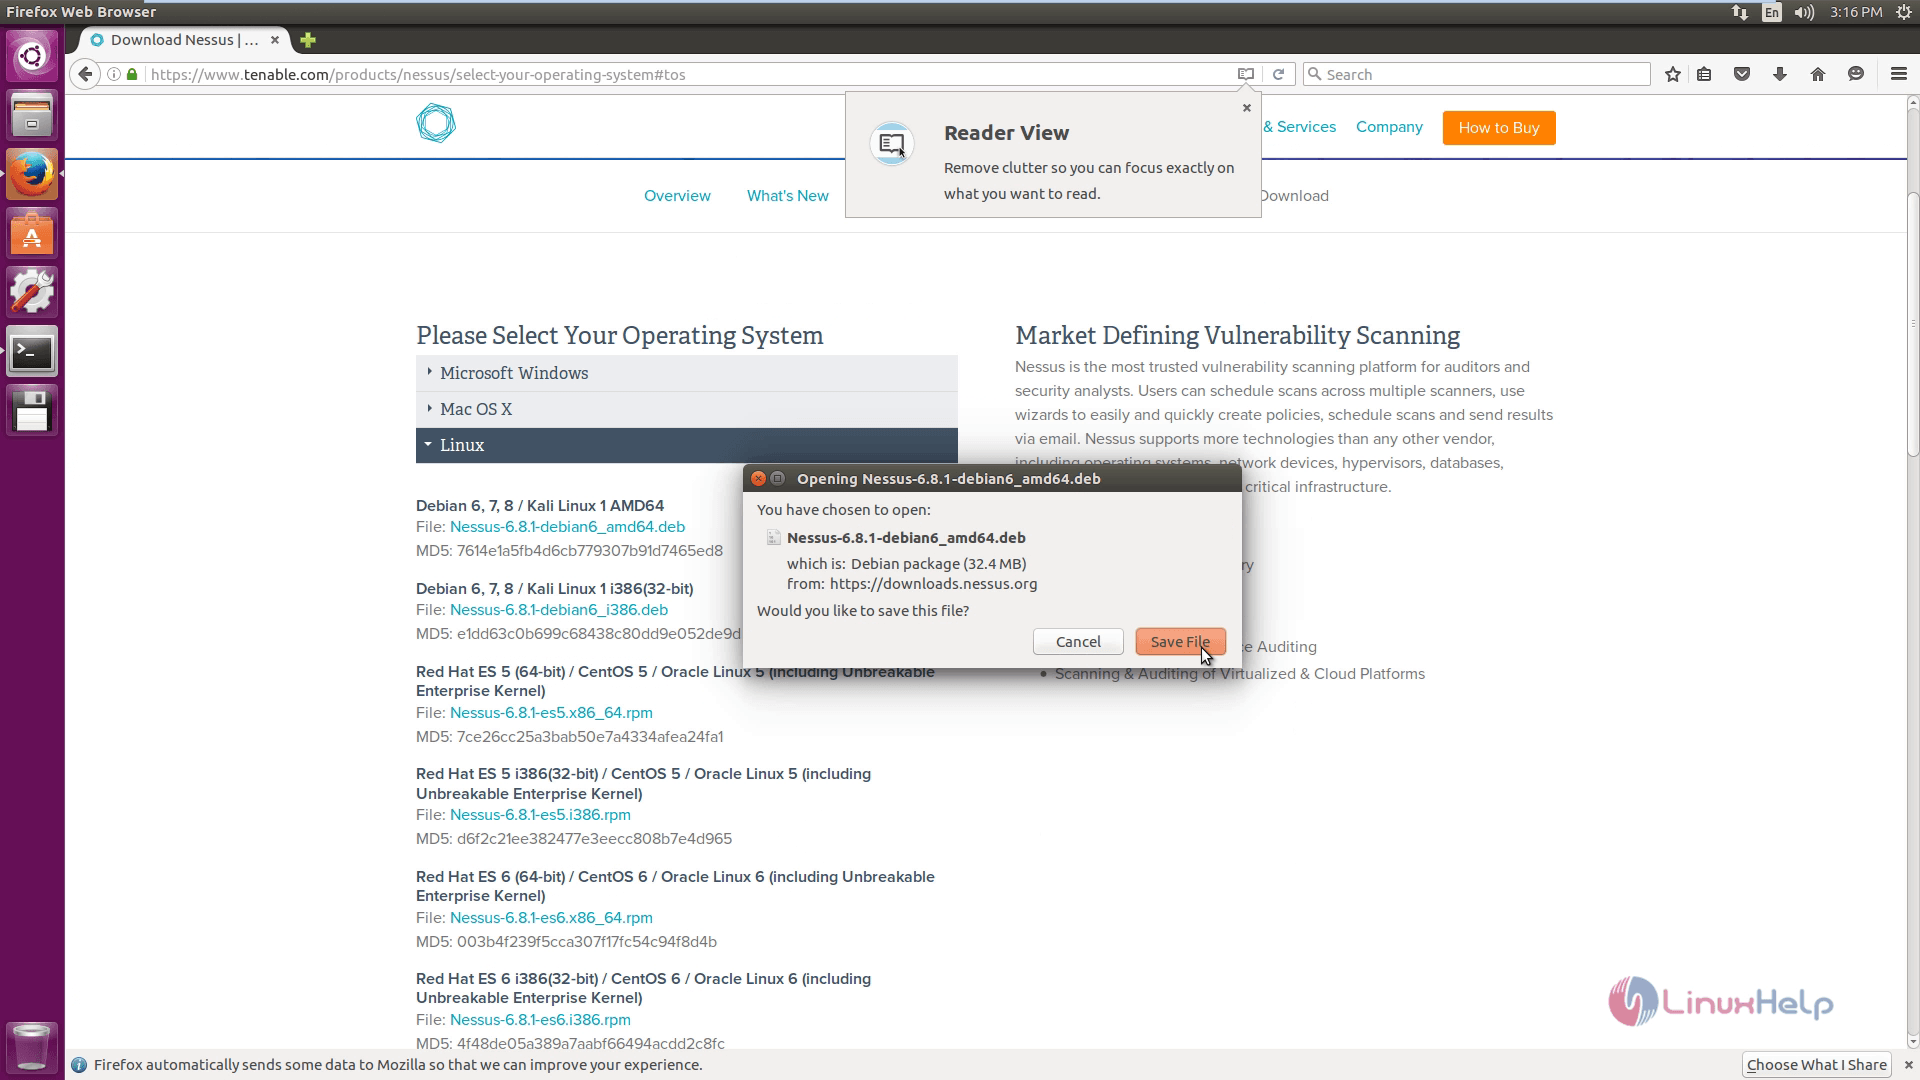
Download the Nessus Vulnerability Scanner installation package.
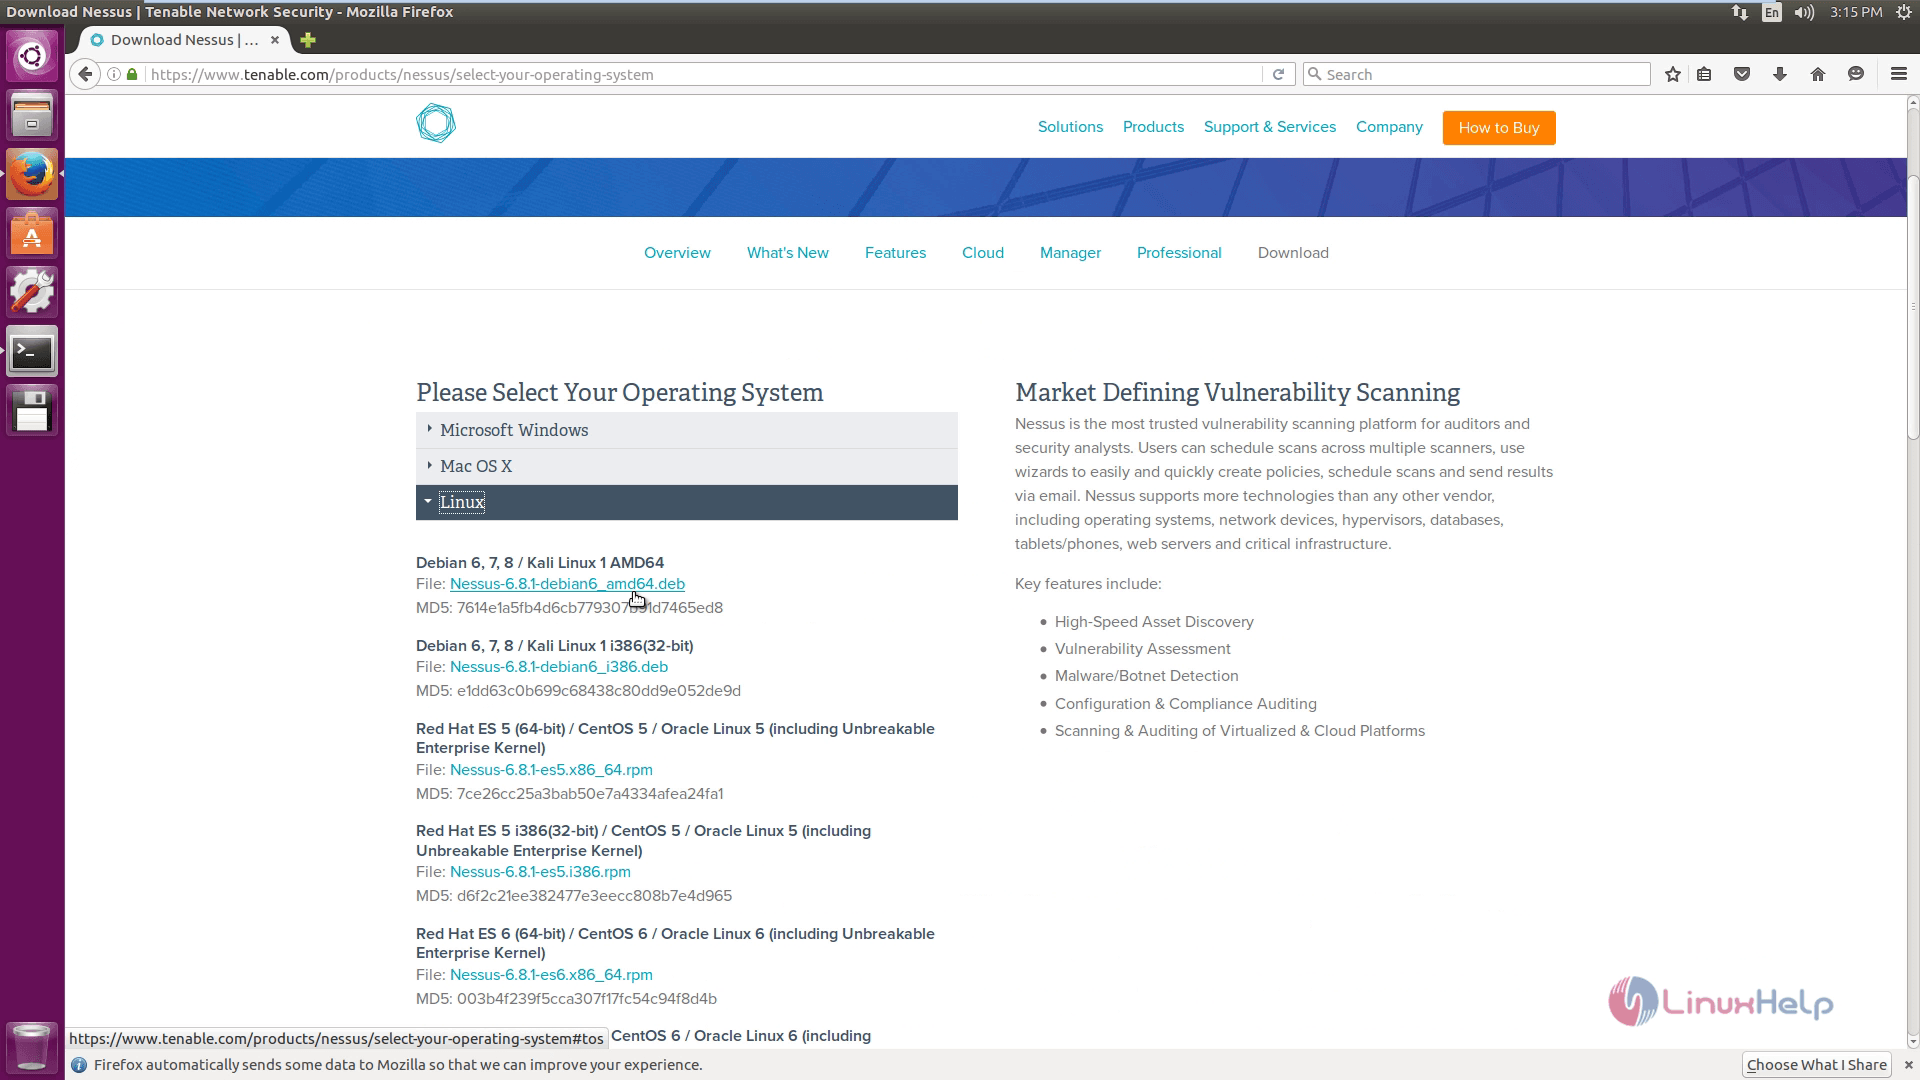
Agree the subscription agreement and click save file.
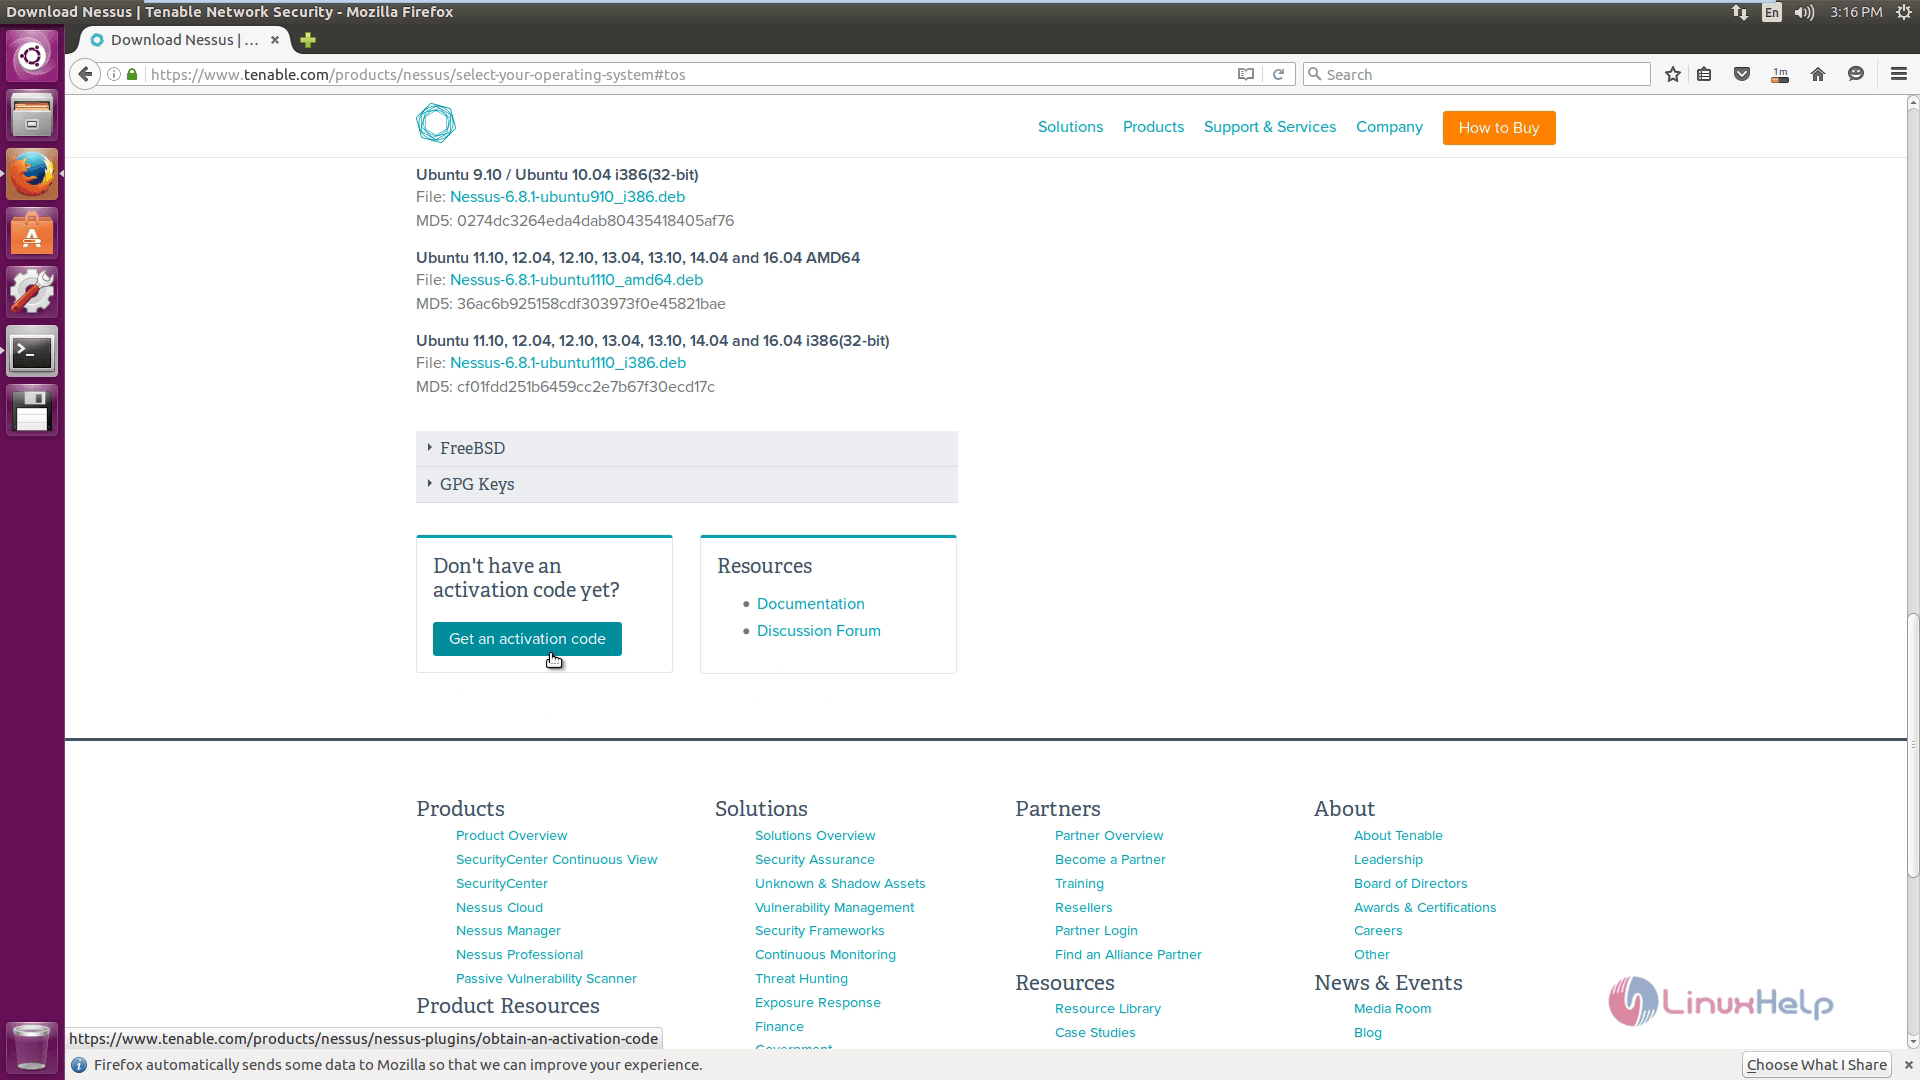
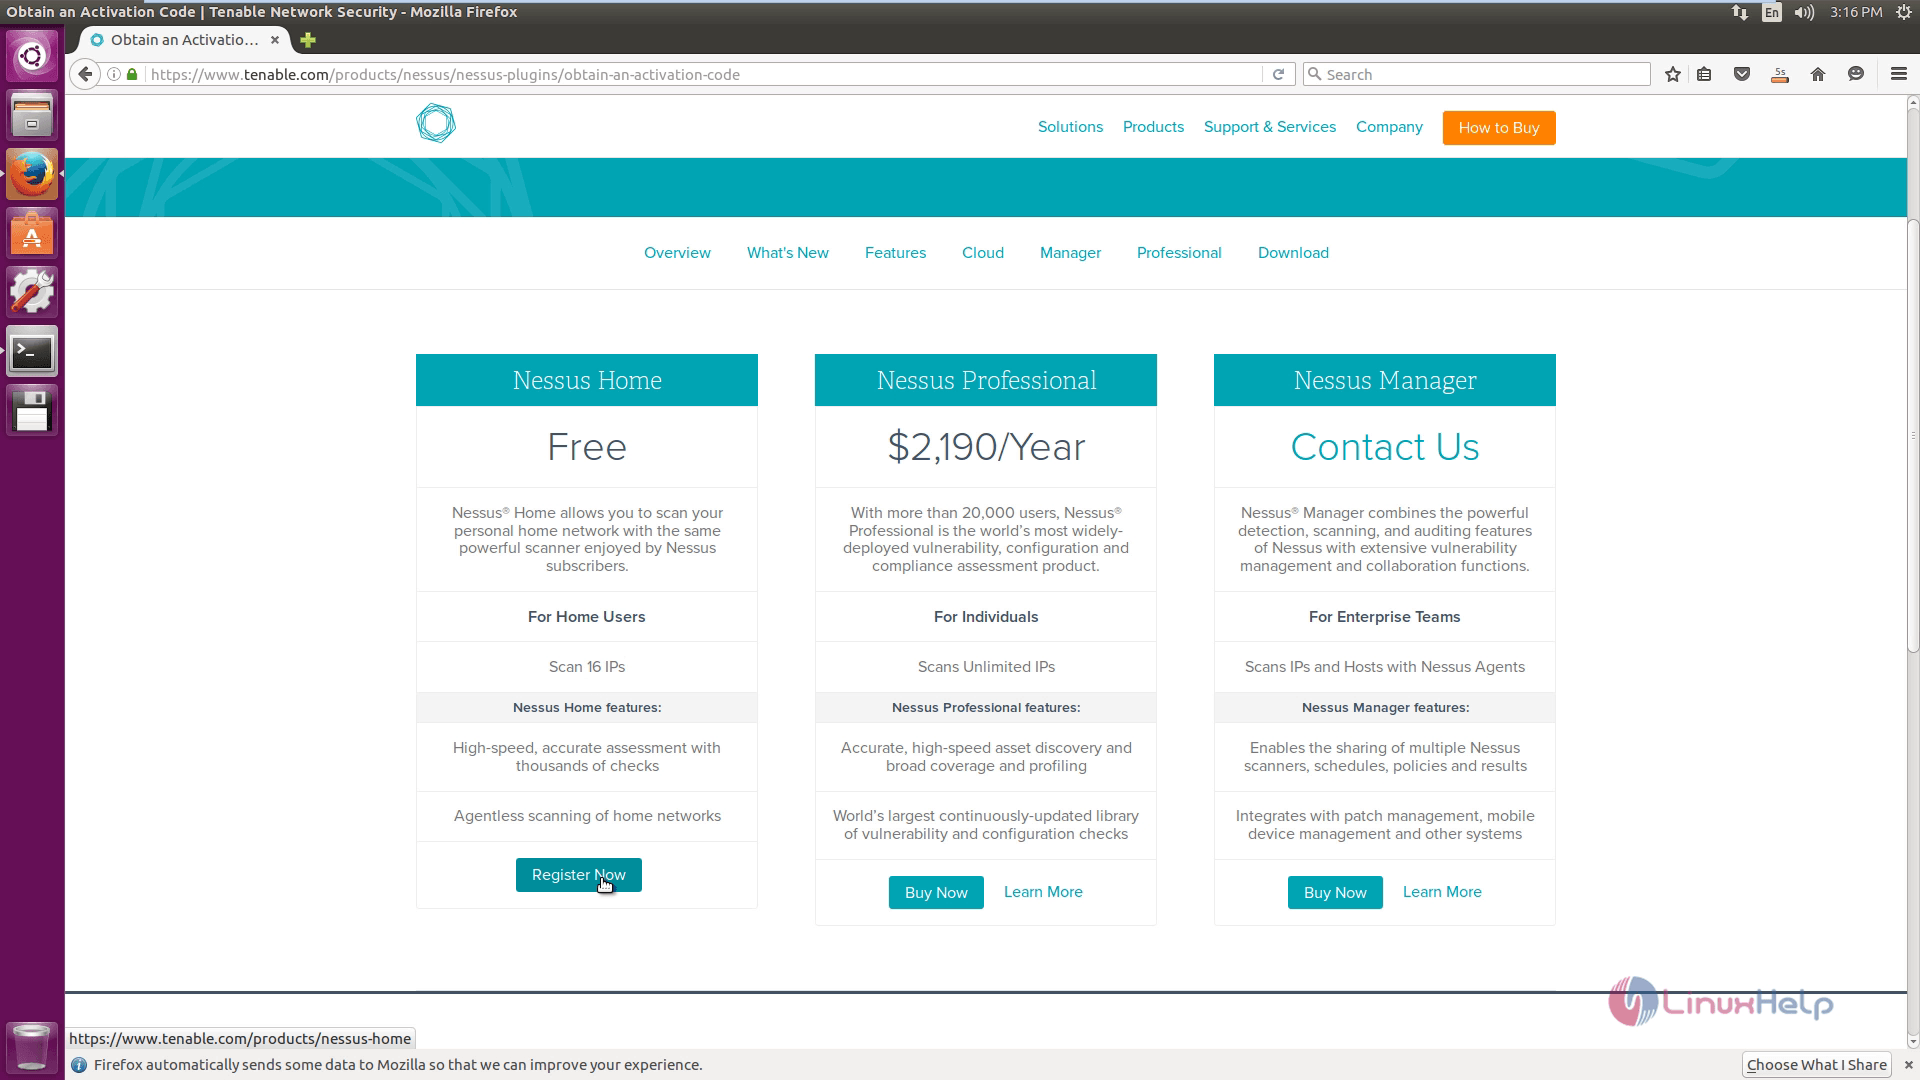
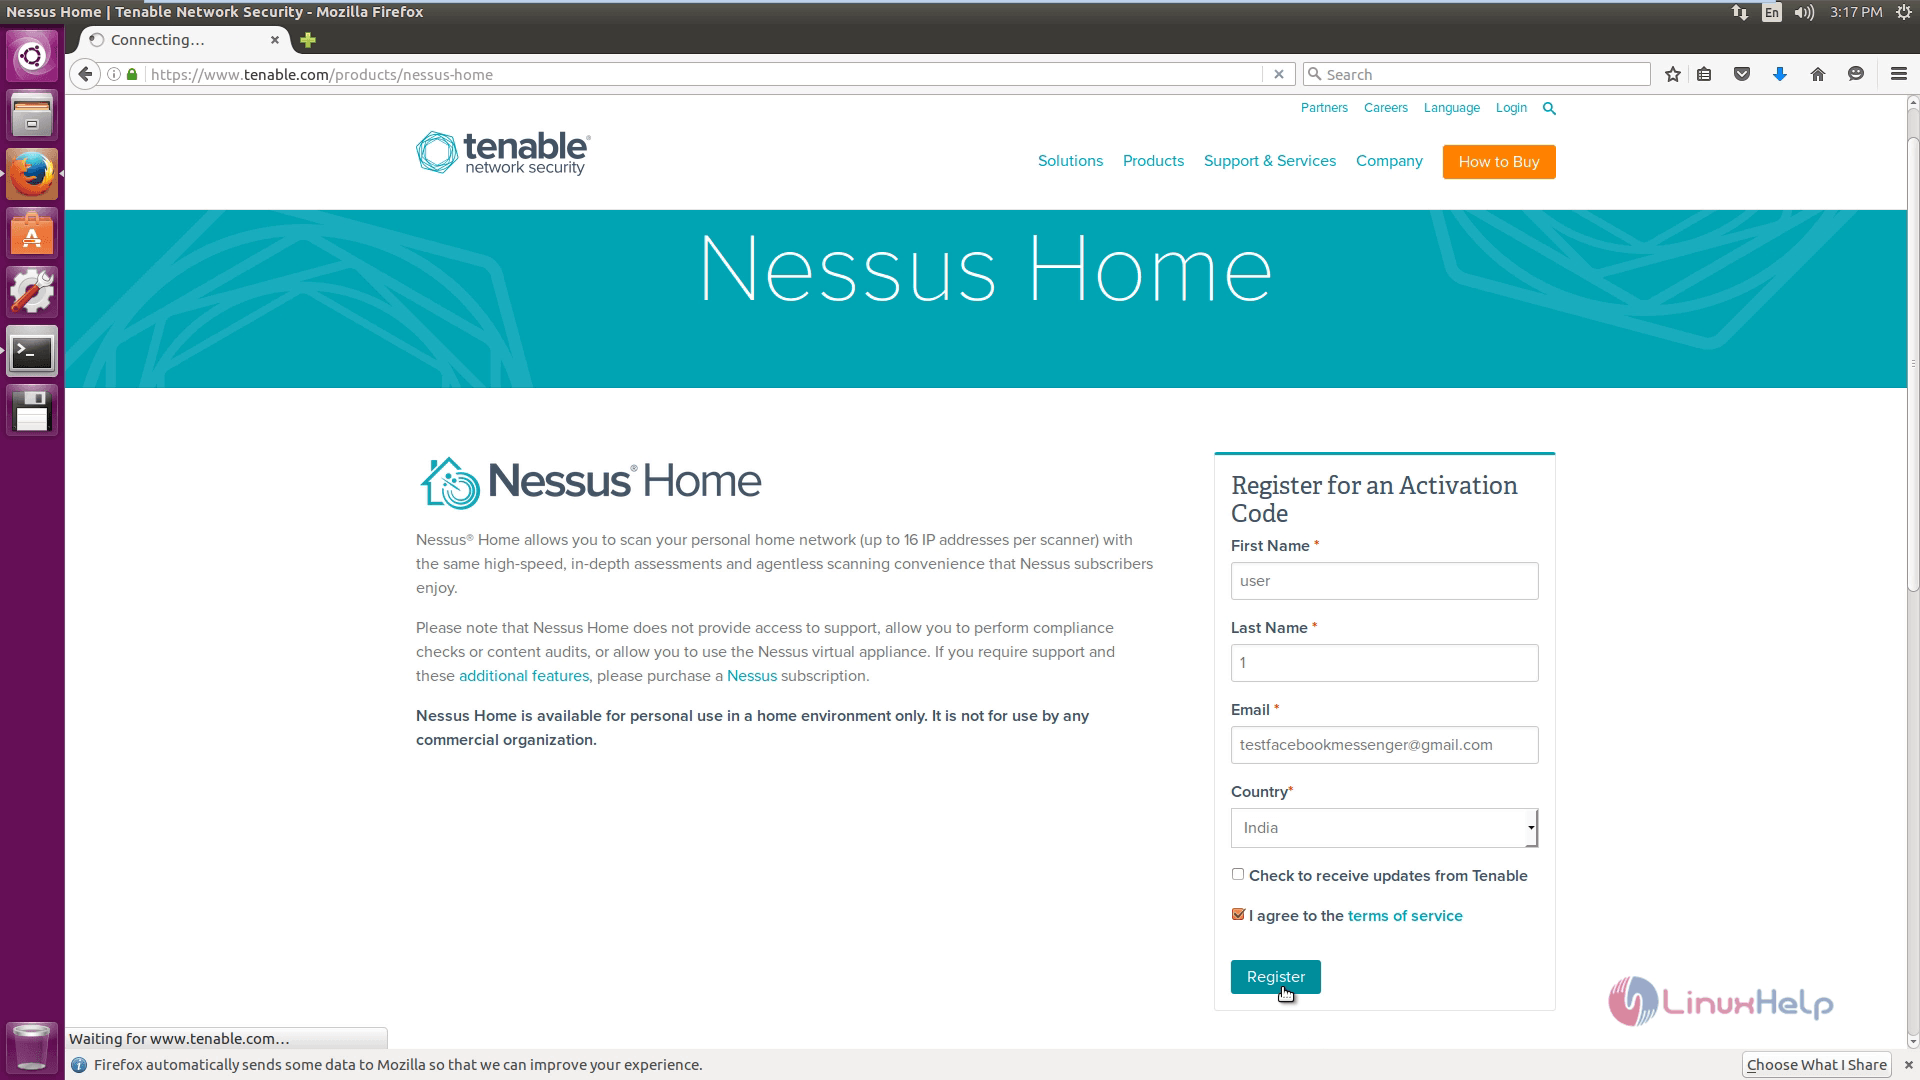
While downloading, sign up with tenable network security and click Get an activation code.
Then choose the type of registration you prefer.
Enter the valid information for an activation code and click Register.
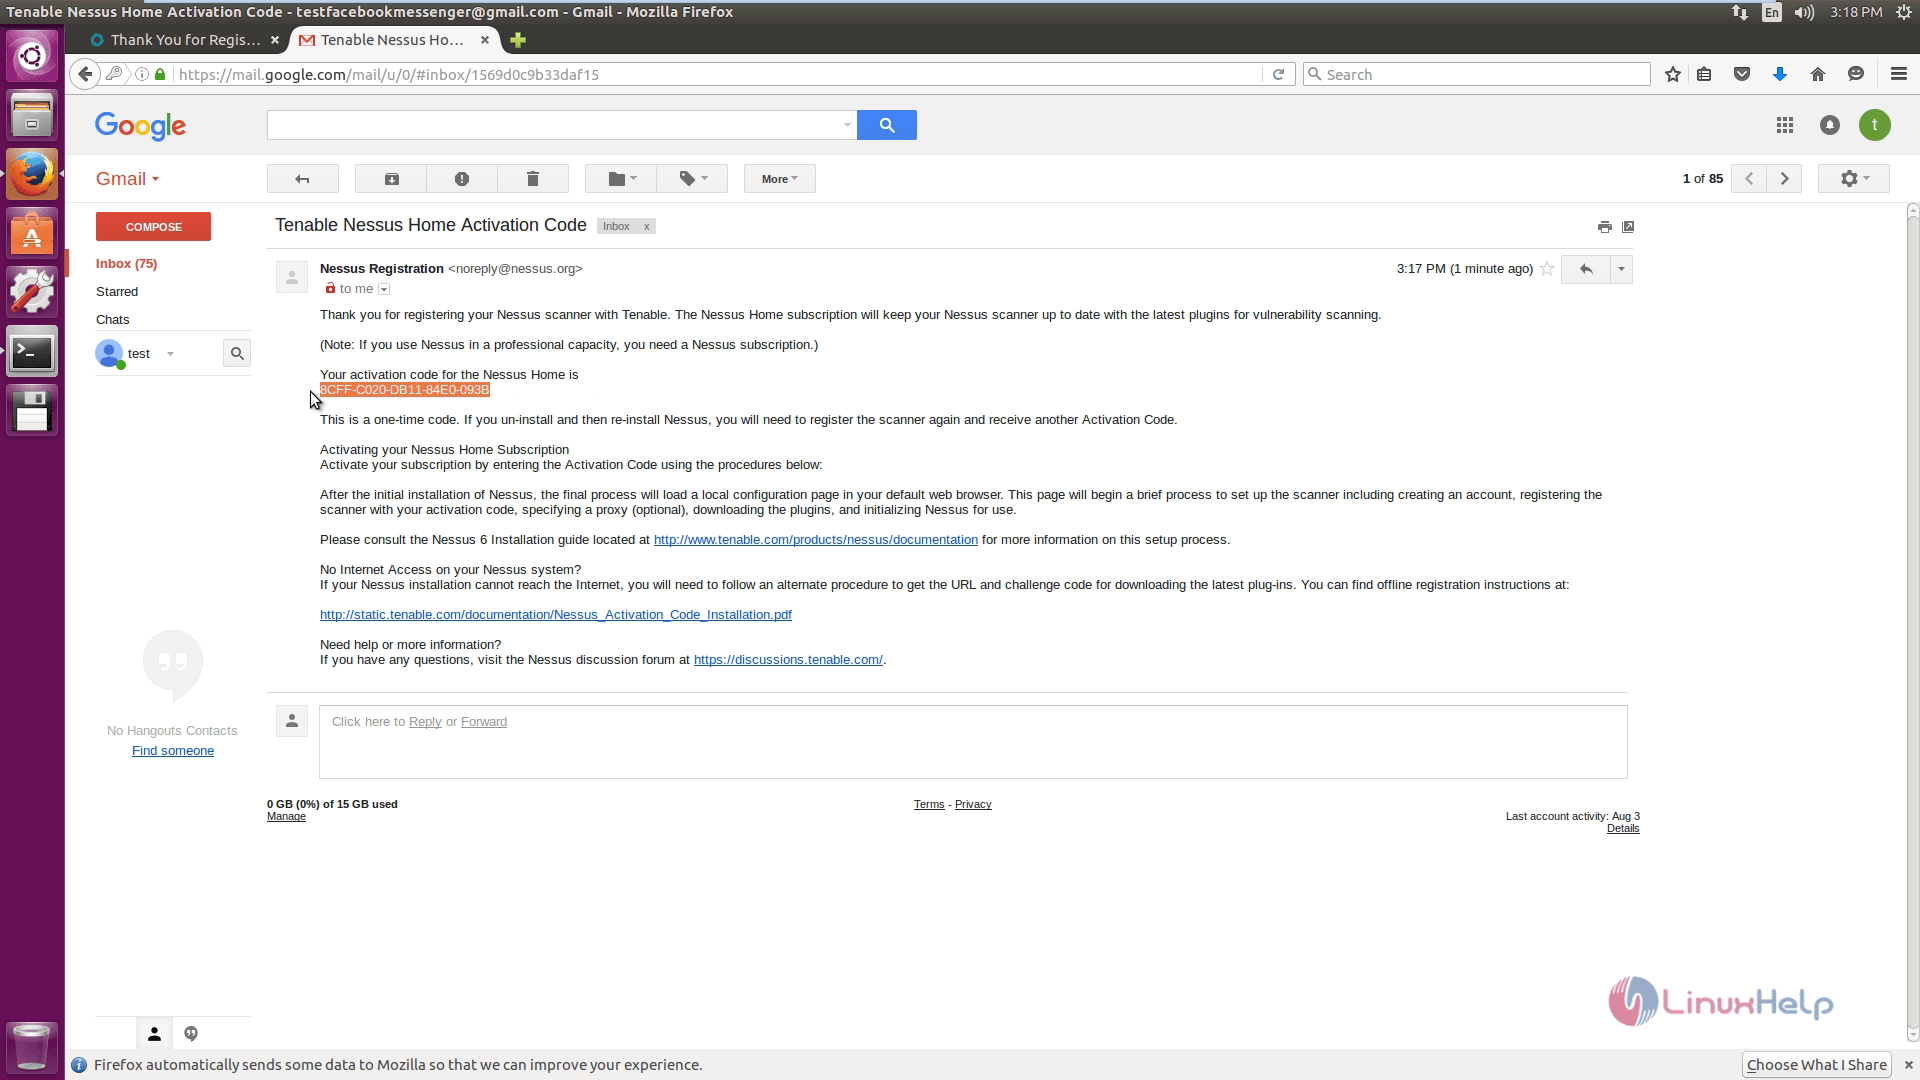
Login into your email to check for the activation mail.
Now open the terminal. Change directory to Downloads and then list all the files by running the following command.
root@linuxhelp:/home/user1# cd Downloads/
root@linuxhelp:/home/user1/Downloads# ls -l
total 33204
drwxr-xr-x 2 user1 user1 4096 Aug 18 10:57 ./
drwxr-xr-x 16 user1 user1 4096 Aug 18 10:44 ../
-rw-rw-r-- 1 user1 user1 33990680 Aug 18 10:57 Nessus-6.8.1-debian6_amd64.deb
To install Nessus, use the following command.
root@linuxhelp:/home/user1/Downloads# dpkg -i Nessus-6.8.1-debian6_amd64.deb
Selecting previously unselected package nessus.
(Reading database ... 172193 files and directories currently installed.)
Preparing to unpack Nessus-6.8.1-debian6_amd64.deb ...
Unpacking nessus (6.8.1) ...
Setting up nessus (6.8.1) ...
Unpacking Nessus Core Components...
nessusd (Nessus) 6.8.1 [build M20062] for Linux
Copyright (C) 1998 - 2016 Tenable Network Security, Inc
Processing the Nessus plugins...
[##################################################]
All plugins loaded (1sec)
- You can start Nessus by typing /etc/init.d/nessusd start
- Then go to https://linuxhelp:8834/ to configure your scanner
Processing triggers for ureadahead (0.100.0-19) ...
Processing triggers for systemd (229-4ubuntu4) ...

Now start and check the status of the Nessus services.
root@linuxhelp:/home/user1/Downloads# systemctl start nessusd.service
root@linuxhelp:/home/user1/Downloads# systemctl status nessusd.service
nessusd.service - LSB: Starts and stops the Nessus
Loaded: loaded (/etc/init.d/nessusd  bad  vendor preset: enabled)
Active: active (running) since Thu 2016-08-18 10:59:49 IST  5s ago
Docs: man:systemd-sysv-generator(8)
Process: 4015 ExecStart=/etc/init.d/nessusd start (code=exited, status=0/SUCCE
Tasks: 25 (limit: 512)
CGroup: /system.slice/nessusd.service
??4018 /opt/nessus/sbin/nessus-service -D -q
??4019 nessusd -q
Aug 18 10:59:48 linuxhelp systemd[1]: Starting LSB: Starts and stops the Nessus.
Aug 18 10:59:49 linuxhelp nessusd[4015]: Starting Nessus : .
Aug 18 10:59:49 linuxhelp systemd[1]: Started LSB: Starts and stops the Nessus.
Now permit the default HTTPS web port for Nessus.
root@linuxhelp:/home/user1/Downloads# ufw allow 8834/tcp
Rules updated
Rules updated (v6)
Open the browser and type your ip address or the hostname of the system
https://linuxhelp:8834
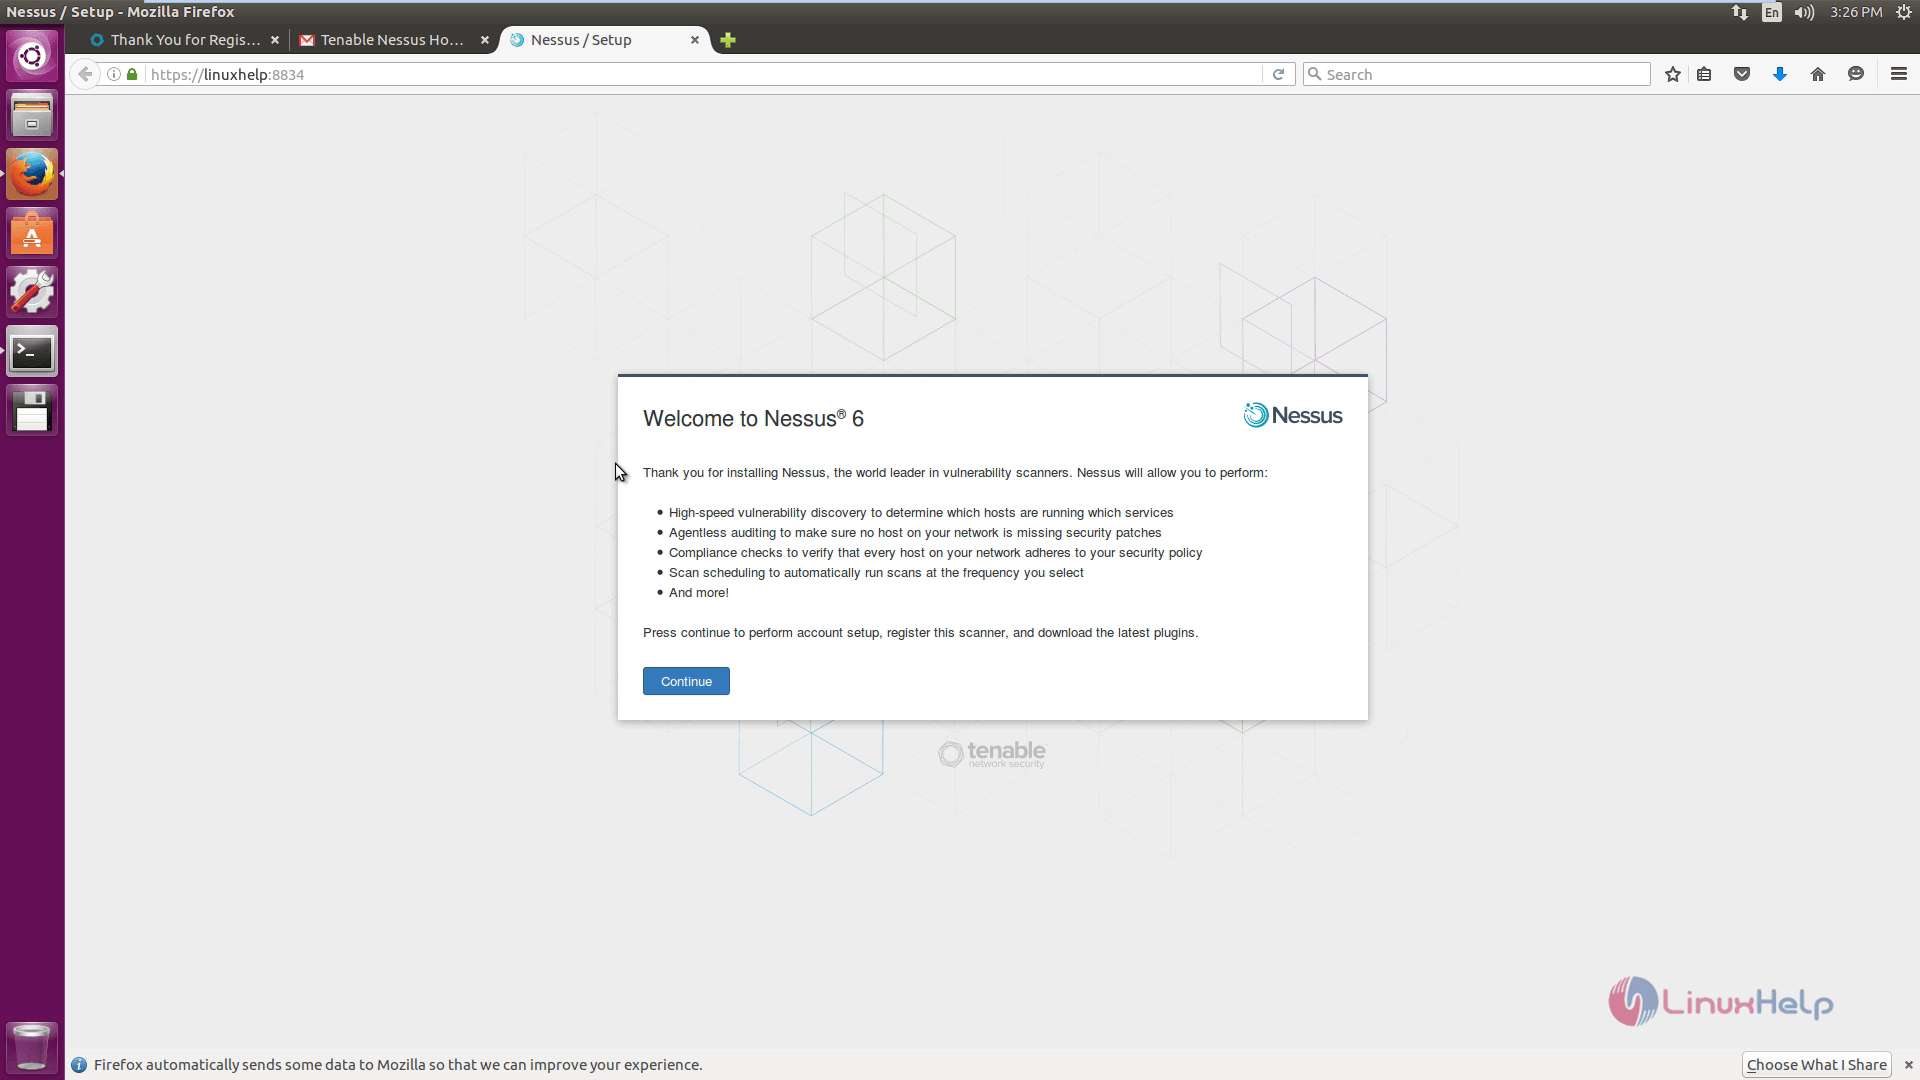
Nessus setup home screen appears.
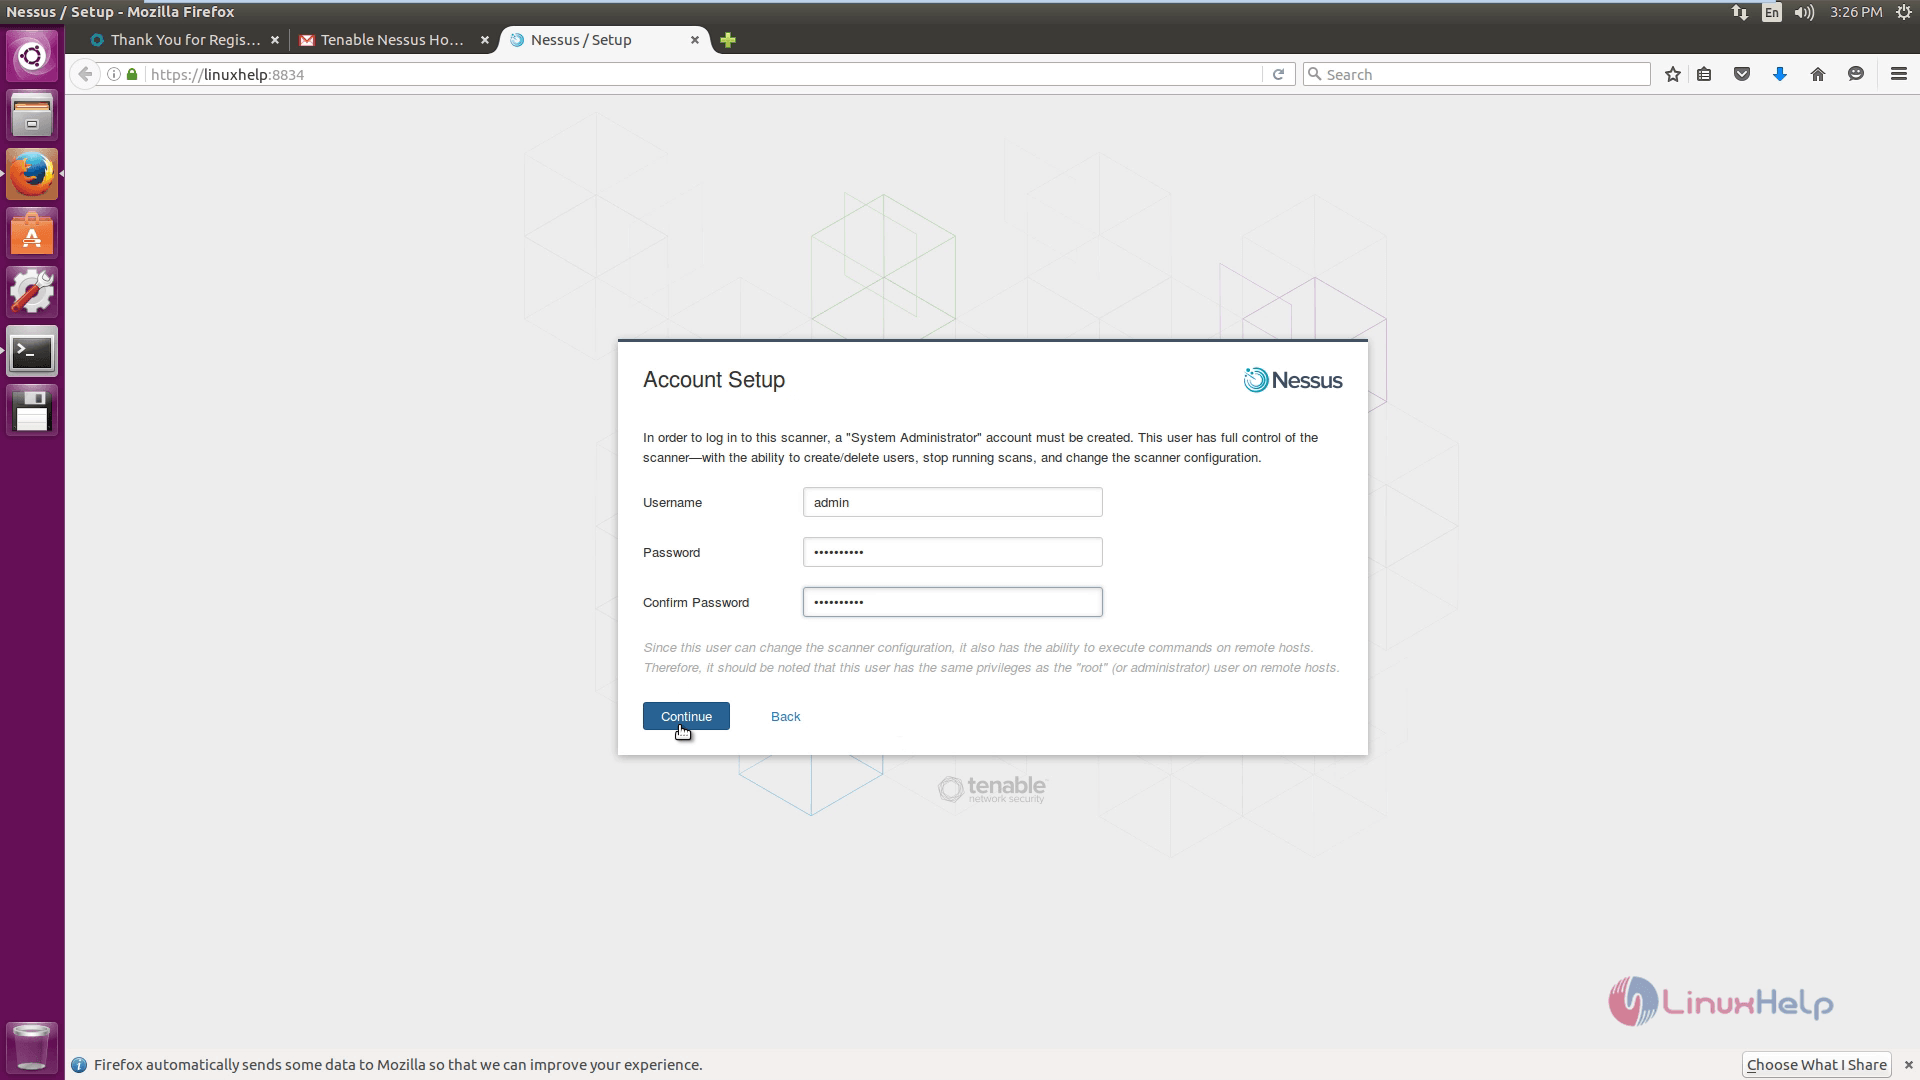
Create an account for the Nessus.
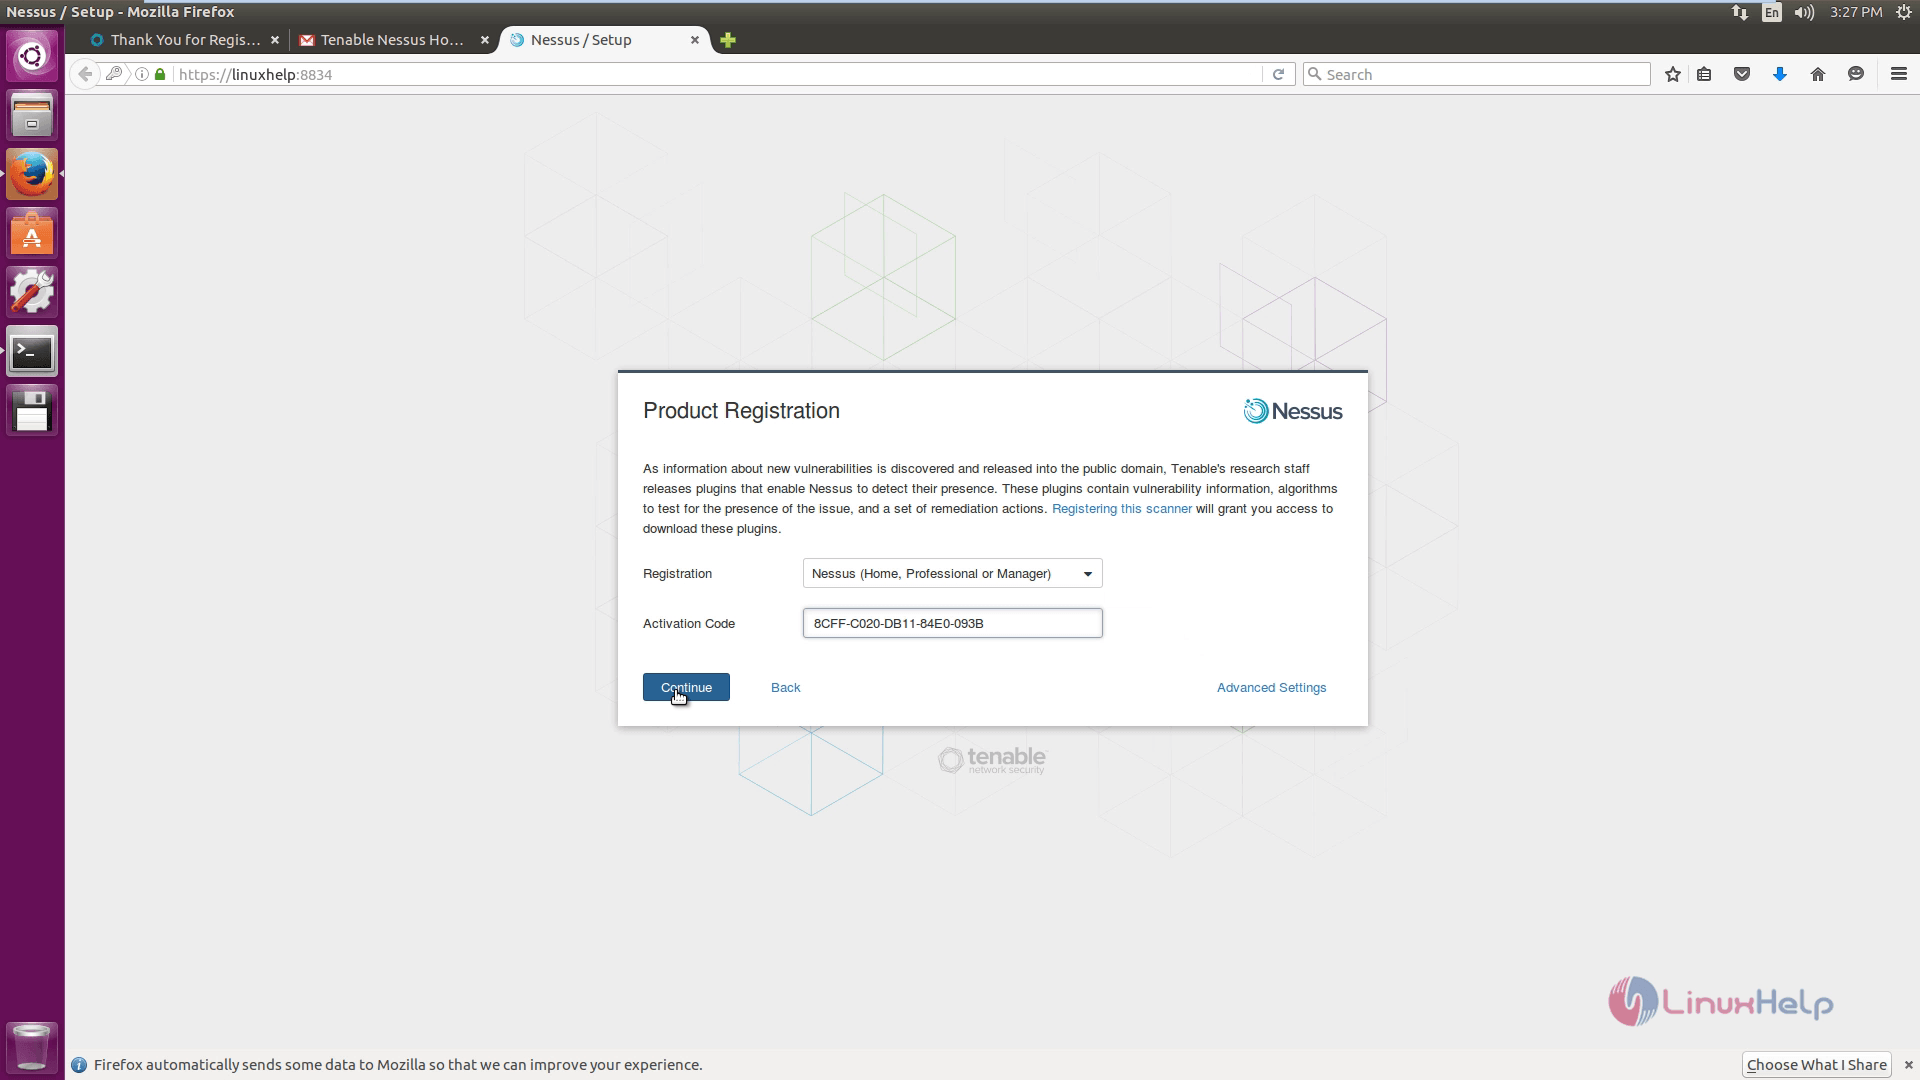
Enter the activation code and click continue to proceed further.
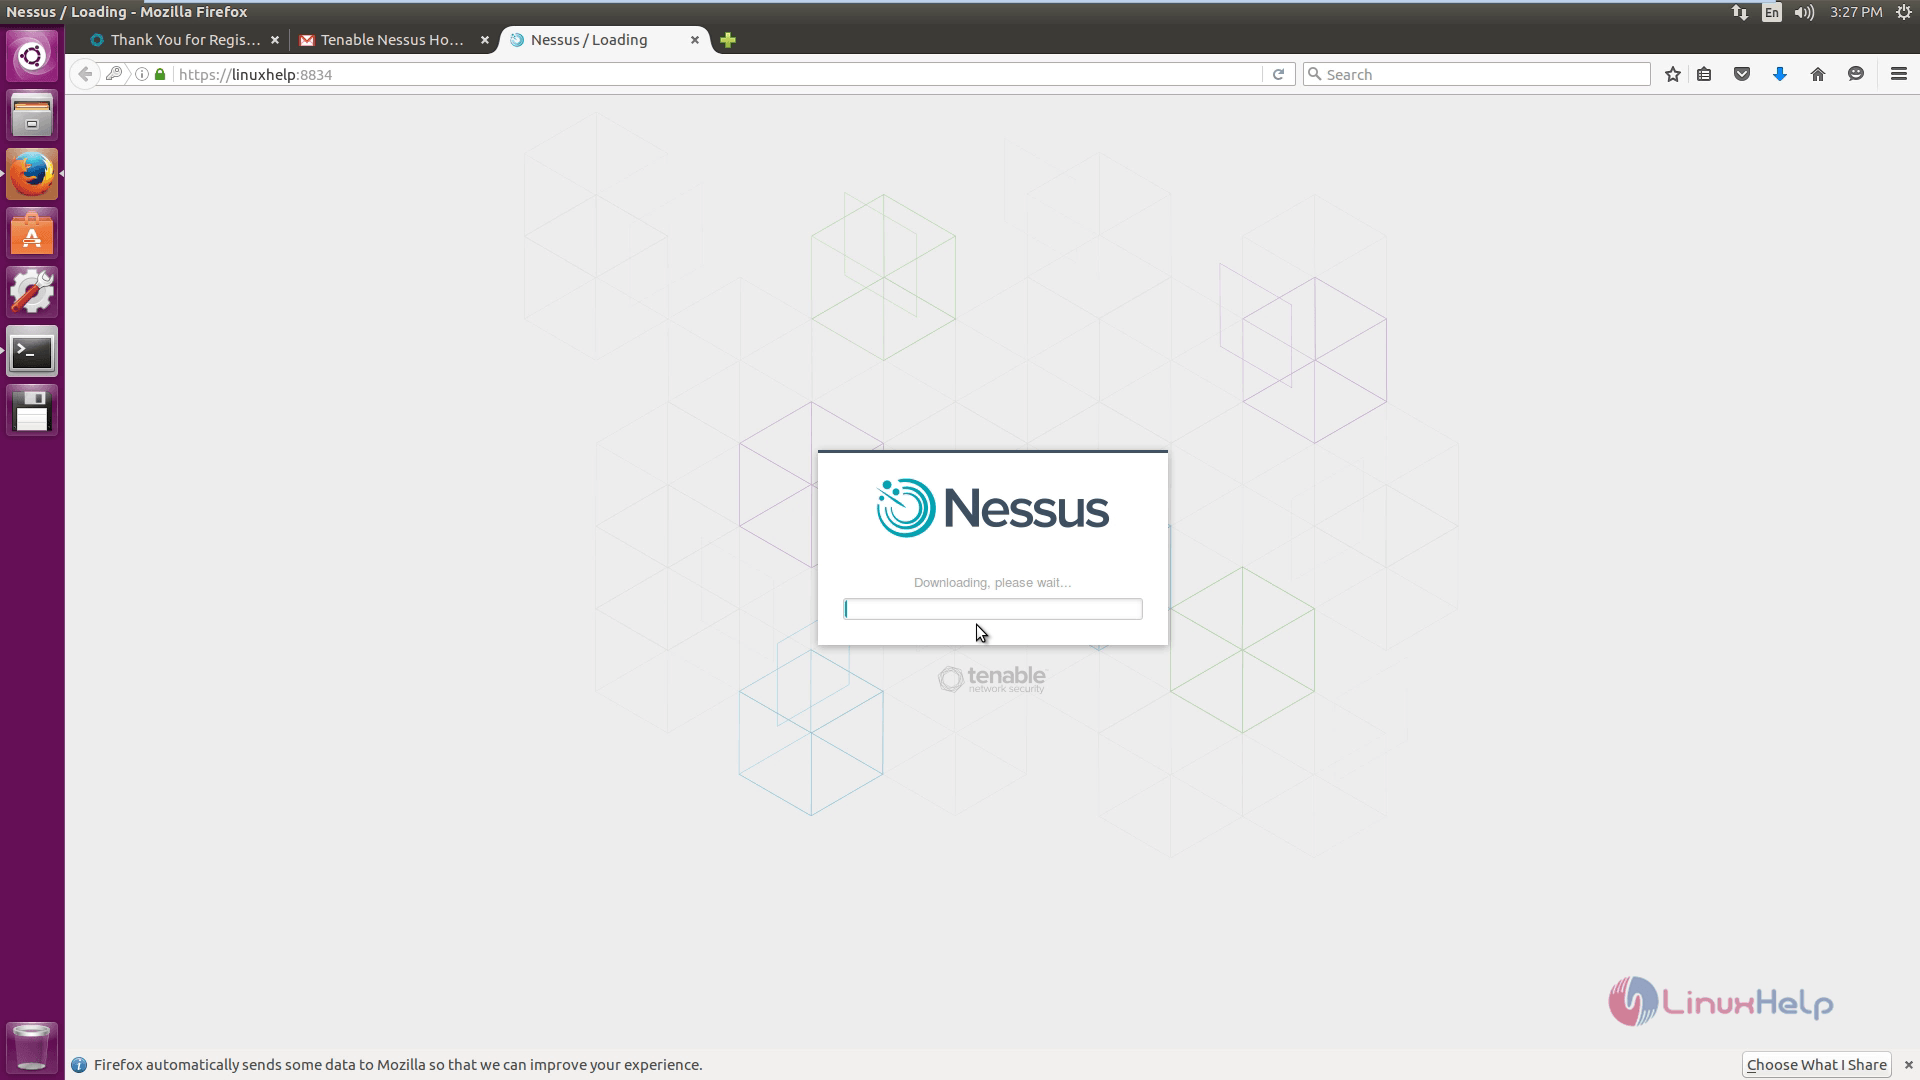
Downloading process starts.
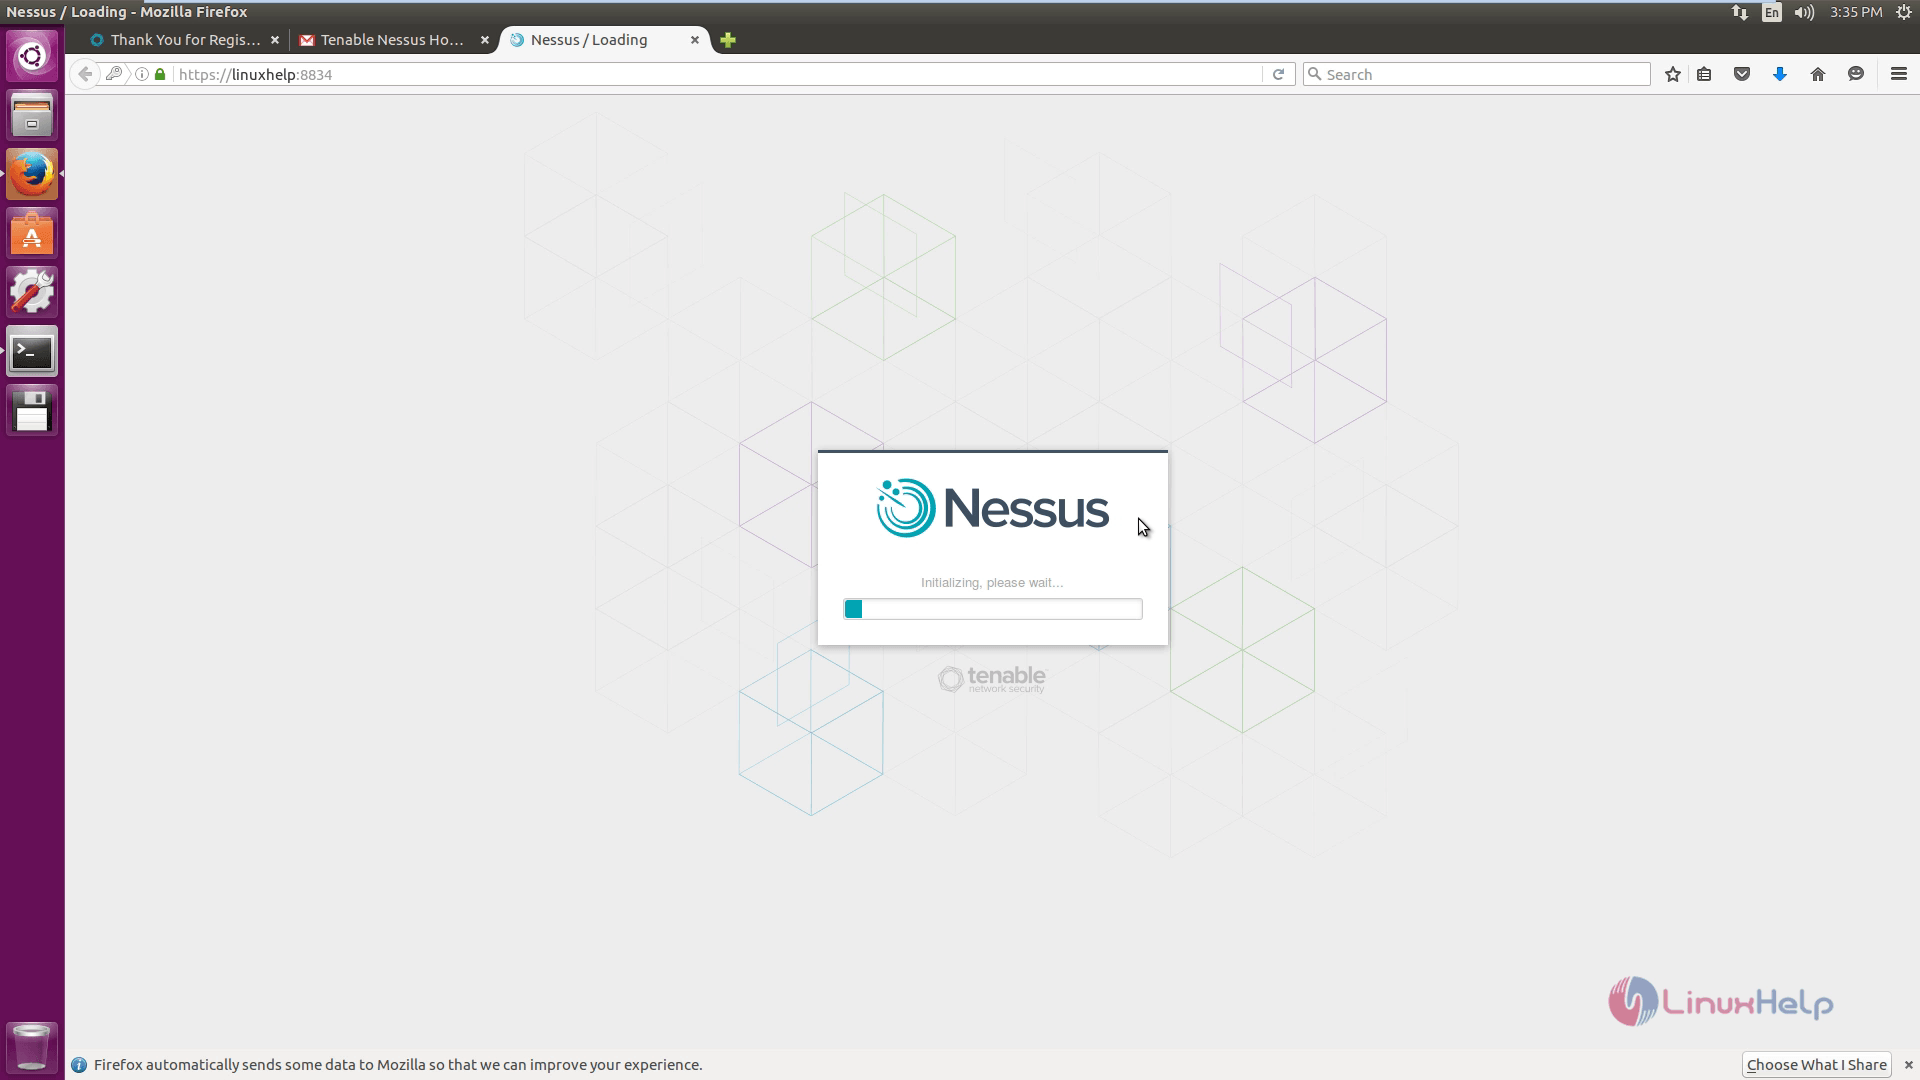
Intializing Nessus.
Enter the admin credentials to enter into the Nessus.

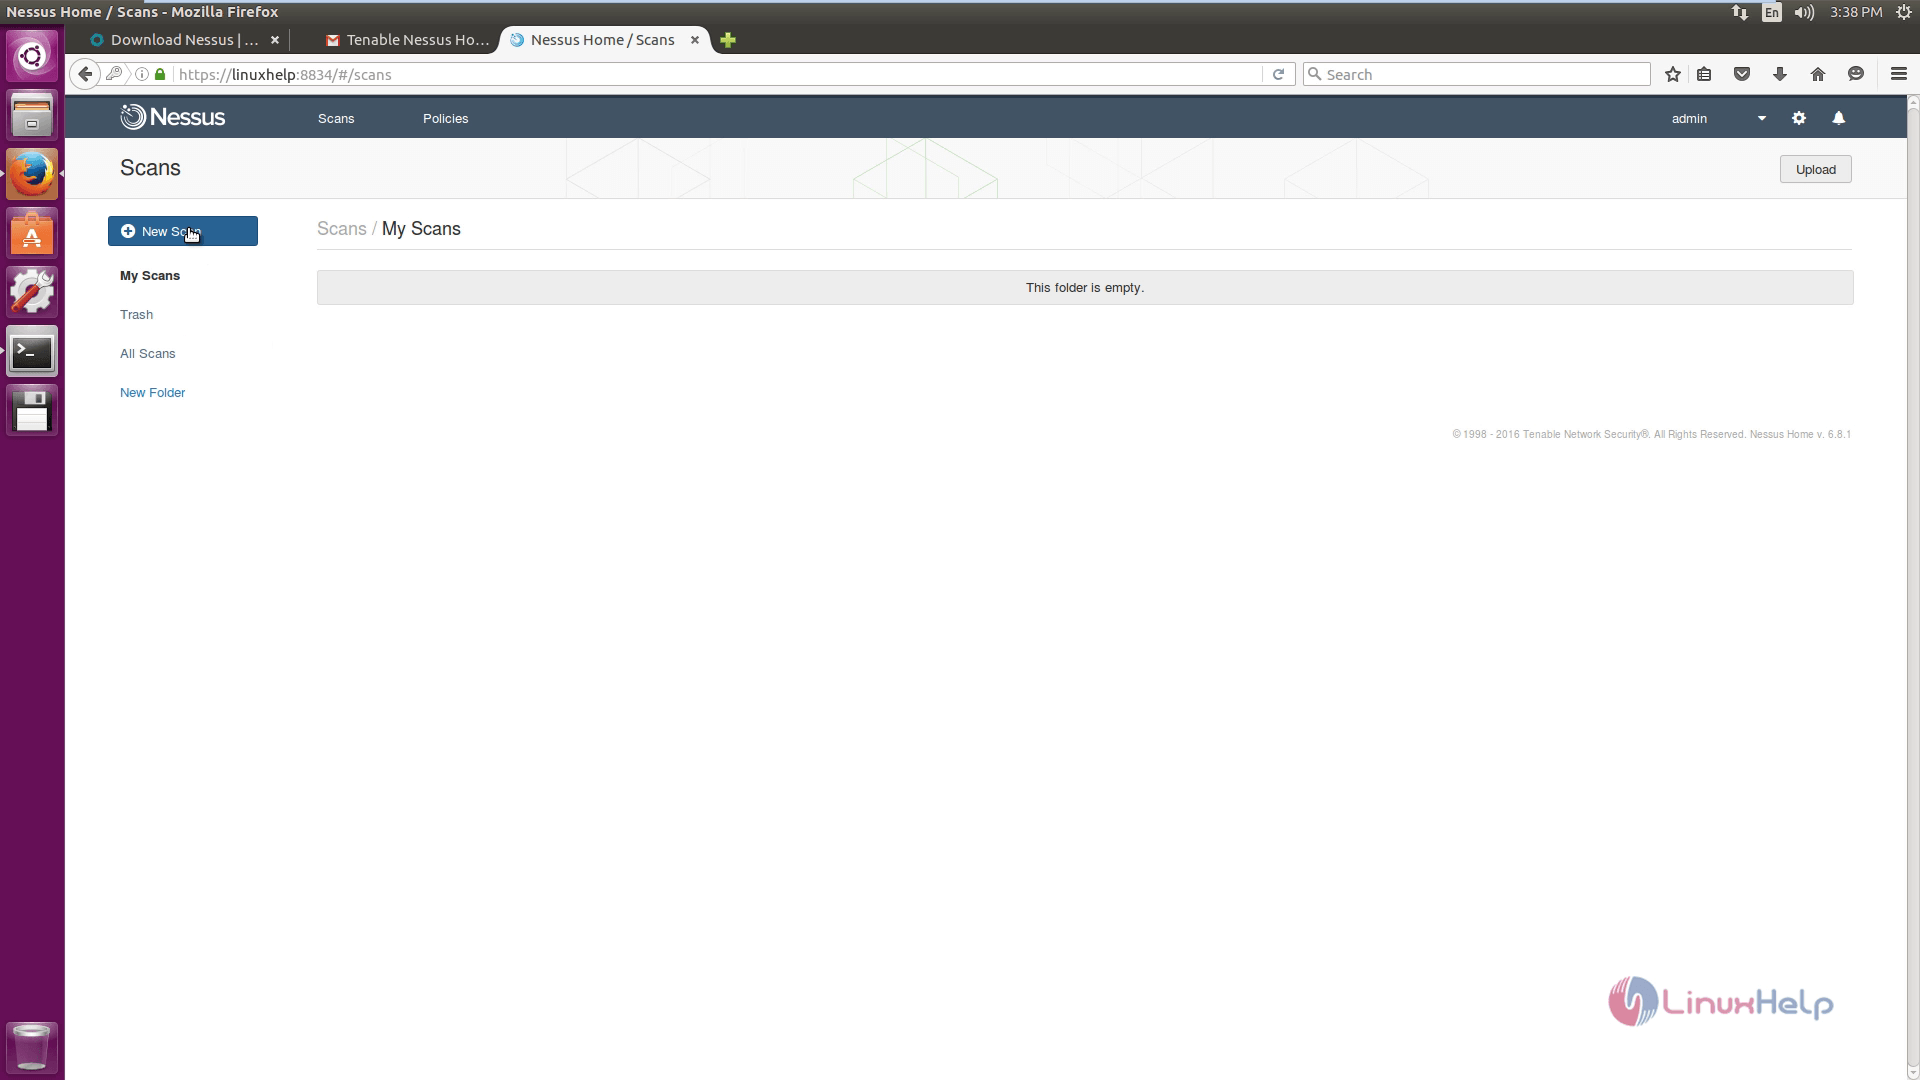
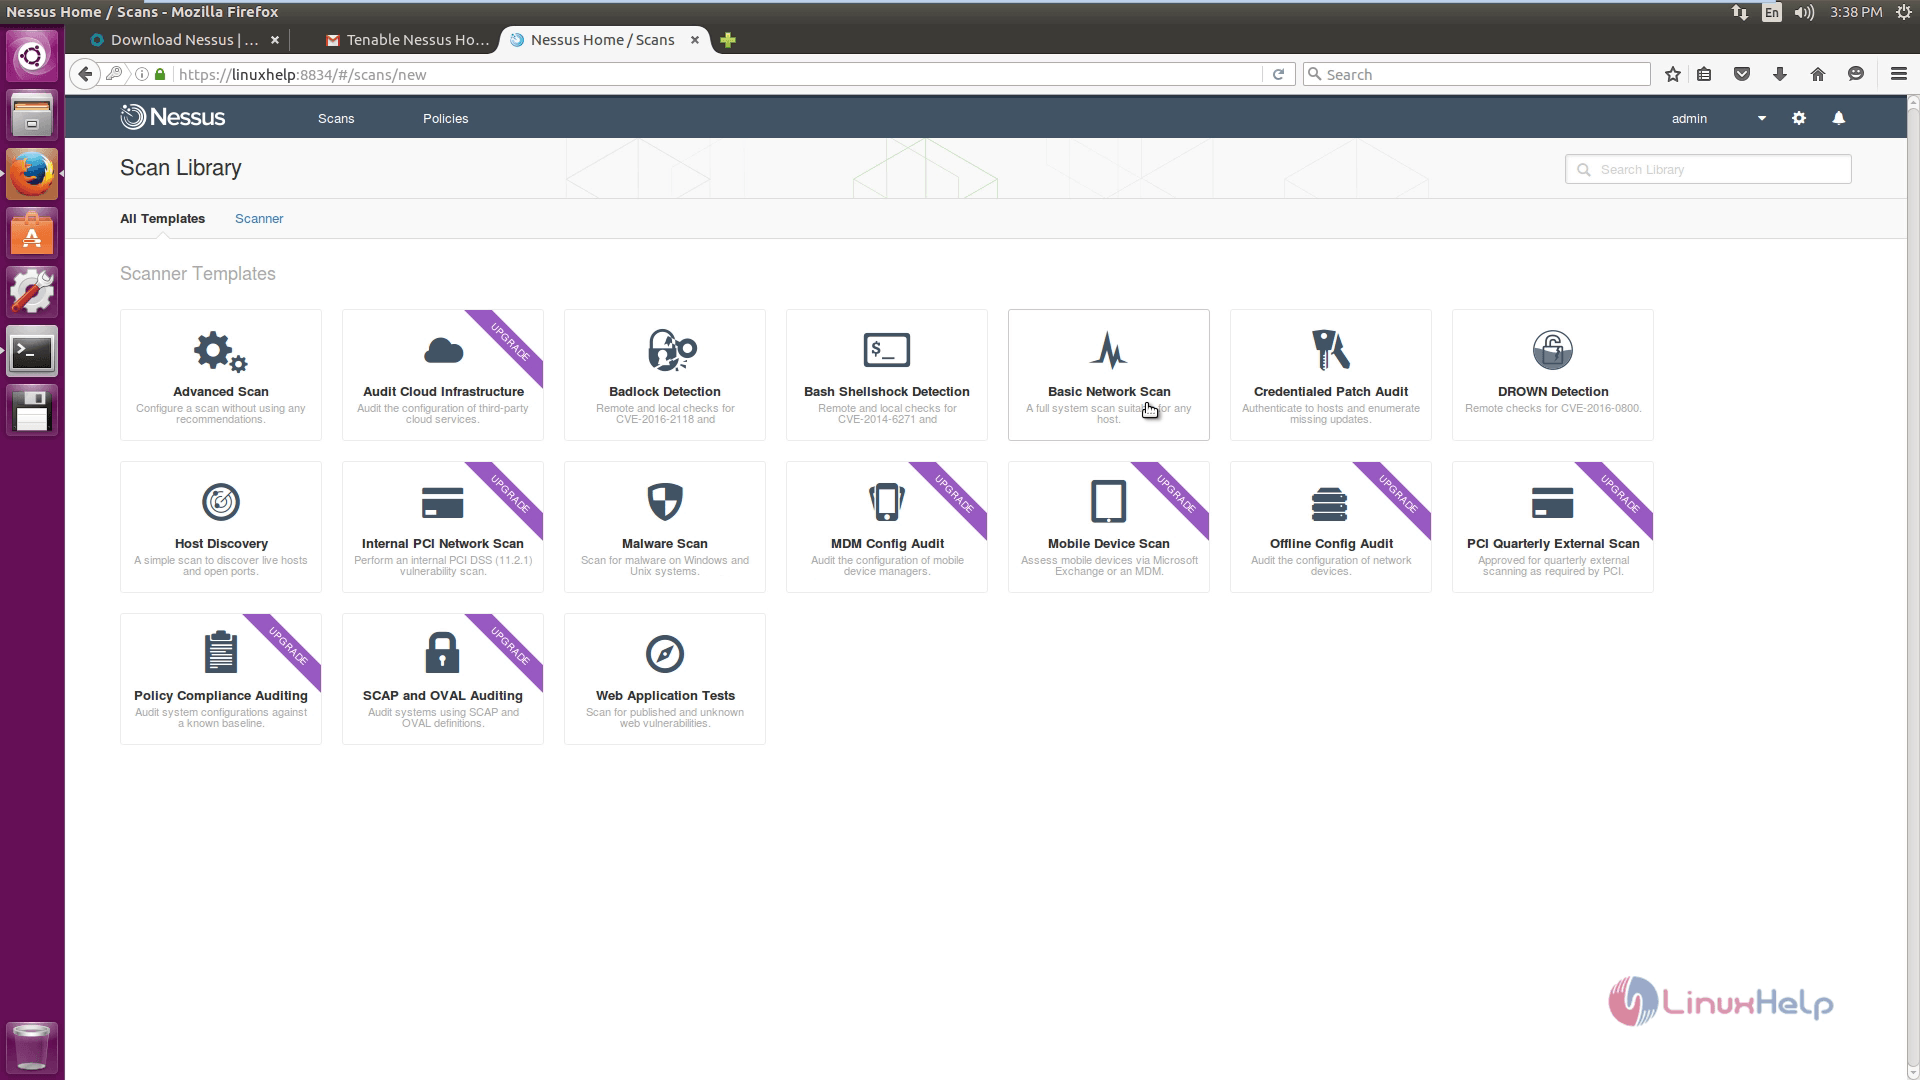
To create a new scan, click New Scan icon.
Select the type of scan.
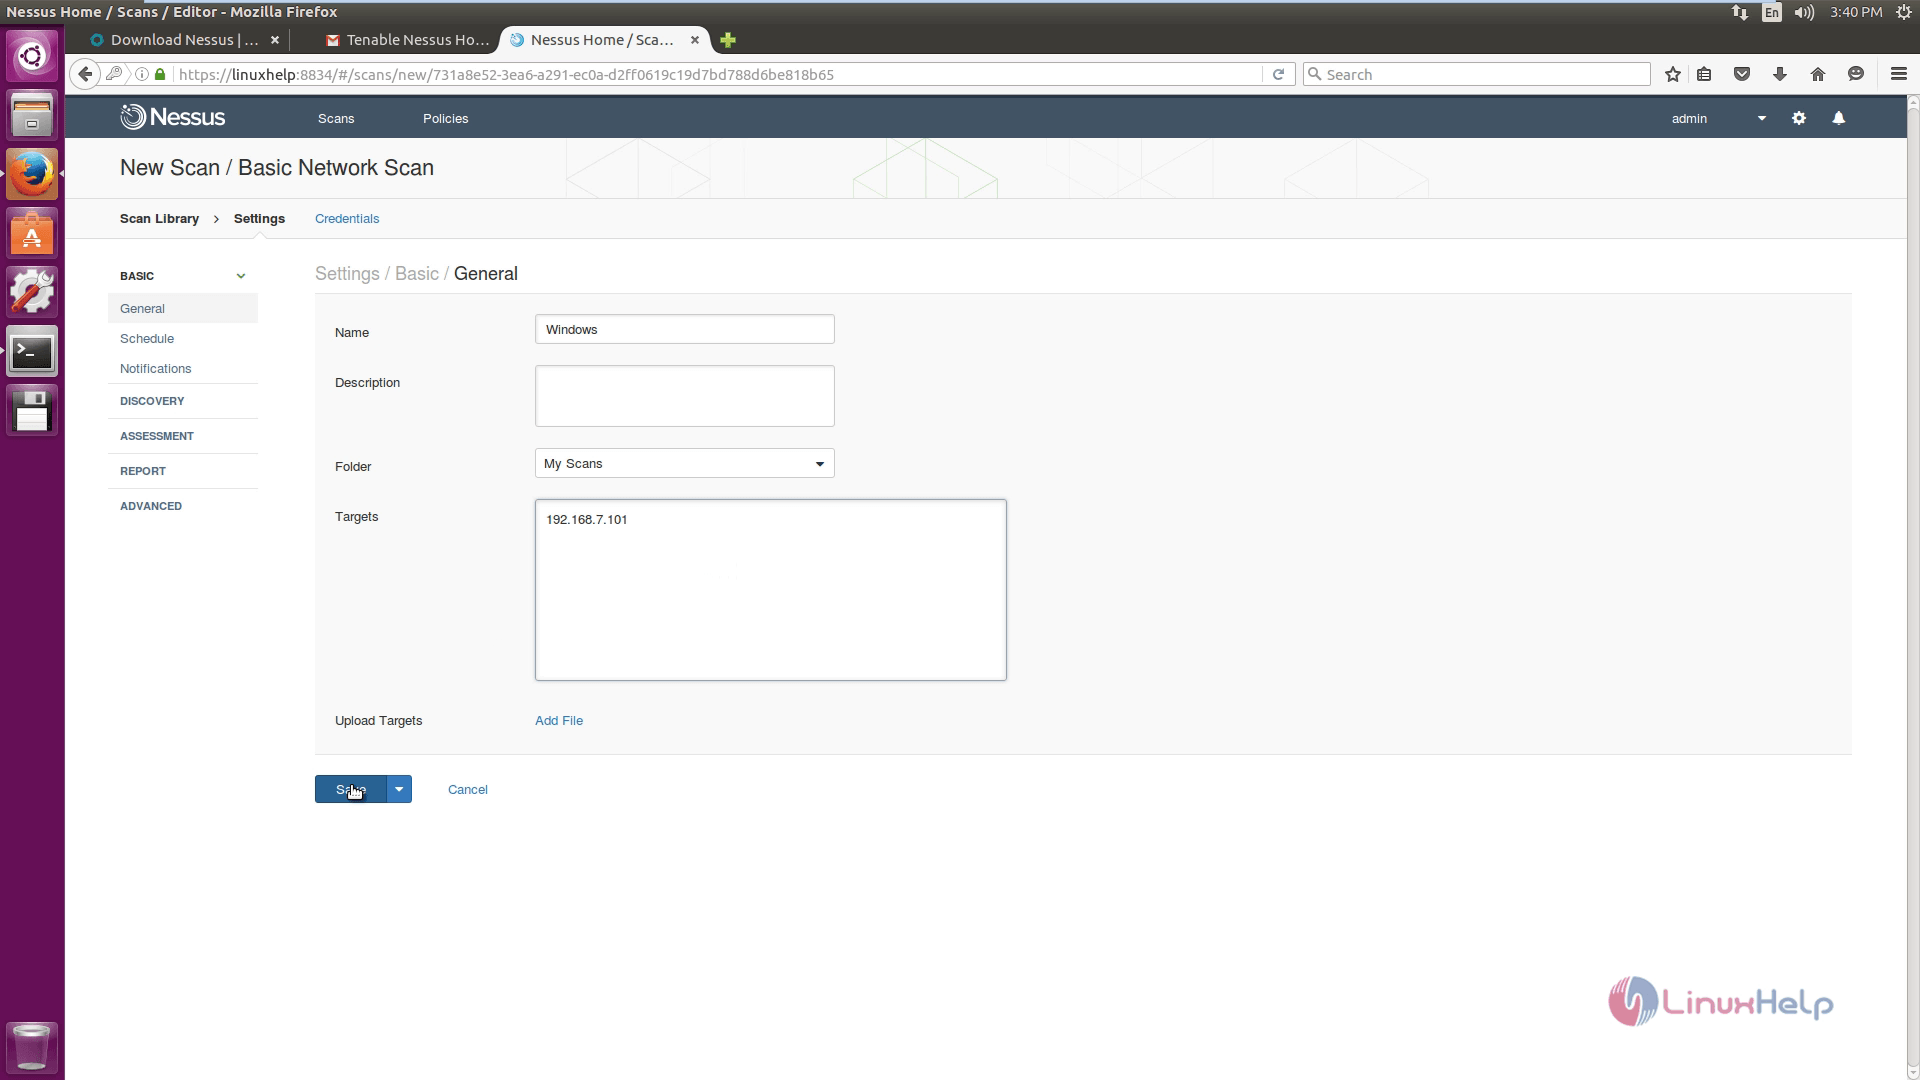
Enter the details of the system where the scan is to be performed.
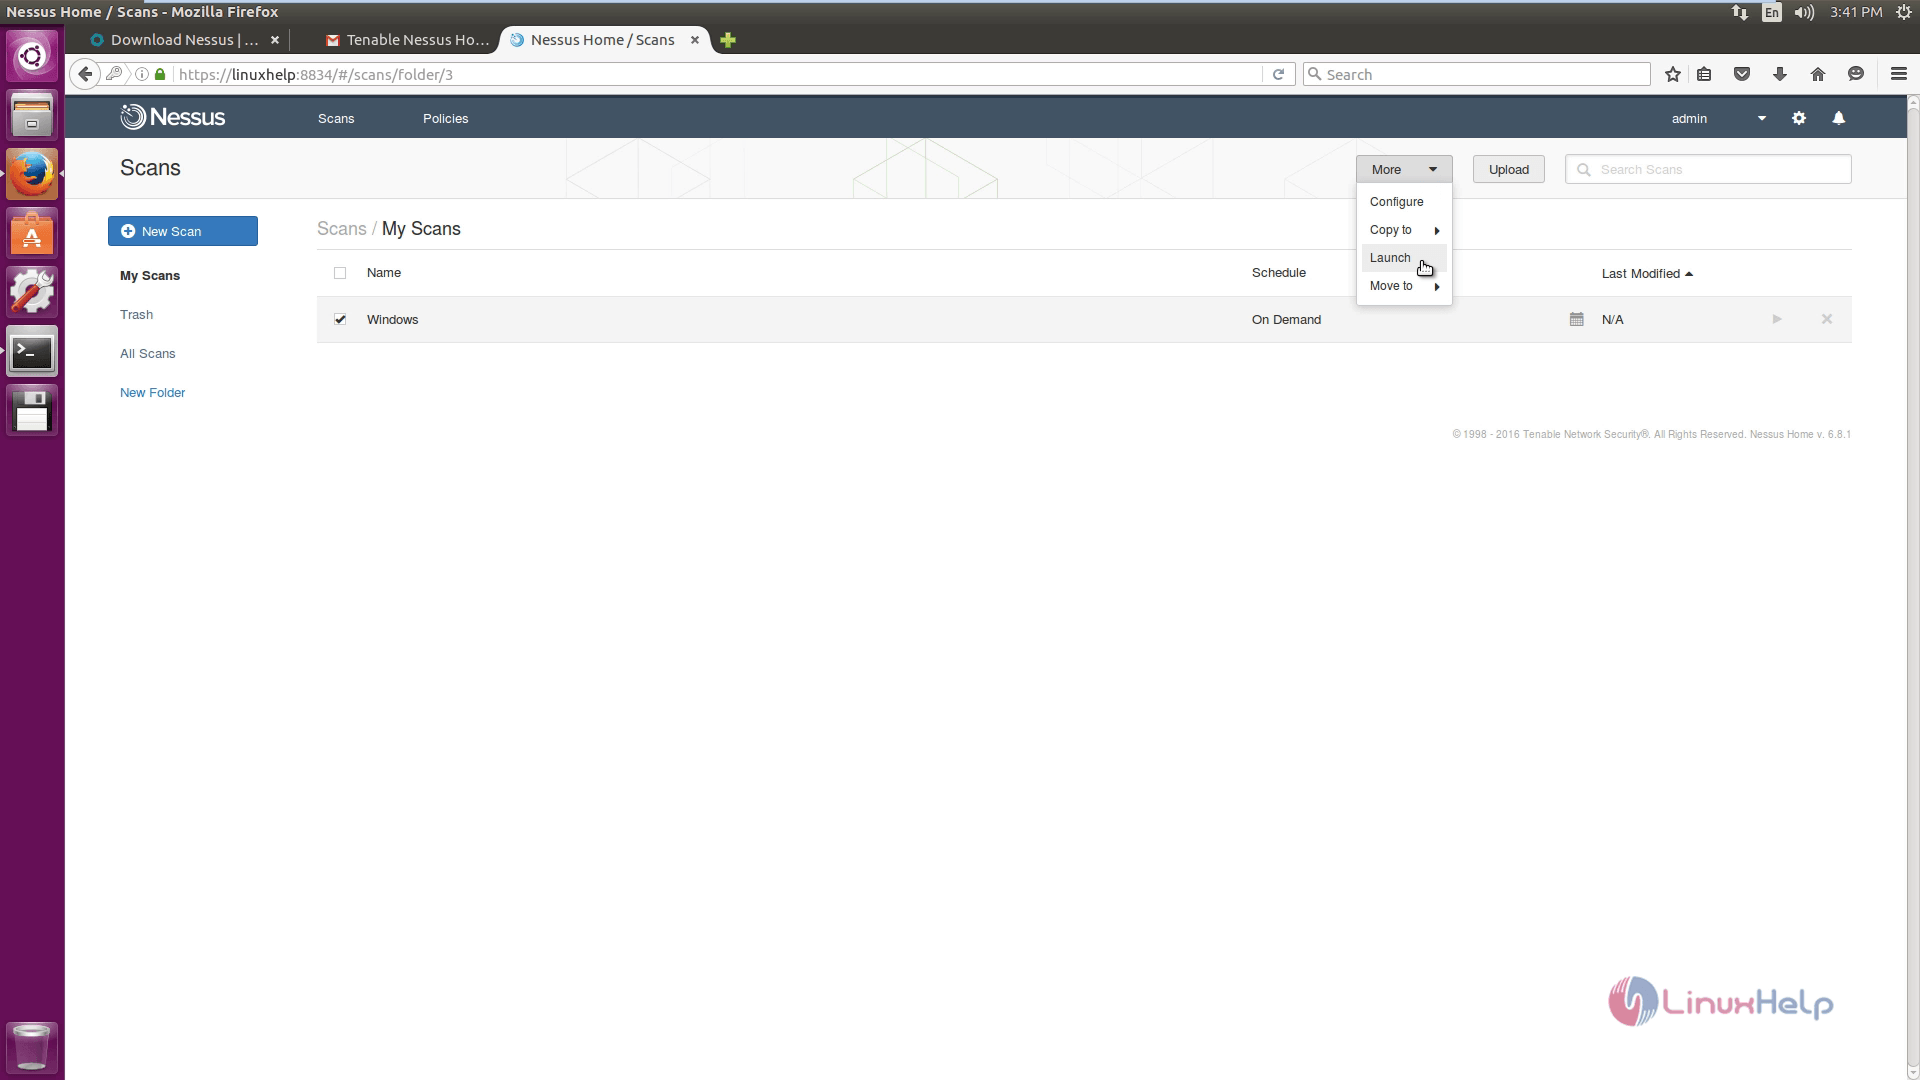
Select the scan and click the drop-down more and then launch the scan.
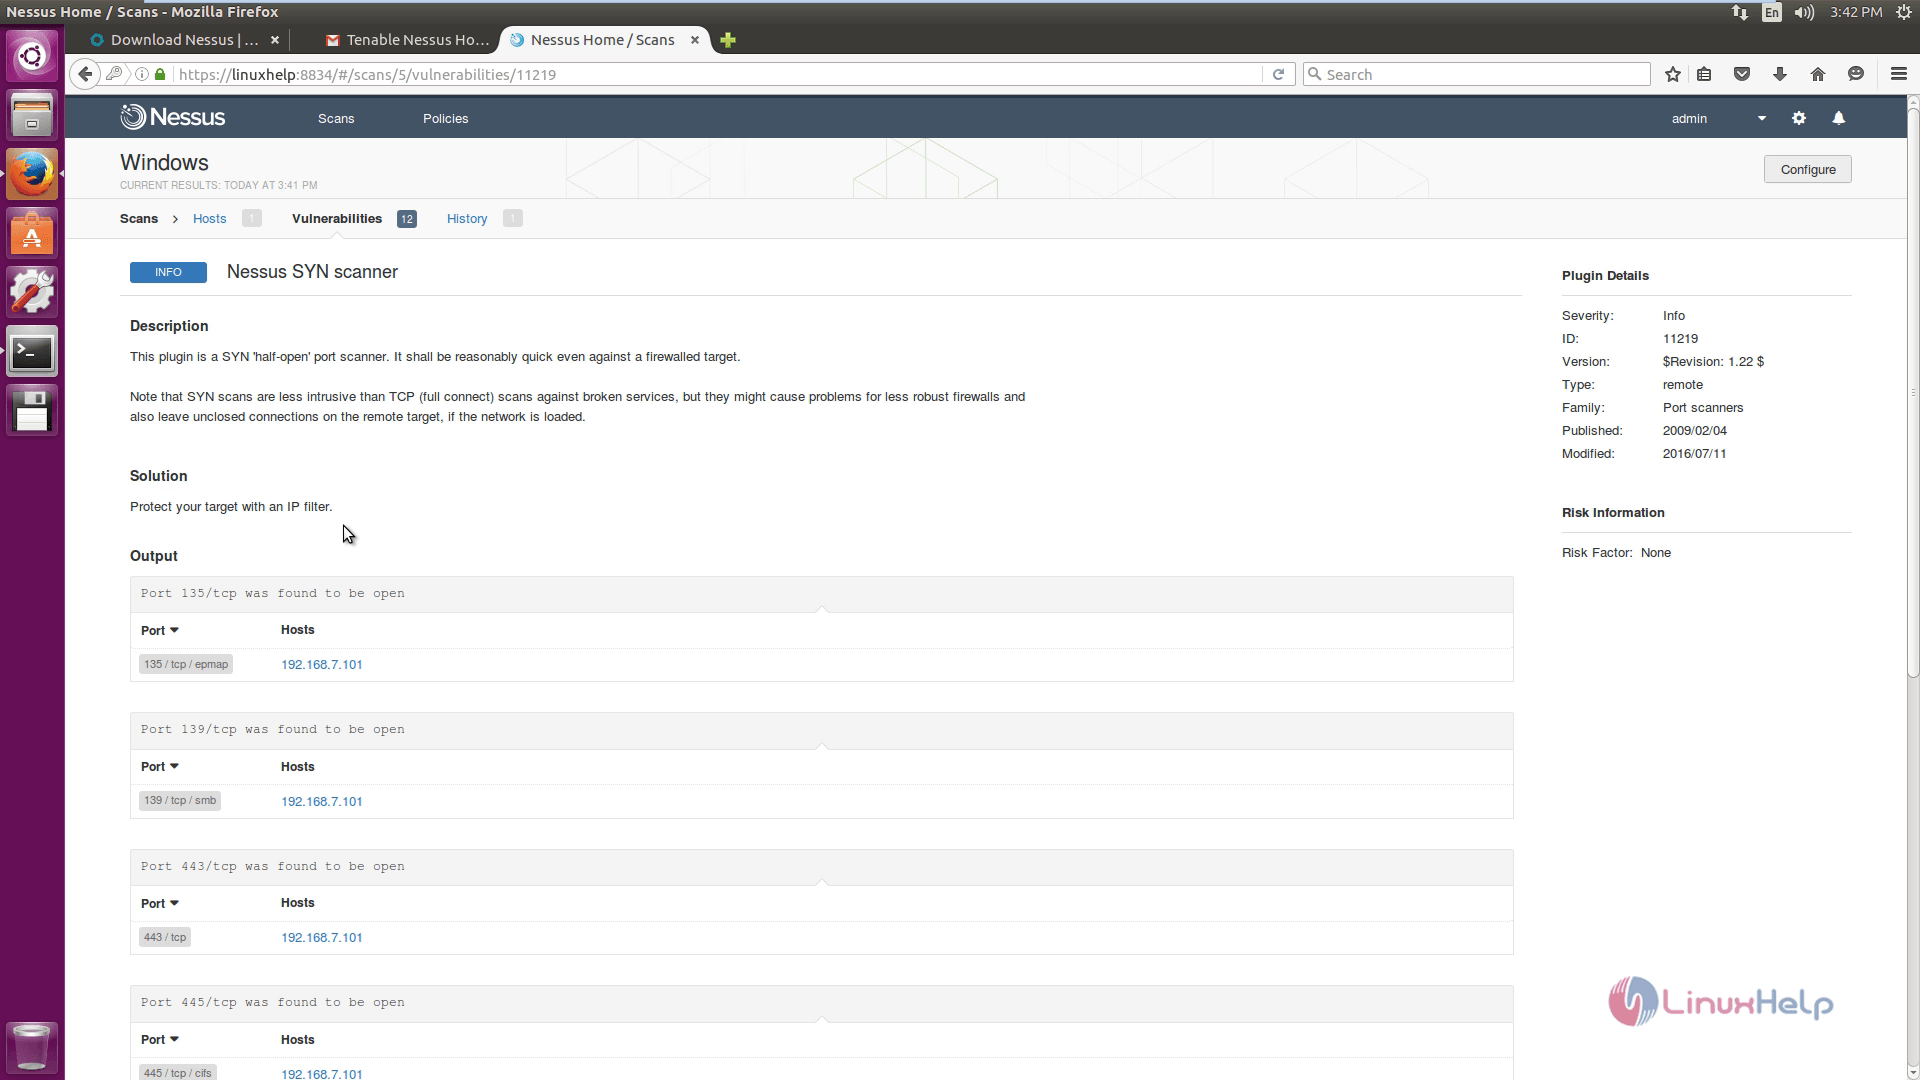
Select the scan to see the vulnerabilities in the target system.
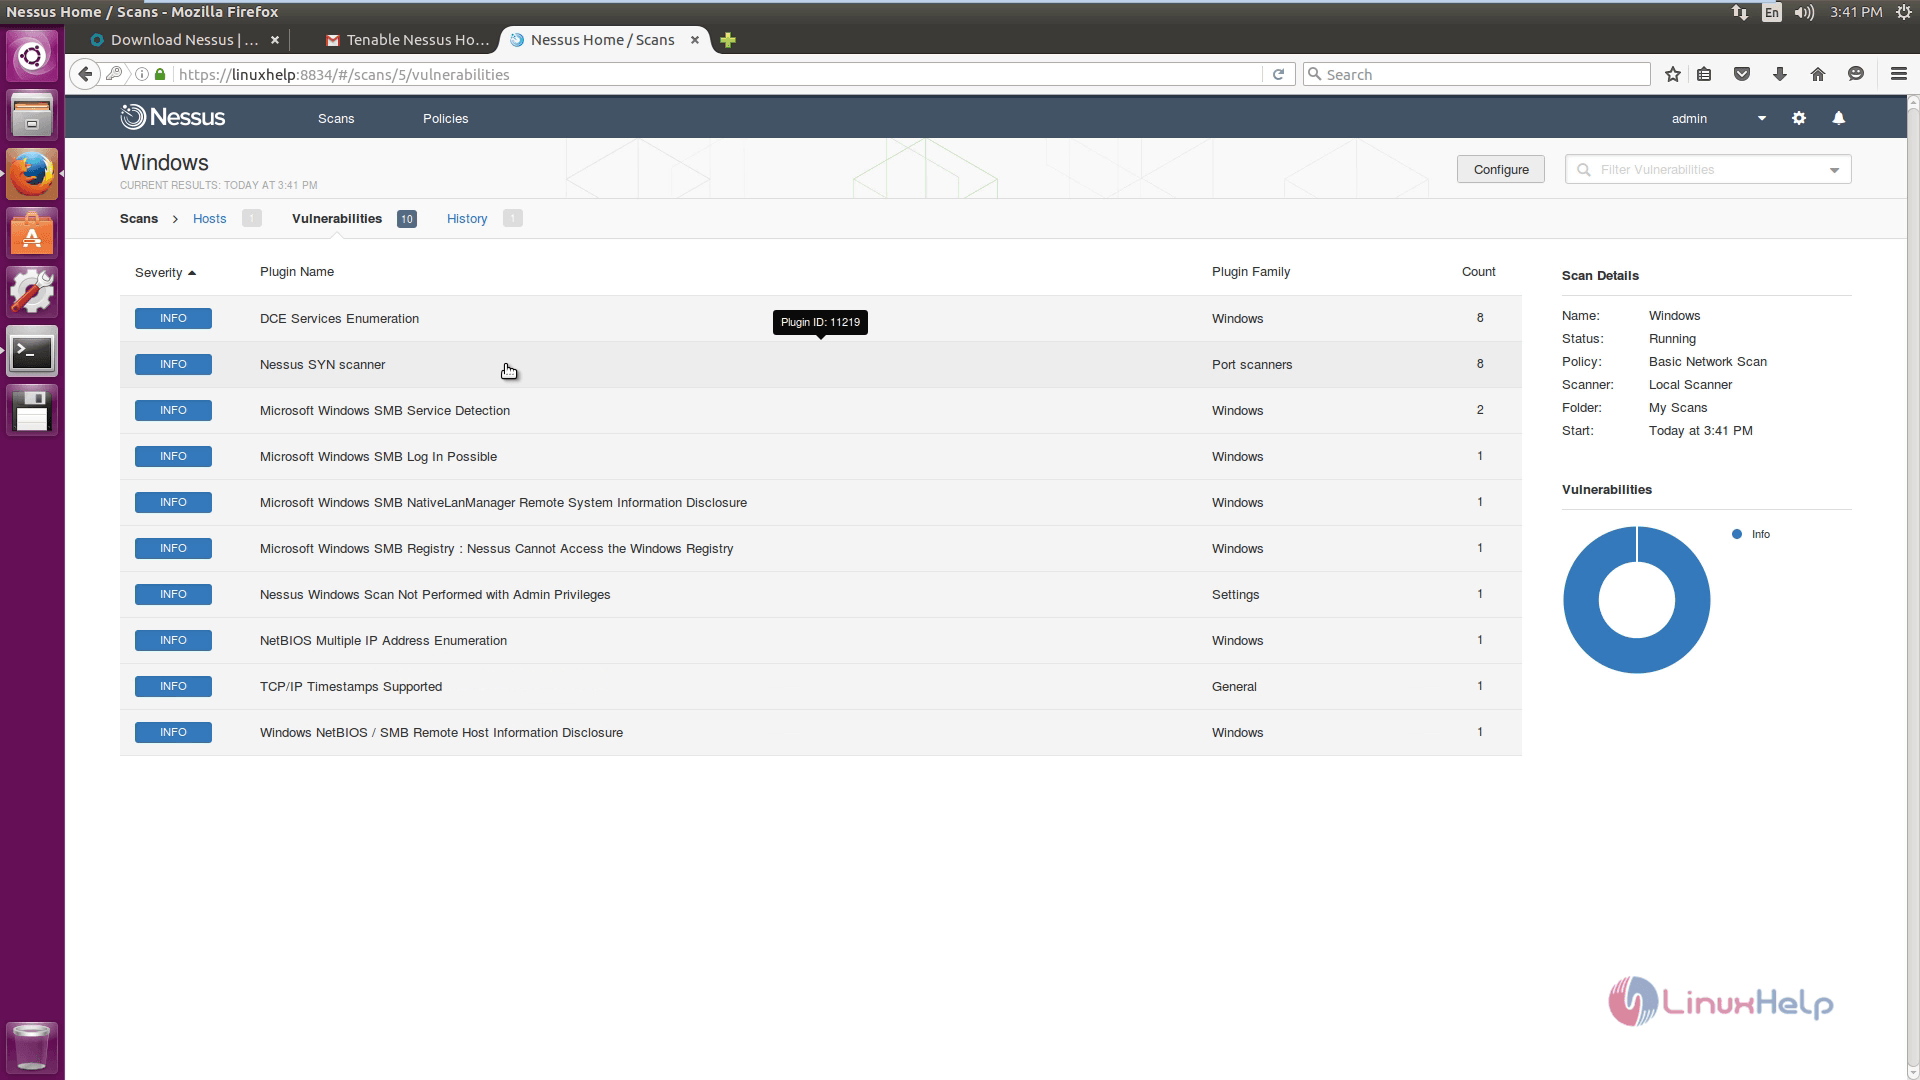
Click the vulnerability to see the description and solution for the vulnerabilities.
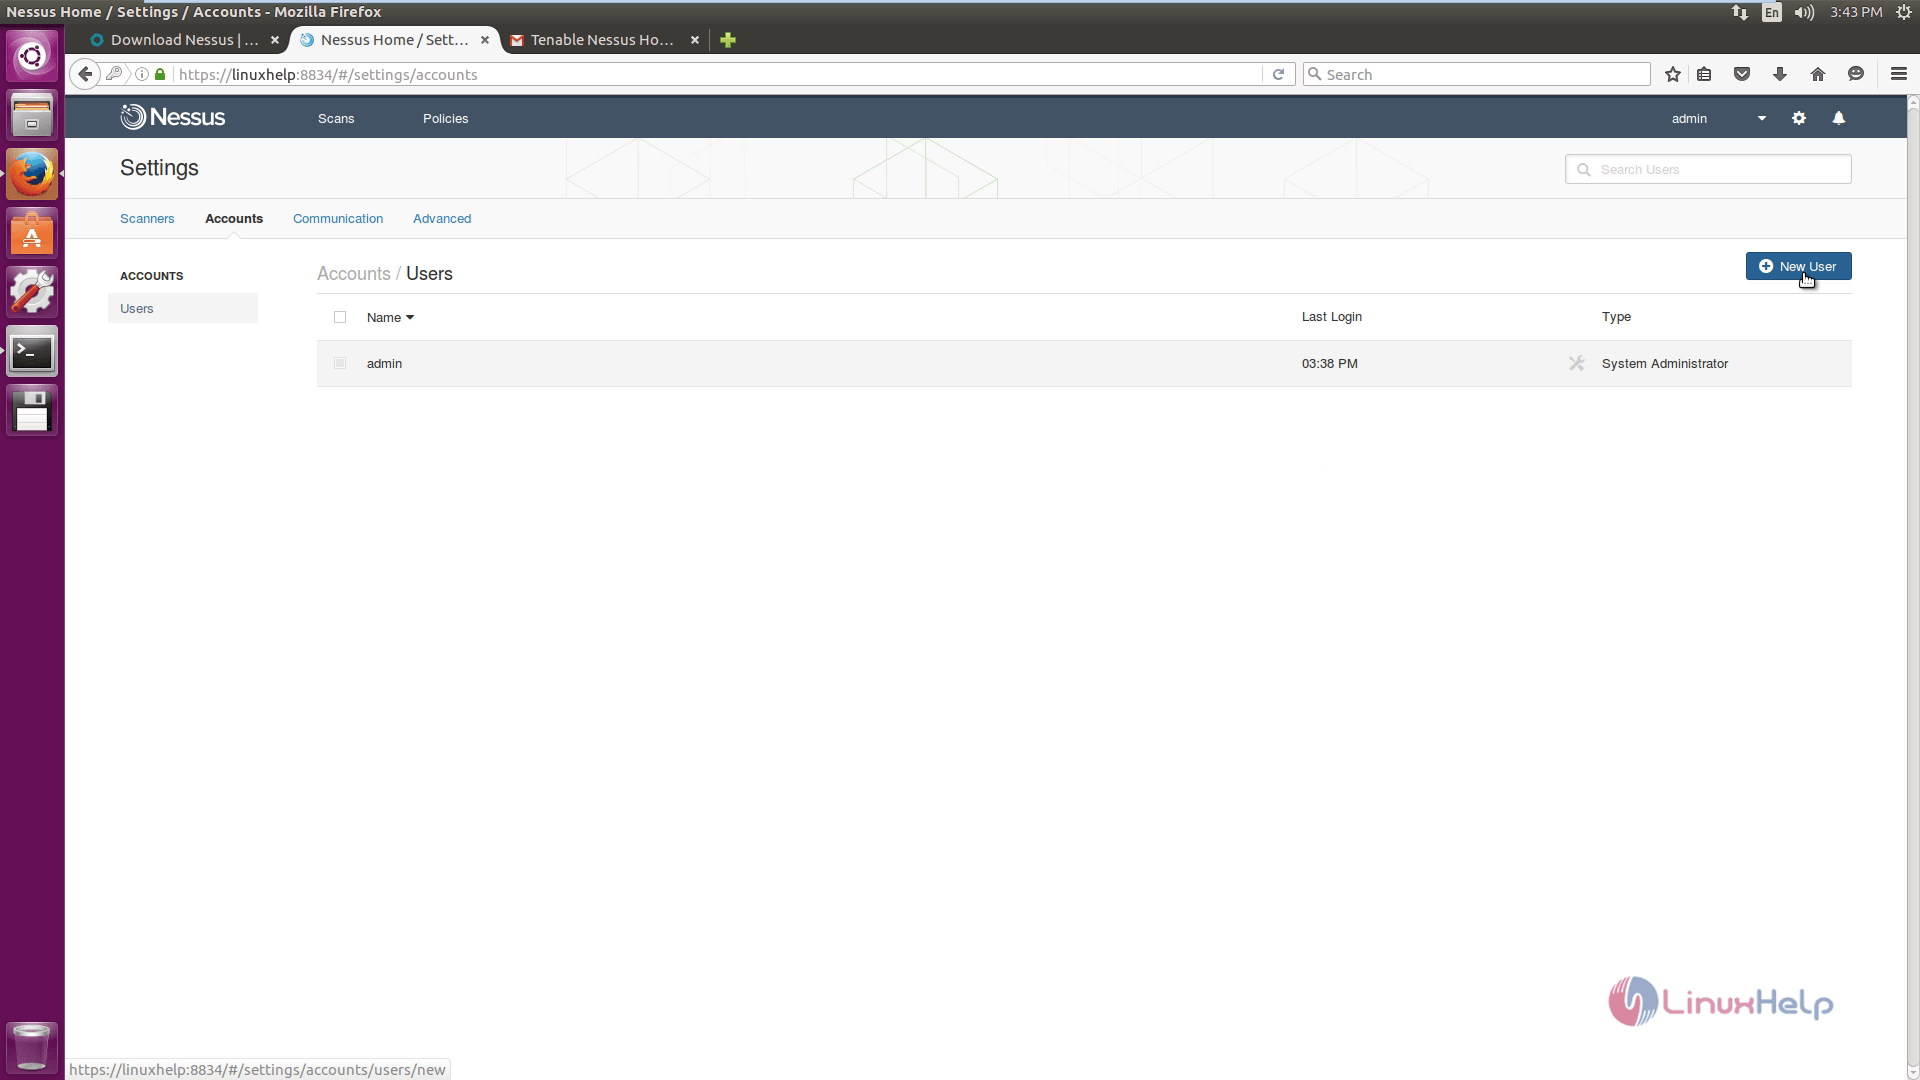
Go to Settings and then click Account Settings to view the account details.
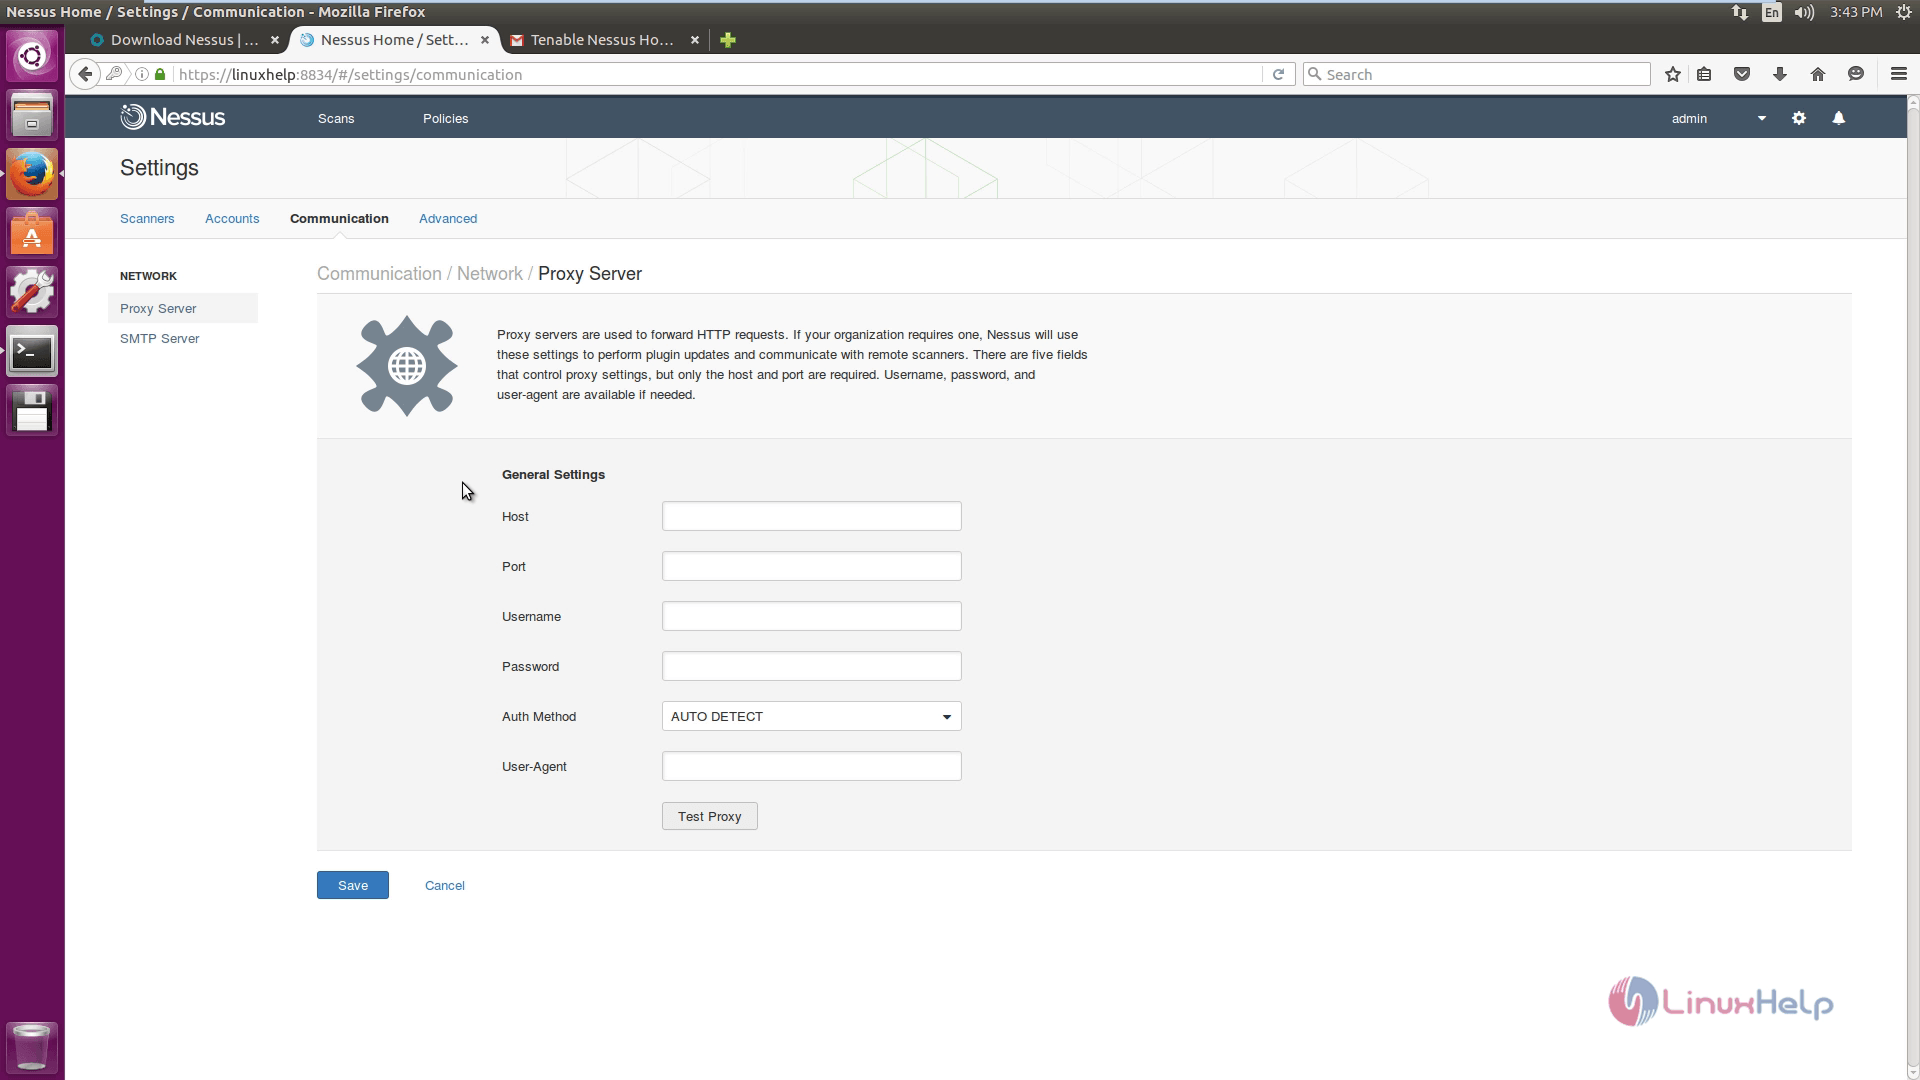
To view the Network settings, click Communications tab.
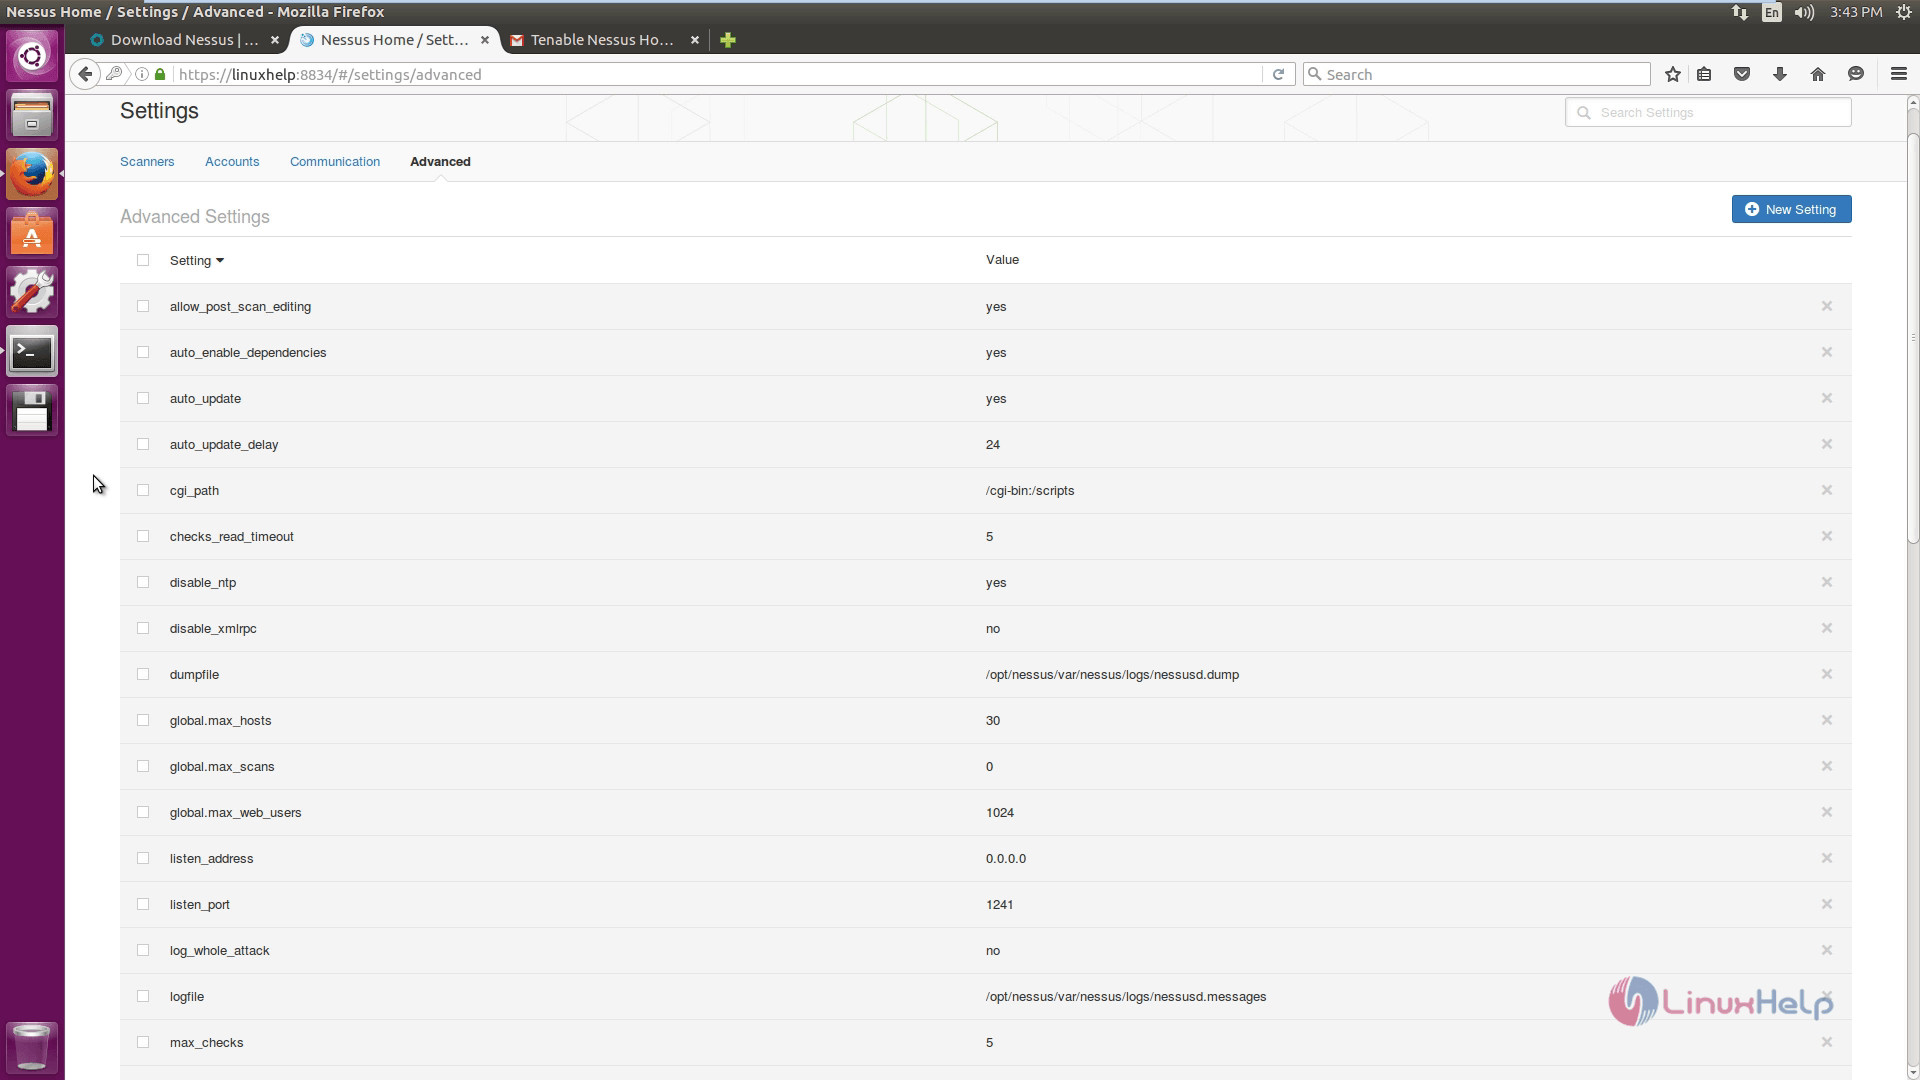
To know about the advanced settings, click advanced option.

Comments ( 0 )
No comments available