How to install and configure ownCloud On CentOS 8.1
How to Install and Configure owncloud on CentOS 8.1
Introduction:
OwnCloud is a free, open-source and powerful web application for data synchronization, file sharing, and remote storage of files. ownCloud is written in PHP/JavaScript languages. It is designed to work with several database management systems, including MySQL, MariaDB, SQLite, Oracle Database, and PostgreSQL.
Prerequisite:
Minimum 128MB RAM, recommend 512MB.
RHEL/CentOS 7/6, Fedora 18-23, Ubuntu 16.04-12.04, Debian 8/7, etc.
MySQL/MariaDB
PHP 5.4 +
Apache 2.4 with mod_php
Installation Procedure:
Install ownCloud Storage in Linux First we will check installed version of os on the system
[root@linuxhelp ~]# cat /etc/centos-release
CentOS Linux release 8.3.2011
Now isntall the mariadb server using the following commnad
 [root@linuxhelp ~]# yum install httpd mariadb-server php php-mysql php-curl
Last metadata expiration check: 1:53:35 ago on Thursday 10 December 2020 01:58:23 PM IST.
Package httpd-2.4.37-30.module_el8.3.0+561+97fdbbcc.x86_64 is already installed.
Package mariadb-server-3:10.3.17-1.module_el8.1.0+257+48736ea6.x86_64 is already installed.
Package php-7.4.13-1.el8.remi.x86_64 is already installed.
Package php-pecl-mysql-1.0.0-0.23.20190415.d7643af.el8.remi.7.4.x86_64 is already installed.
Package php-common-7.4.13-1.el8.remi.x86_64 is already installed.
Dependencies resolved.
Nothing to do.
Complete!
Create Cloud Database:
[root@linuxhelp ~]# mysql -u root -p
Enter password:
Welcome to the MariaDB monitor.  Commands end with ; or \g.
Your MariaDB connection id is 9
Server version: 10.3.17-MariaDB MariaDB Server
Copyright (c) 2020, 2018, Oracle, MariaDB Corporation Ab and others.
Type 'help;' or '\h' for help. Type '\c' to clear the current input statement.
mysql> create database cloud ;
Query OK, 1 row affected (0.00 sec)
mysql> grant all on cloud.* to tecmint@localhost identified by 'my_password';
Query OK, 0 rows affected (0.00 sec)
Download and Install ownCloud Application
[root@linuxhelp ~]#  wget https://download.owncloud.org/community/owncloud-9.0.0.tar.bz2
After Downloading the owncloud package, move it to your Apache working directory, which /var/www/
[root@linuxhelp ~]#  cp owncloud-9.0.0.tar.bz2 /var/www/html/
Next, extract the package using tar command as shown below.
[root@linuxhelp ~]# tar -jxvf owncloud-9.0.0.tar.bz2
Since the TAR Archive is extracted you may remove the Archive.
[root@linuxhelp ~]#  rm -rf owncloud-9.0.0.tar.bz2
[root@linuxhelp ~]# ll
total 6648
-rw-------.  1 root   root      1752 Oct  9 12:19 anaconda-ks.cfg
-rw-r--r--.  1 root   root      1907 Oct  9 12:46 initial-setup-ks.cfg
-rw-r--r--.  1 root   root   6792604 Nov  4 20:08 master.zip
drwxrwxrwx  14 nobody nobody    4096 Mar  8  2016 owncloud
Now move owncloud file to the apache root directory
[root@linuxhelp ~]# mv owncloud /var/www/
Now change directory to check files
[root@linuxhelp ~]# cd var/www
Now list the files
[root@linuxhelp www]# ll
total 20
drwxr-xr-x.  2 root   root   4096 Nov  4 08:53 cgi-bin
drwxr-xr-x.  2 root   root   4096 Dec 10 14:27 html
-rw-r--r--.  1 root   root     21 Nov  5 15:34 info.php
drwxrwxrwx  14 nobody nobody 4096 Mar  8  2016 owncloud
Now change permission and ownership
[root@linuxhelp www]# chmod -R 777 owncloud
[root@linuxhelp www]# chown -R apache:apache /var/www/owncloud
Now create virtual host for owncloud service
[root@linuxhelp www]# vim /etc/httpd/conf.d/cloud.conf
<Virtualhost *:80>
        servername www.linuxhelp1.com
        documentroot /var/www/owncloud
<directory /var/www/owncloud>
allowoverride all
allow from all
</directory>
</virtualhost>
Now restart the apache service
[root@linuxhelp www]# systemctl restart httpd
Now go to browser and type www.linuxhelp1.com/owncloud and open owncloud
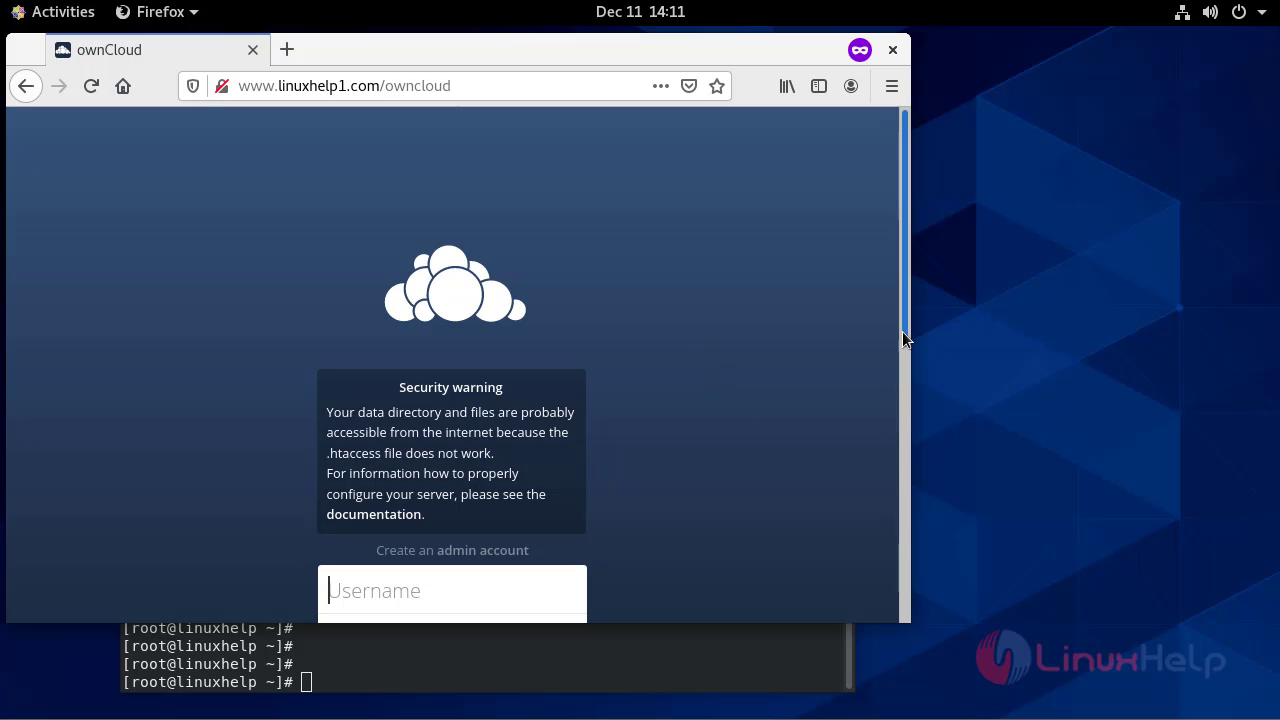 Provide all the credentials

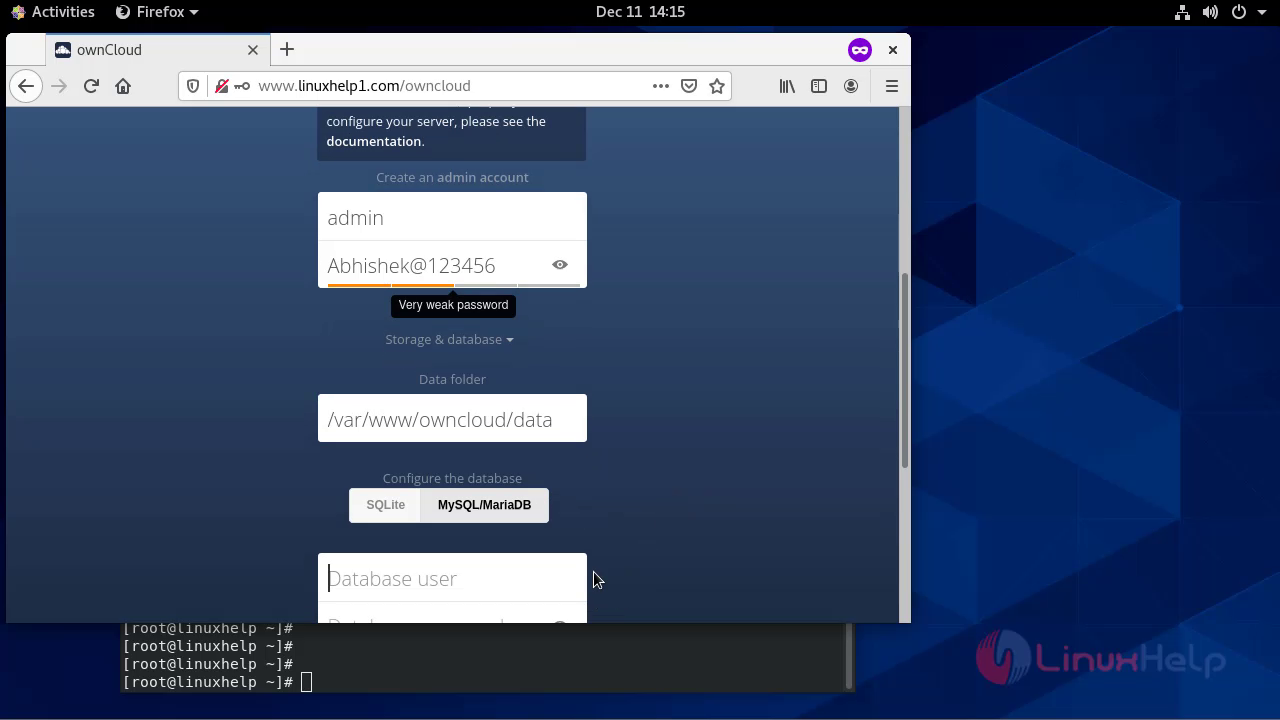
With this installation of Owncloud comes to end
Comments ( 0 )
No comments available