How to install and configure OwnCloud on Rocky Linux 8.6
- 00:36 cat /etc/os-release
- 00:53 mysql -u root -p
- 03:07 wget https://download.owncloud.org/community/owncloud-9.0.0.tar.bz2
- 03:24 tar -jxf owncloud-9.0.0.tar.bz2
- 04:01 mv owncloud /var/www/
- 04:12 chown -R apache:apache /var/www/owncloud/
- 04:26 chmod -R 777 /var/www/owncloud/
- 04:41 vim /etc/httpd/conf.d/cloud.conf
- 06:31 vim /etc/hosts
- 07:00 setenforce 0
- 07:08 systemctl restart httpd
To Install and Configure OwnCloud on Rocky Linux 8.6
Introduction:
OwnCloud is a free, open-source, and powerful web application for data synchronization, file sharing, and remote storage of files written in PHP/JavaScript languages. It is developed to work with various database management systems, such as MySQL, MariaDB, SQLite, Oracle Database, and PostgreSQL.
Pre-requisite:
Minimum 128MB RAM, recommend 512MB. MySQL/MariaDB PHP 7.4 Apache with mod_php yum install php php-mysql php-curl dnf install php-gd php-intl php-json php-ldap php-mbstring php-mysqlnd php-xml php-zip php-opcache
INSTALLATION STEPS:
Step 1: Check installed version of OS by using the below command
[root@linuxhelp ~]# cat /etc/os-release
NAME="Rocky Linux"
VERSION="8.6 (Green Obsidian)"
ID="rocky"
ID_LIKE="rhel centos fedora"
VERSION_ID="8.6"
PLATFORM_ID="platform:el8"
PRETTY_NAME="Rocky Linux 8.6 (Green Obsidian)"
Step 2: Create Database and user by using the below command
[root@linuxhelp ~]# mysql -u root -p
mysql>CREATE DATABASE owncloud_db;
create user 'owncloud_user'@'localhost' IDENTIFIED BY 'Linuxc#4';
mysql>GRANT ALL ON owncloud_db.* TO 'owncloud_user'@'localhost';
mysql>FLUSH PRIVILEGES;
mysql>EXIT;
Step 3: Download and Install ownCloud package by using the below command
[root@linuxhelp mnt]# wget https://download.owncloud.org/community/owncloud-9.0.0.tar.bz2
Resolving github.com (github.com)... 13.234.176.102
Connecting to github.com (github.com)|13.234.176.102|:443... connected.
HTTP request sent, awaiting response... 302 Found
Location: https://download.owncloud.org/community/owncloud --2022-07-01 01:38:46--  https://codeload.github.com/niutech/zimplitcms/zip/refs/tags/3.0
Resolving codeload.github.com (codeload.github.com)... 13.233.43.20
Step 4: Extract tar file by using the below command
[root@linuxhelp mnt]# tar -jxf owncloud-9.0.0.tar.bz2
c88bcee6f23b0277309e52d421fa84545843b370
   creating: zimplitcms-3.0/
  inflating: zimplitcms-3.0/README.md
   creating: zimplitcms-3.0/Z-scripts/
  inflating: zimplitcms-3.0/Z-scripts/pclzip.lib.php
  inflating: zimplitcms-3.0/Zconfig.php
   creating: zimplitcms-3.0/editor/
  inflating: zimplitcms-3.0/editor/Gmaps.js
Step 5: Now move ownCloud file to the apache root directory by using the below command
[root@linuxhelp mnt]# mv owncloud /var/www/
Step 6: Now change permission and ownership by using the below command
[root@linuxhelp mnt]# chown -R apache:apache /var/www/owncloud/
[root@linuxhelp mnt]# chmod -R 777 /var/www/owncloud/
Step 7: Now create virtual host for ownCloud service by using the below command
[root@linuxhelp mnt]# vim /etc/httpd/conf.d/cloud.conf
<Virtualhost *:80>
        servername www.linuxhelp1.com
        documentroot /var/www/owncloud
<directory /var/www/owncloud>
allowoverride all
allow from all
</directory>
</virtualhost>
Step 8: Put the host entry by using the below command
[root@linuxhelp mnt]# vim /etc/hosts
127.0.0.1 www.linuxhelp1.com
Step 9: Disable seLinux by using the below command
[root@linuxhelp mnt]# setenforce 0
Step 10: Restart Apache server by using the below command
[root@linuxhelp mnt]# systemctl restart httpd
Step 11: check ip address using the below command
[root@linuxhelp ~]# ip a
1: lo: <LOOPBACK,UP,LOWER_UP> mtu 65536 qdisc noqueue state UNKNOWN group default qlen 1000
    link/loopback 00:00:00:00:00:00 brd 00:00:00:00:00:00
    inet 127.0.0.1/8 scope host lo
       valid_lft forever preferred_lft forever
    inet6 ::1/128 scope host
       valid_lft forever preferred_lft forever
2: ens33: <BROADCAST,MULTICAST,UP,LOWER_UP> mtu 1500 qdisc fq_codel state UP group default qlen 1000
    link/ether 00:0c:29:b8:f7:db brd ff:ff:ff:ff:ff:ff
    inet 192.168.6.122/23 brd 192.168.7.255 scope global noprefixroute ens33
       valid_lft forever preferred_lft forever
    inet6 fe80::20c:29ff:feb8:f7db/64 scope link noprefixroute
       valid_lft forever preferred_lft forever
3: virbr0: <NO-CARRIER,BROADCAST,MULTICAST,UP> mtu 1500 qdisc noqueue state DOWN group default qlen 1000
    link/ether 52:54:00:f2:20:6b brd ff:ff:ff:ff:ff:ff
    inet 192.168.122.1/24 brd 192.168.122.255 scope global virbr0
       valid_lft forever preferred_lft forever
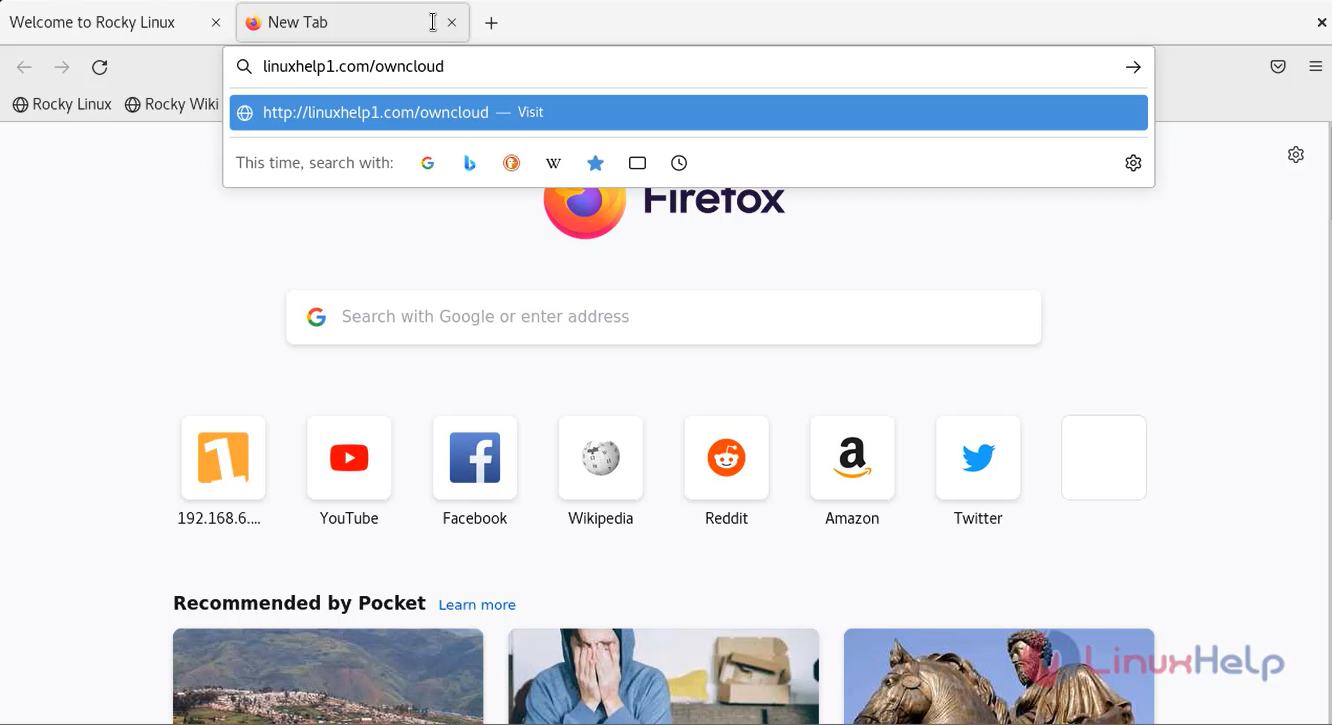
Step 12: Now go to the browser and type www.linuxhelp1.com/owncloud and open ownCloud as shown in the below image
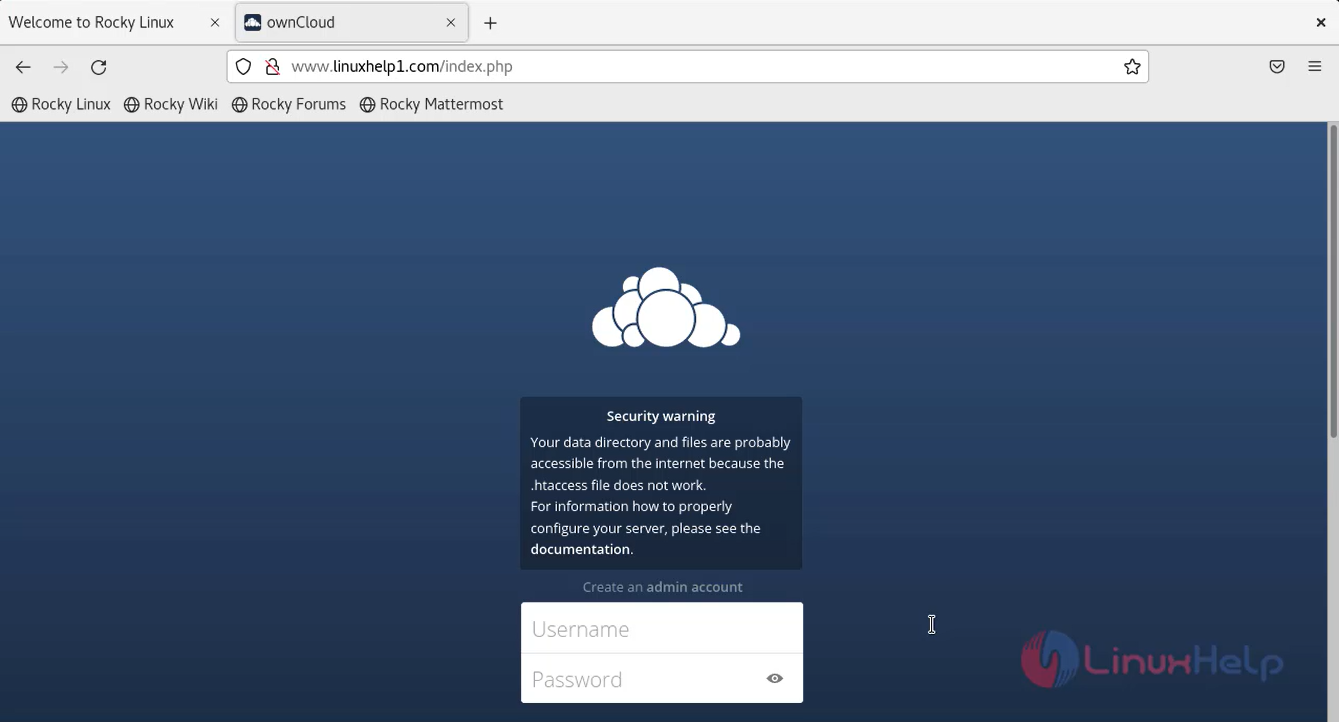
Step 13: Provide all the credentials as shown in the below image
Conclusion:
We have reached the end of this article. In this guide, we have walked you through the steps required to install and configure ownCloud on Rocky Linux 8.6. Your feedback is much welcome.
Comments ( 0 )
No comments available