How to install Azure CLI and create a virtual machine using Azure CLI commands
{{postValue.id}}
To Install Azure CLI and create a virtual machine using Azure CLI commands.
Installation Procedure:
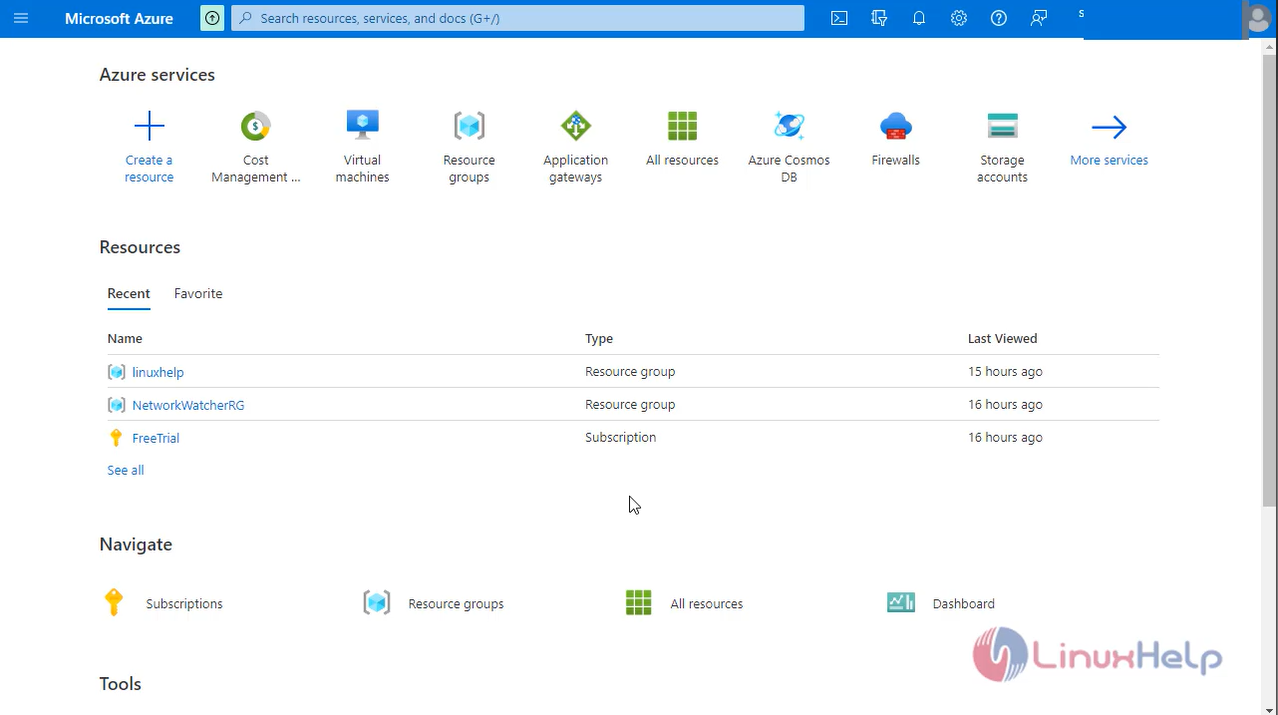
Step 1: Login to Microsoft Azure portal
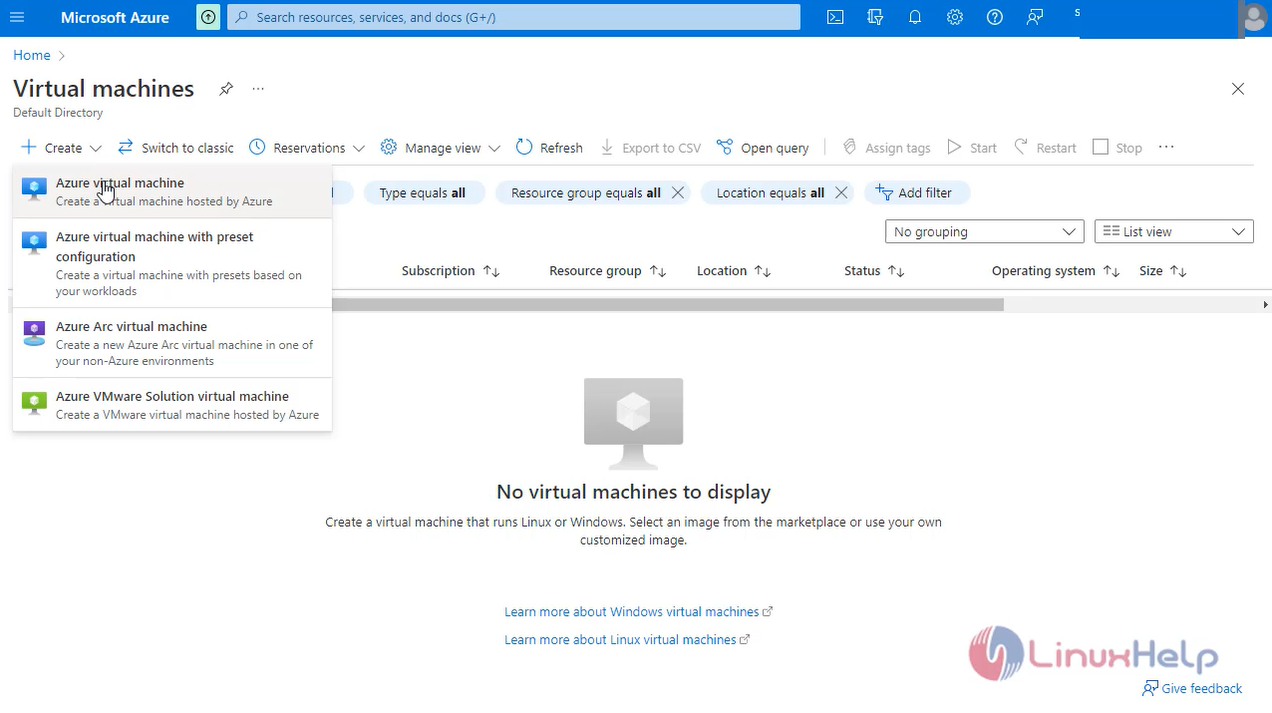
Step2: Select virtual machine and click Create
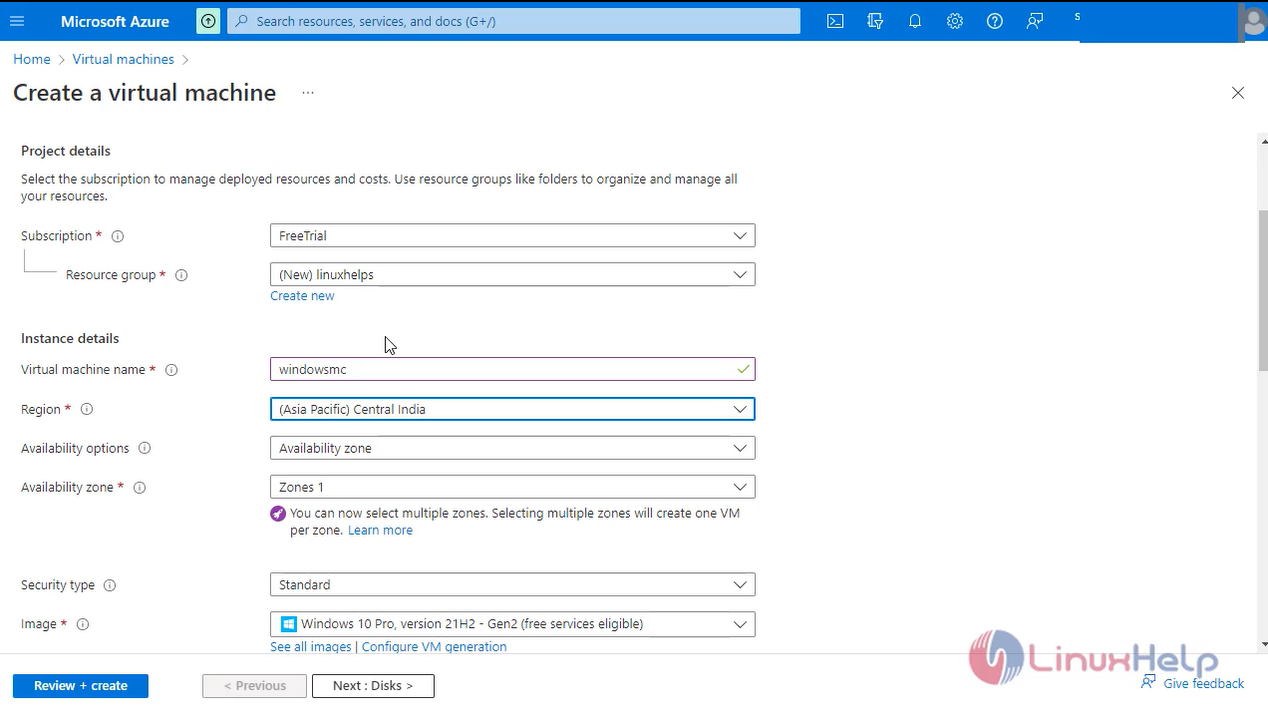
Step 3: Enter the Project details Instance Details and Administration account details
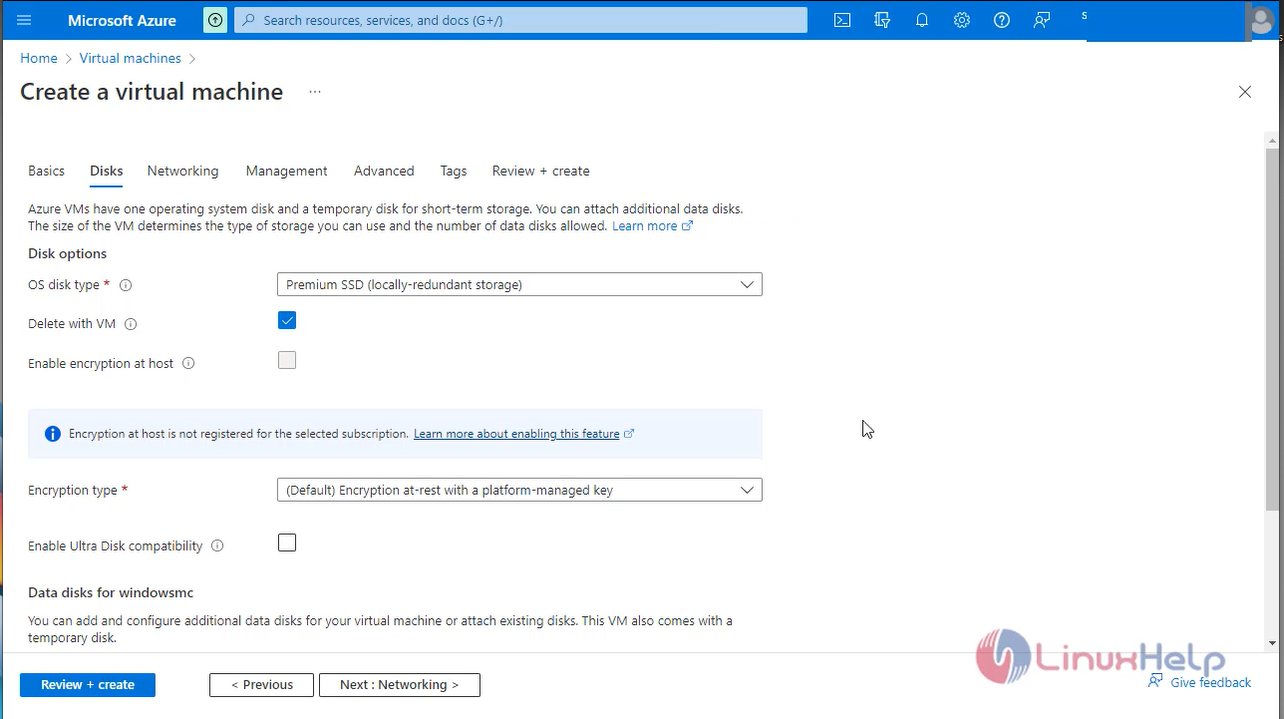
Step 4: Enter the Disk Details and click next
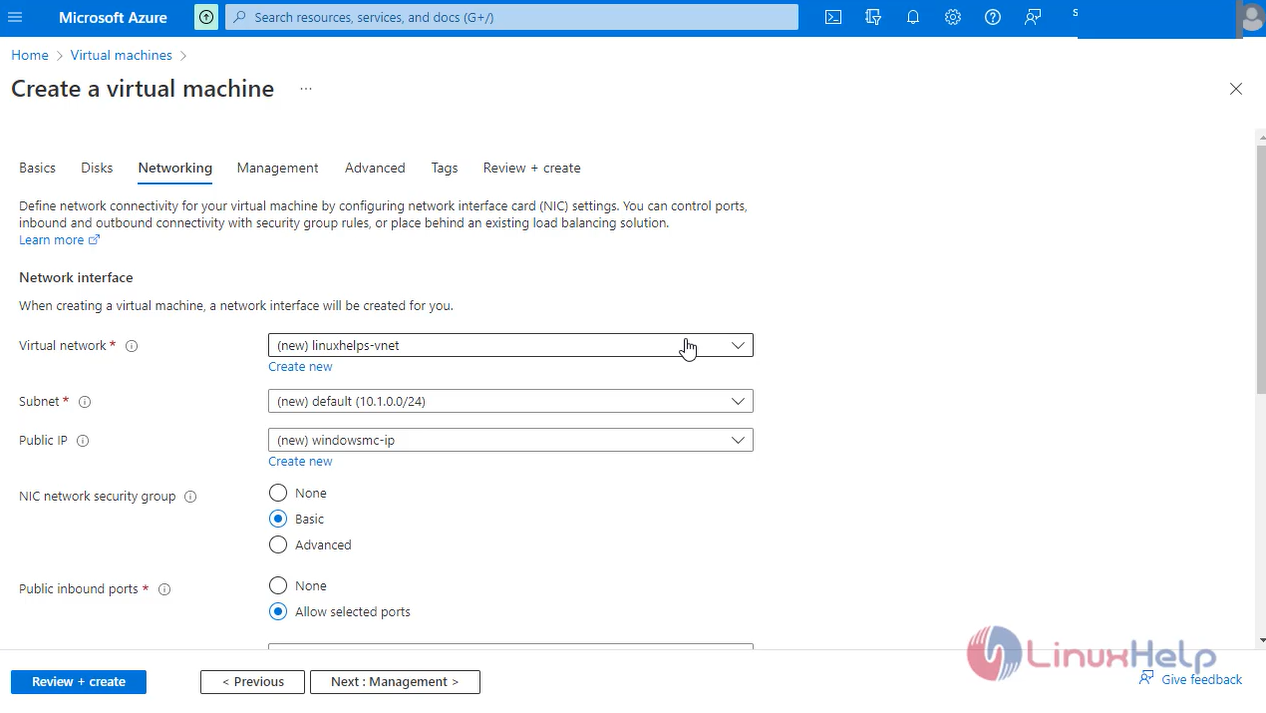
Step 5: Enter the Networking Interface Details
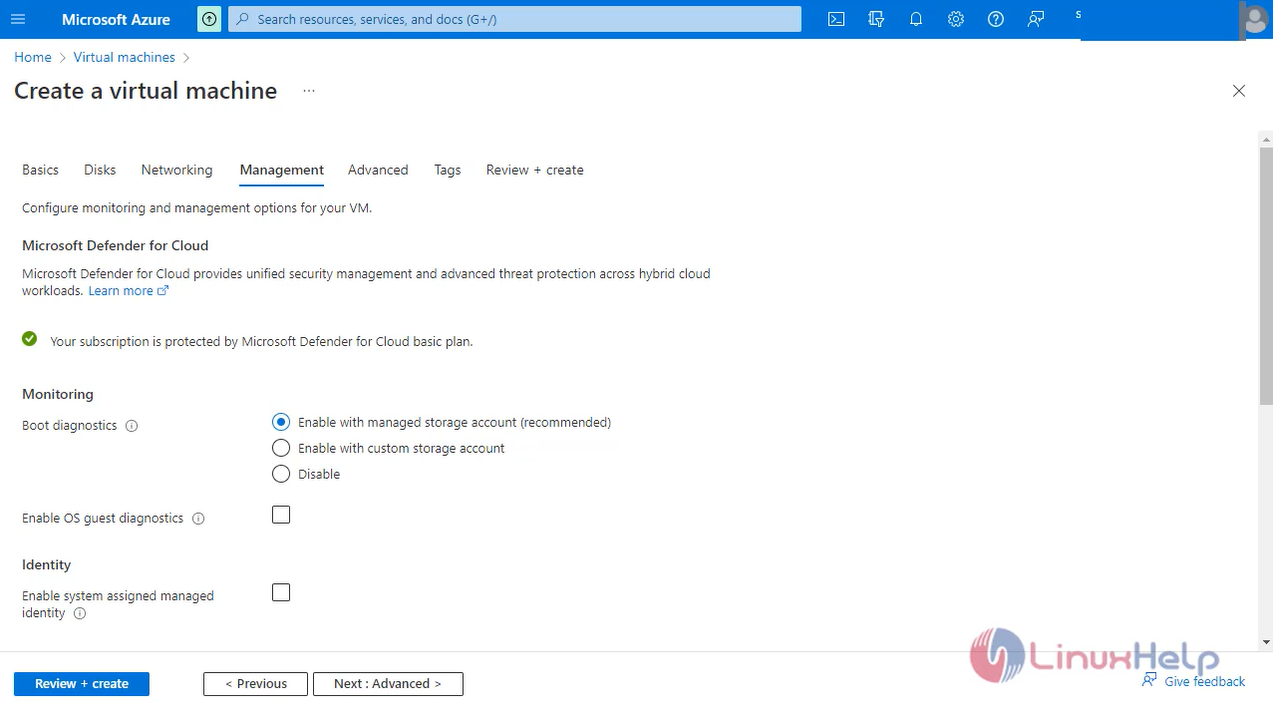
Step 6: Set to default configuration in management, advanced and tags tab
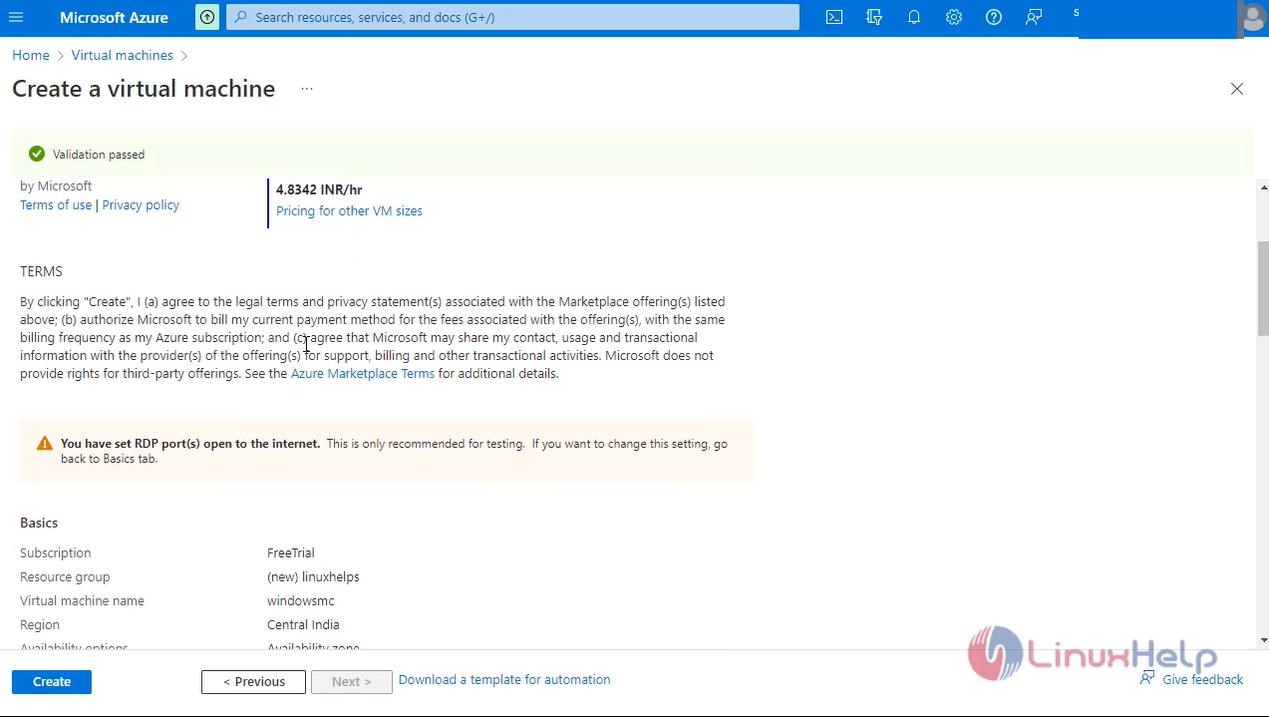
Step 7: Review and Click Create to create the virtual machine
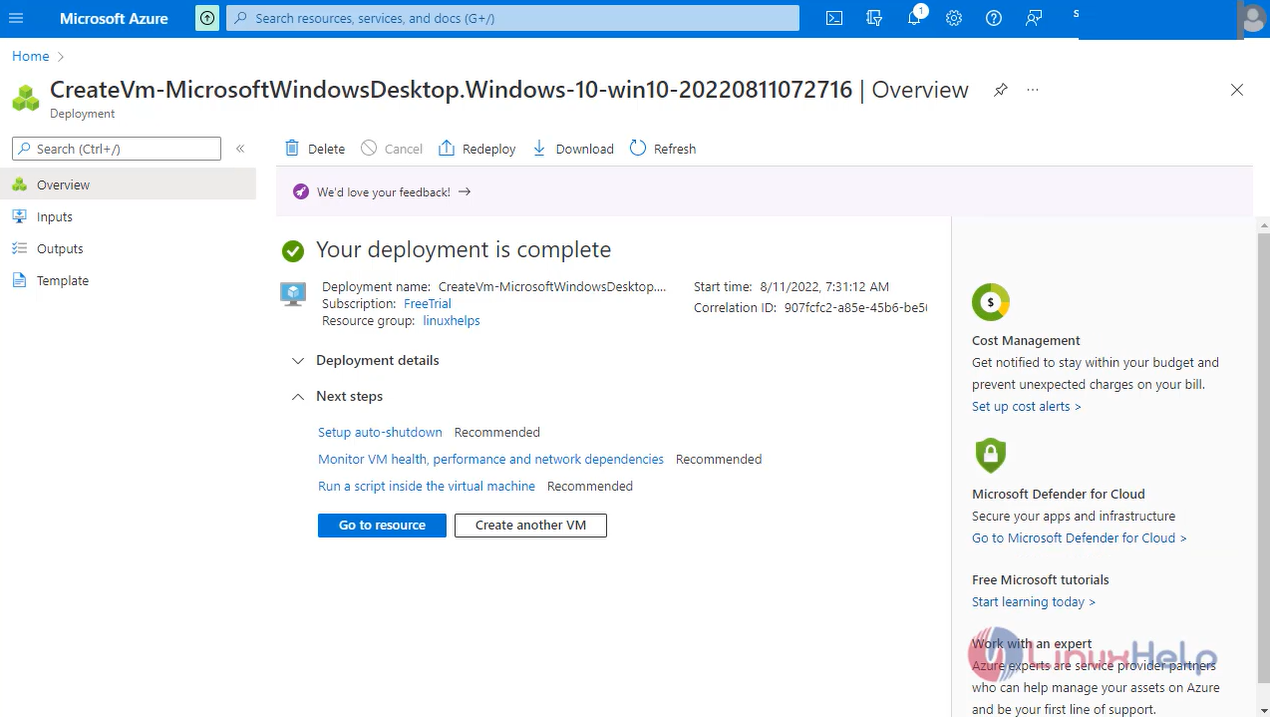
Step 8: The Deployment is successful
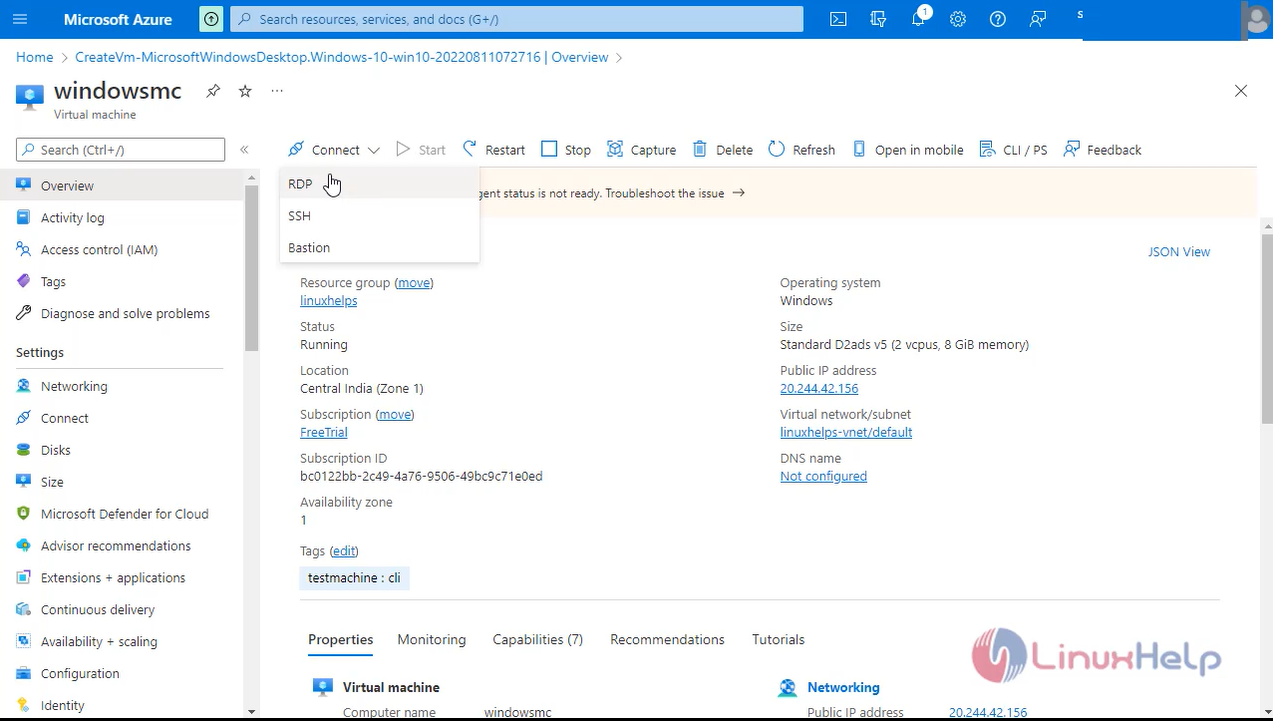
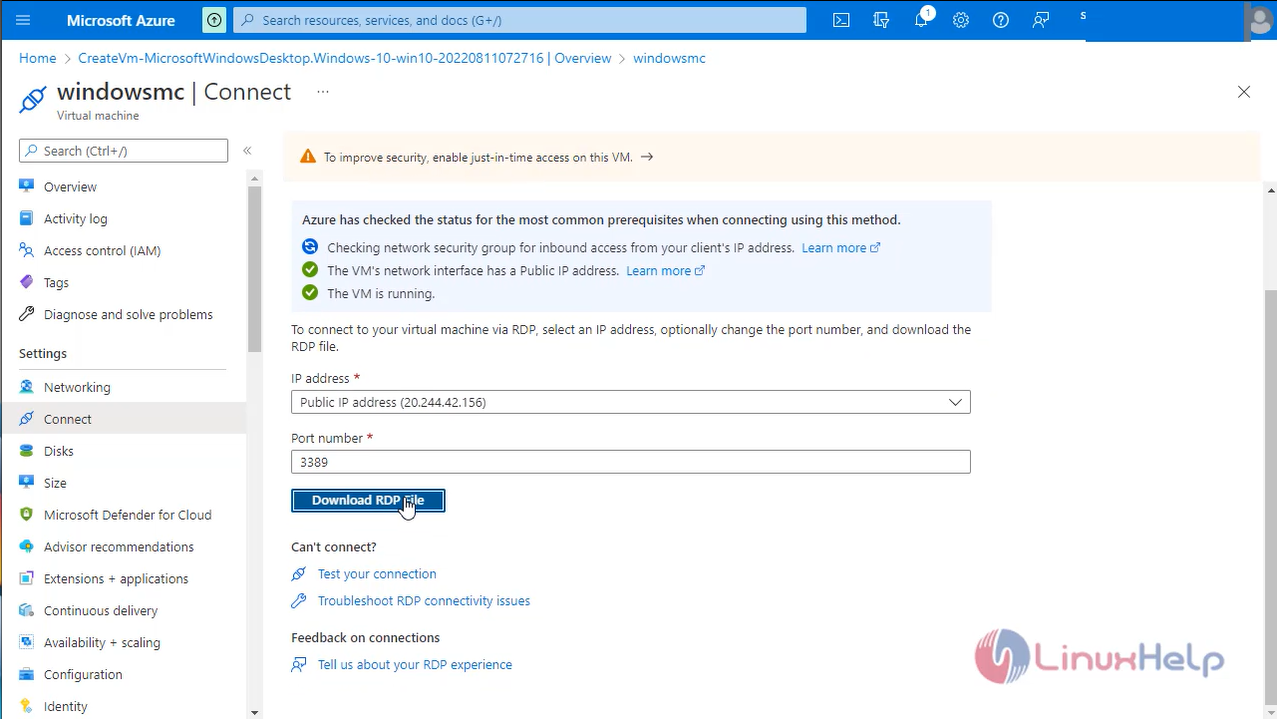
Step9: Click connect, select RDP and Download the RDP file
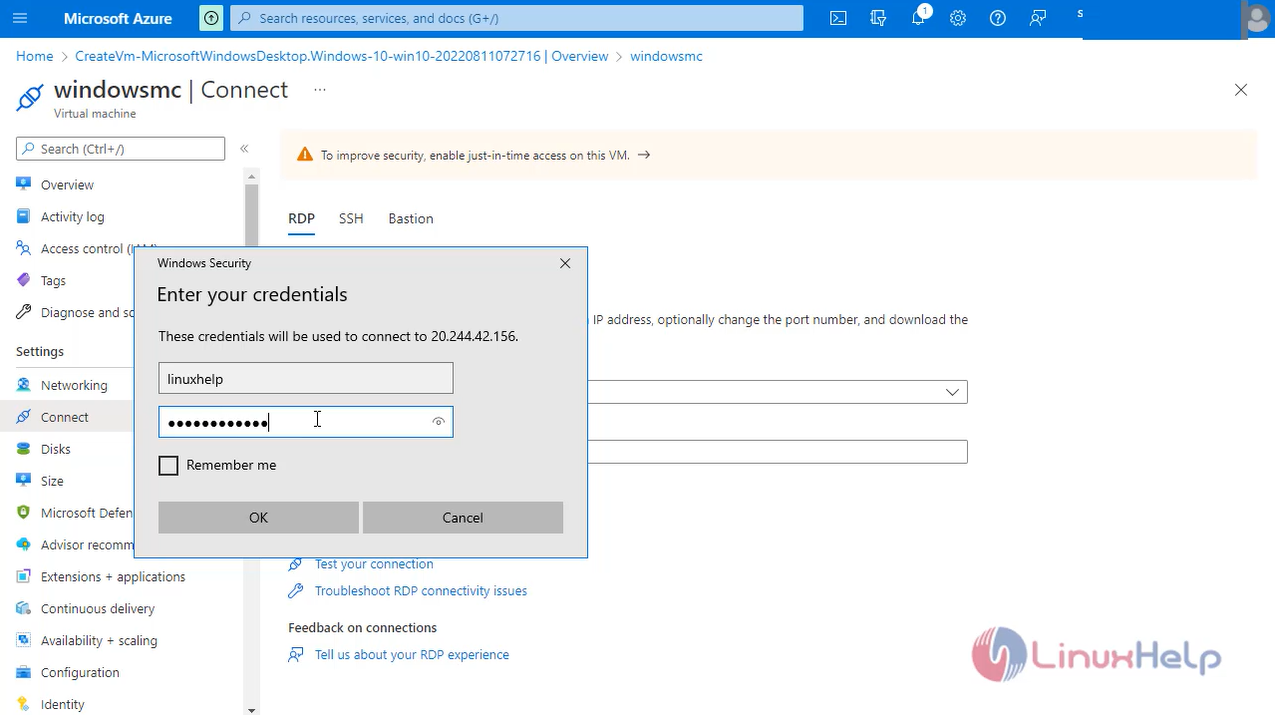
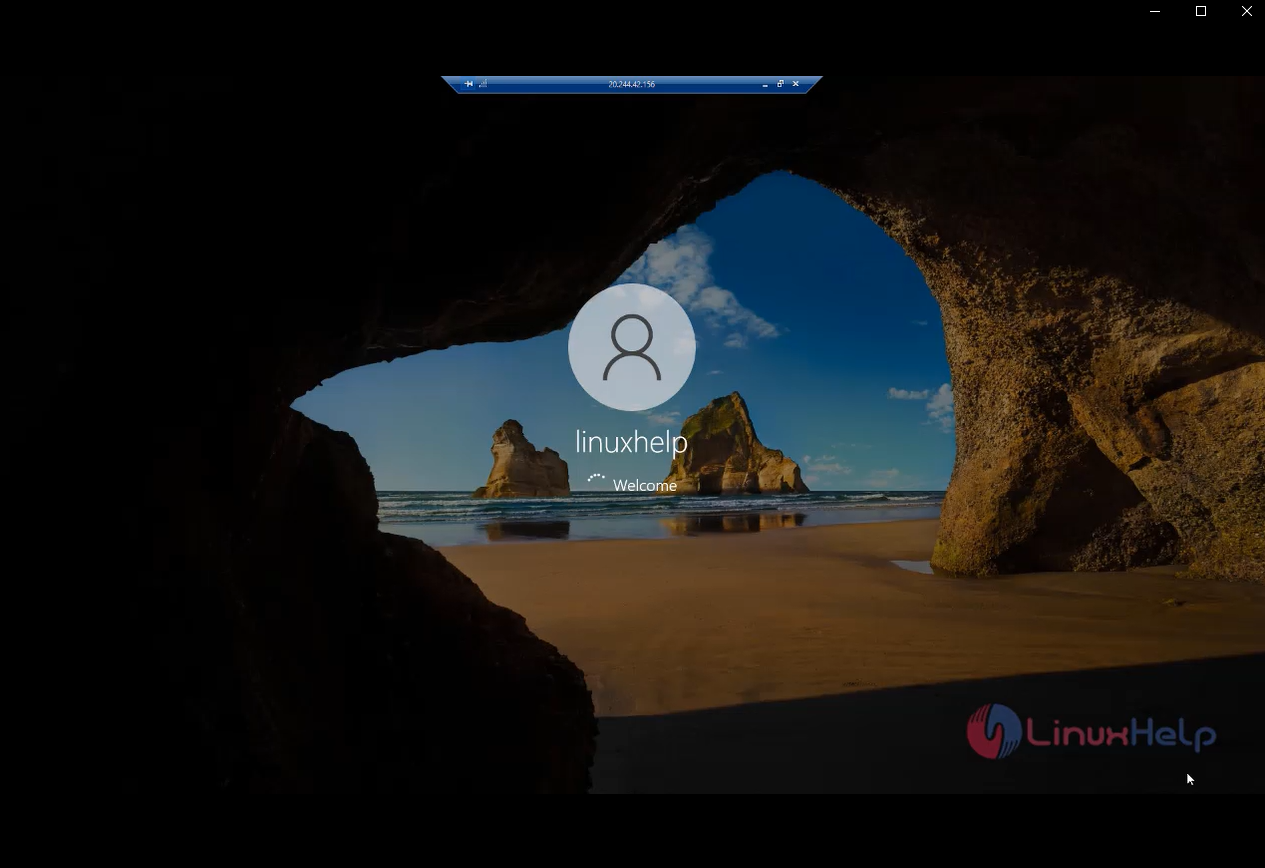
Step 10: Open the RDP file and Enter the Username and password
Through RDP we can use windows virtual machine
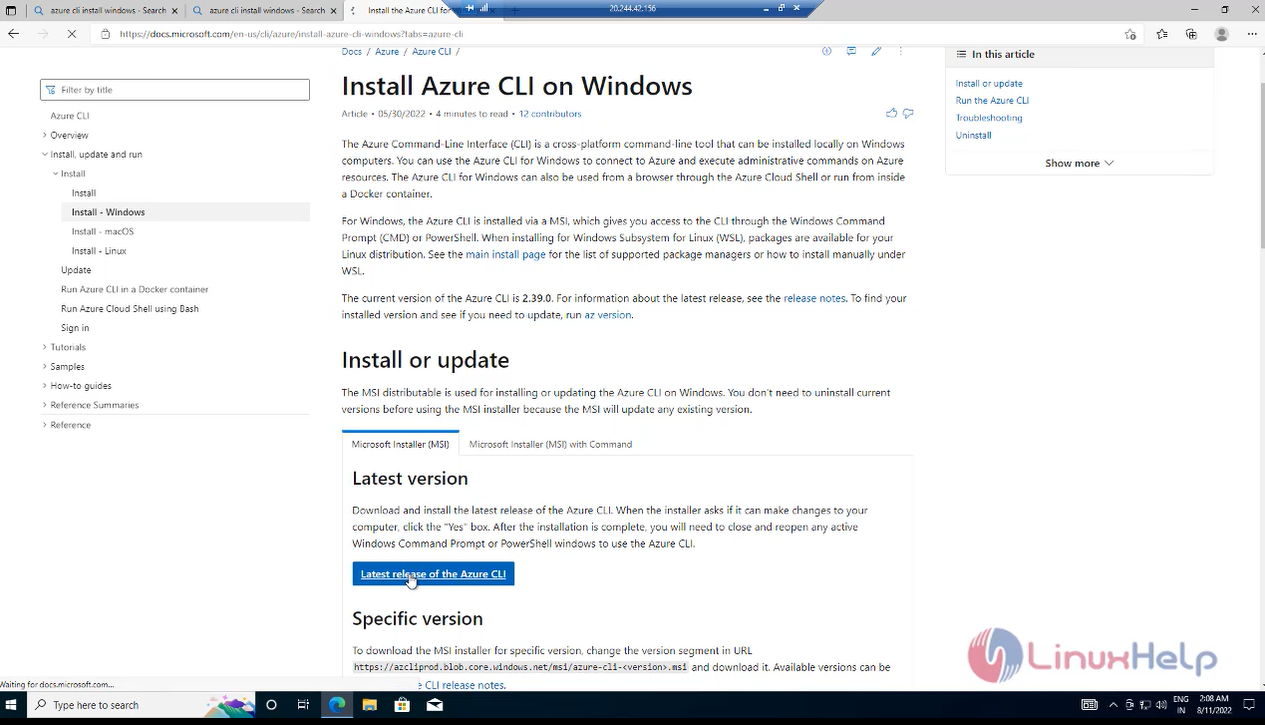
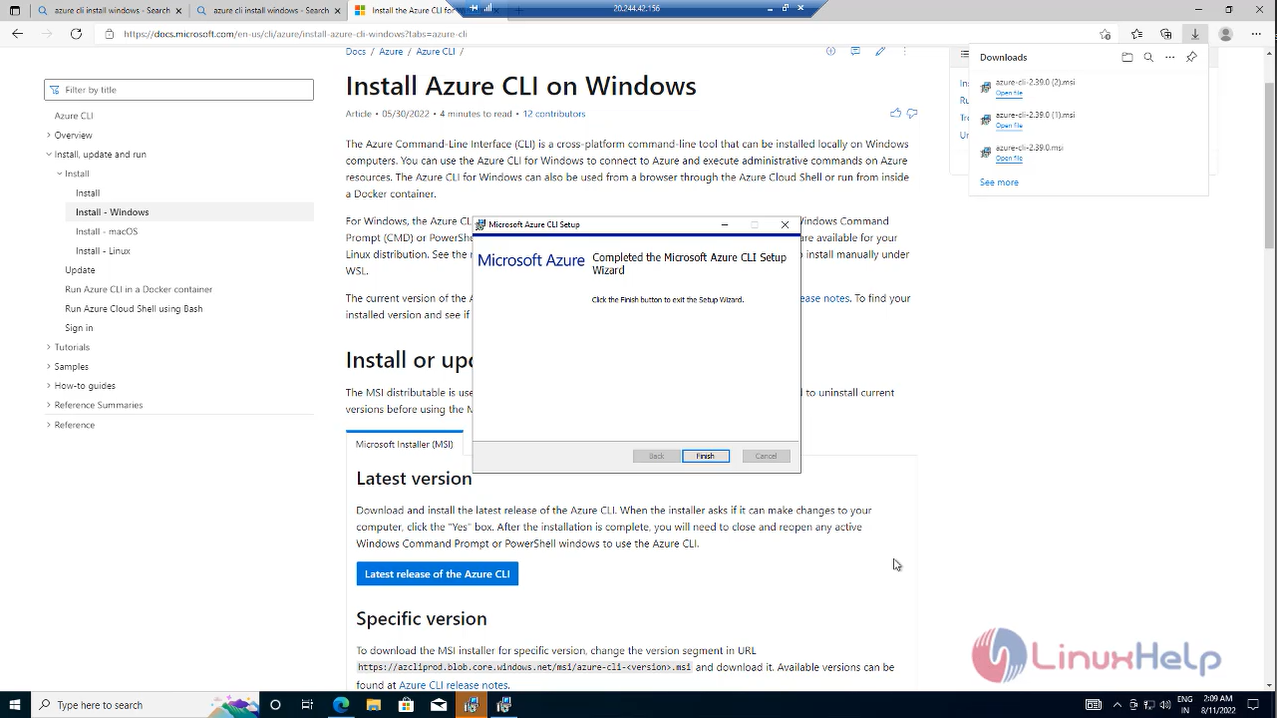
Next Go to the browser browses the azure cli installation and install package.
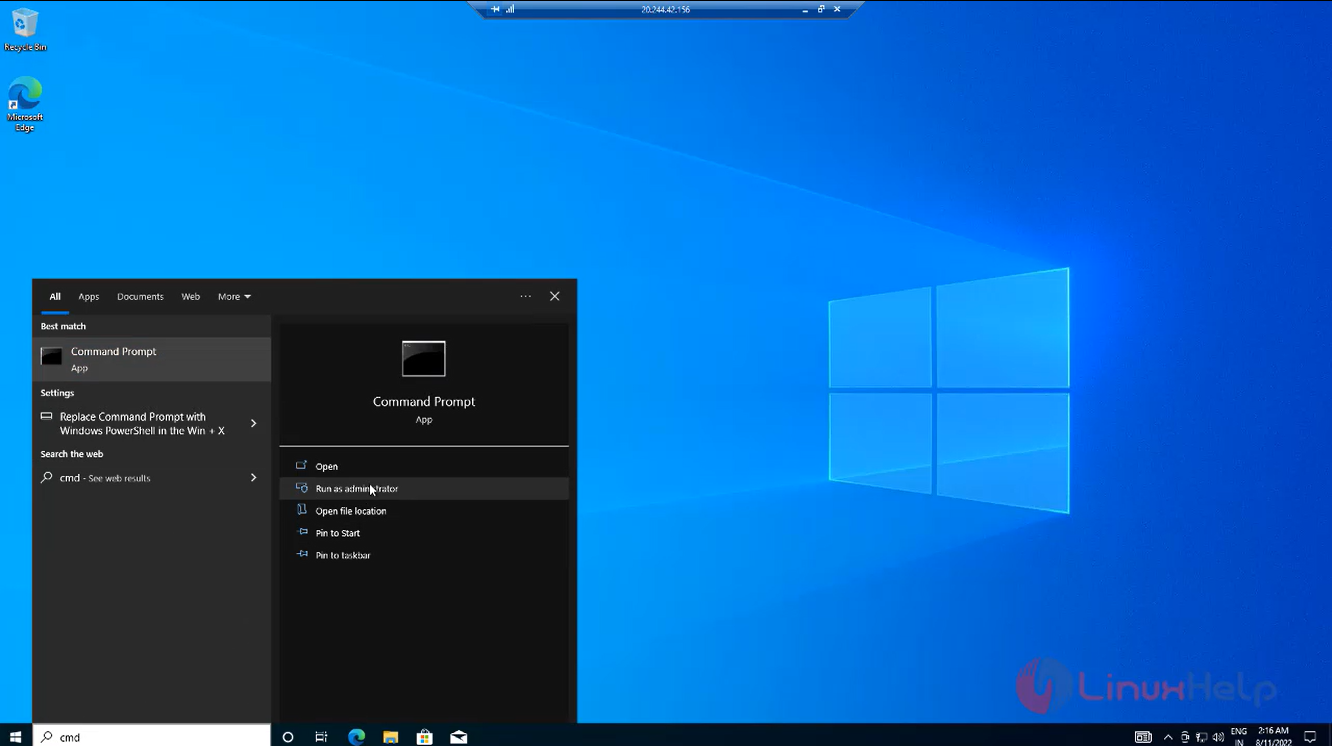
After install go to command prompt at run for Run as administrator.
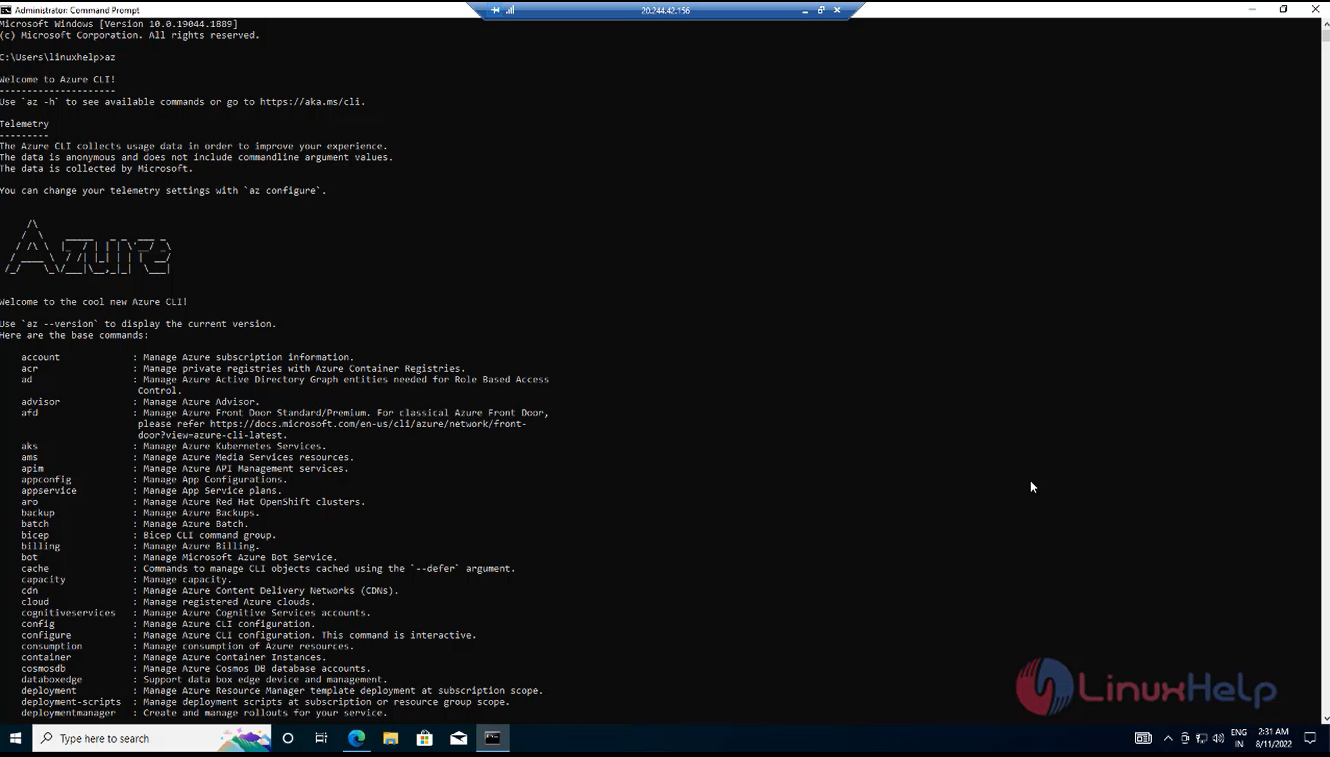
First Run the following Command. You can see azure install or not
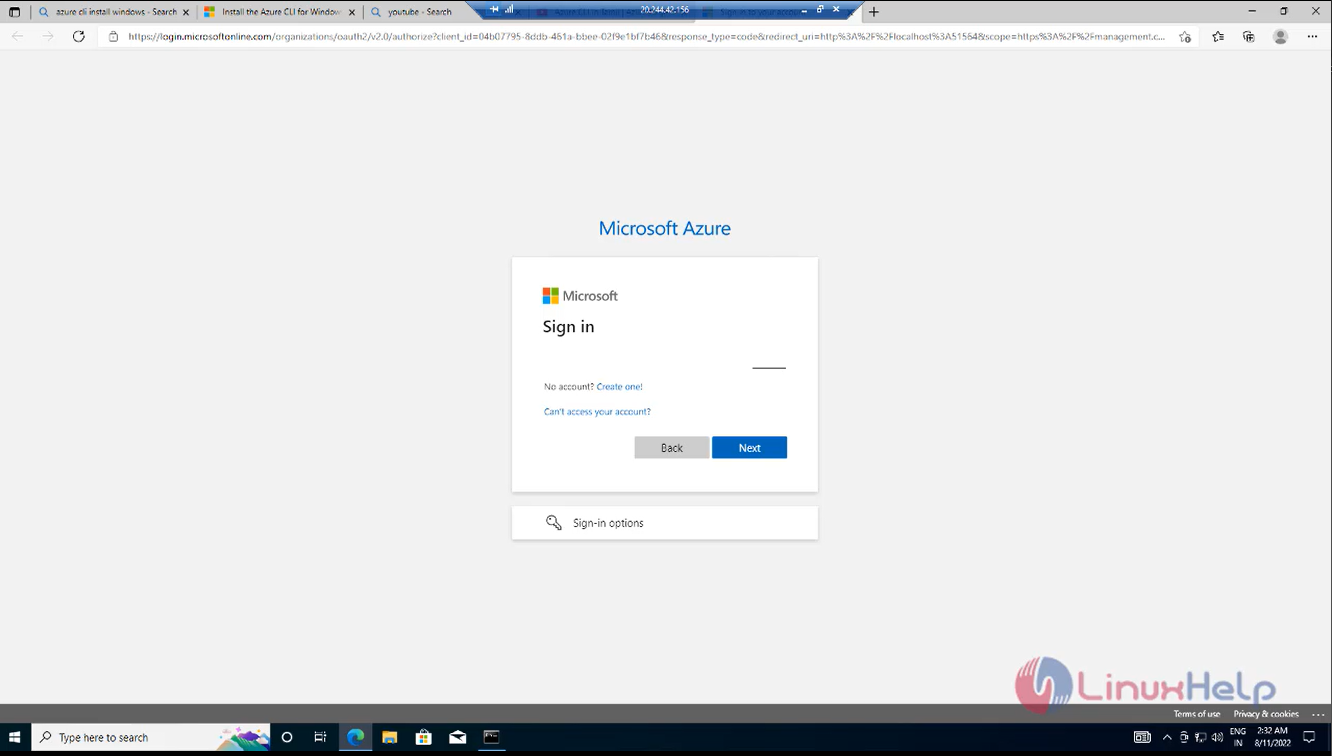
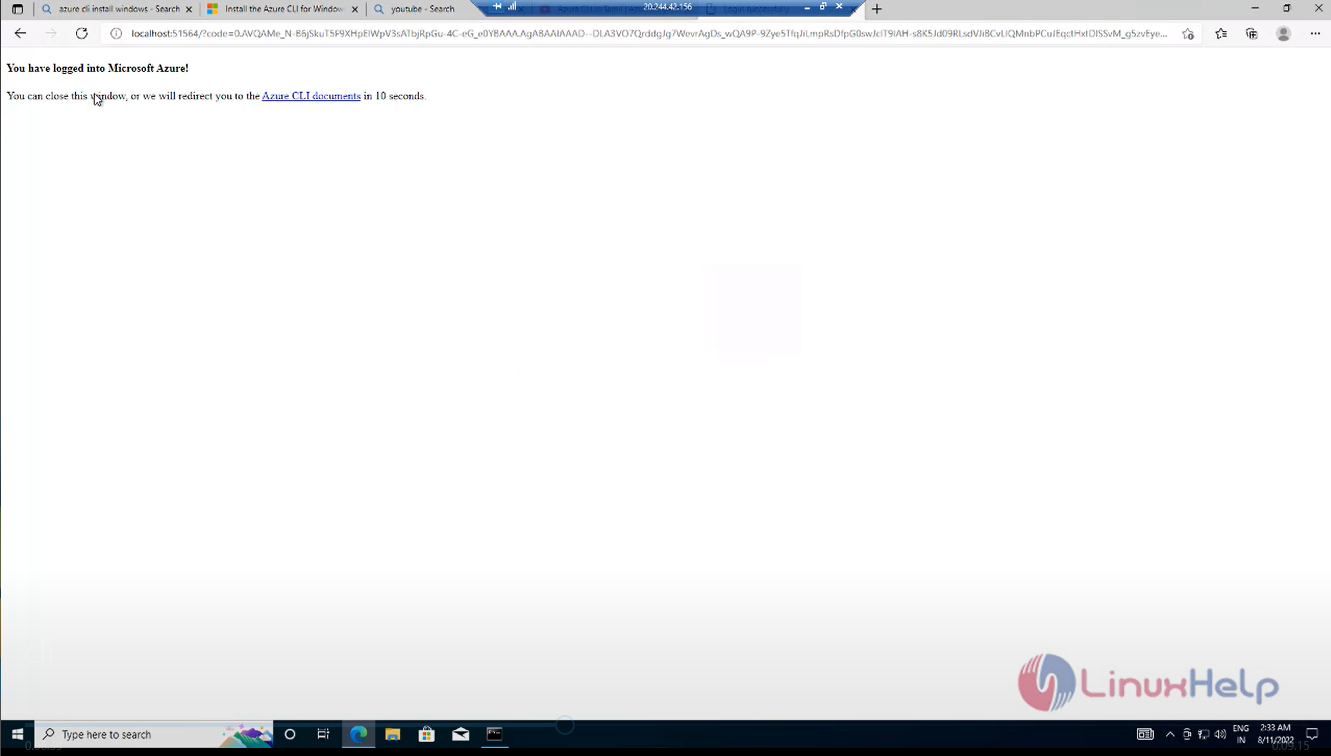
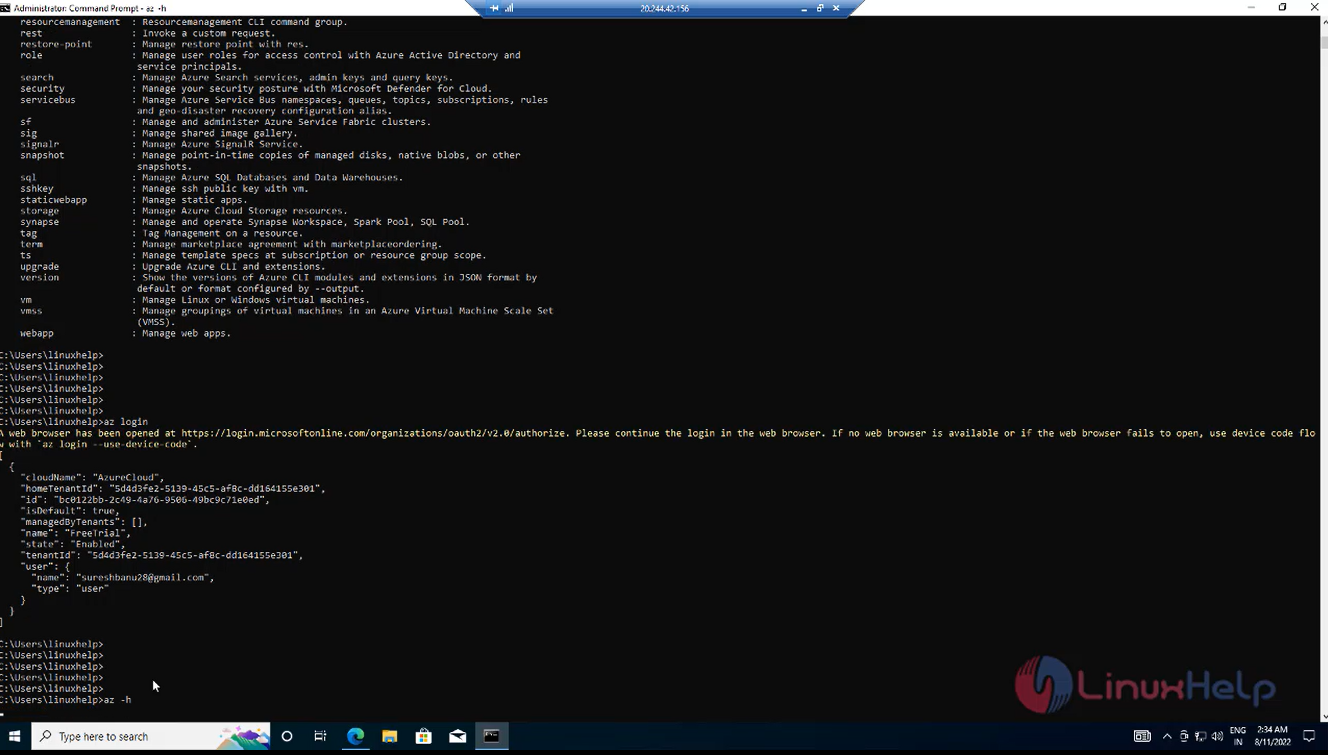
Now login to the Microsoft Azure at CLI using the following commands. Then, open prompt windows and enter the mail id and password. Finally, you can view the Azure login in CLI image.
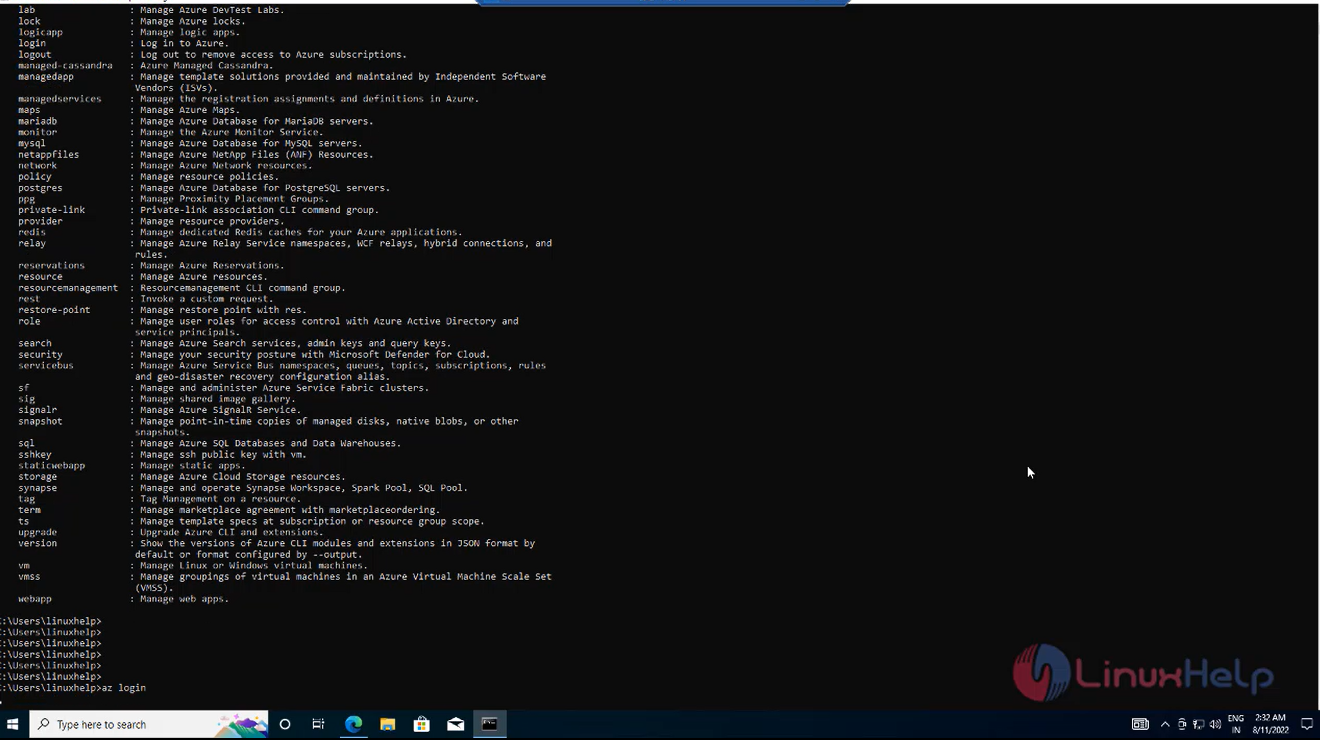
Next run the Microsoft Azure help command
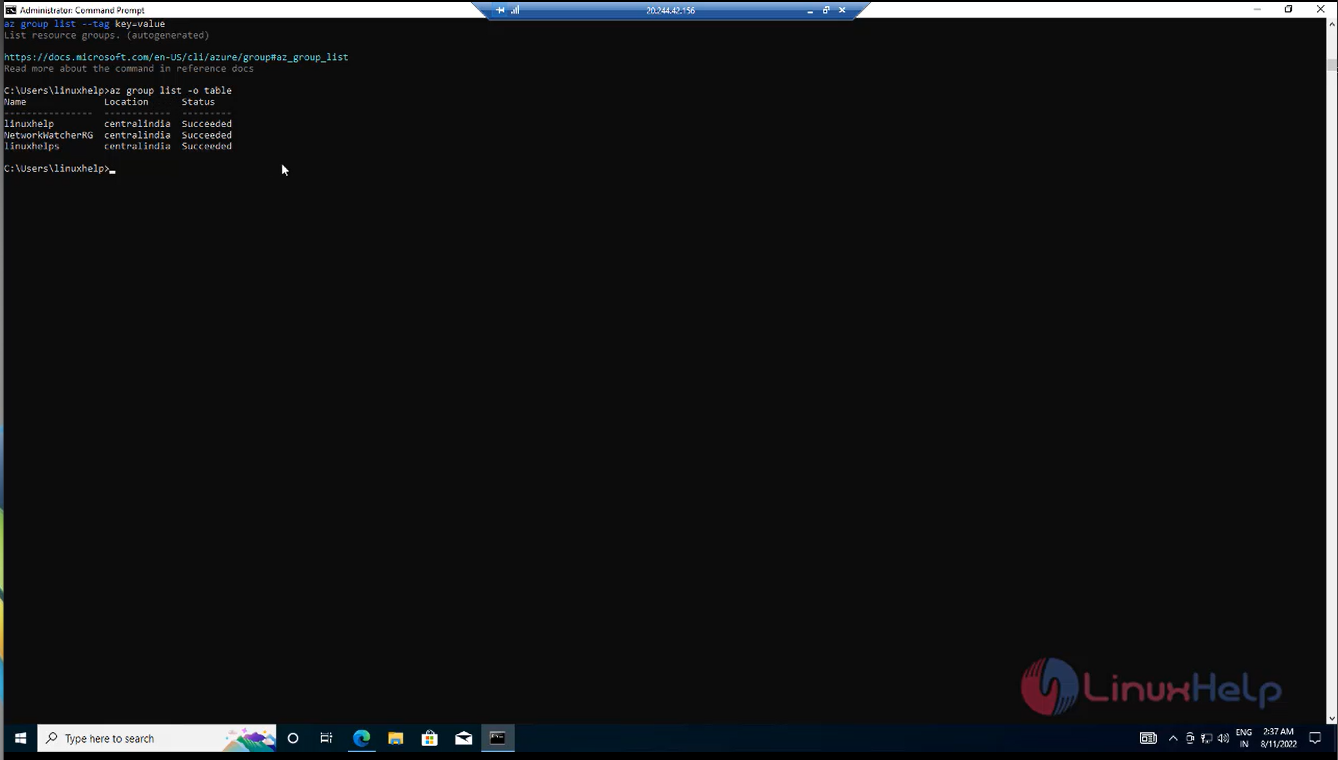
Next go to command prompt show for group list in Jason format and table format
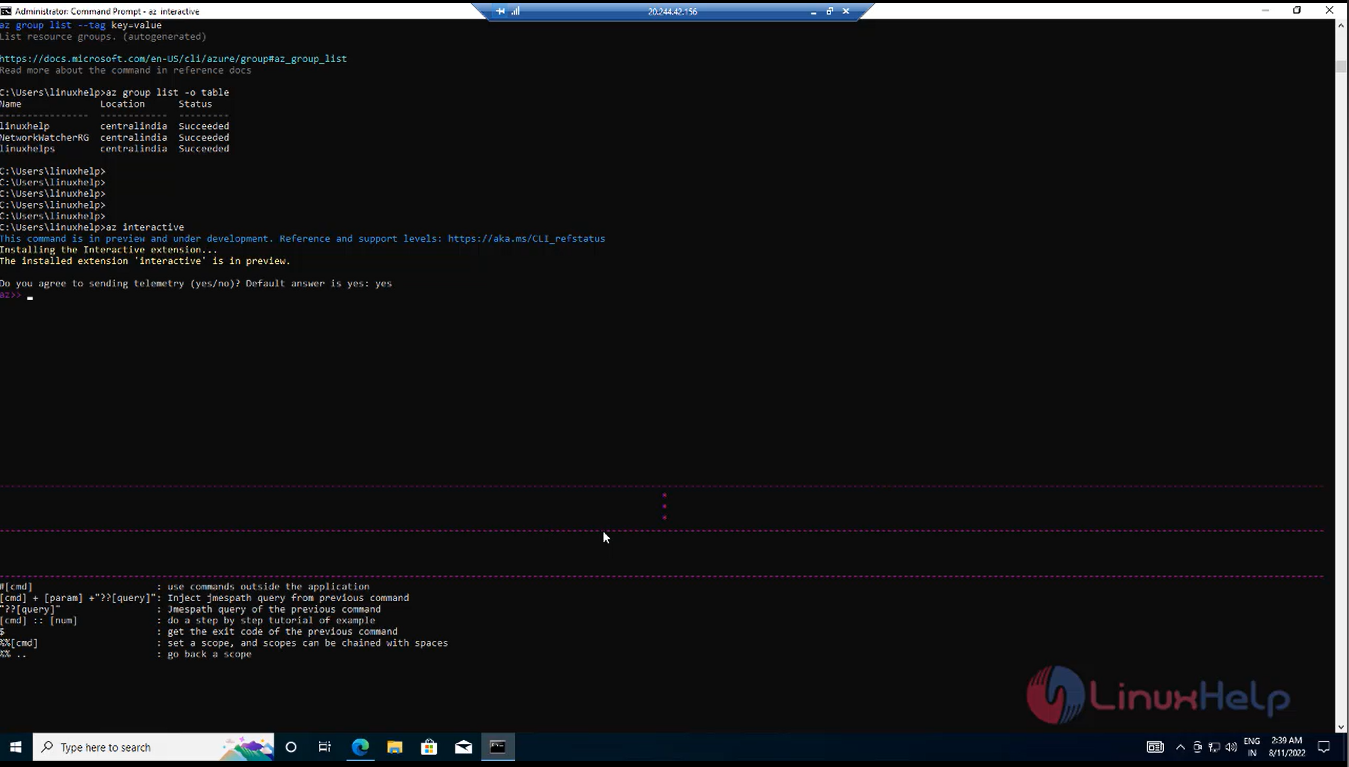
Go to interactive mode add the new resource group in command line.
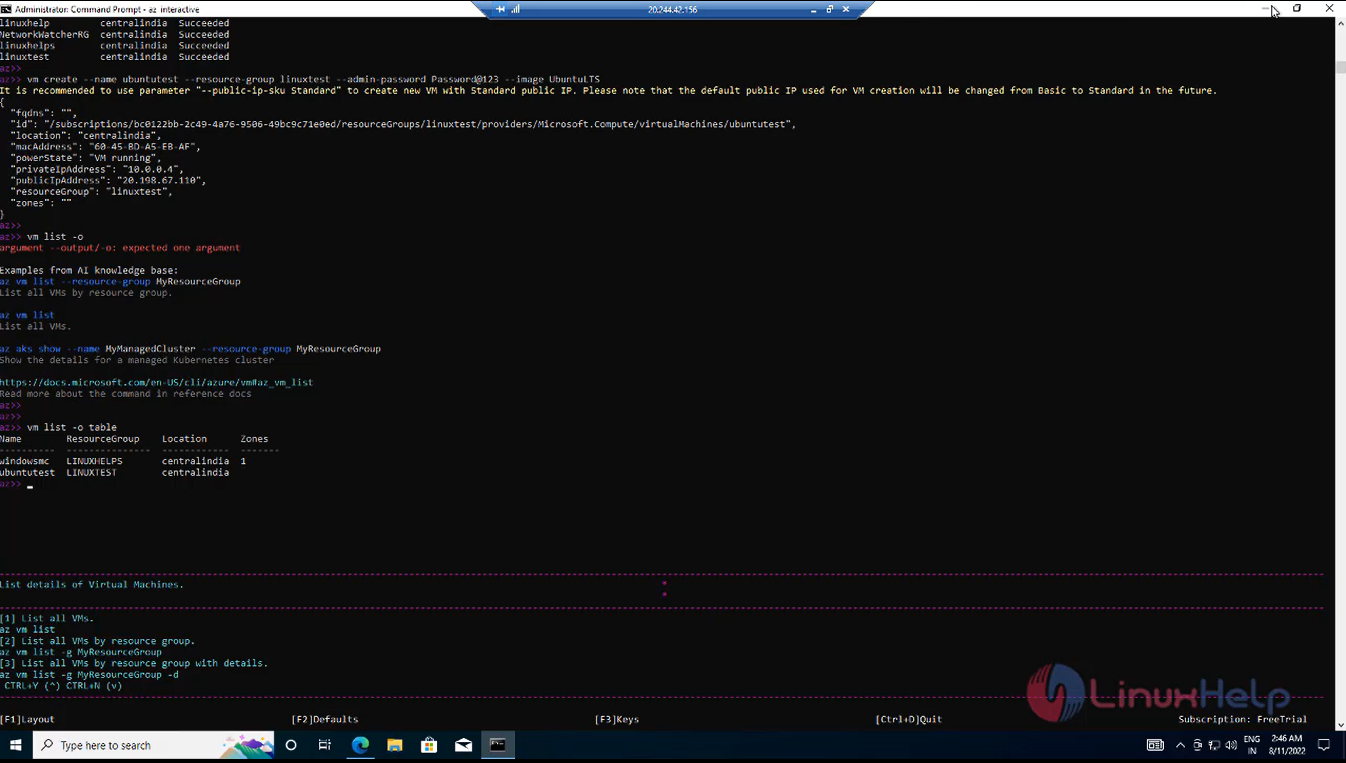
Next create Recourse Group New Linux Virtual machine in command prompt and list the virtual machine by using following commands.
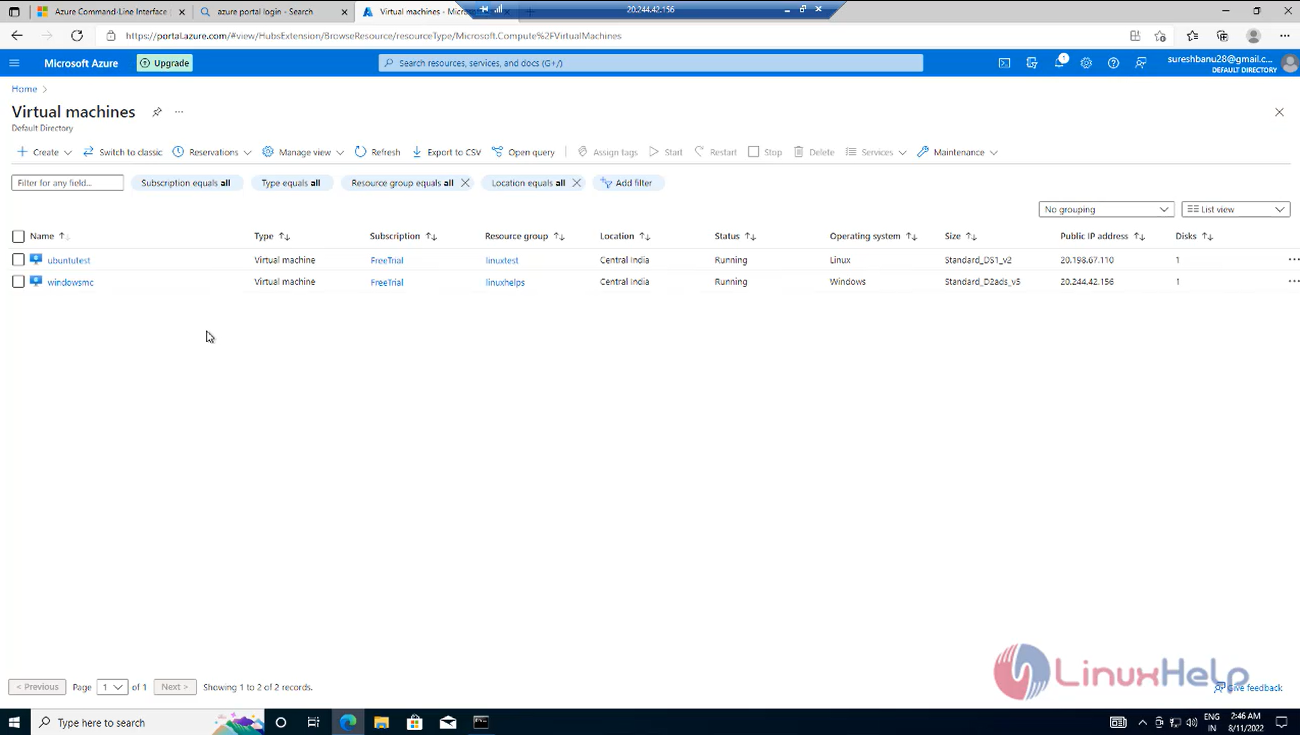
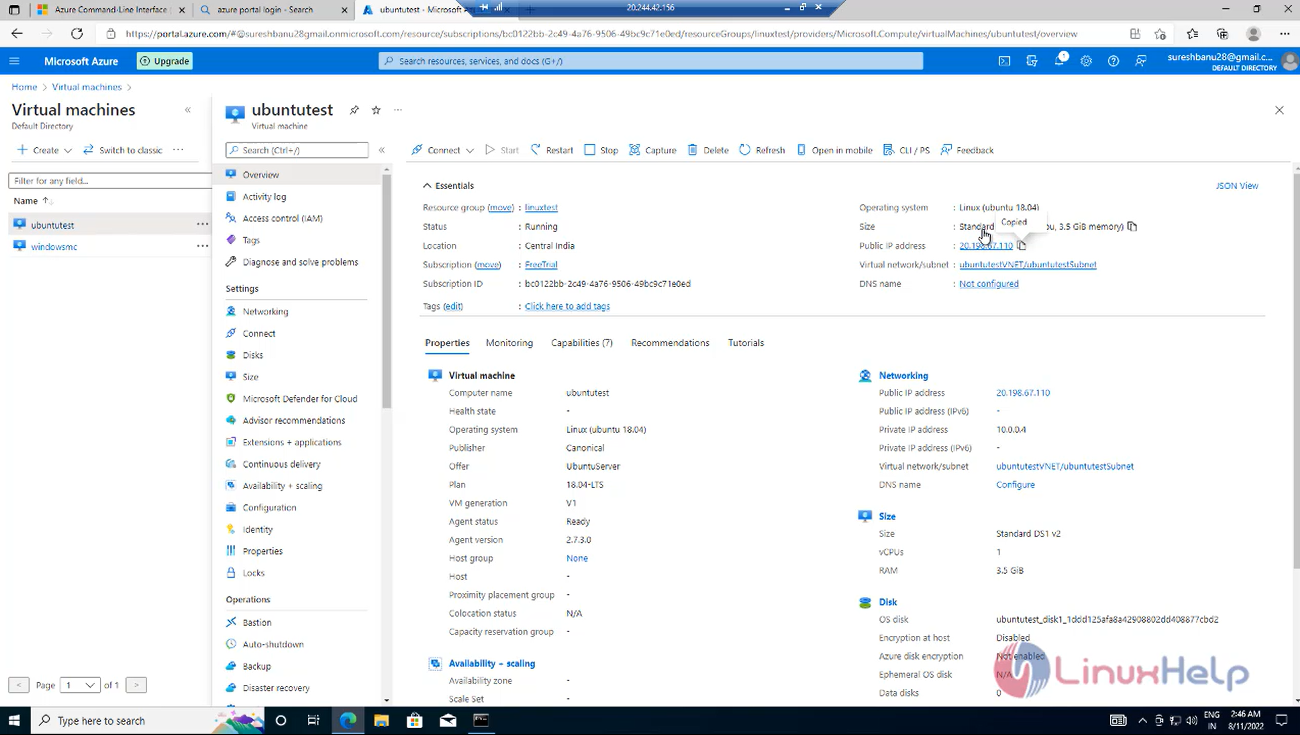
Go to Azure portal refresh the page. Here you can see the New Created Virtual machine.
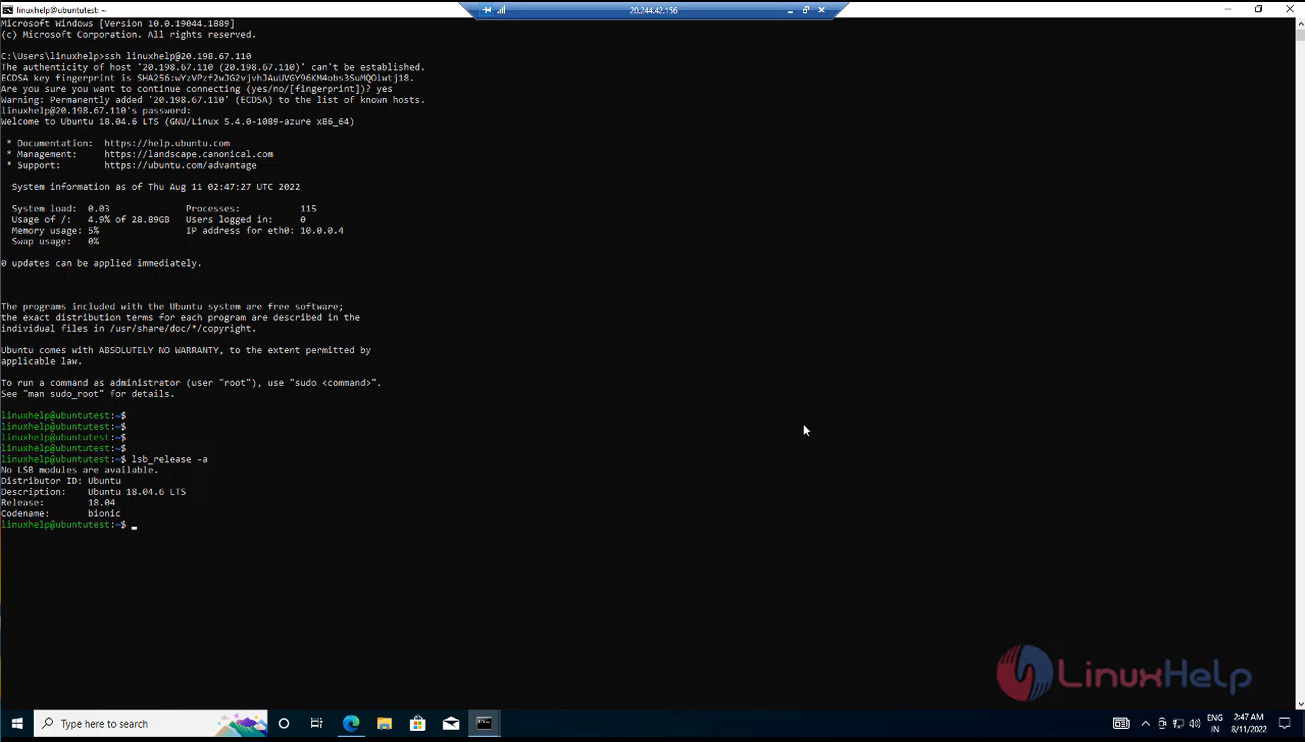
Next take SSH and Login the New virtual machine and show for virtual machine OS version.
Finally, go to the Azure CLI and exit from the CLI mode using following commands.

Conclusion:
We have reached the end of this article. In this guide, we have walked you through the steps required to install Azure CLI and create a virtual machine using Azure CLI commands. Your feedback is much welcome.
Comments ( 0 )
No comments available