How to install Backdrop CMS in Ubuntu
To install Backdrop CMS in Ubuntu
Backdrop CMS is a full-featured content management system that permits the non-technical users to manage wide variety of content. It can be used to create all kinds of websites including blogs, image galleries, social networks, intranets, and more. Installation of Backdrop CMS is explained in this manual.
To install Backdrop CMS
Download the Backdrop package by running the following command.
root@linuxhelp:/home/user1# wget https://github.com/backdrop/backdrop/releases/download/1.4.3/backdrop.zip
--2016-10-09 02:04:38--  https://github.com/backdrop/backdrop/releases/download/1.4.3/backdrop.zip
Resolving github.com (github.com)... 192.30.253.113
.
.
.
2016-10-09 02:04:57 (503 KB/s) - ‘ backdrop.zip’  saved [8596428/8596428]
Then extract the downloaded zip package.
root@linuxhelp:/home/user1# unzip backdrop.zip
Archive:  backdrop.zip
  inflating: backdrop/files/.htaccess
  inflating: backdrop/files/README.md
  inflating: backdrop/core/includes/database/mysql/query.inc
  inflating: backdrop/README.md
  inflating: backdrop/.gitignore
  inflating: backdrop/settings.php
Move the extracted directory to html directory.
root@linuxhelp:/home/user1# mv backdrop /var/www/html
Change the ownership for the directory as shown below.
root@linuxhelp:/home/user1# chown -R www-data.www-data /var/www/html/backdrop
After changing the ownership, create the database using MySQL.
root@linuxhelp:/home/user1# mysql -u root -p
Enter password:
Welcome to the MySQL monitor.  Commands end with   or g.
Your MySQL connection id is 6
Server version: 5.7.15-0ubuntu0.16.04.1 (Ubuntu)
Copyright (c) 2000, 2016, Oracle and/or its affiliates. All rights reserved.
Oracle is a registered trademark of Oracle Corporation and/or its
affiliates. Other names may be trademarks of their respective
owners.
Type ' help '  or ' h'  for help. Type ' c'  to clear the current input statement.
mysql>  CREATE DATABASE backdropdb
Query OK, 1 row affected (0.03 sec)
mysql>  GRANT ALL PRIVILEGES ON backdropdb.* TO ' backdropuser' @' localhost'  IDENTIFIED BY ' password'
Query OK, 0 rows affected, 1 warning (0.15 sec)
mysql>  FLUSH PRIVILEGES
Query OK, 0 rows affected (0.08 sec)
mysql>  exit
Bye
Then configure Apache web server by running the following command.
root@linuxhelp:/home/user1# a2enmod rewrite
To activate the new configuration, open the configuration file by running the following commands.
root@linuxhelp:/home/user1# touch /etc/apache2/sites-available/backdrop.conf
root@linuxhelp:/home/user1# ln -s /etc/apache2/sites-available/backdrop.conf /etc/apache2/sites-enabled/backdrop.conf
root@linuxhelp:/home/user1# nano /etc/apache2/sites-available/backdrop.conf
Now, configure the file by adding the following lines to it.
GNU nano 2.5.3 File: /etc/apache2/sites-available/backdrop.conf
ServerAdmin [email protected]
DocumentRoot " /var/www/html/backdrop/"
ServerName linuxhelp
ServerAlias www.your-domain.com
< Directory " /var/www/html/backdrop/" >
Options FollowSymLinks
AllowOverride All
Order allow,deny
allow from all
< /Directory>
ErrorLog /var/log/apache2/your-domain.com-error_log
CustomLog /var/log/apache2/your-domain.com-access_log common
< /VirtualHost>
Finally restart the apache web server by running the following command.
root@linuxhelp:/home/user1# systemctl restart apache2.service
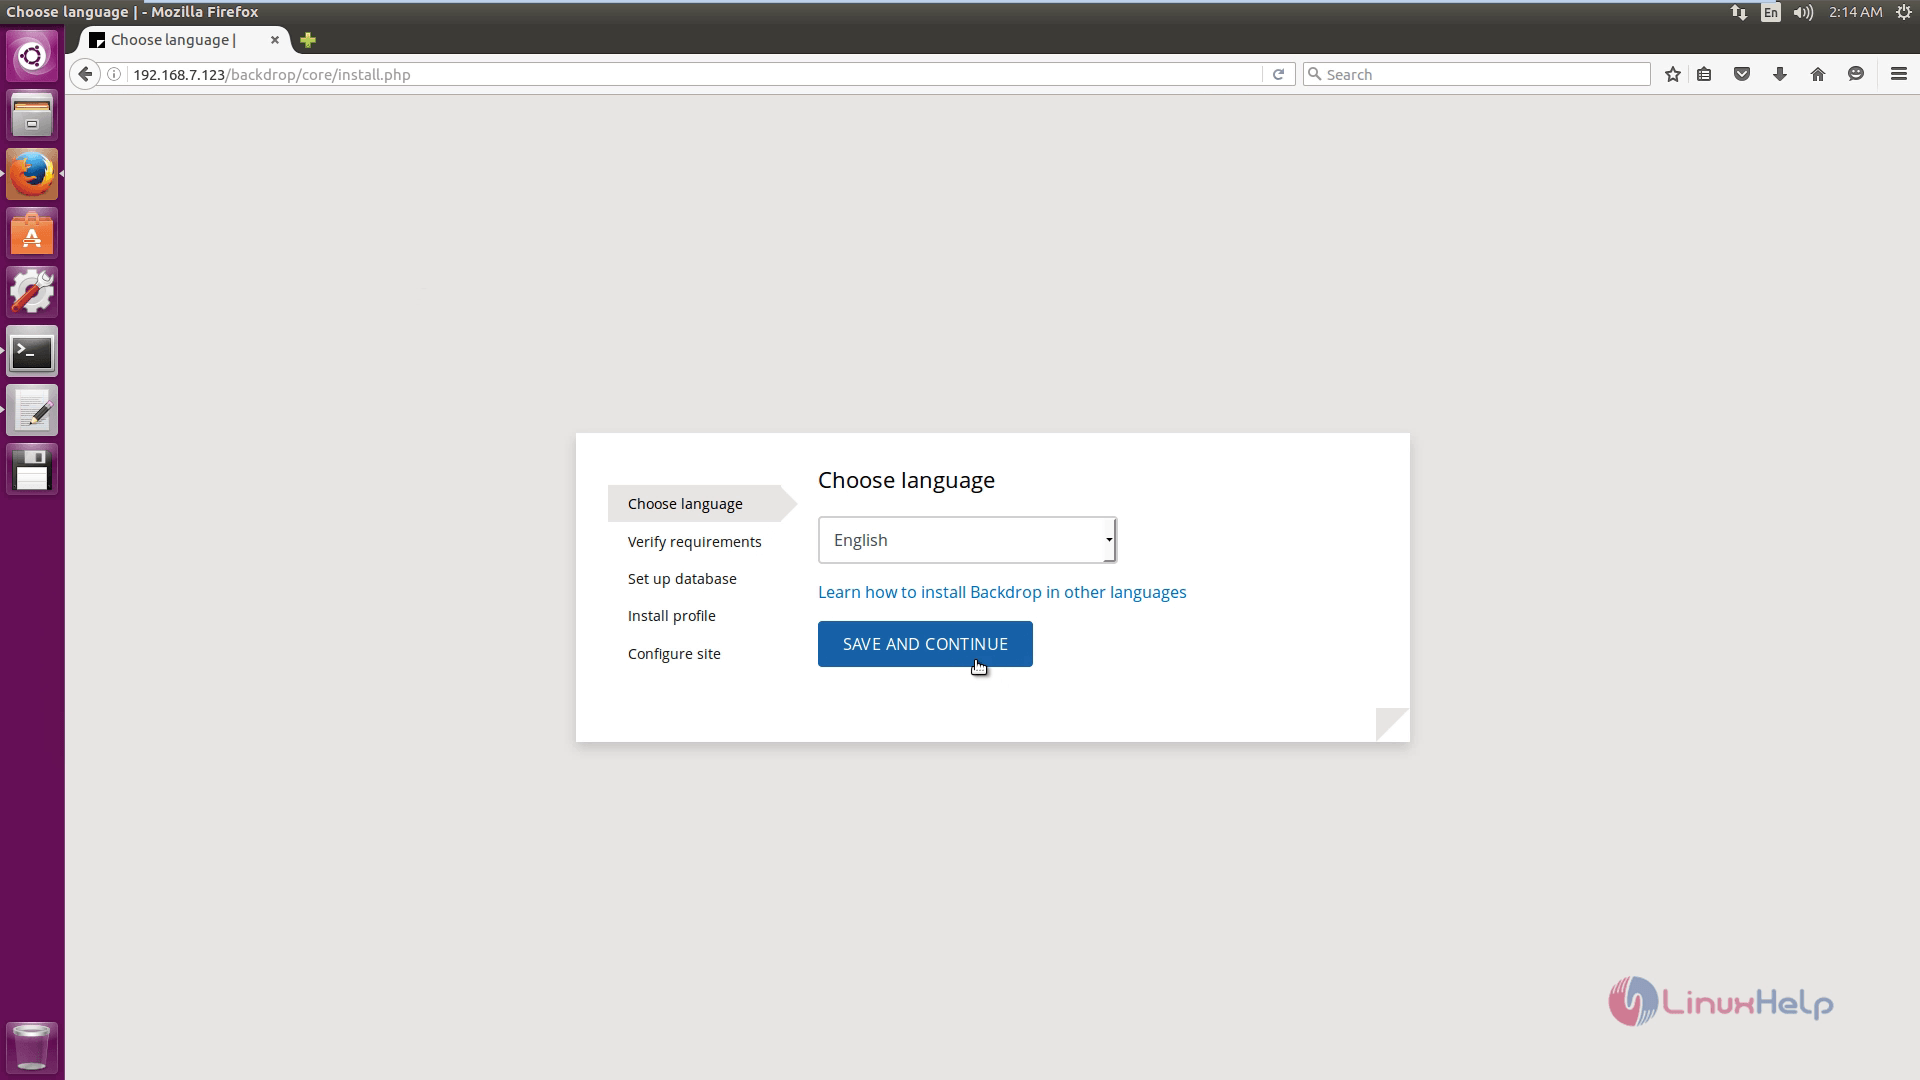
Open your web browser and navigate to http://< IP_address> /backdrop. Choose your preferred language and click Save and Continue.
Then configure the Database.

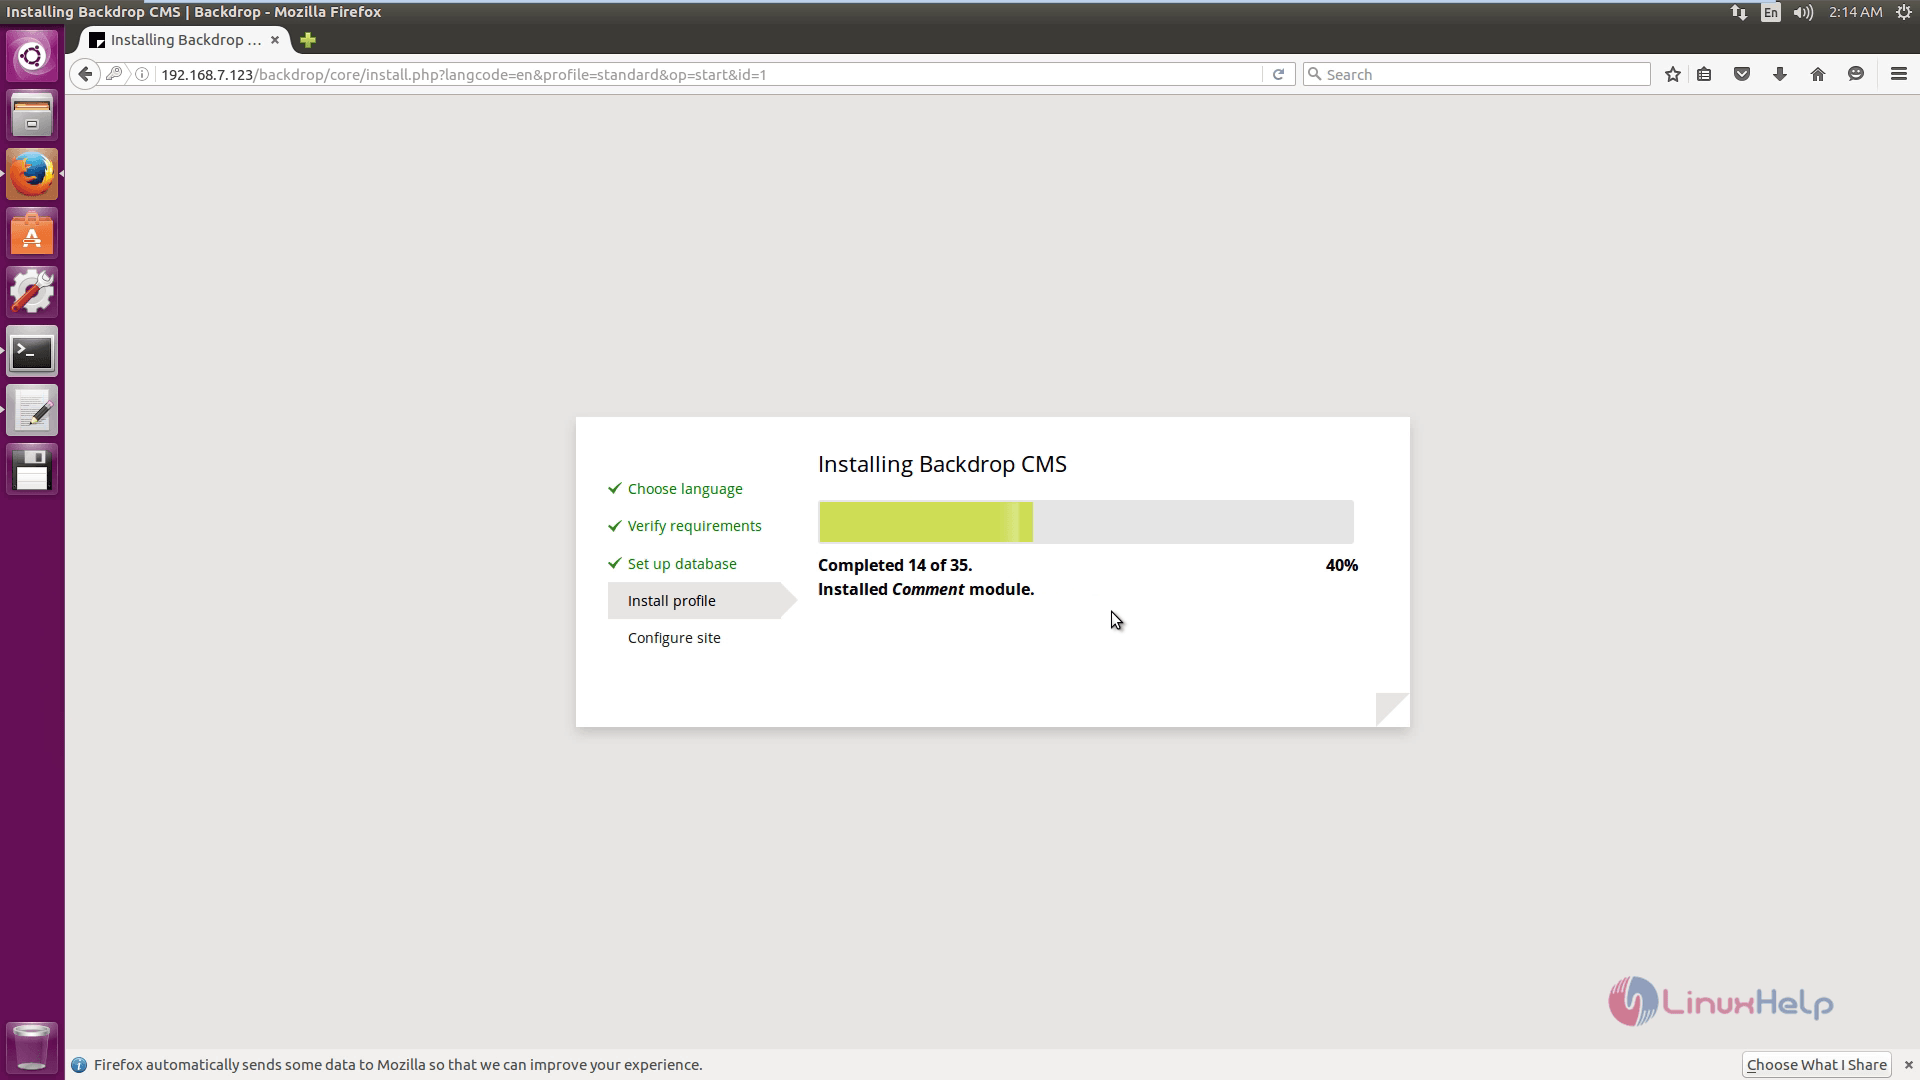
Installation progress started.
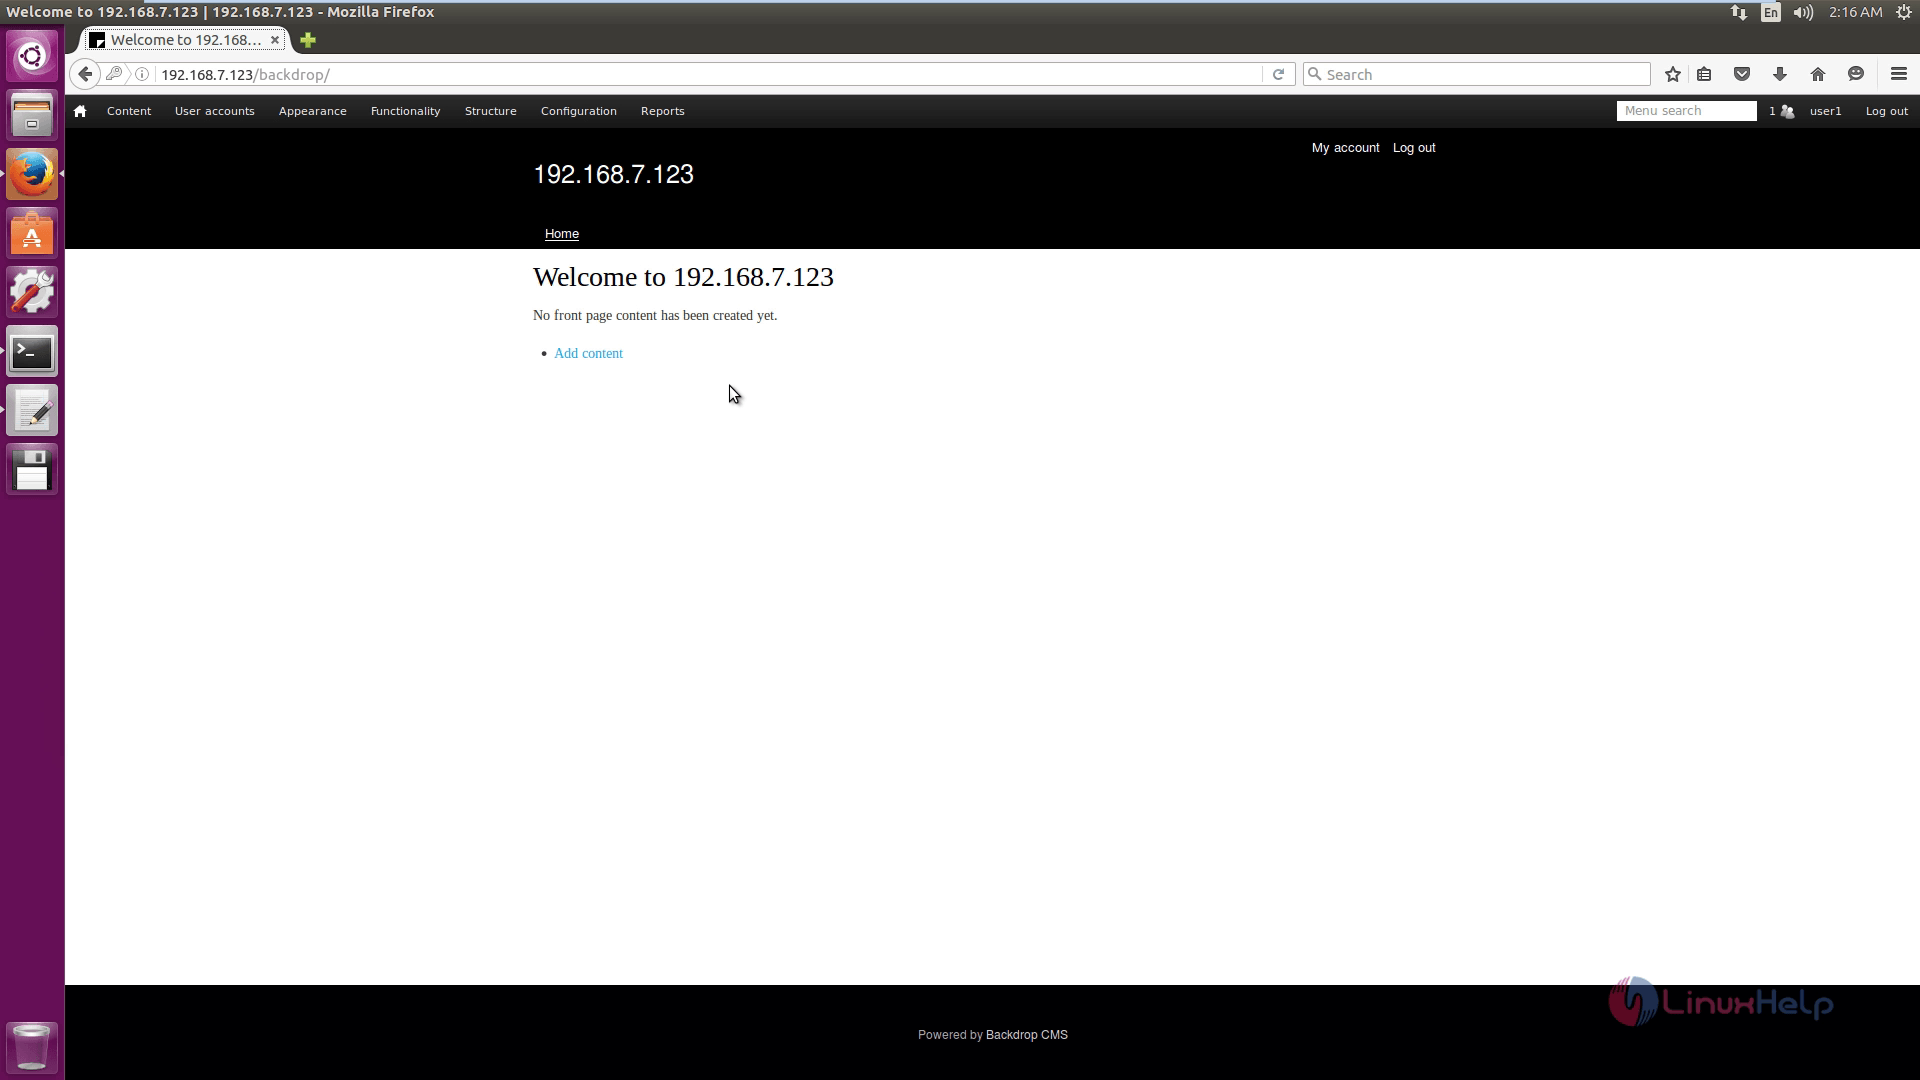
Configure the site details and click Save and Continue.

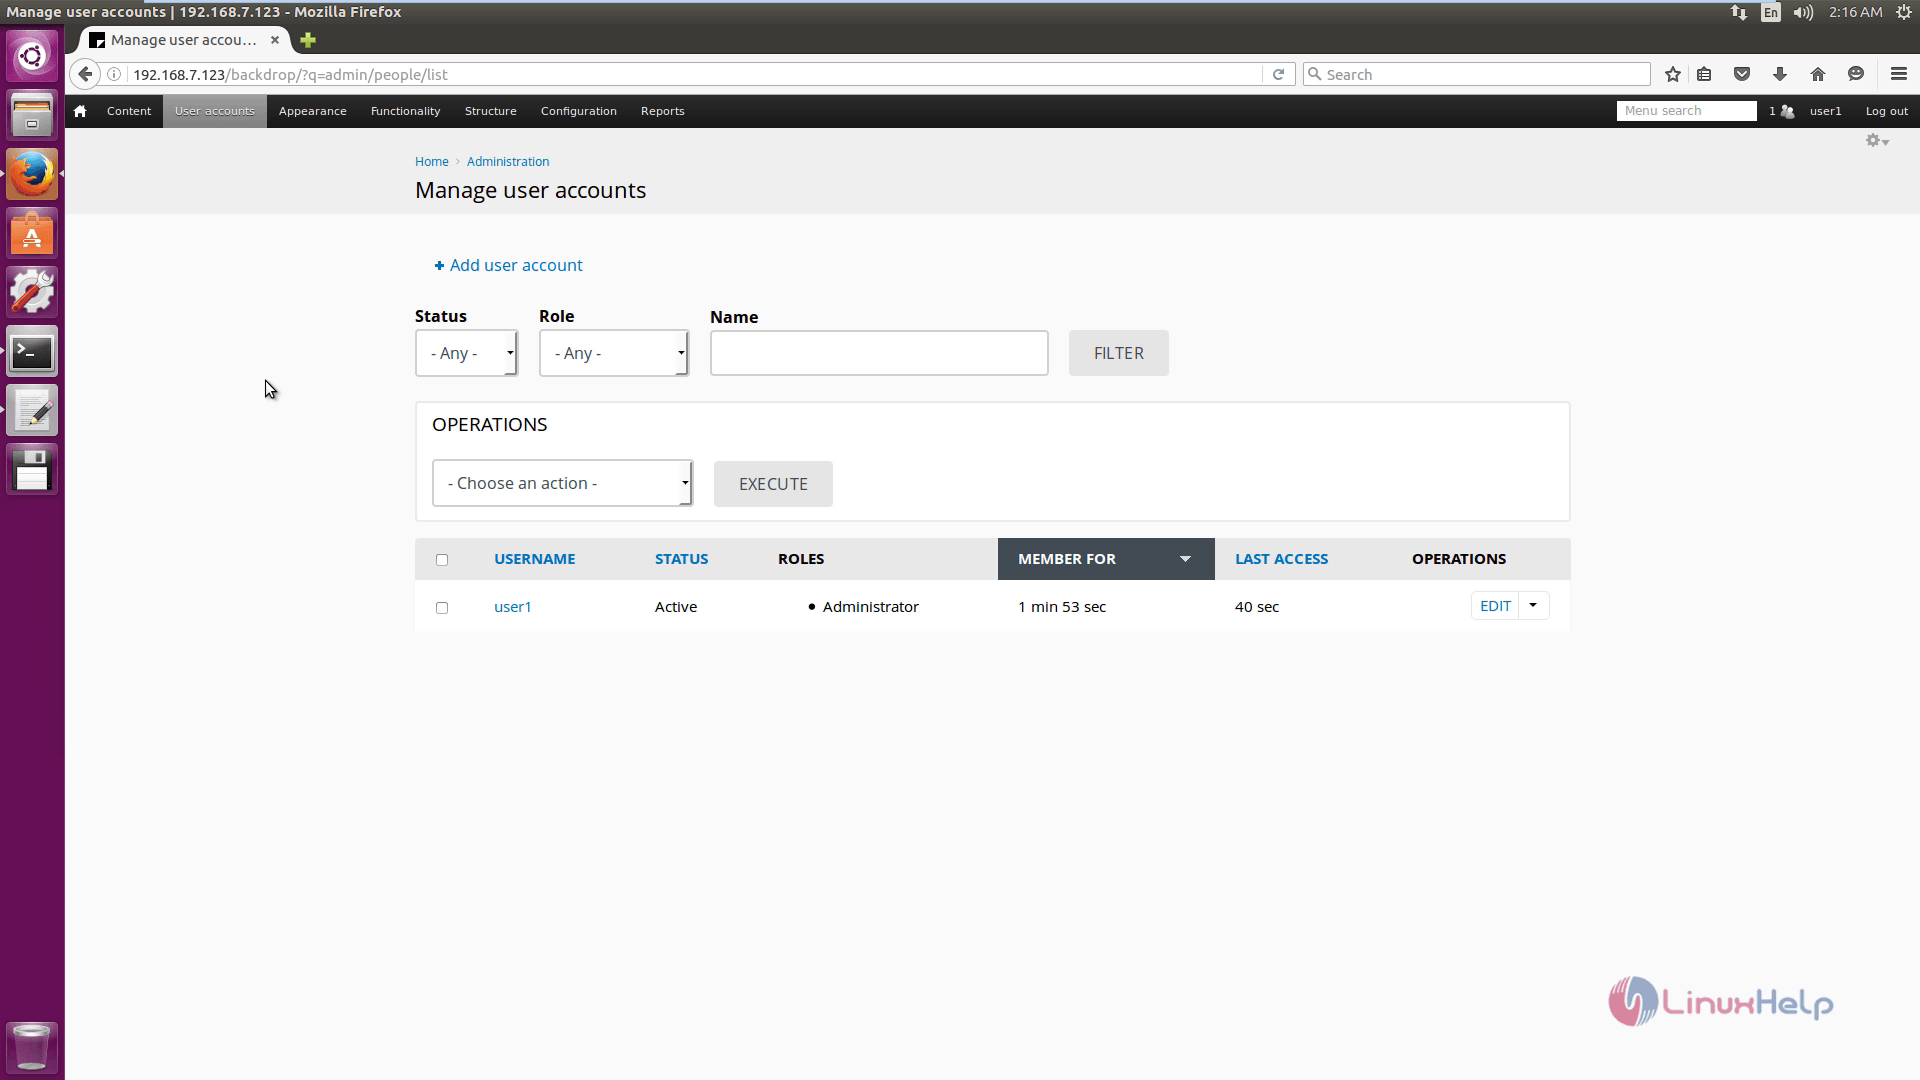
To manage user accounts, click Manage User account interface.
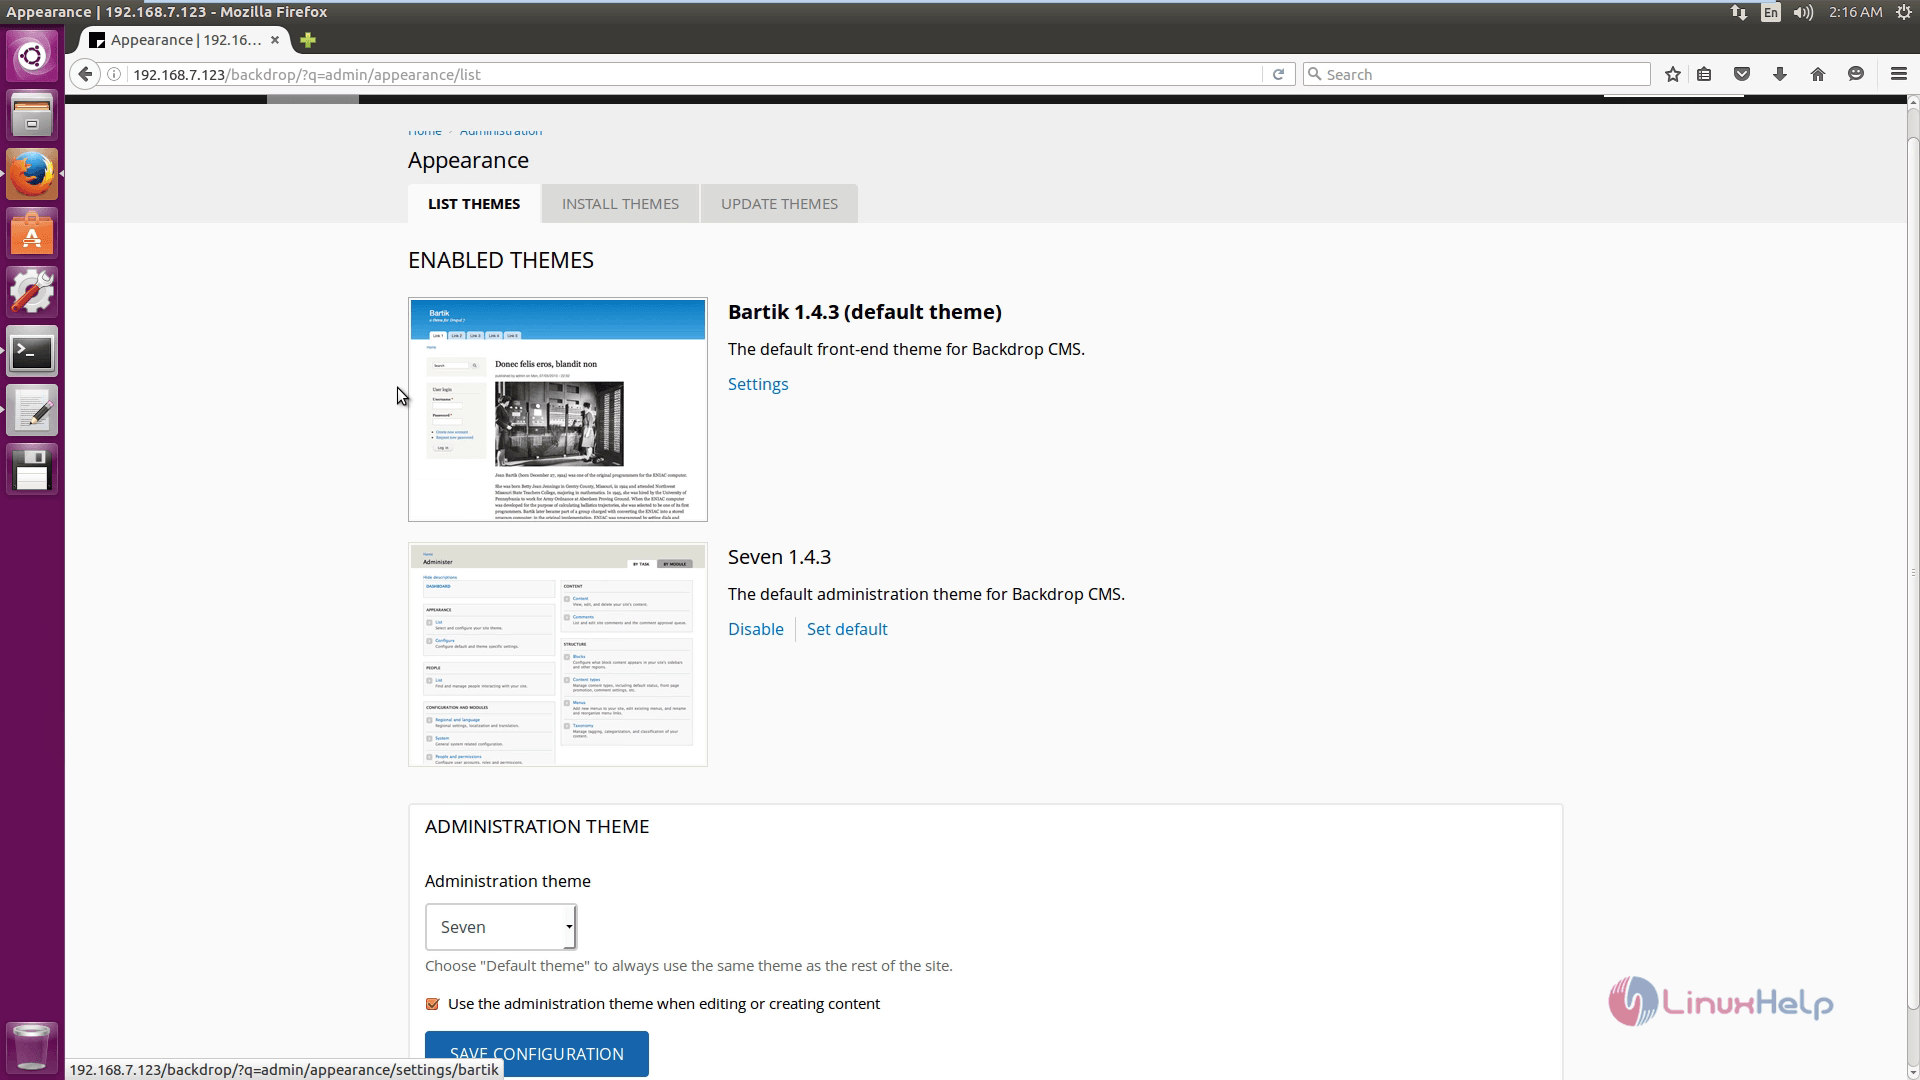
To set the theme and appearance, click on Appearance.
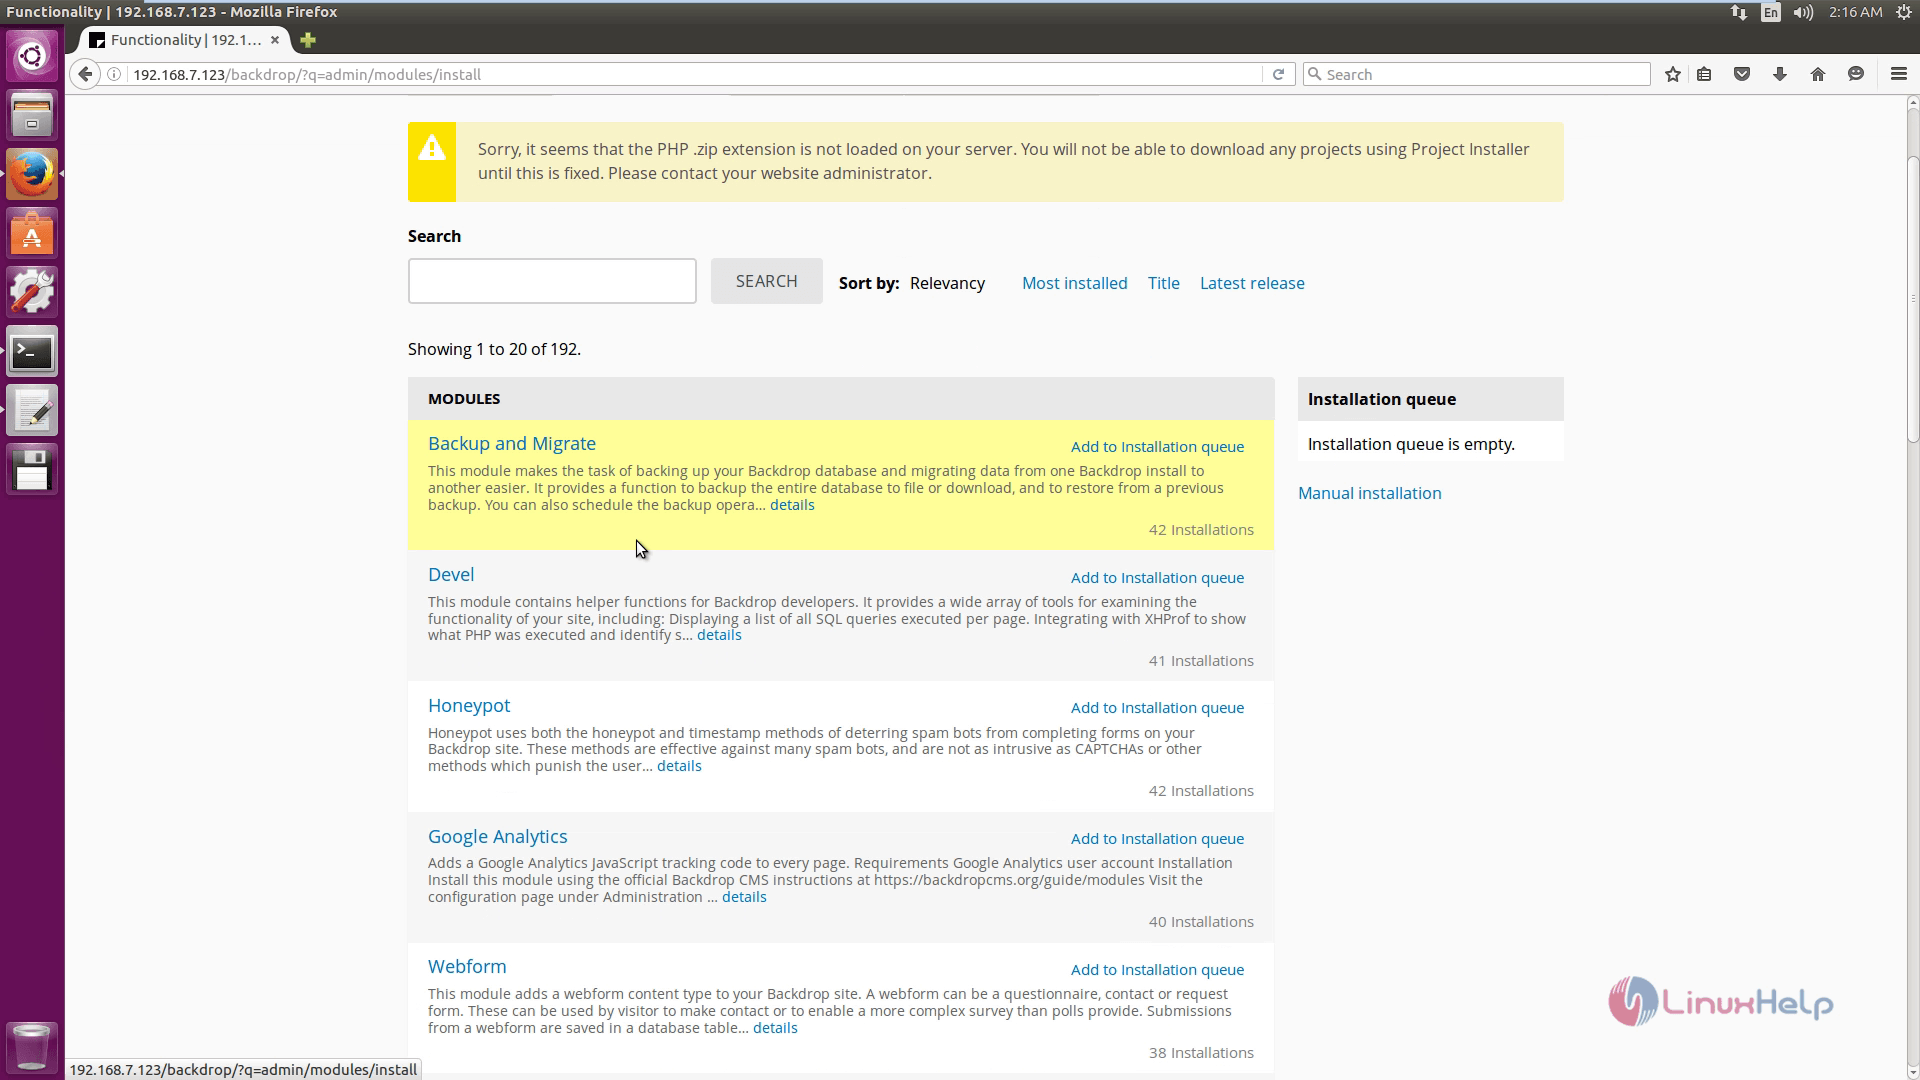
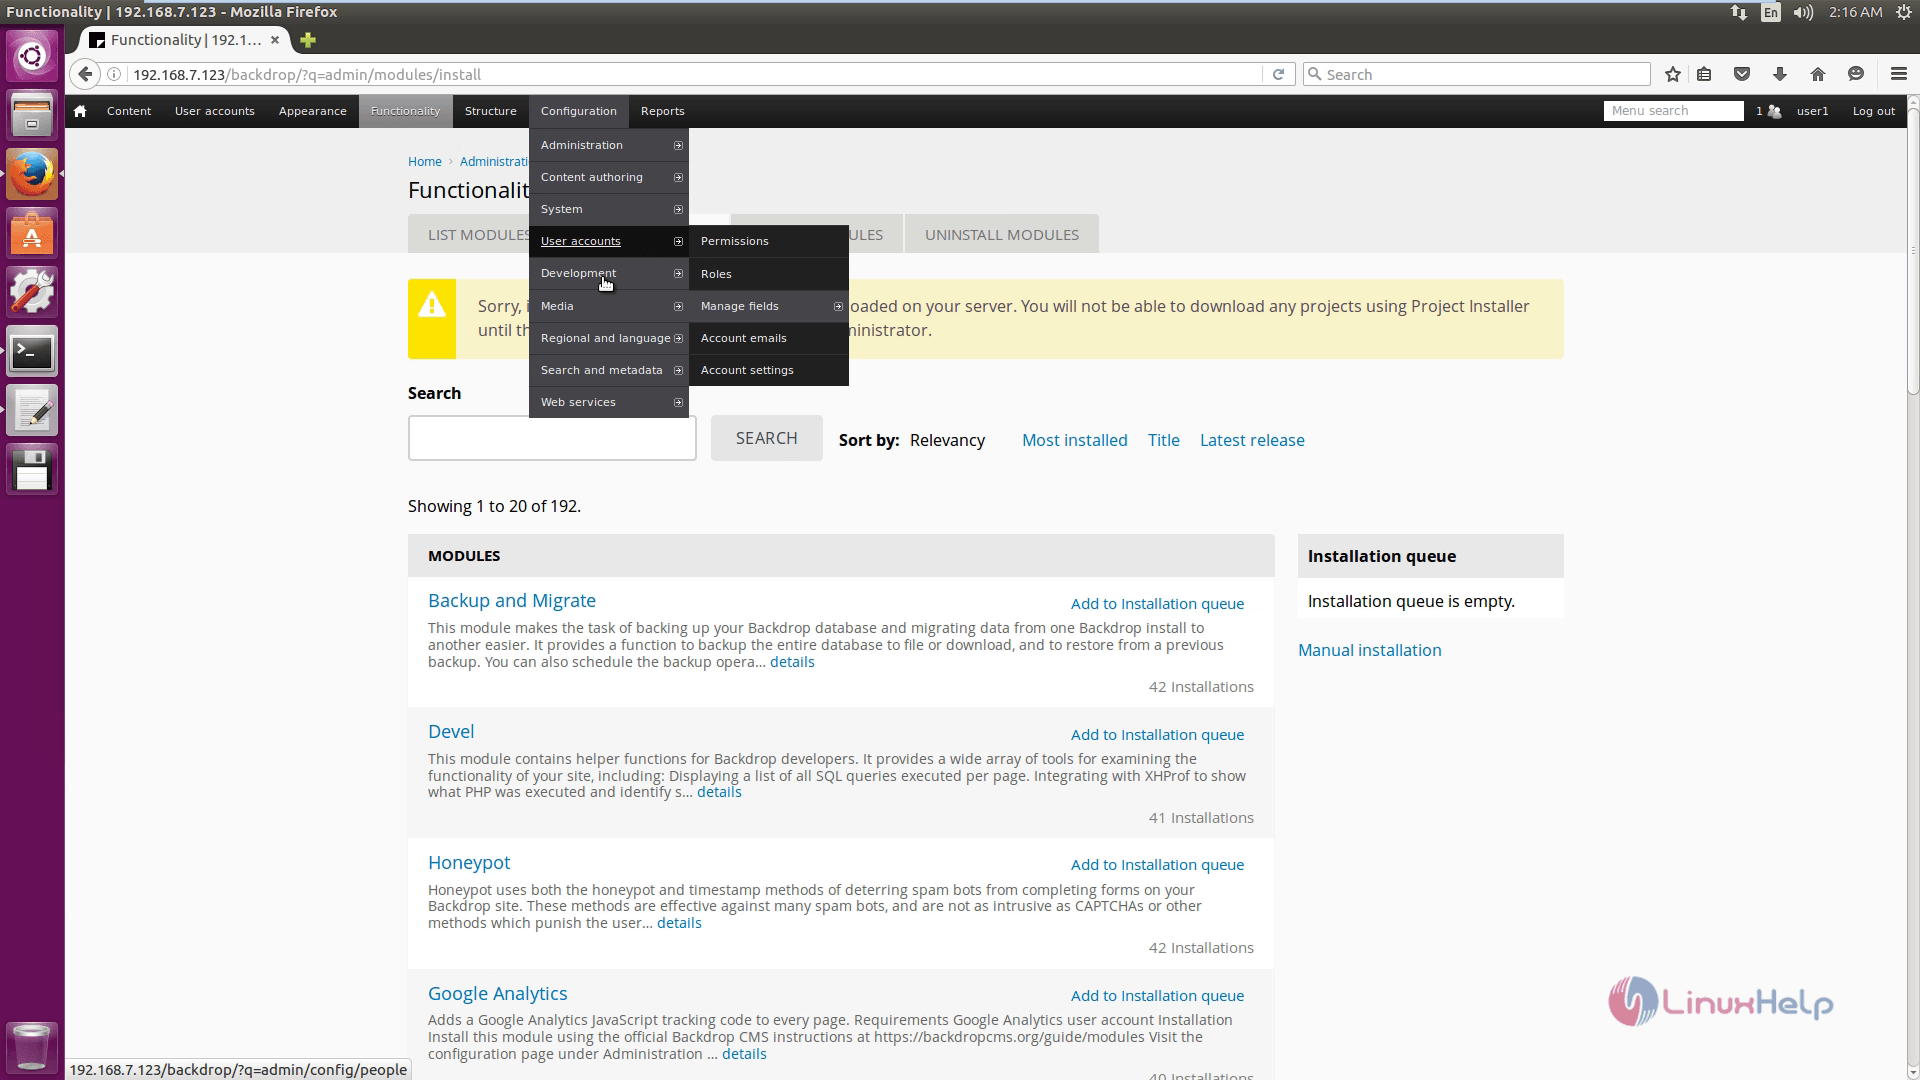
Click on Functionality to append the Modules
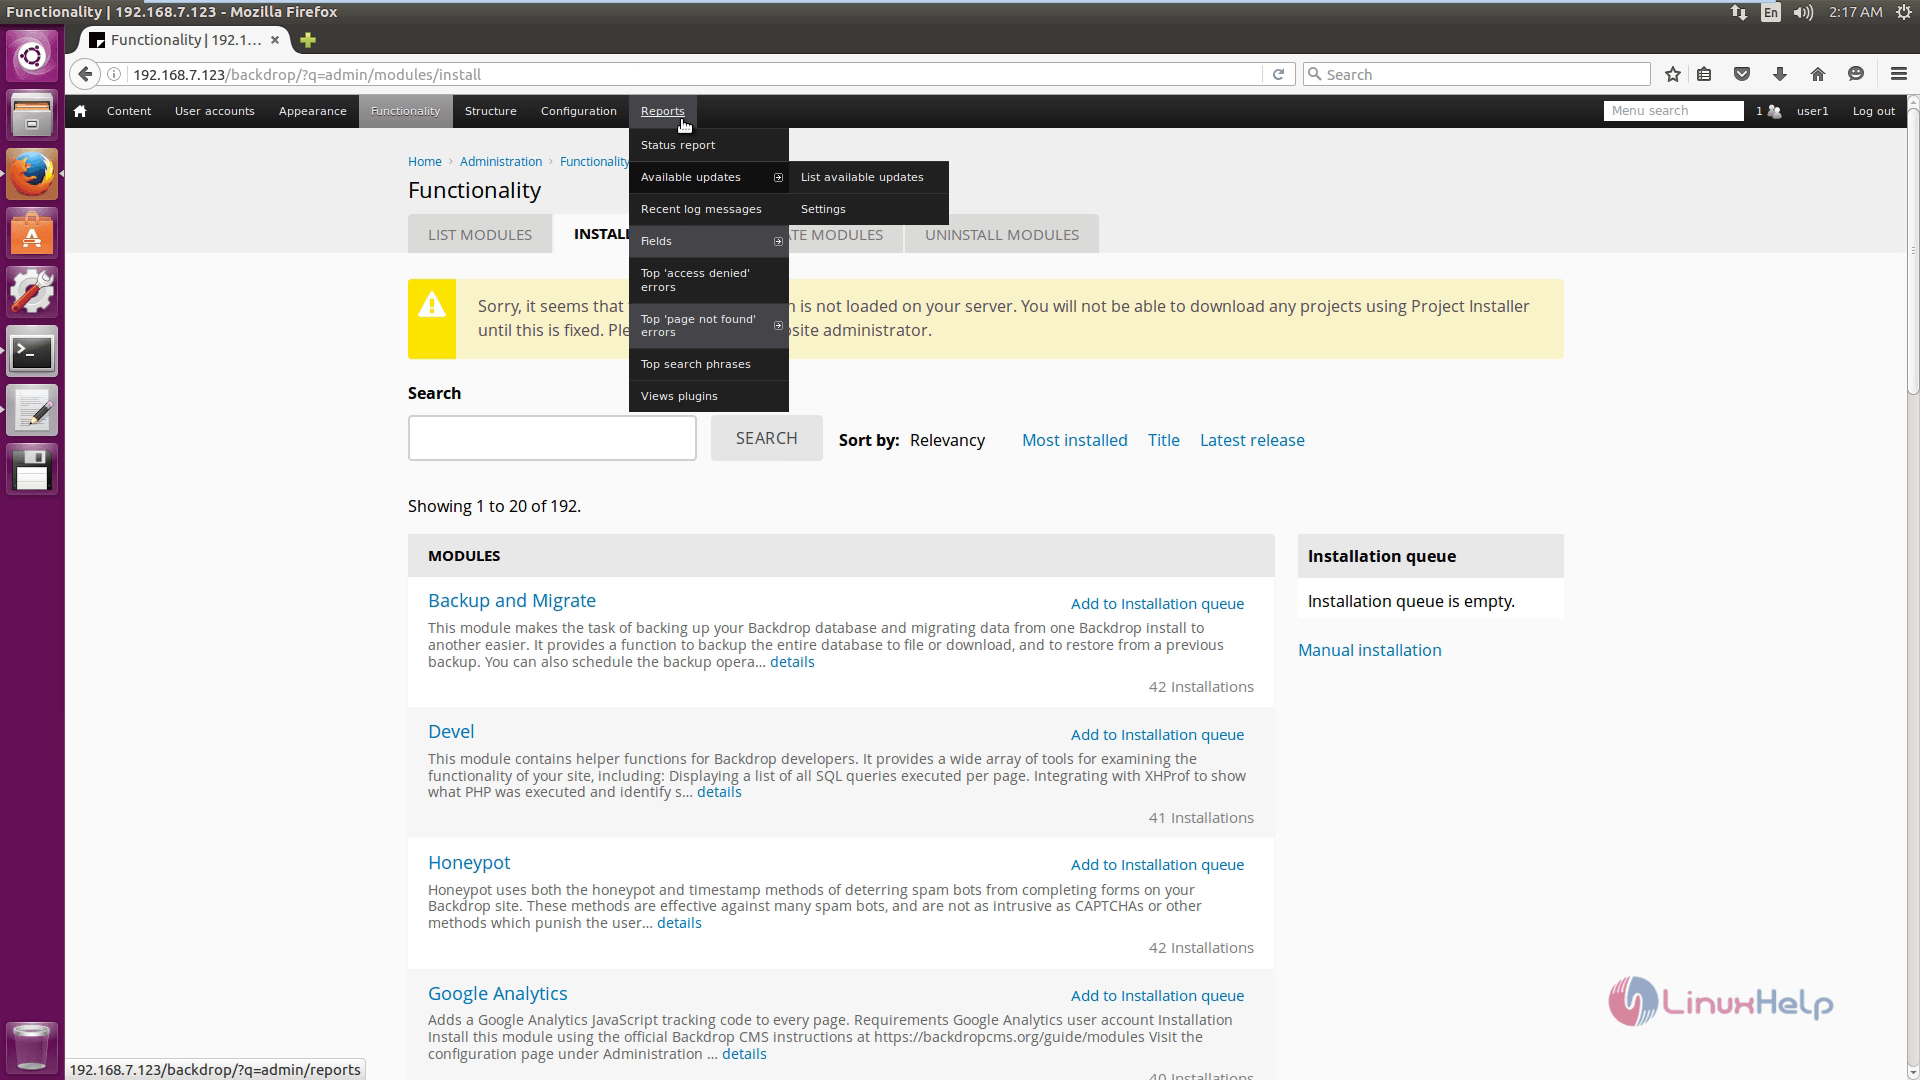
To view Reports, click on reports.
Comments ( 0 )
No comments available