How to install Baun cms using LEMP
To Install Baun CMS Using LEMP
Baun CMS is an open source, lightweight and extensible flat-file CMS for PHP. It doesn' t require database and administration back-end and is a perfect solution for small websites. The main advantages of a flat-file CMS systems are simplicity, portability, security, speed and version control. In this tutorial, you will learn about the process to install Baun CMS using the LEMP setup.
Installing Baun CMS
Since we are using the LEMP stack to install Baun CMS, you should install and configure the components of your stack in your machine. Refer the following link for the same purpose.
Baun CMS also needs certain PHP dependencies, hence run the following command to add them.
[root@linuxhelp ~]# yum -y install php71w-fpm php71w-gd php71w-mcrypt php71w-cli php71w-gd php71w-ldap php71w-odbc php71w-pdo php71w-pecl71w-memcache php71w-pear php71w-mbstring php71w-xml php71w-xmlrpc php71w-mbstring
[root@linuxhelp ~]# systemctl start php-fpm
Once it is done, you ought to clone it. So, run the following command to perform that action.
[root@linuxhelp ~]# git clone https://github.com/BaunCMS/Baun.git
Cloning into ' Baun' ...
remote: Counting objects: 392, done.
remote: Compressing objects: 100% (11/11), done.
remote: Total 392 (delta 2), reused 5 (delta 1), pack-reused 379
Receiving objects: 100% (392/392), 62.01 KiB | 93.00 KiB/s, done.
Resolving deltas: 100% (177/177), done.
[root@linuxhelp ~]# ll
total 40
-rw-r--r--  1 root root 27014 Sep 14 17:30 1.3.2
-rw-------. 1 root root  1364 Feb  7  2017 anaconda-ks.cfg
drwxr-xr-x  7 root root  4096 Sep 14 17:32 Baun
drwxr-xr-x. 2 root root     6 Feb  7  2017 Desktop
drwxr-xr-x. 2 root root     6 Feb  7  2017 Documents
drwxr-xr-x. 2 root root     6 Feb  7  2017 Downloads
-rw-r--r--. 1 root root  1415 Feb  7  2017 initial-setup-ks.cfg
drwxr-xr-x. 2 root root     6 Feb  7  2017 Music
drwxr-xr-x. 2 root root     6 Feb  7  2017 Pictures
drwxr-xr-x. 2 root root     6 Feb  7  2017 Public
drwxr-xr-x. 2 root root     6 Feb  7  2017 Templates
drwxr-xr-x. 2 root root     6 Feb  7  2017 Videos
Once it is done, you need to move it to the nginx root directory. Run the following command for the same purpose.
[root@linuxhelp ~]# mv Baun/ /usr/share/nginx/html/
[root@linuxhelp ~]# cd /usr/share/nginx/html/
Now, you need to change the owner permission and file execution permission as follows.
[root@linuxhelp html]# chown -R nginx:nginx /usr/share/nginx/html/Baun/
[root@linuxhelp html]# chmod -R 775 /usr/share/nginx/html/Baun/
You also need to install the composer and for that you need to execute the following command.
[root@linuxhelp ~]# cd /opt/
[root@linuxhelp opt]# curl -sS https://getcomposer.org/installer | php
All settings correct for using Composer
Downloading...

Composer (version 1.5.2) successfully installed to: /opt/composer.phar
Use it: php composer.phar
Once it is installed, you need to rename it, which can be done by executing the following command.
[root@linuxhelp opt]#  mv composer.phar /usr/local/bin/composer

[root@linuxhelp opt]# cd
[root@linuxhelp ~]# cd /usr/local/bin/
[root@linuxhelp bin]# ll
total 1812
-rwxr-xr-x 1 root root 1852323 Sep 14 17:23 composer
One of the important aspects of this process is the modifying your php configuration file, so open it by executing the following command.
[root@linuxhelp ~]# vim /etc/php.ini
cgi.fix_pathinfo=0
date.timezone = Asia/Kolkata
Open Php-fpm configuration file now and make the following changes.
[root@linuxhelp ~]# vim /etc/php-fpm.d/www.conf
listen = /run/php-fpm/php-fpm.sock
listen.owner = nginx
listen.group = nginx

user = nginx
group = nginx
Once it is done, restart the php-fpm service so that the changes will take effect.
[root@linuxhelp ~]# systemctl restart php-fpm
You should also configure the .conf file of nginx as follows.
[root@linuxhelp ~]# vim /etc/nginx/nginx.conf
server {
        listen       80 default_server
        listen       [::]:80 default_server
        server_name  192.168.7.165
        root         /usr/share/nginx/html/Baun/public/
        #access_log  /usr/share/nginx/html/Baun/logs/access.log
        #error_log  /usr/share/nginx/html/Baun/logs/error.log
        index index.html index.php

        # Load configuration files for the default server block.
        include /etc/nginx/default.d/*.conf
location / {
    try_files $uri $uri/ @rewrites
  }
  location @rewrites {
    #rewrite ^ /index.php last
    rewrite ^/(.*)$ /index.php?url=$1 last
  }
  location ~* .(jpg|jpeg|gif|css|png|js|ico|html)$ {
    access_log off
    expires max
  }
  location ~ /.ht {
    deny  all
  }
        location ~ .php$ {
        try_files $uri =404
        fastcgi_pass unix:/run/php-fpm/php-fpm.sock
        fastcgi_index index.php
        fastcgi_param SCRIPT_FILENAME $document_root$fastcgi_script_name
        include fastcgi_params
        }
After making the modifications, you need to restart your nginx service and then switch to your browser and enter machines IP (i.e) http://192.168.7.165
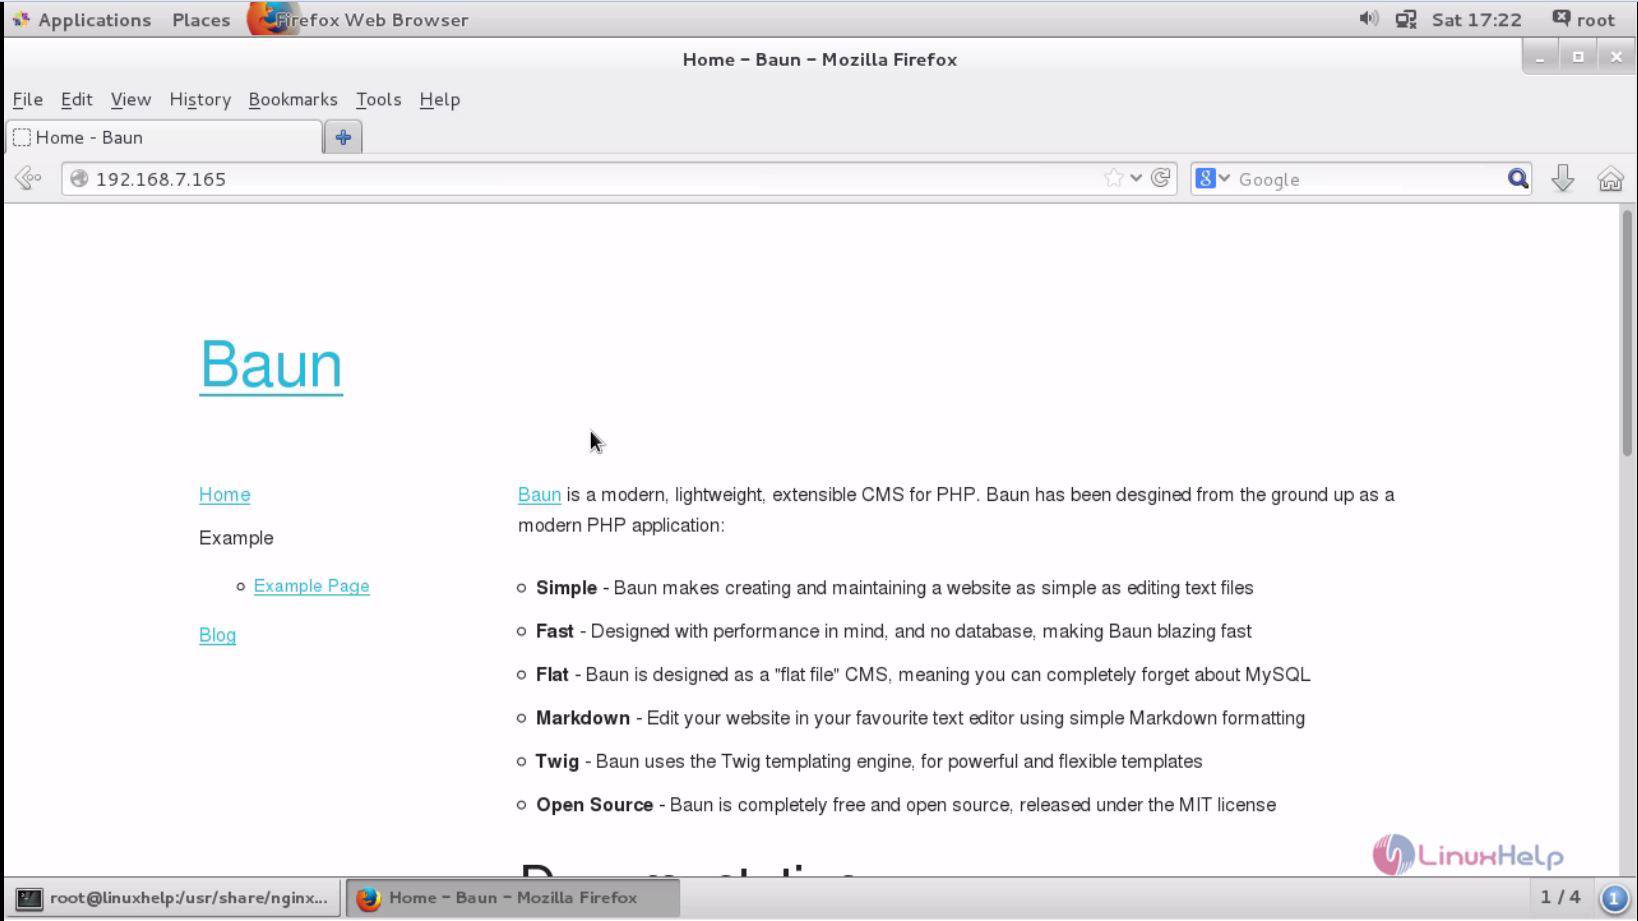
With this, the installation of Baun CMS is complete.
Comments ( 0 )
No comments available