How to install CentOS 7 with screenshots
To install CentOS 7 with screenshots
Installation of CentOS 7 is explained step by step with screenshots.
Installation
1. Burn the image to a DVD or you can use a bootable USB stick.
2. Select the boot device from your BIOS option to boot. Once the CentOS 7 DVD or USB boots, you should select Install Centos 7.
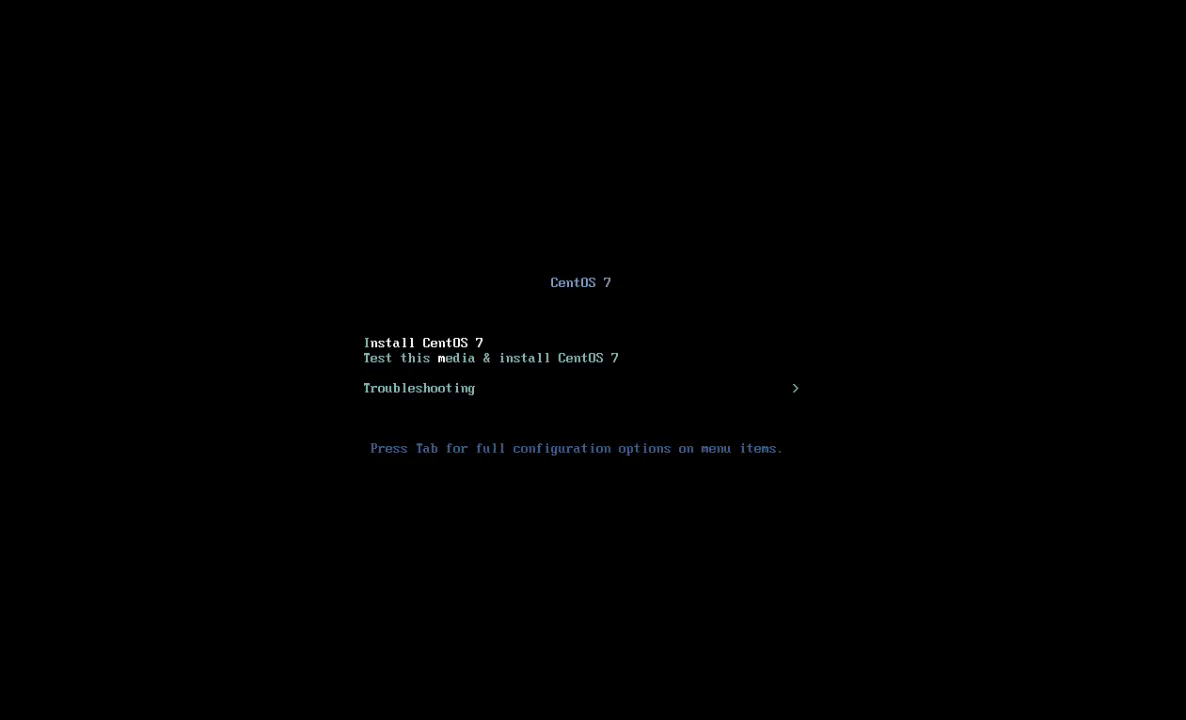
Select the desired language.

3. This is the interface to configure for date & time, languages and some important functions.

Time and date
4. Set the desired Date and Time and click Done.

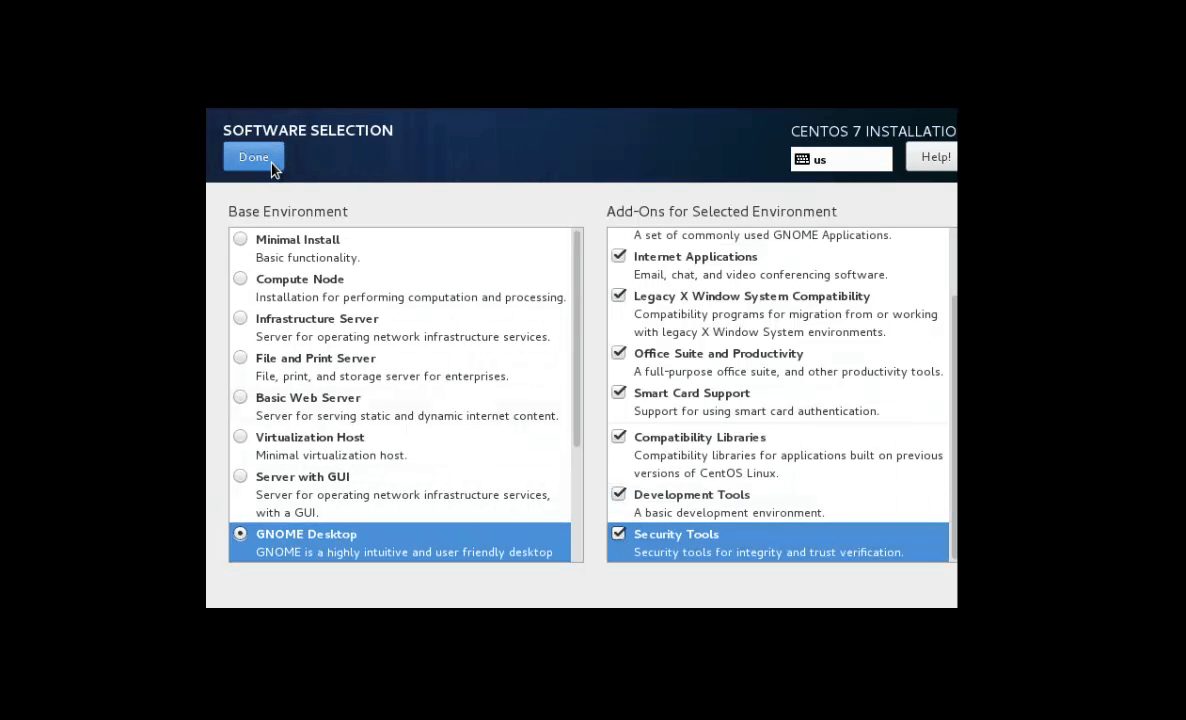
5. Next Software packages selection.
6. Now is the Installation Destination. Select and Choose I will configure Partitioning and click done.

Partition
7. Select Standard Partition in Partitioning Scheme.

To add a new mount point (/boot) click on + and select the /boot mount point, enter Desired Capacity. Then Click Add Mount Point.
xfs is the default file system for centos 7


8. Click on + icon again to add another mount point (swap), enter the desired capacity then click Add Mount Point.

9. Click on + icon again to add root mount point (/), enter the desired capacity then click Add Mount Point.

10. Now click Accept Changes.

11. Now click Begin Installation.

12. Now set your root password and create the user

13. Enter root password then click done.

14. Create user then click done.

Your task is done now reboot the machine.

15. This is how the boot prompt and login screen will be after installation.


16. Once the system is logged in go to terminal to get the release information.
[root@linuxhelp Desktop]# cat /etc/redhat-release
CentOS Linux release 7.2.1511 (Core)

Comments ( 0 )
No comments available