How to Install ClipBucket in Ubuntu 15.10
To Install ClipBucket in Ubuntu 15.10
Clipbucket is an open source script used for video sharing, which has several effective features like Multiple language support, HQ video customization and several video moderation tools. It uses FFMpeg, flash and HTML5 for streaming and also has user management features. Installation of ClipBucket in Ubuntu 15.10 is discussed in this manual.
Installation of Clipbucket
Run the apt-get update command before installation.
root@linuxhelp:/home/user1# apt-get update
Hit http://in.archive.ubuntu.com wily InRelease
Hit http://security.ubuntu.com wily-security InRelease
Hit http://in.archive.ubuntu.com wily-updates InRelease
&hellip
&hellip
Hit http://in.archive.ubuntu.com wily-backports/restricted Translation-en
Hit http://in.archive.ubuntu.com wily-backports/universe Translation-en
Reading package lists... Done
Next install the apache and maridb server using following command.
root@linuxhelp:/home/user1# apt-get install apache2 mariadb-server
Reading package lists... Done
Building dependency tree
Reading state information... Done
..
..
Processing triggers for ureadahead (0.100.0-19) ...
Processing triggers for systemd (225-1ubuntu9) ...
Processing triggers for ufw (0.34-2) ...
Next, install the php & ruby packages with following command.
root@linuxhelp:/home/user1# apt-get install php5 php5-mysql php5-curl php5-gd php5-cli ruby
Reading package lists... Done
Building dependency tree
Reading state information... Done
..
..
Setting up ruby2.1 (2.1.5-4ubuntu1) ...
Setting up ruby (1:2.1.5.1ubuntu1) ...
Processing triggers for libc-bin (2.21-0ubuntu4) ...
Processing triggers for libapache2-mod-php5 (5.6.11+dfsg-1ubuntu3.4) ...
Add the repository to the system to install the ffmpeg package.
root@linuxhelp:/home/user1#apt-add-repository ppa:mc3man/trusty-media
gpg: keyring `/tmp/tmp_a57i5ta/secring.gpg'  created
gpg: keyring `/tmp/tmp_a57i5ta/pubring.gpg'  created
gpg: requesting key ED8E640A from hkp server keyserver.ubuntu.com
gpg: /tmp/tmp_a57i5ta/trustdb.gpg: trustdb created
gpg: key ED8E640A: public key " Launchpad PPA for Doug McMahon"  imported
gpg: no ultimately trusted keys found
gpg: Total number processed: 1
gpg:               imported: 1  (RSA: 1)
OK
root@linuxhelp:/home/user1# apt-get install ffmpeg
Reading package lists... Done
Building dependency tree
Reading state information... Done
&hellip
..
Setting up ffmpeg (7:2.7.6-0ubuntu0.15.10.1) ...
Setting up libaacs0:amd64 (0.8.1-1) ...
Setting up libbdplus0:amd64 (0.1.2-1) ...
Setting up i965-va-driver:amd64 (1.6.0-1) ...
Setting up va-driver-all:amd64 (1.6.0-1) ...
Processing triggers for libc-bin (2.21-0ubuntu4) ...
After the above process, install imagemagick with below command.
root@linuxhelp:/home/user1# apt-get install imagemagick php5-imagick
Reading package lists... Done
Building dependency tree
Reading state information... Done
&hellip
&hellip
Setting up php5-imagick (3.3.0~rc2-1) ...
php5_invoke: Enable module imagick for cli SAPI
php5_invoke: Enable module imagick for apache2 SAPI
Setting up ttf-dejavu-core (2.35-1) ...
Processing triggers for libc-bin (2.21-0ubuntu4) ...
Next, install flvtool with following command.
root@linuxhelp:/home/user1# gem install flvtool2
Fetching: flvtool2-1.0.6.gem (100%)
Successfully installed flvtool2-1.0.6
Parsing documentation for flvtool2-1.0.6
Installing ri documentation for flvtool2-1.0.6
Done installing documentation for flvtool2 after 1 seconds
1 gem installed
Finally install gpac which is the last dependency package.
root@linuxhelp:/home/user1# apt-get install gpac mediainfo
Reading package lists... Done
Building dependency tree
Reading state information... Done
&hellip
&hellip
Setting up libmediainfo0v5:amd64 (0.7.73-1ubuntu1) ...
Setting up mediainfo (0.7.70-1build1) ...
Processing triggers for libc-bin (2.21-0ubuntu4) ...
Now create a database and db user using below command.
root@linuxhelp:/home/user1# mysql
Welcome to the MariaDB monitor.  Commands end with   or g.
Your MariaDB connection id is 42
Server version: 10.0.25-MariaDB-0ubuntu0.15.10.1 (Ubuntu)

Copyright (c) 2000, 2016, Oracle, MariaDB Corporation Ab and others.

Type ' help '  or ' h'  for help. Type ' c'  to clear the current input statement.

MariaDB [(none)]>  create database linuxhelp
Query OK, 1 row affected (0.14 sec)

MariaDB [(none)]>  grant all on linuxhelp.* to ' linuxhelp' @' localhost'  identified by ' password'
Query OK, 0 rows affected (0.13 sec)

MariaDB [(none)]>  exit
Bye
To download the clipbucket package use the below official site link.
http://clipbucket.com/latest
Go to the terminal and change directory to download.
root@linuxhelp:/home/user1# cdDownloads/
root@linuxhelp:/home/user1/Downloads# ls -l
total 13336
drwxr-xr-x  2 user1 user1     4096 Aug  5 16:09 ./
drwxr-xr-x 15 user1 user1     4096 Aug  5 15:44 ../
-rw-rw-r--  1 user1 user1 13643974 Aug  5 16:09 clipbucket-4476.zip
Unzip the file to the respective path by using below command.
root@linuxhelp:/home/user1/Downloads# unzip clipbucket-4476.zip -d /var/www/html/
Archive:  clipbucket-4476.zip
22b322ddcc988cf2669e951d9e535bbd9db11c9d
   creating: /var/www/html/clipbucket-4476/
   creating: /var/www/html/clipbucket-4476/CHANGELOG/
  inflating: /var/www/html/clipbucket-4476/CHANGELOG/changelog-2.8.1.v4328-rc2
  inflating: /var/www/html/clipbucket-4476/CHANGELOG/changelog-2.8.1.v4470-stable.txt
&hellip
&hellip
inflating: /var/www/html/clipbucket-4476/upload/view_topic.php
  inflating: /var/www/html/clipbucket-4476/upload/watch_video.php
  inflating: /var/www/html/clipbucket-4476/why_clipbucket.MD
And rename the directory to clipbucket.
root@linuxhelp:/var/www/html# ls -l
total 24
drwxr-xr-x 3 root root  4096 Aug  5 16:11 ./
drwxr-xr-x 3 root root  4096 Aug  5 15:51 ../
drwxr-xr-x 7 root root  4096 Aug  1 18:20 clipbucket-4476/
-rw-r--r-- 1 root root 11321 Aug  5 15:52 index.html
root@linuxhelp:/var/www/html# mv clipbucket-4476 clipbucket
root@linuxhelp:/var/www/html# ls -l
total 24
drwxr-xr-x 3 root root  4096 Aug  5 16:12 ./
drwxr-xr-x 3 root root  4096 Aug  5 15:51 ../
drwxr-xr-x 7 root root  4096 Aug  1 18:20 clipbucket/
-rw-r--r-- 1 root root 11321 Aug  5 15:52 index.html
Here, set the permissions and change the ownership for the clipbucket.
root@linuxhelp:/var/www/html# chown -R www-data:www-data clipbucket
root@linuxhelp:/var/www/html# chmod -R 777 clipbucket
Run the below command to restart the apache service.
root@linuxhelp:/var/www/html# /etc/init.d/apache2 restart
[ ok ] Restarting apache2 (via systemctl): apache2.service.
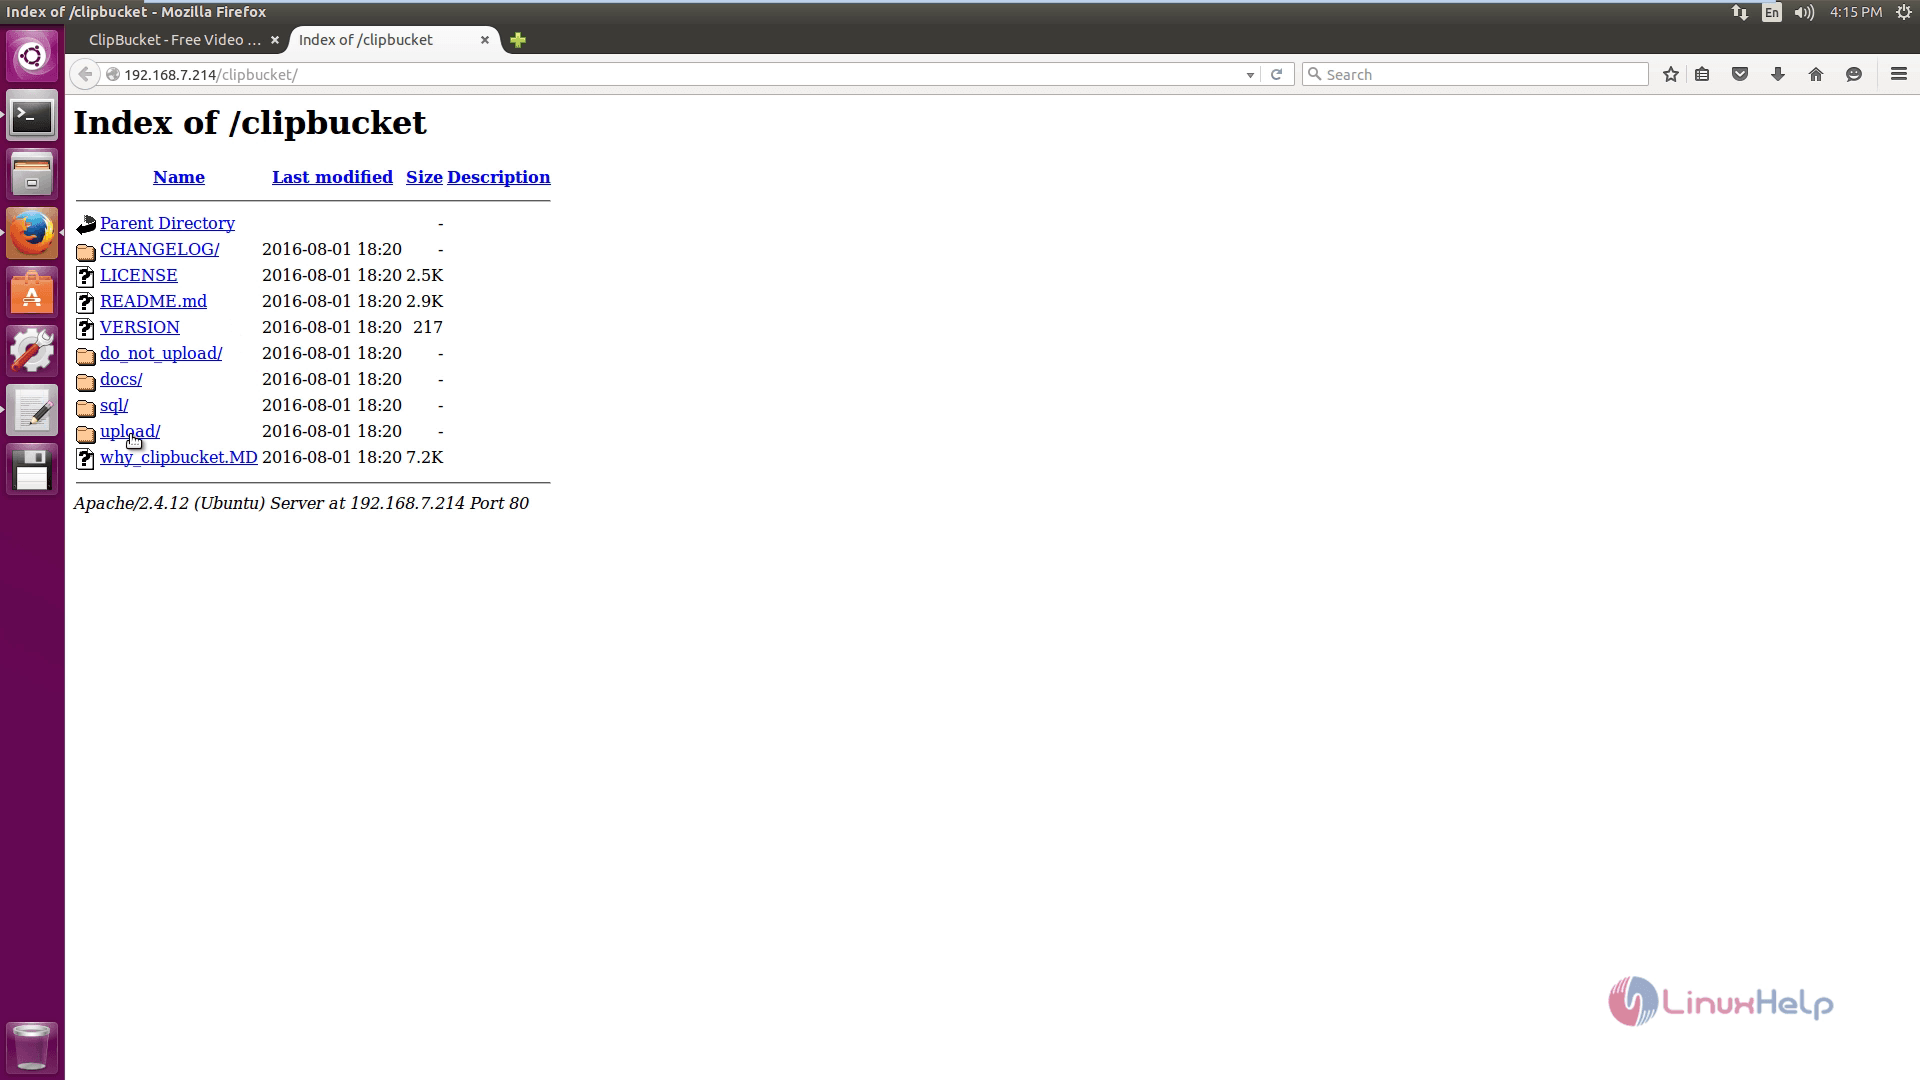
Now open the browser and enter the URL http://< IP_address> /clipbucket and click upload option.
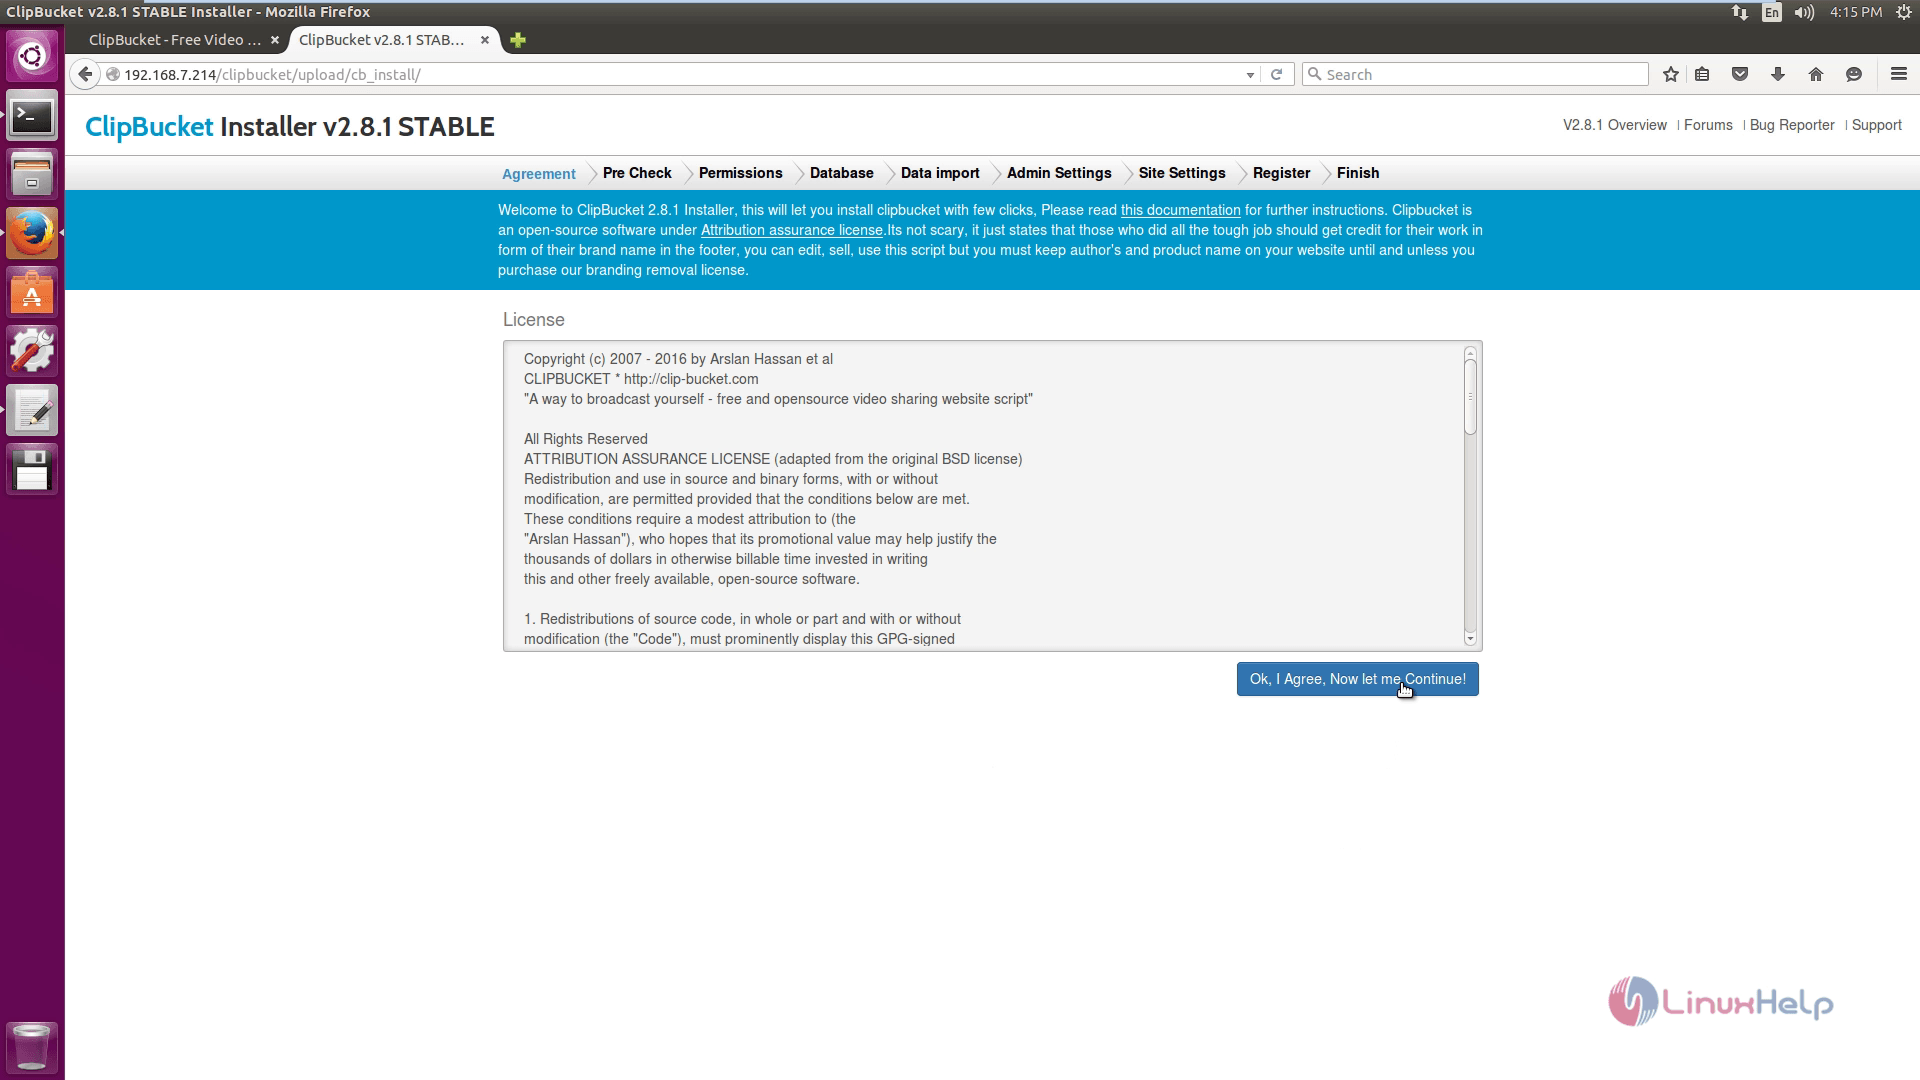
Accept the license agreement and click continue.
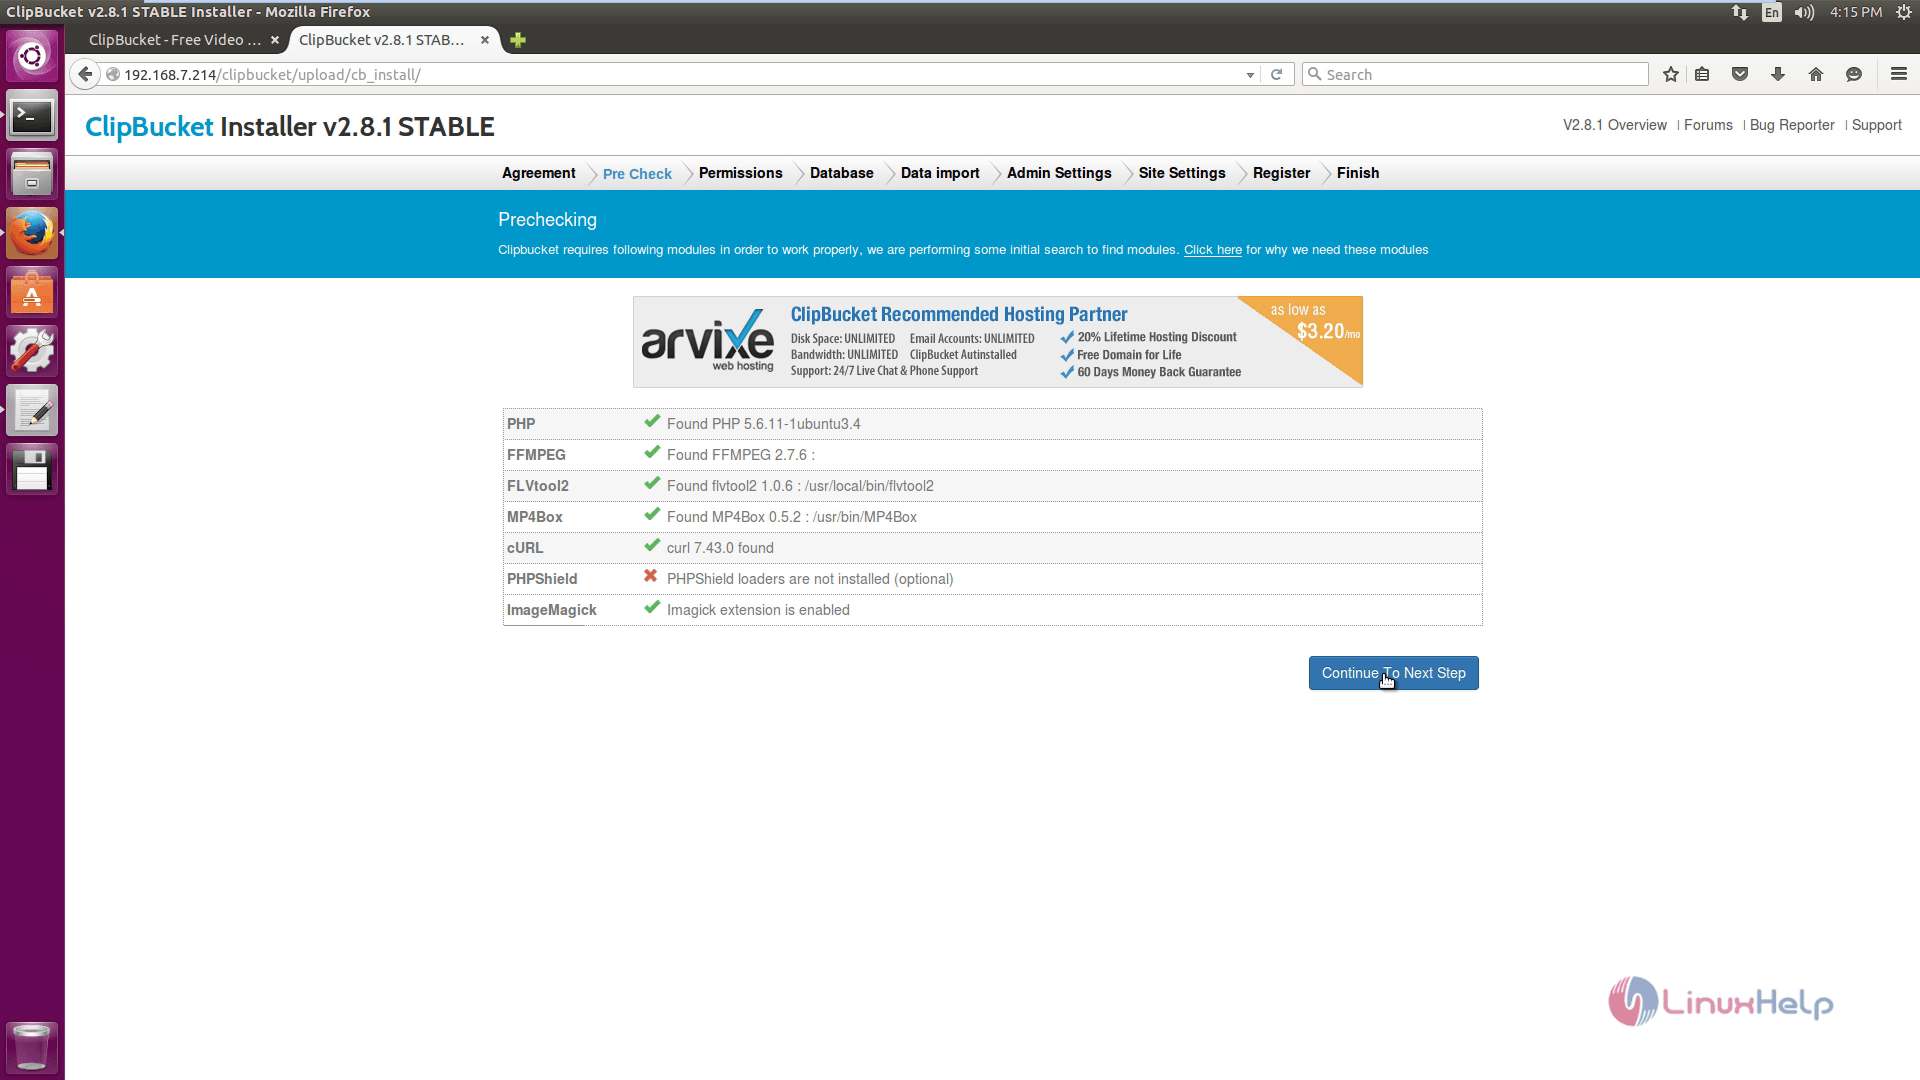
Pre Check the following details and click continue for further process.
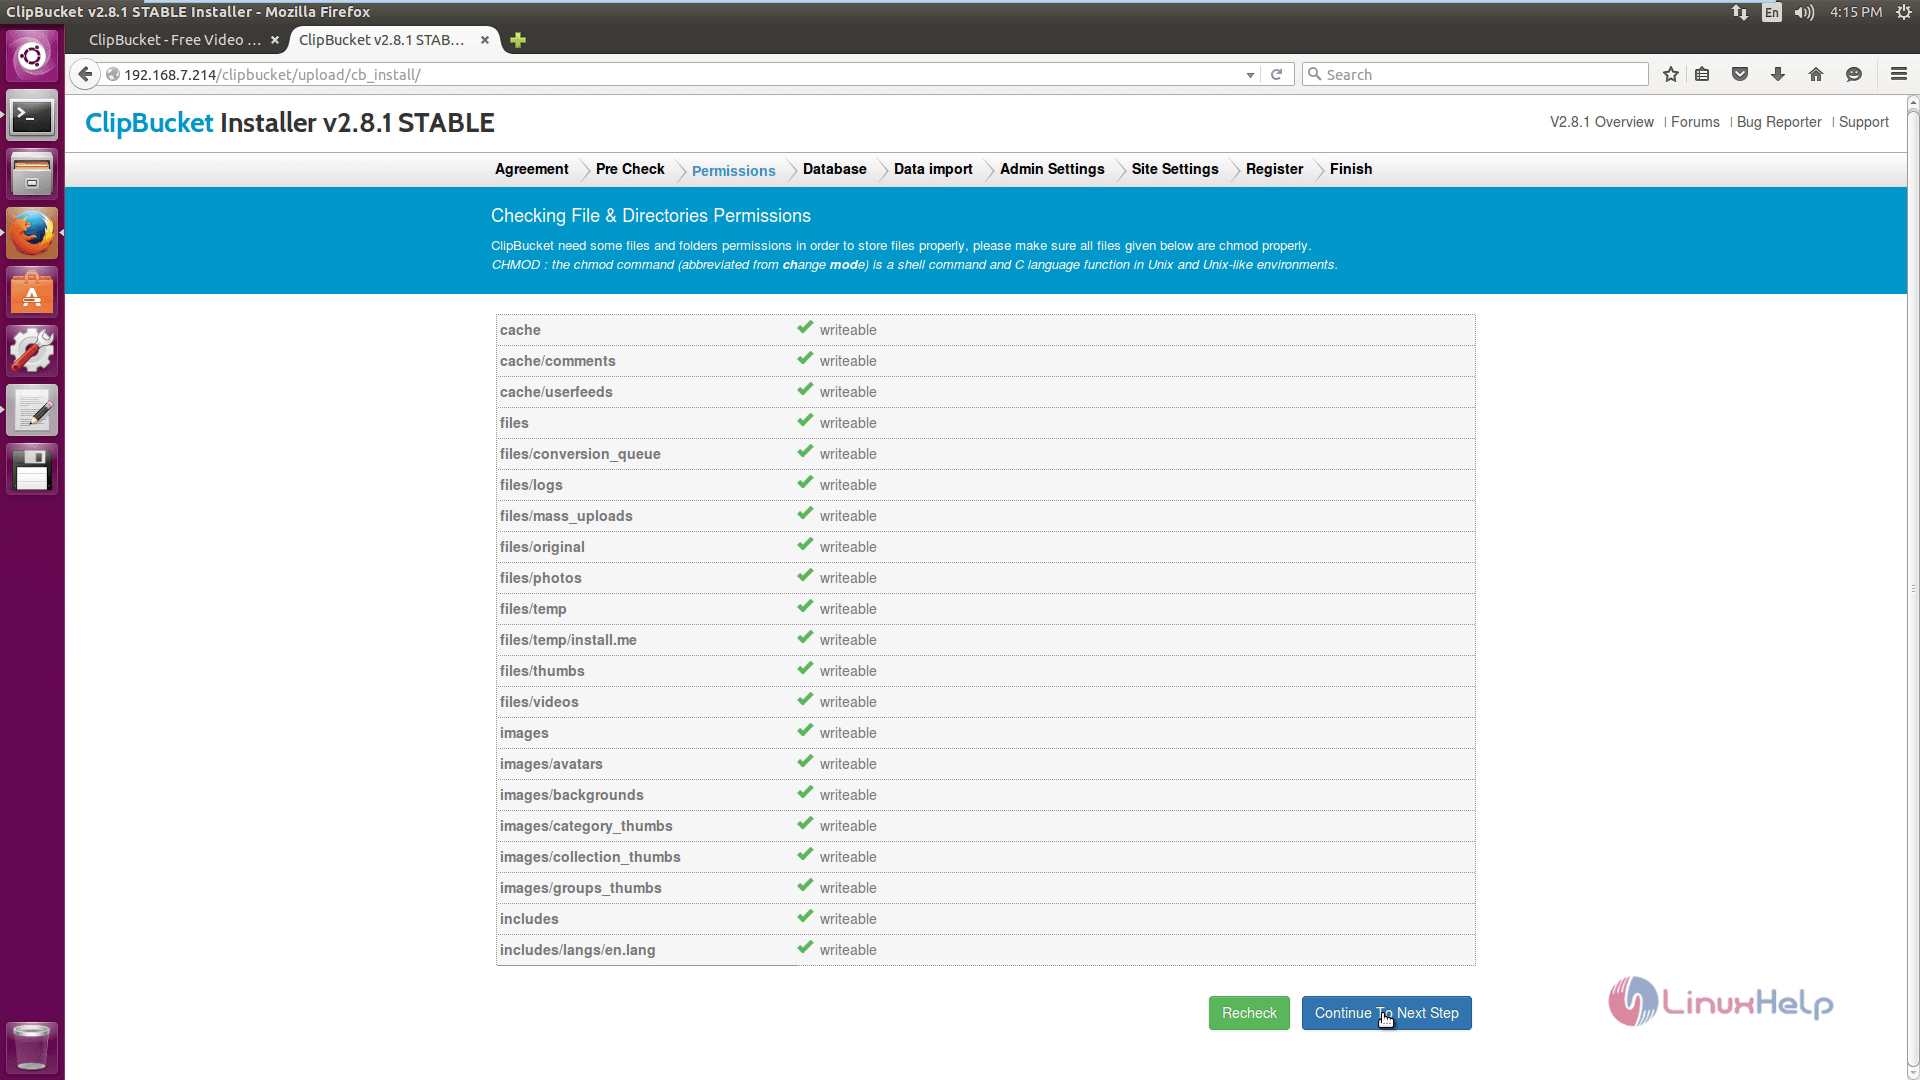
Here, check the file and directory permissions. Click continue option.
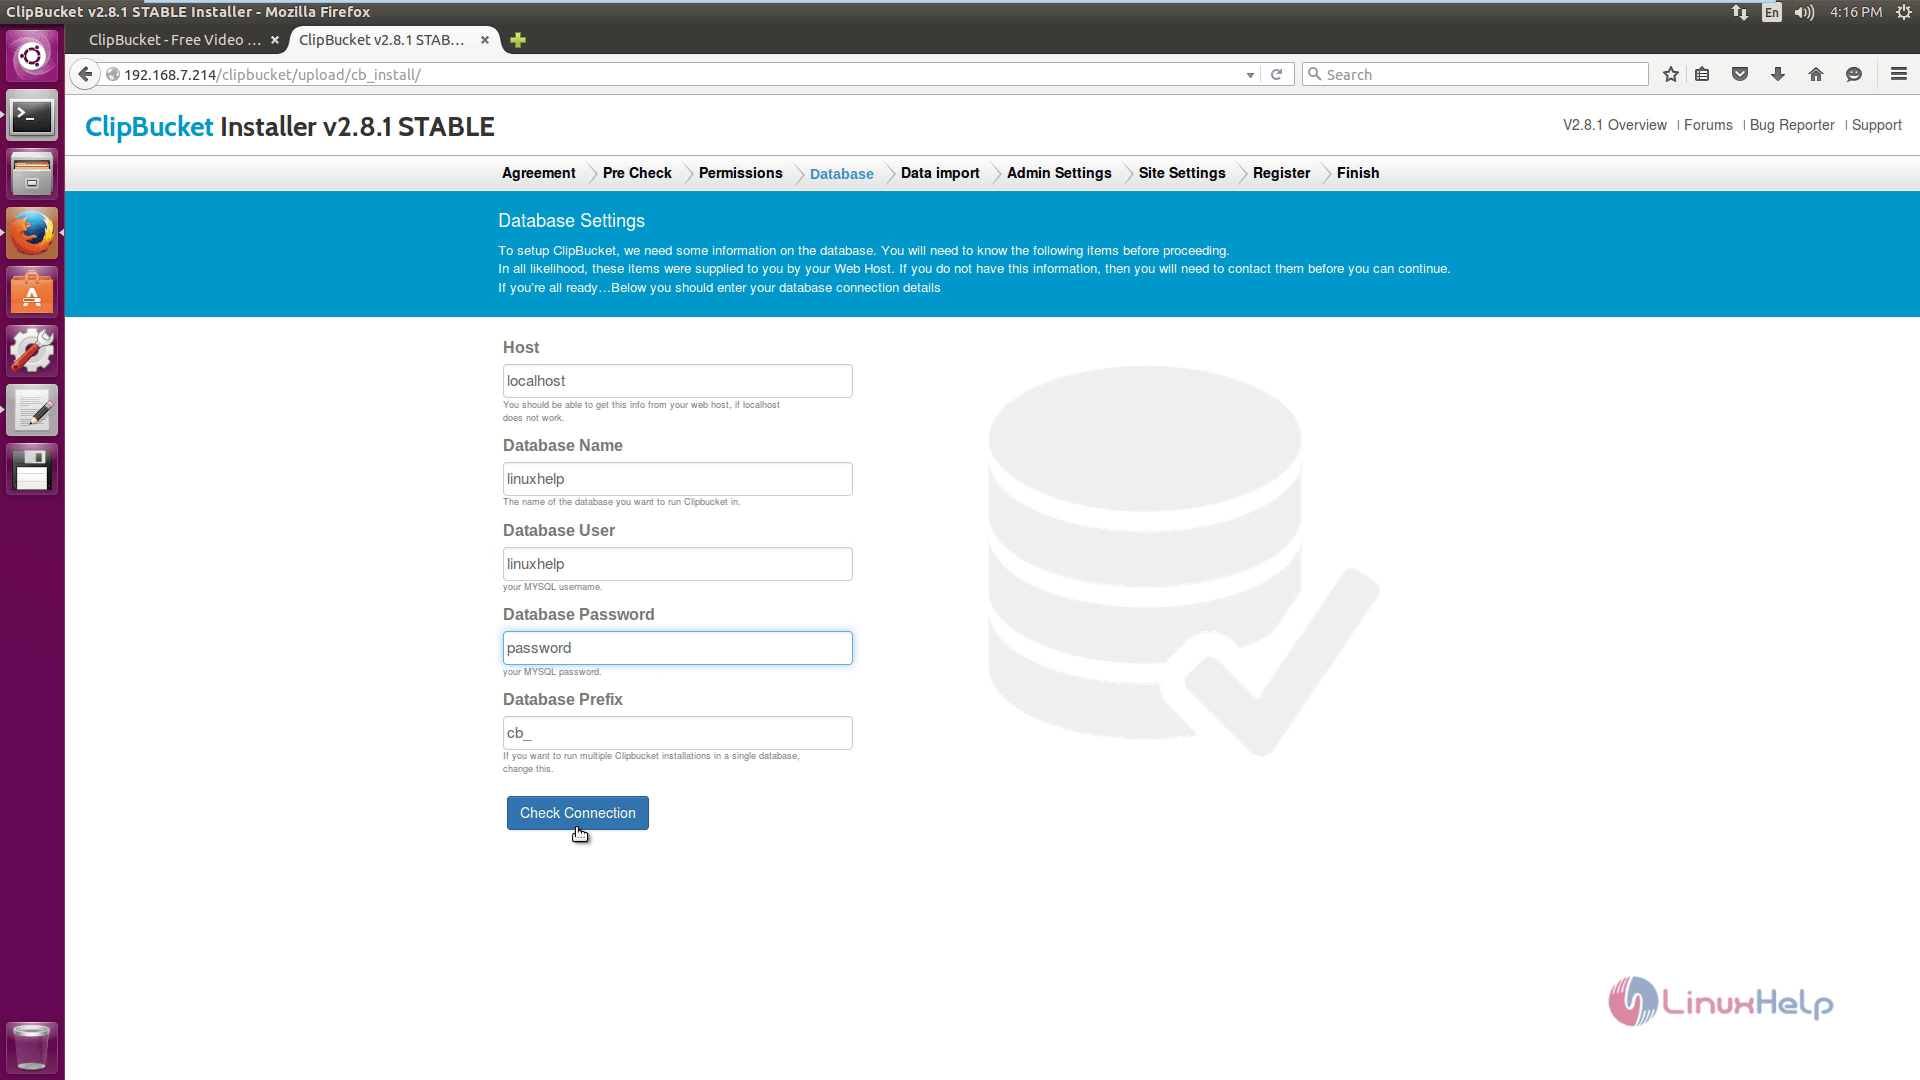
Enter the following credentials for Database settings and click check connection option.
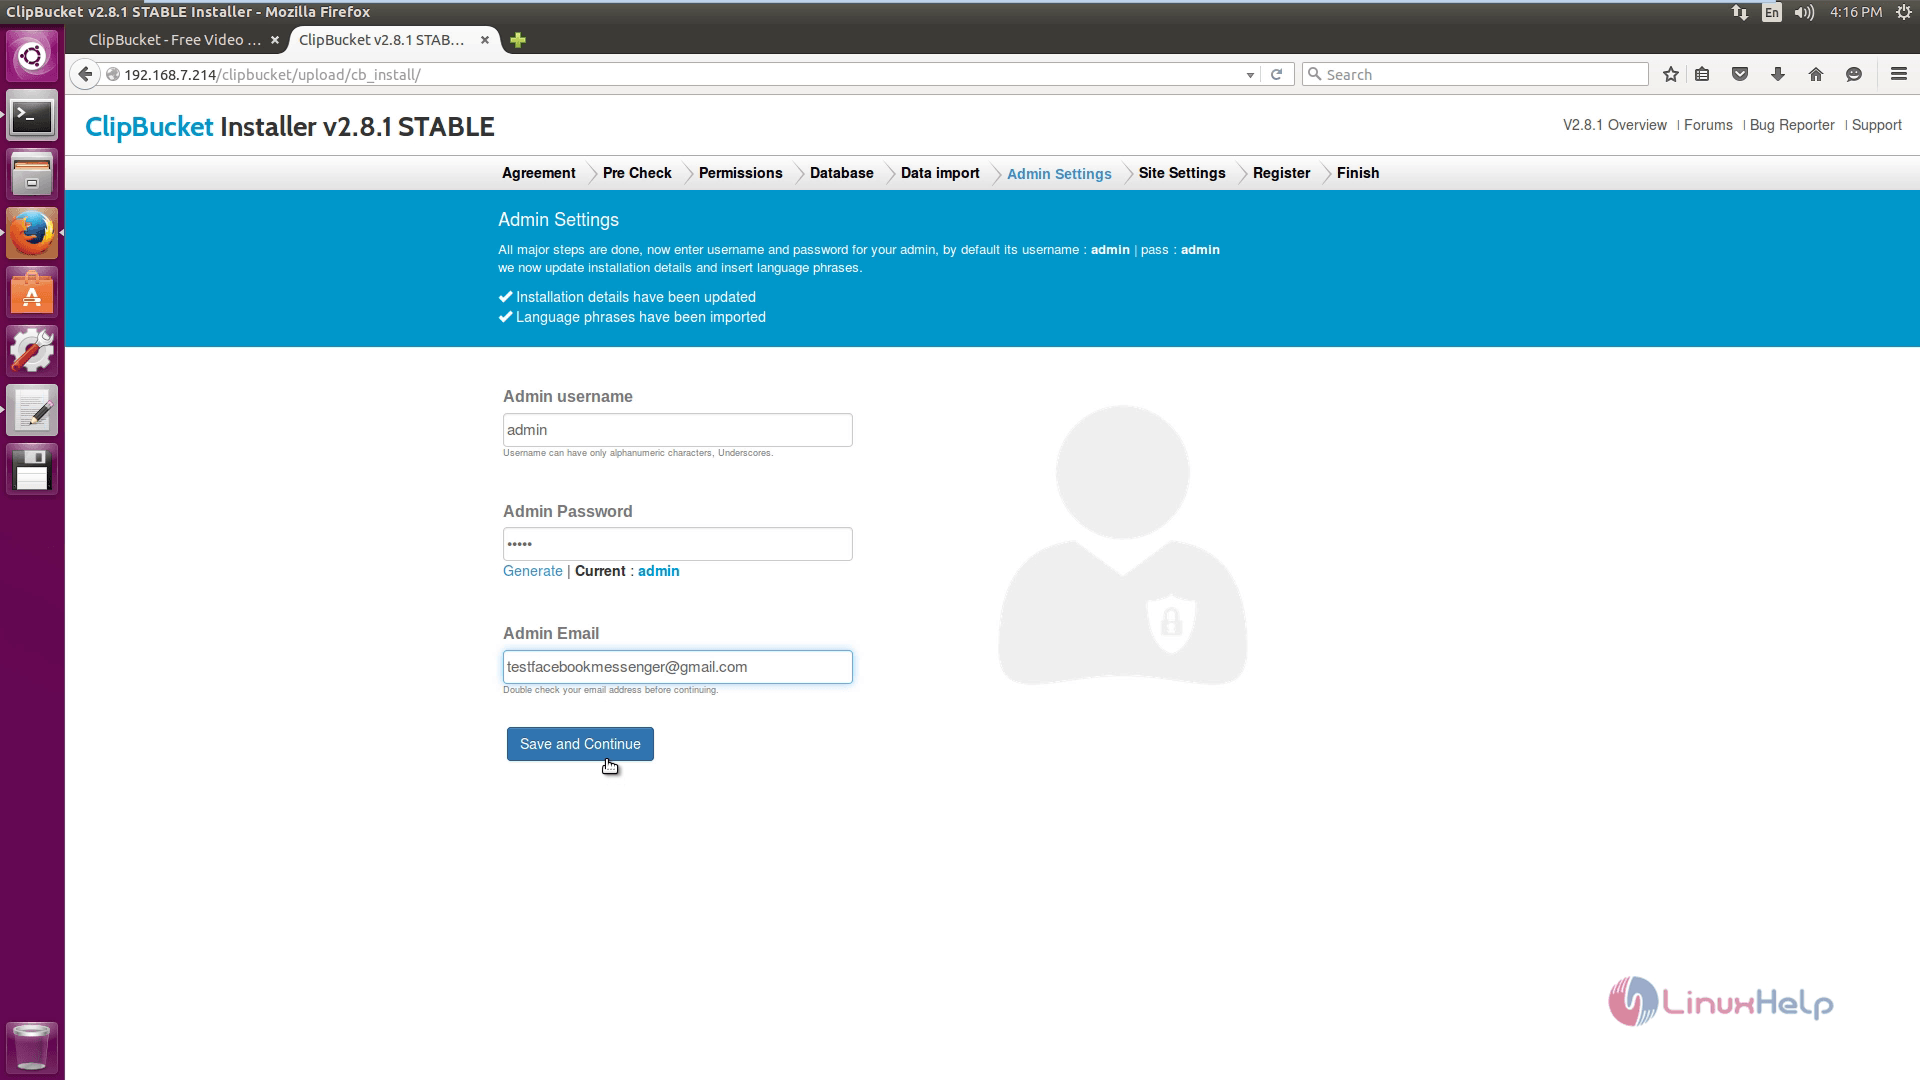
Now change the Admin Settings and click save and continue option.
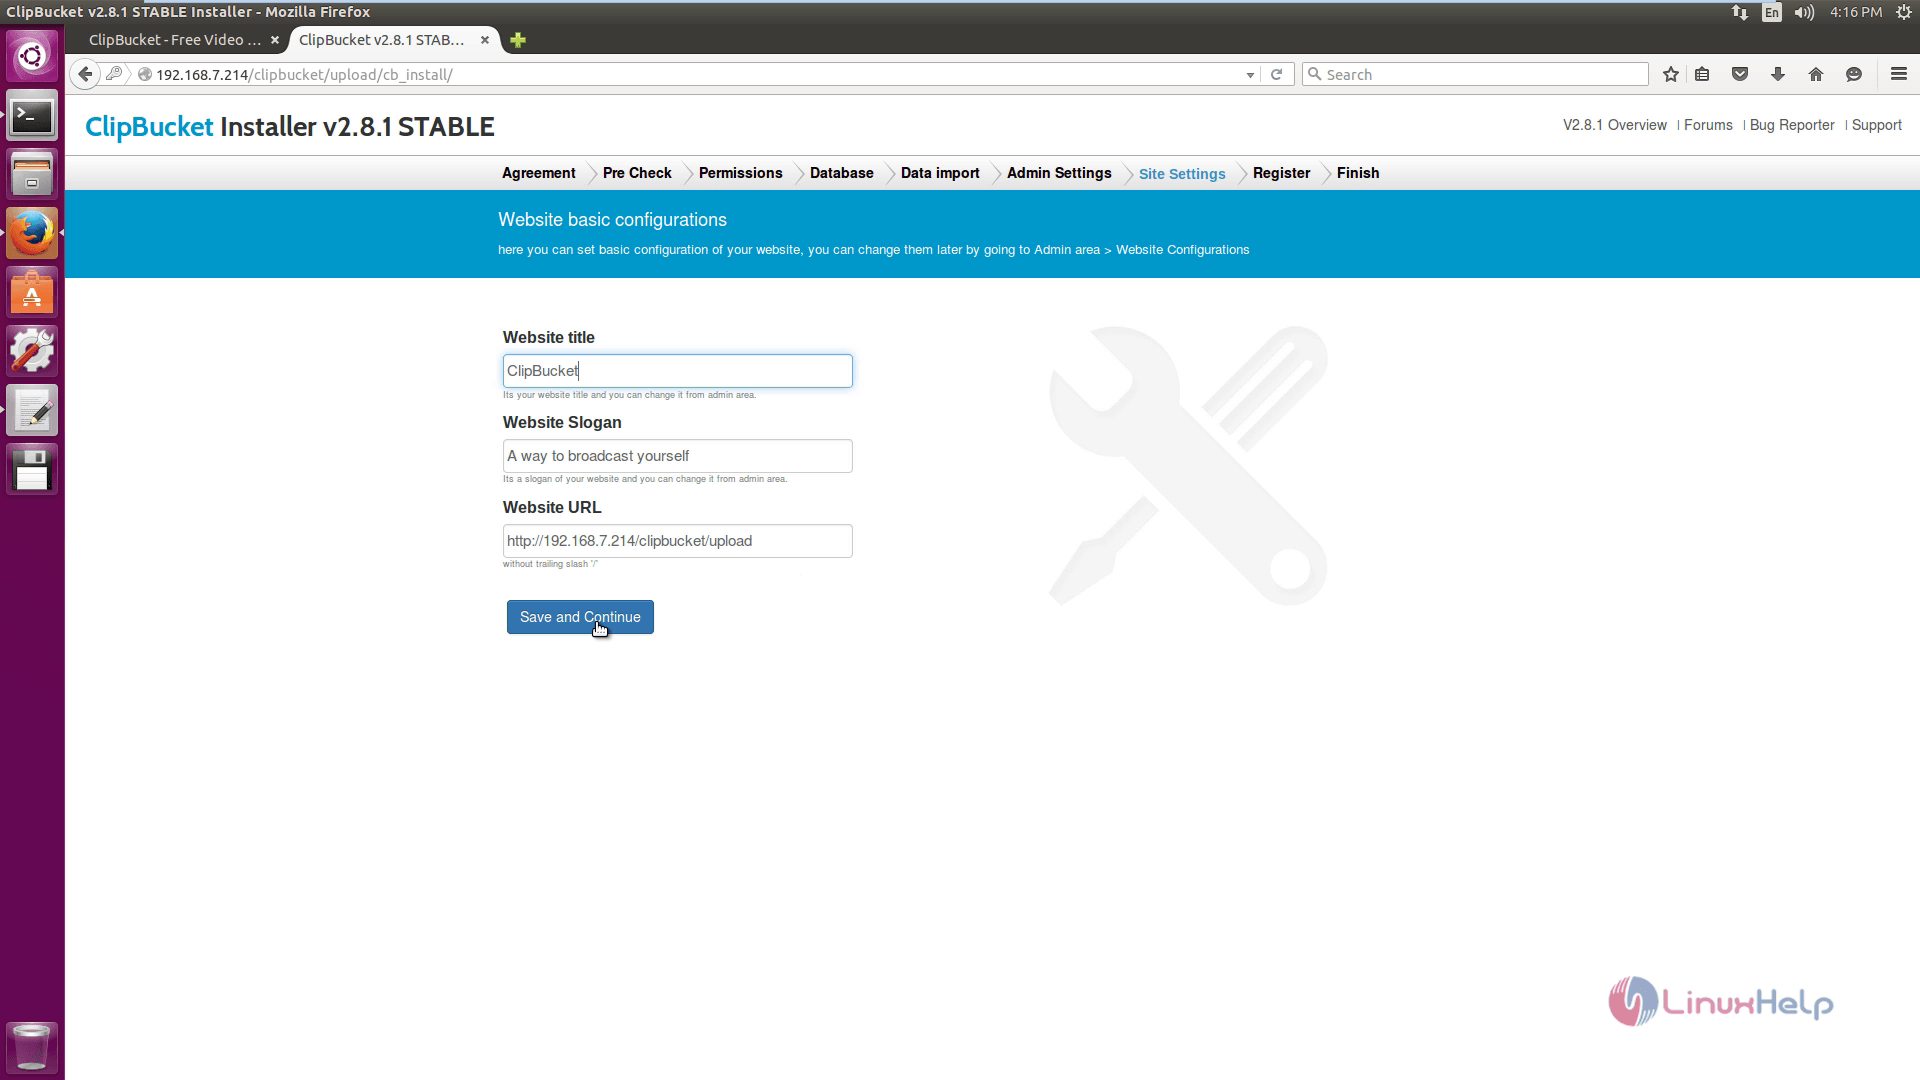
You can also change the Site settings and click save and continue option.
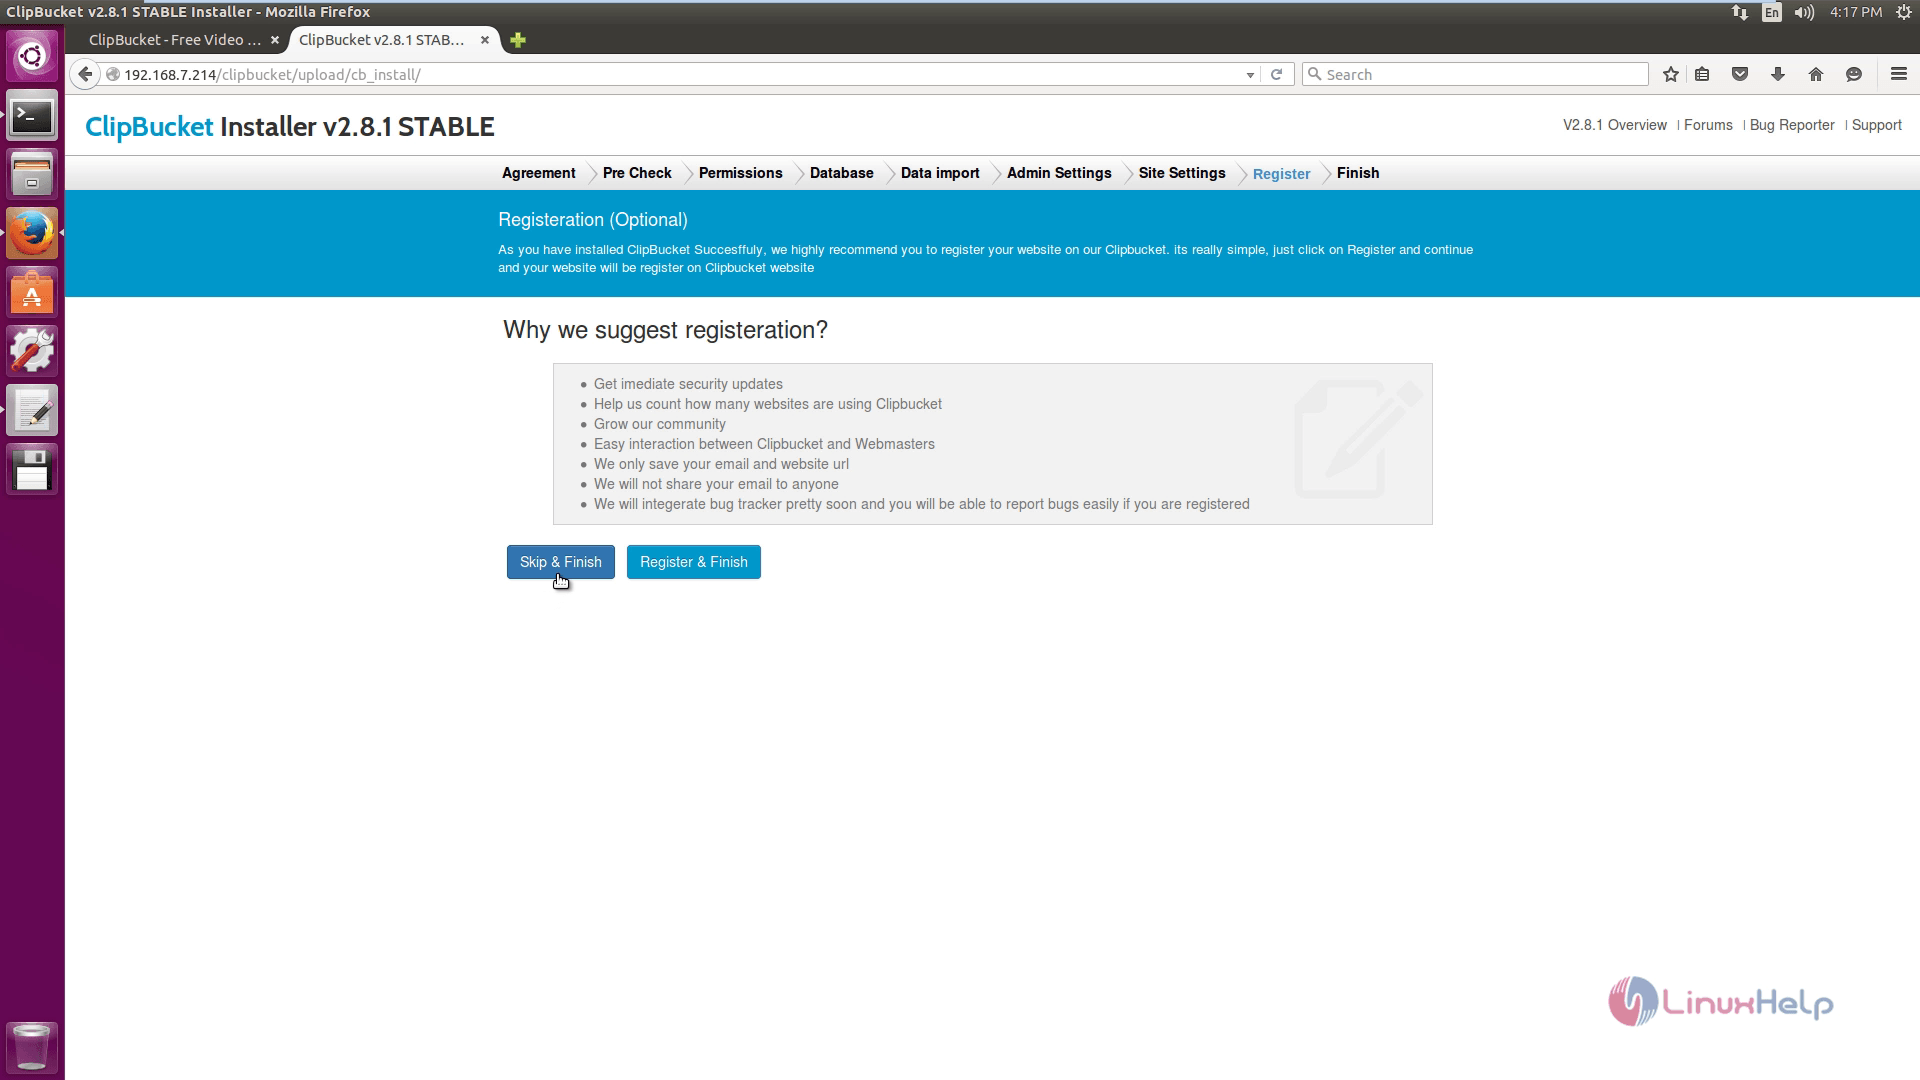
After finished the registration settings, click Skip & Finish option.
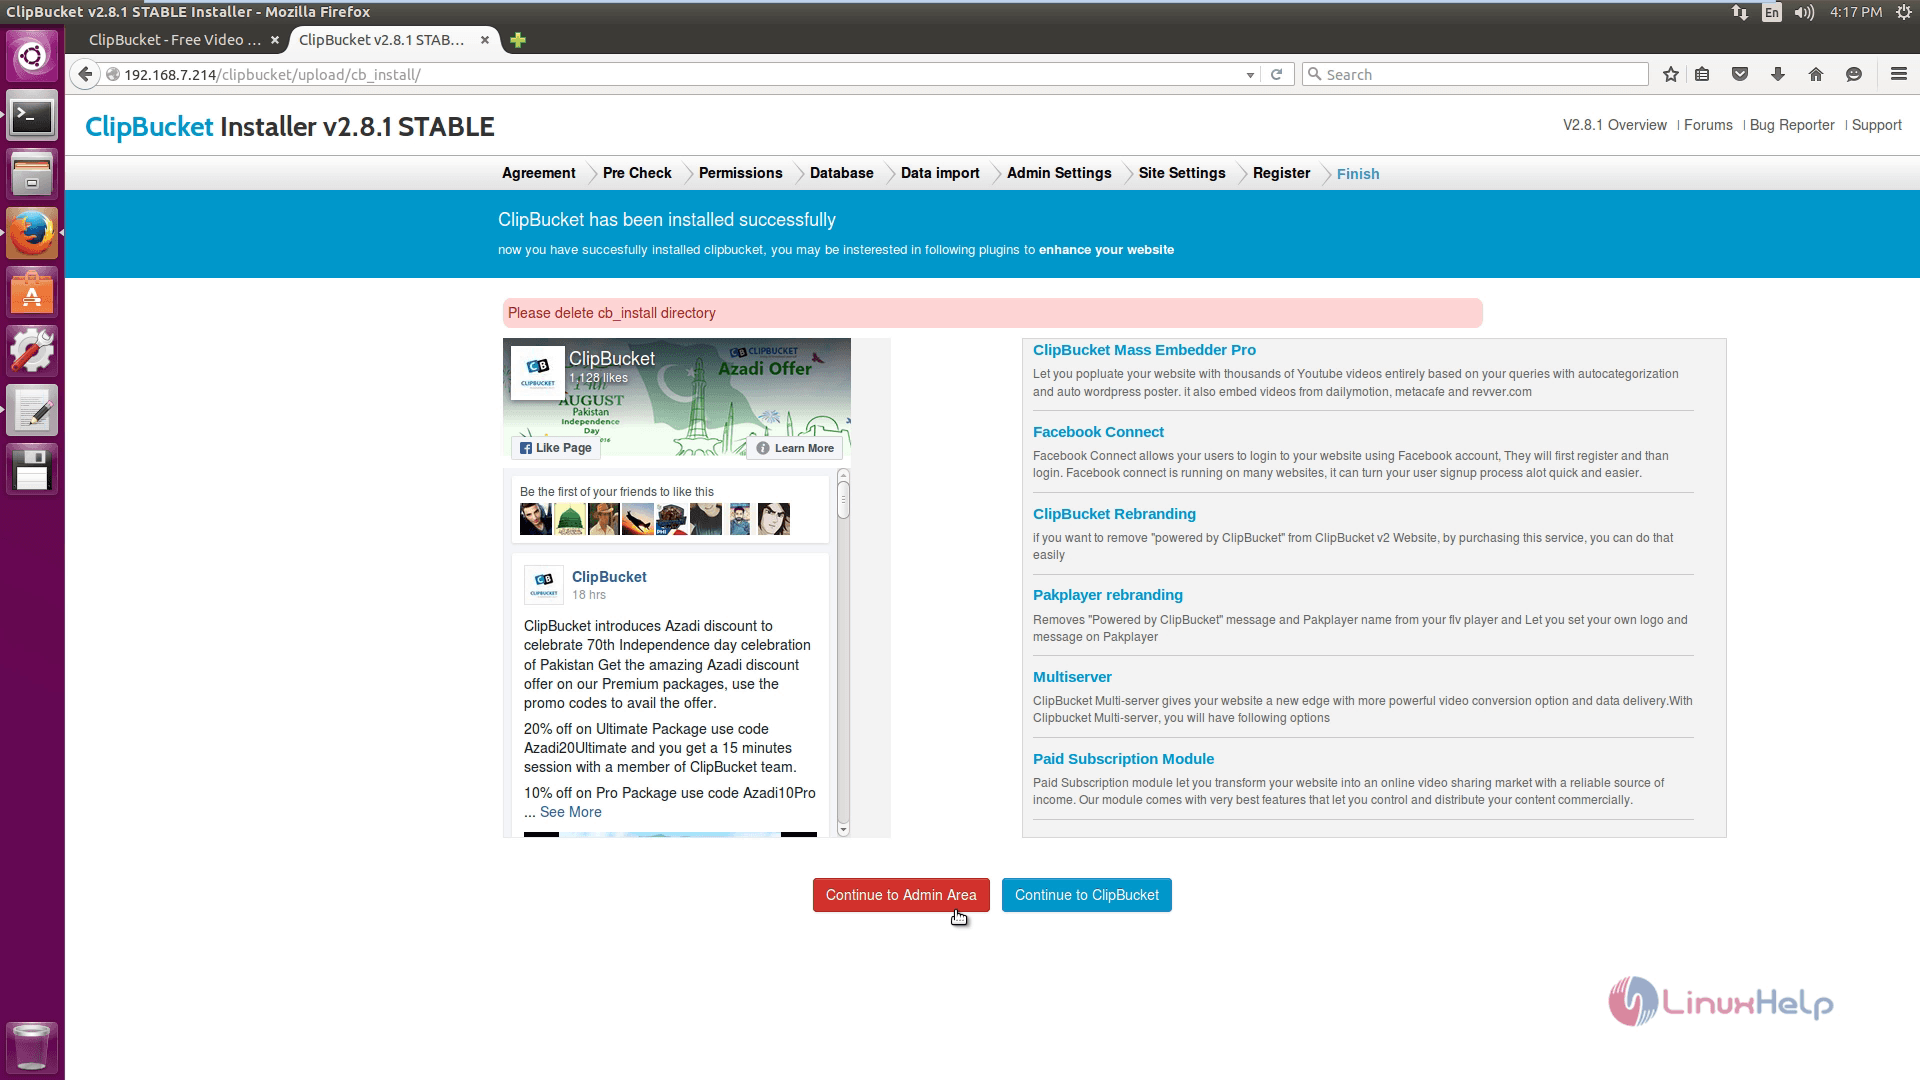
Finally, clipbucket installed successfully. Here click Continue to Admin area.
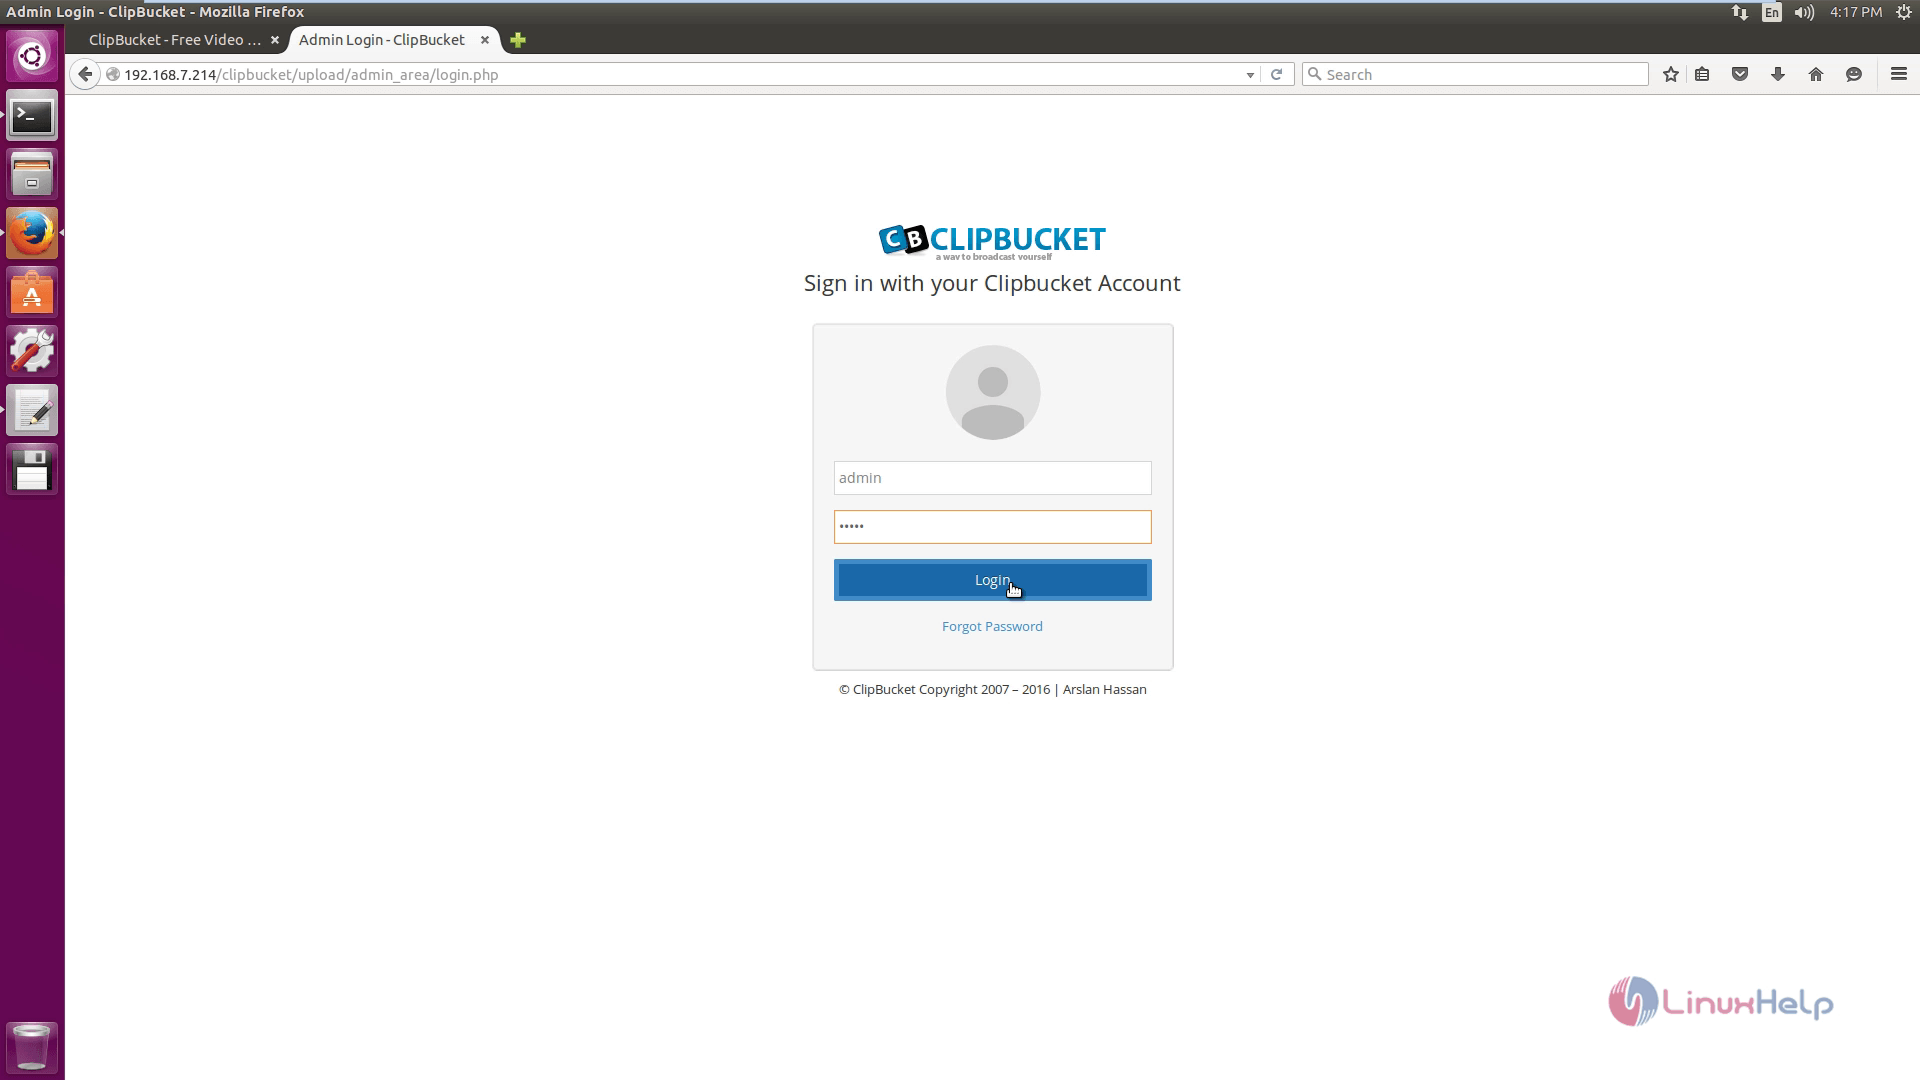
In this Login page, enter the following credentials.
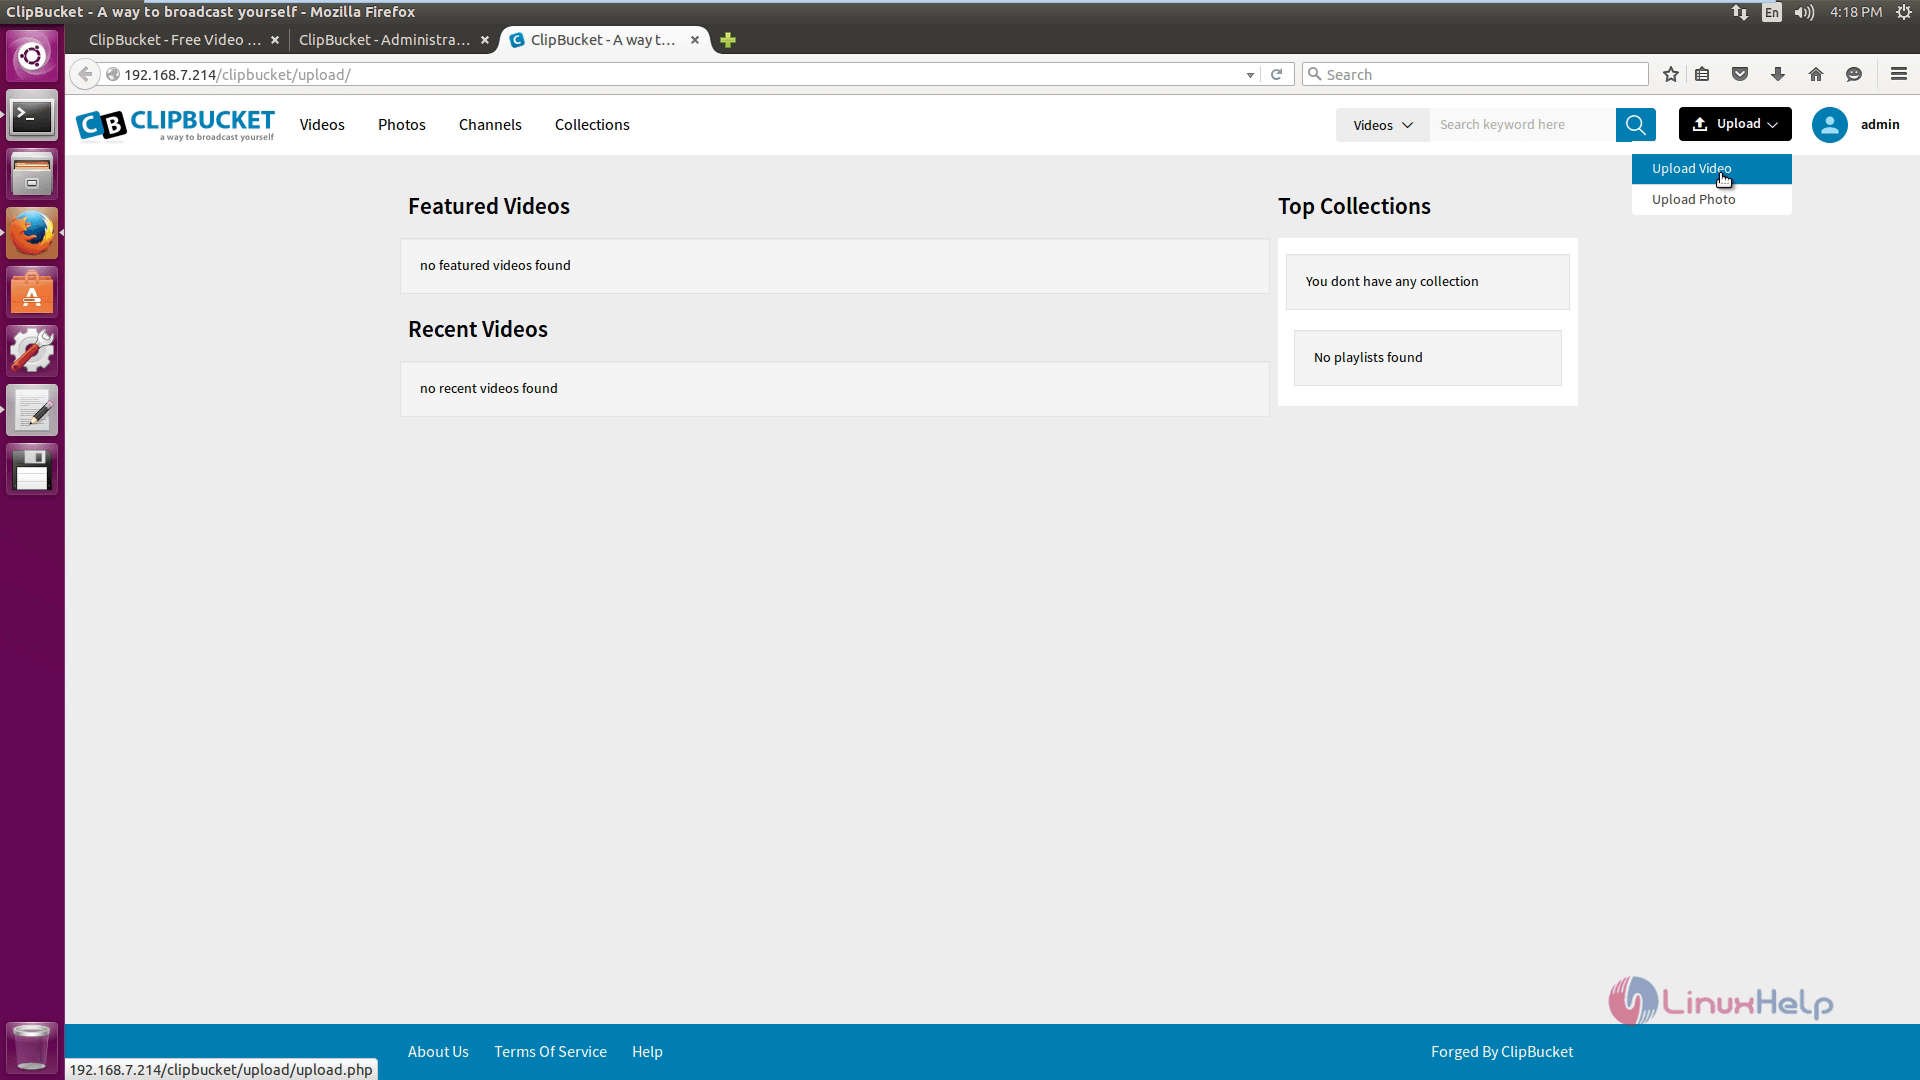
Click on upload and select upload videos option to upload the videos to clipbucket.
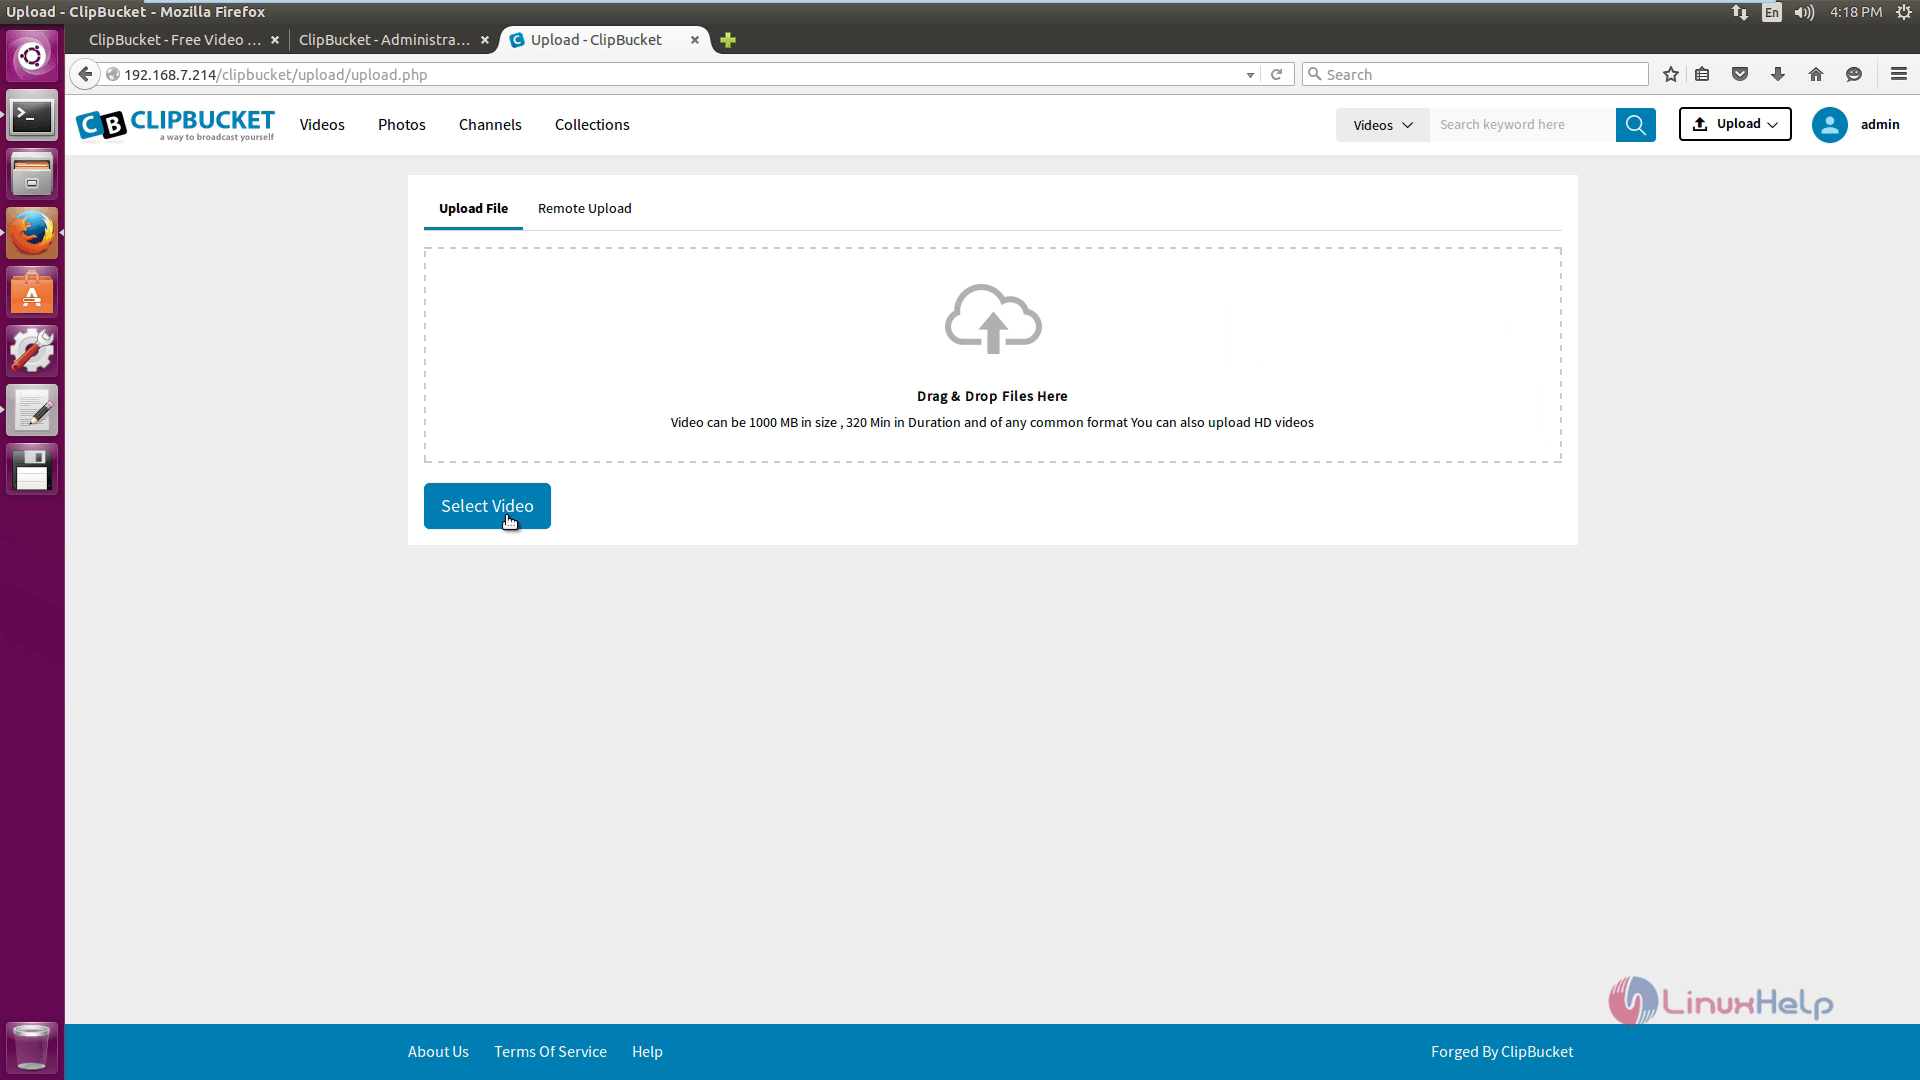
Select the file to upload through Upload File -> Select Video.
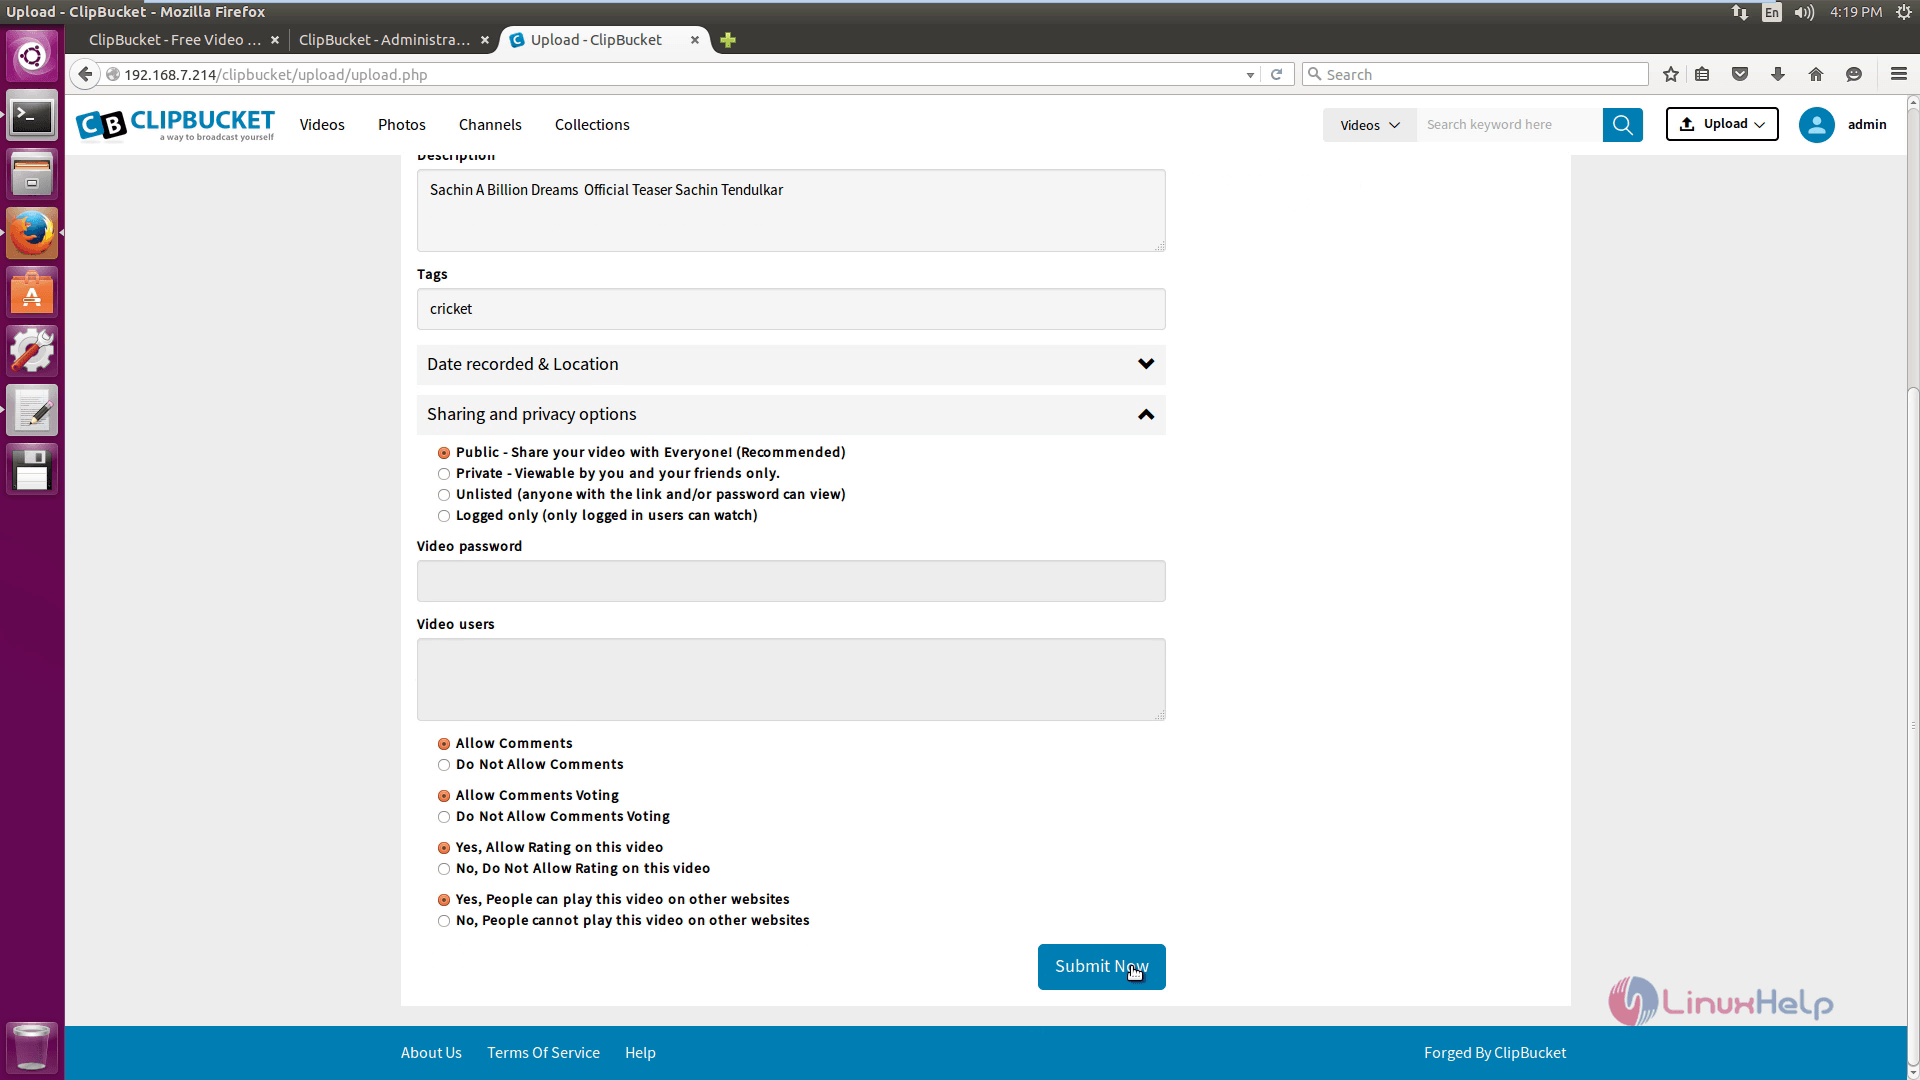
Enter the title, description and change the privacy settings. Click submit new option.
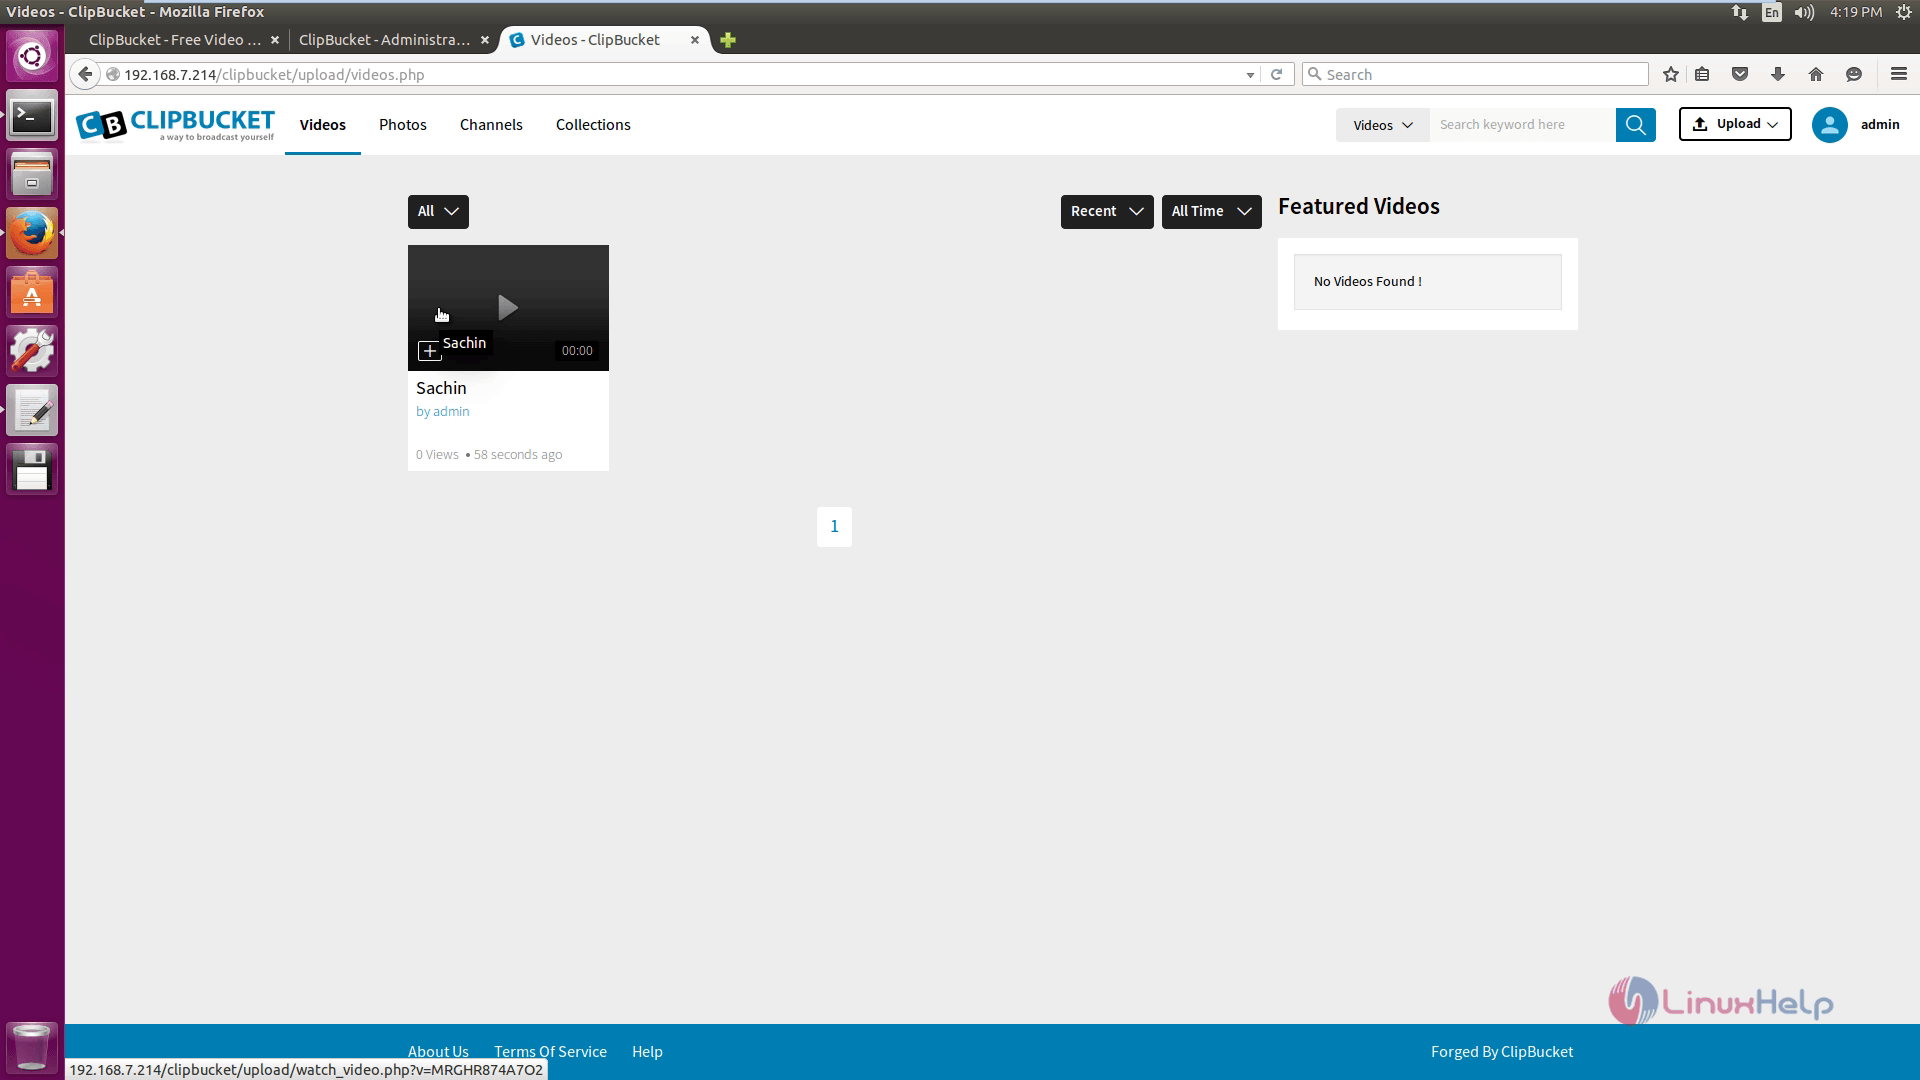
Now you can see your uploaded video on screen.
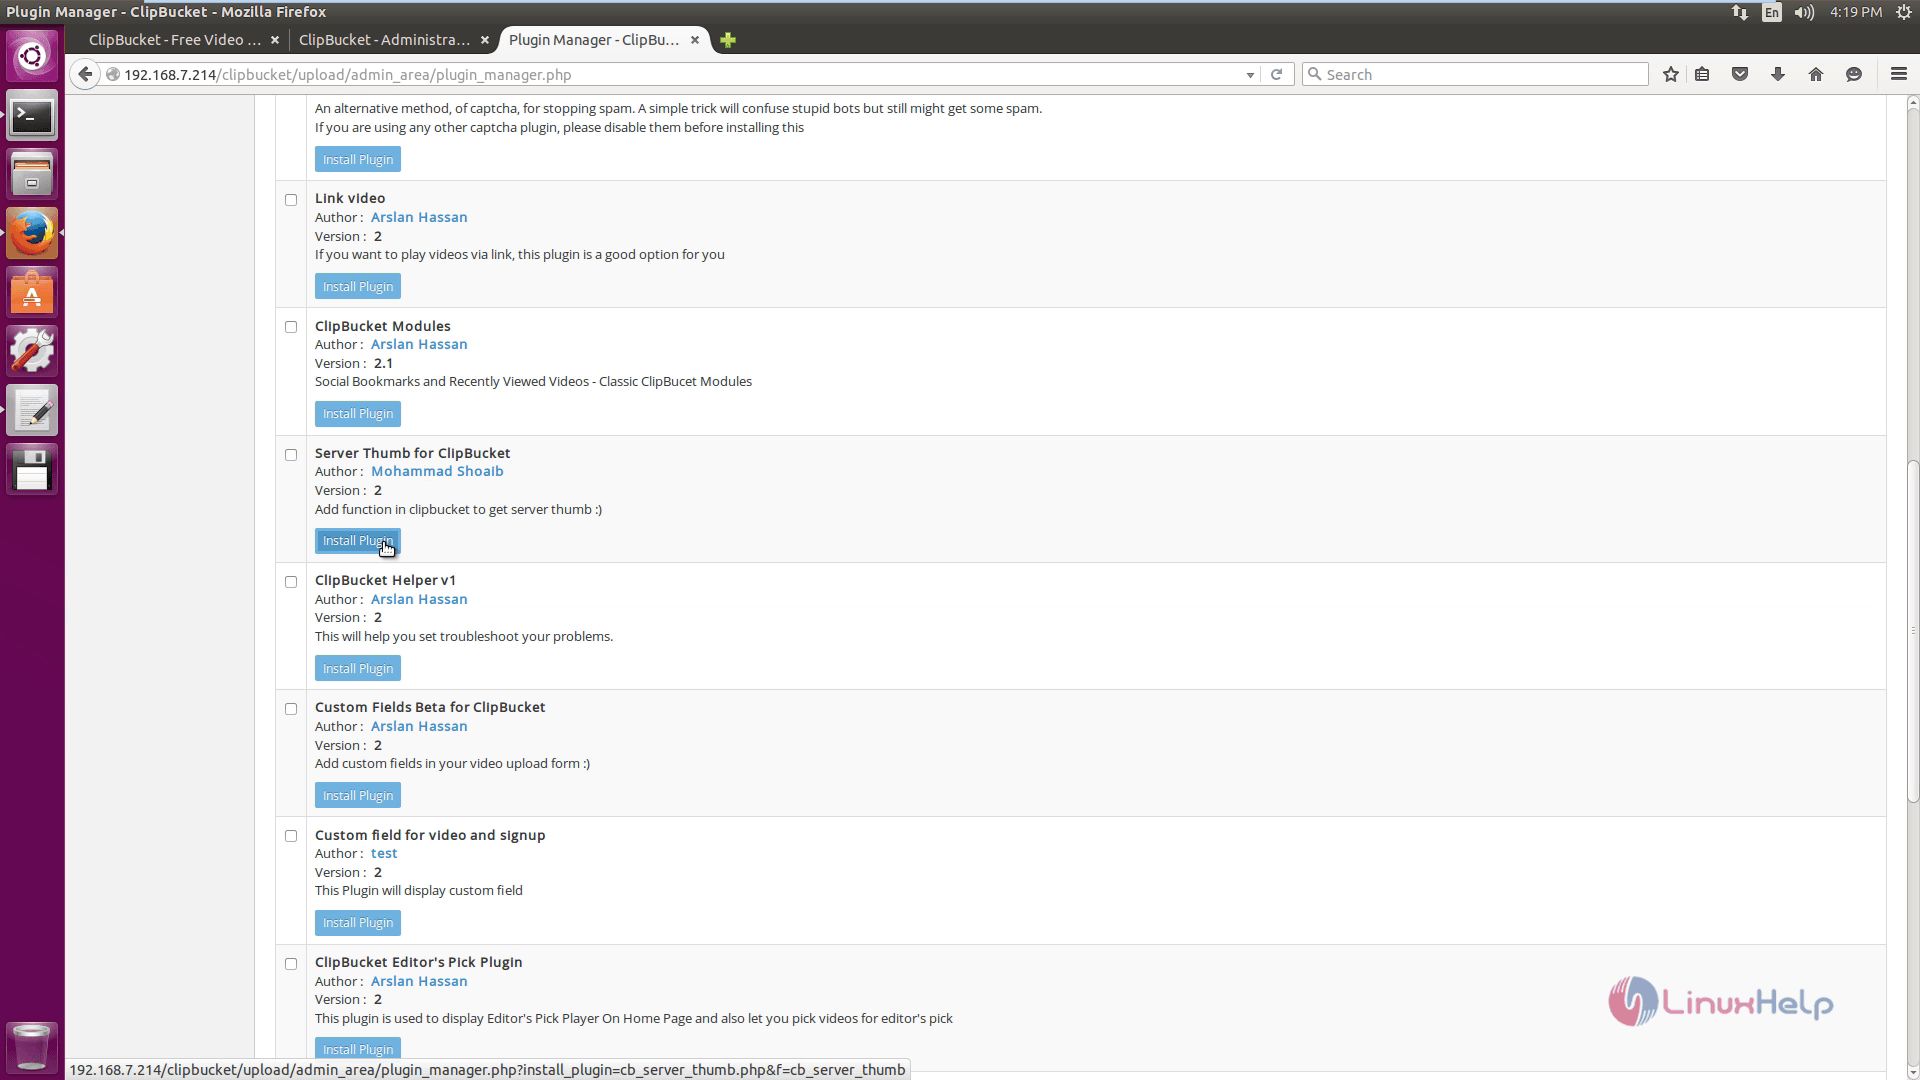
To upload photos, install server thumb plugin as given below.
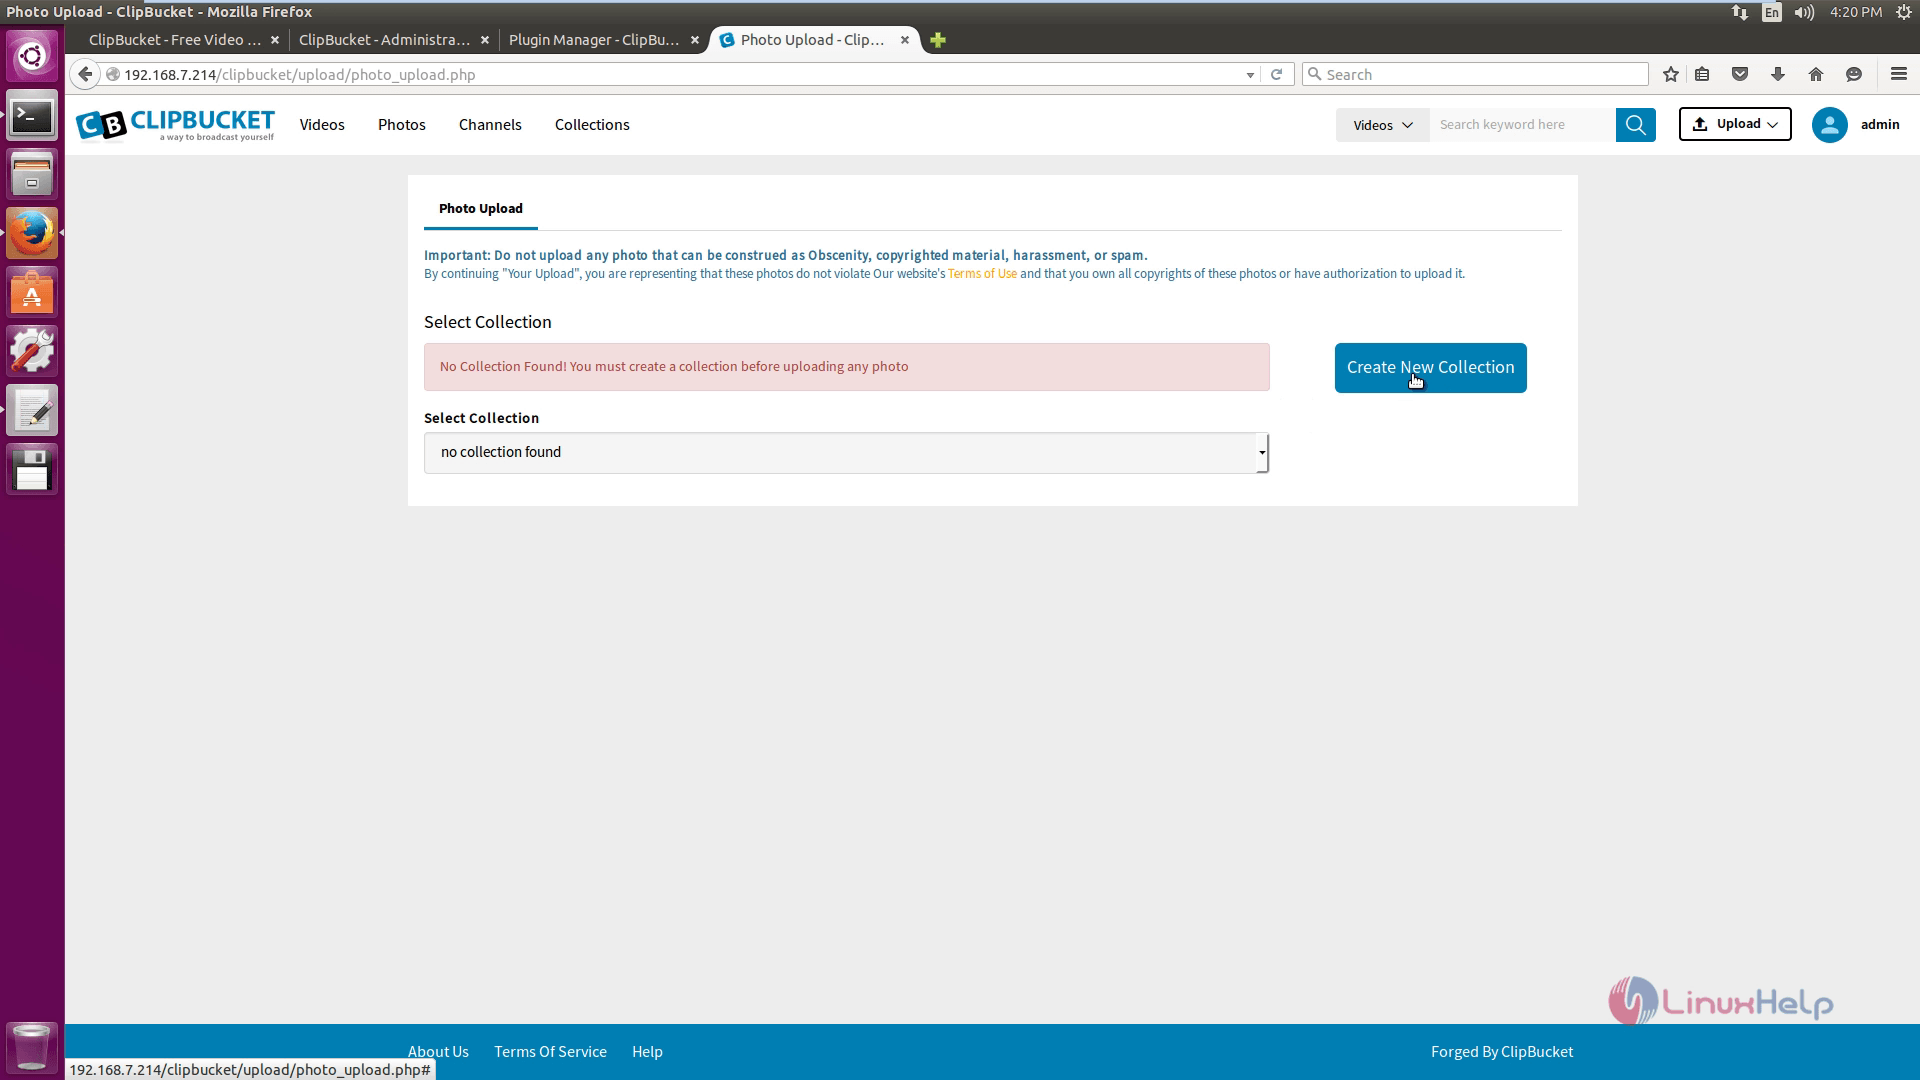
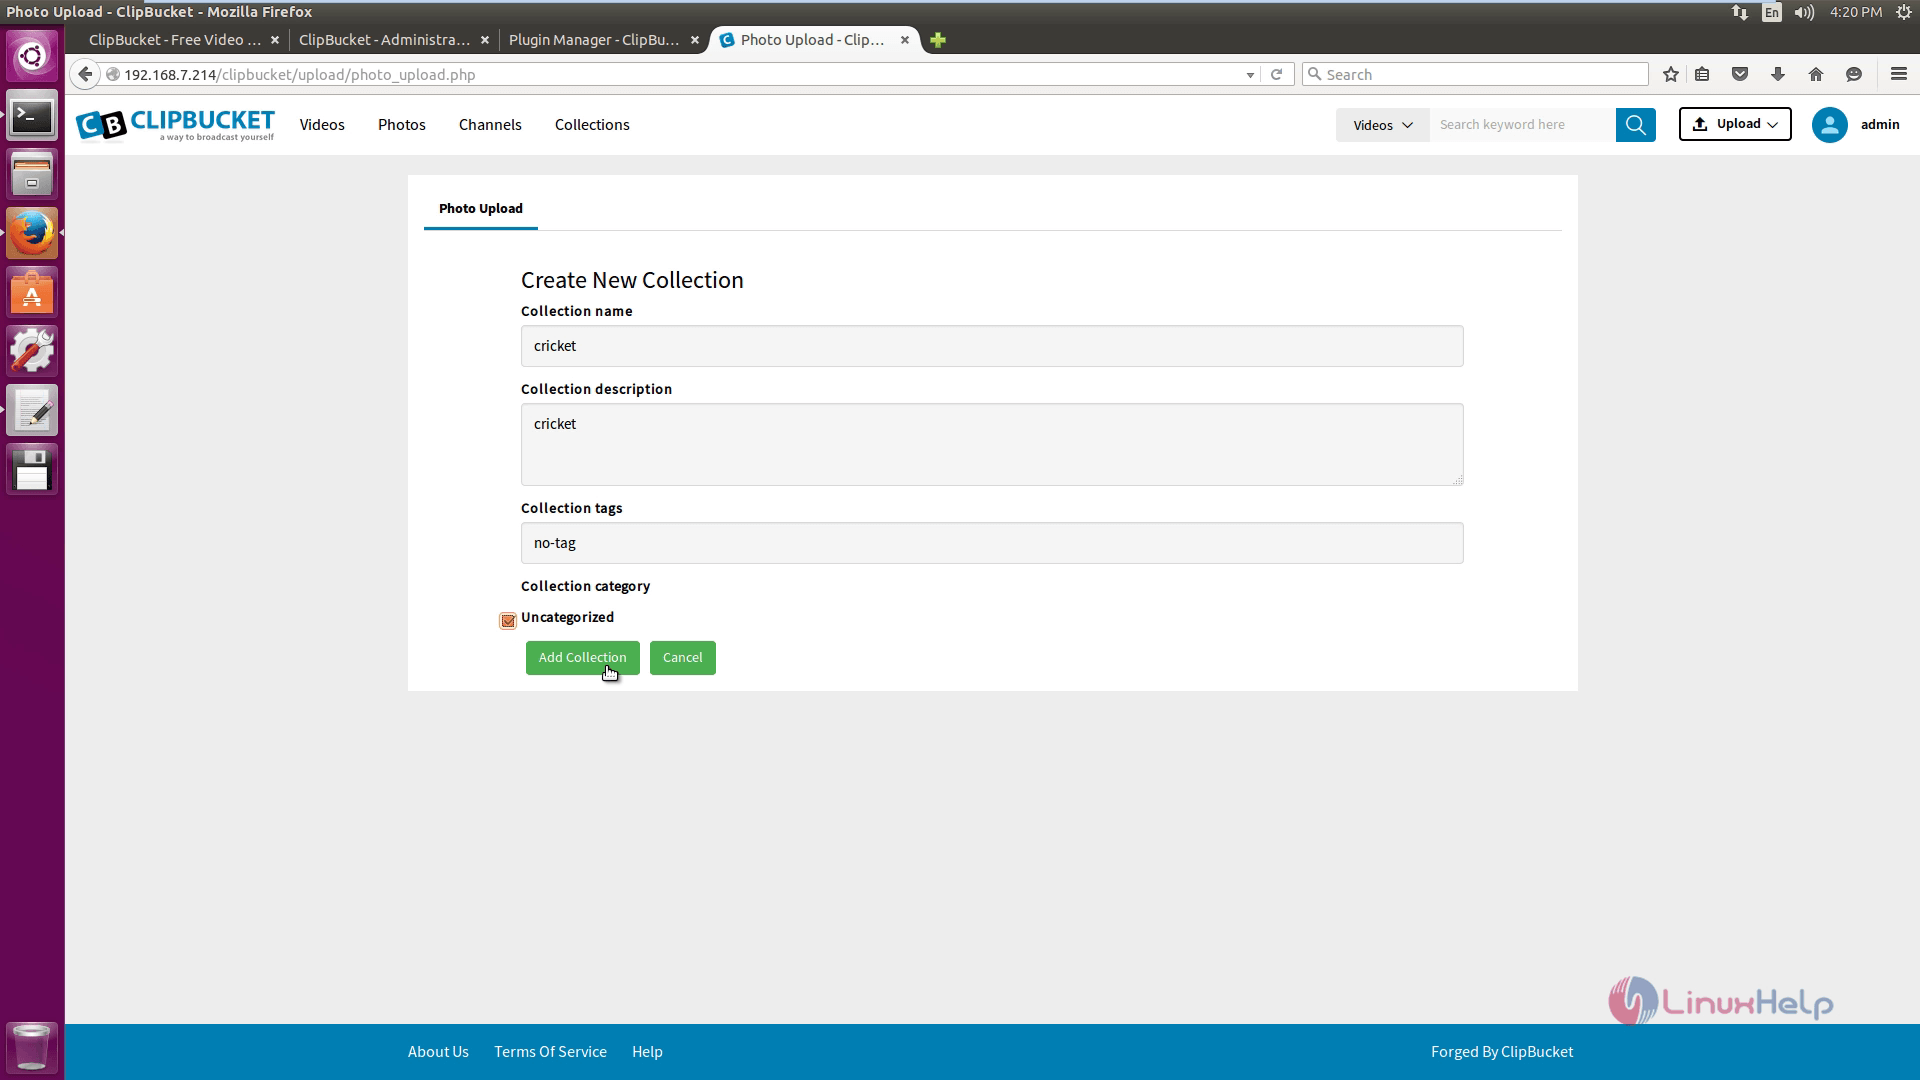
Next, create collection and then click on create new collection option.
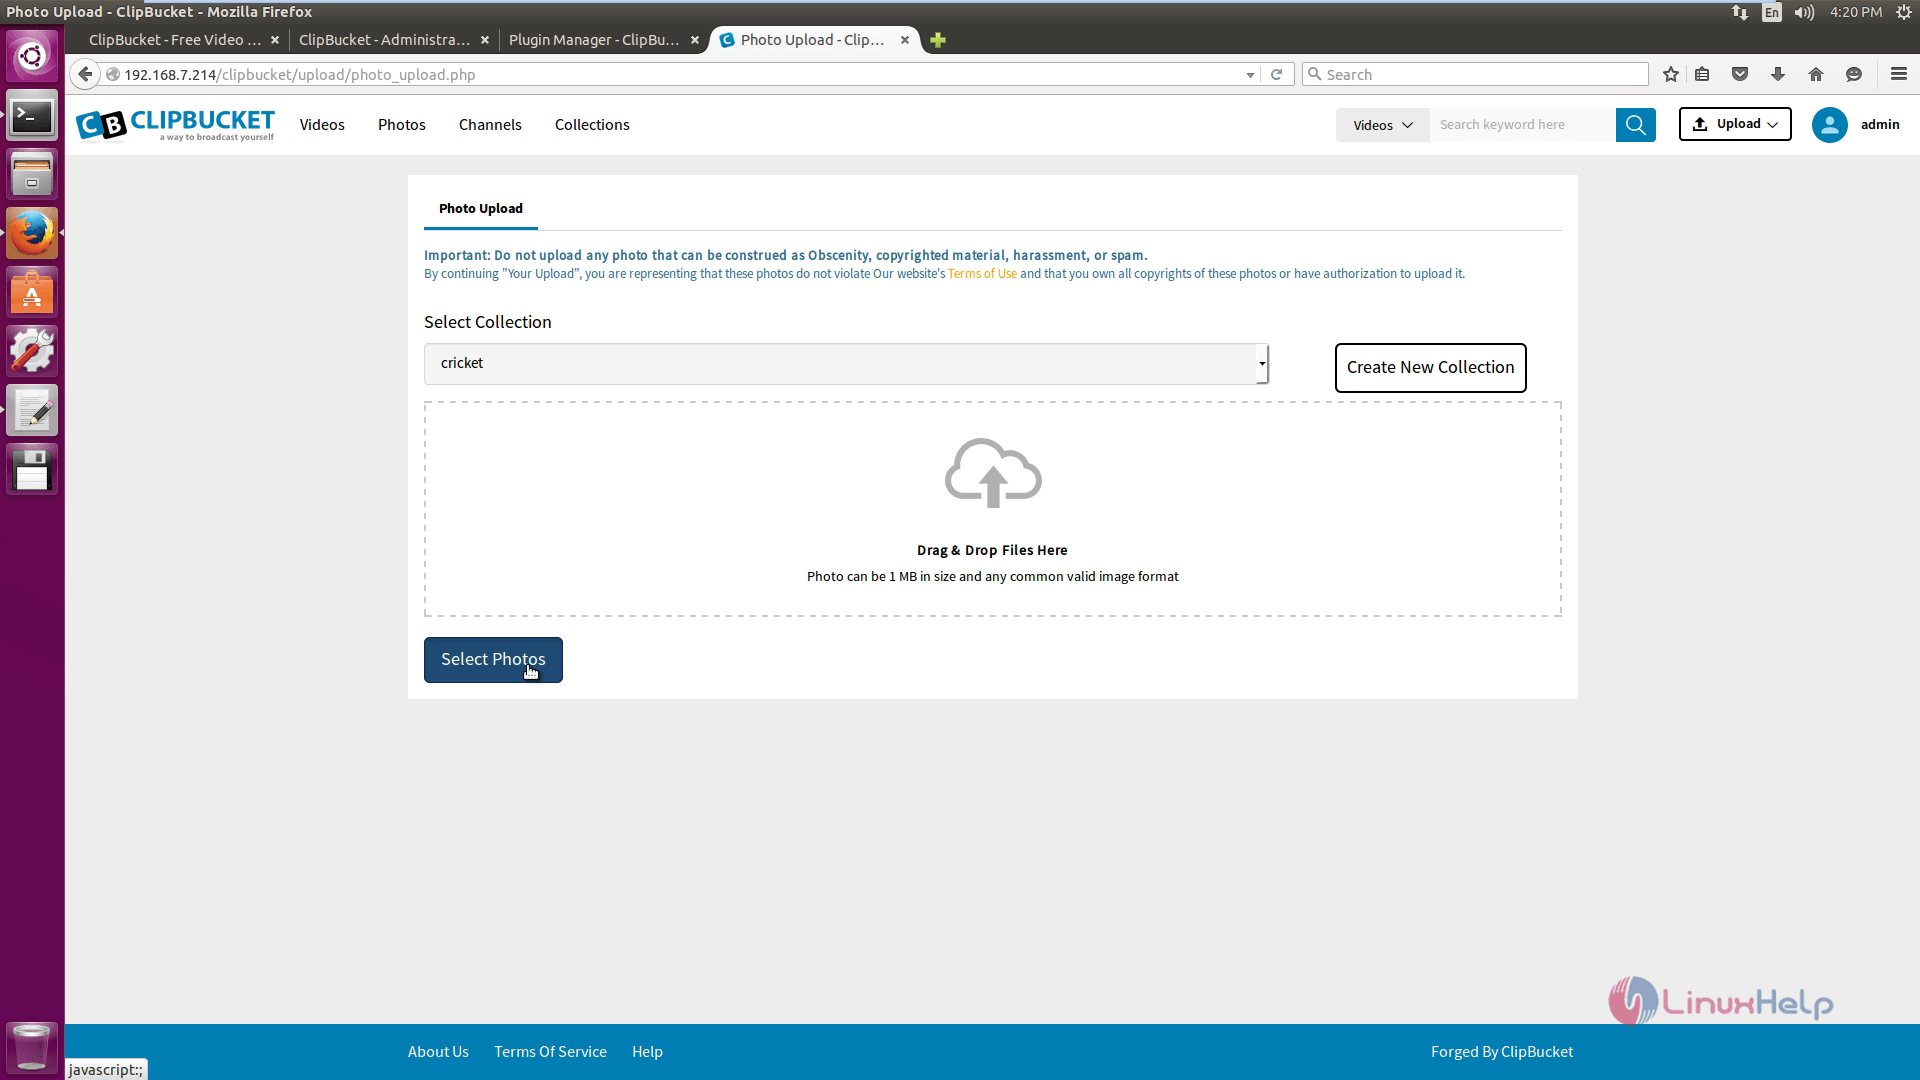
Now start uploading photos. Select photos to upload.
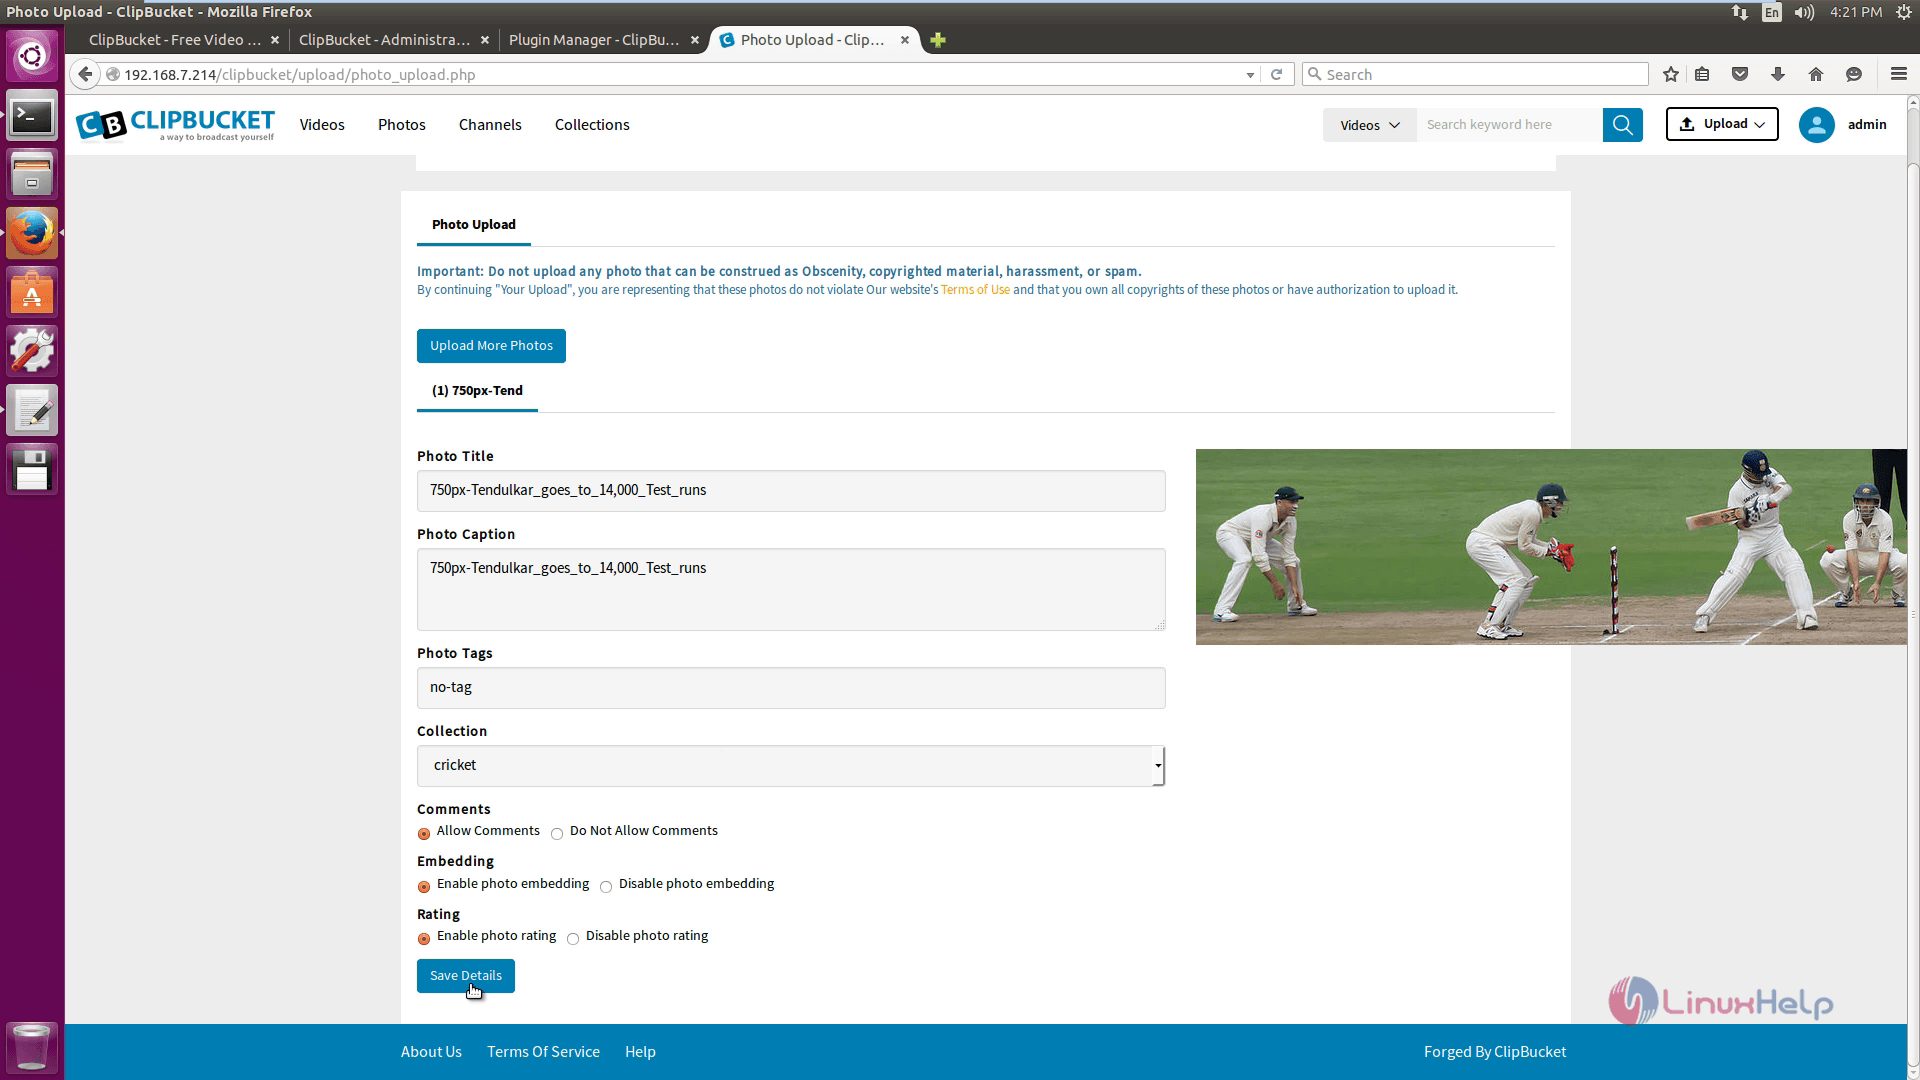
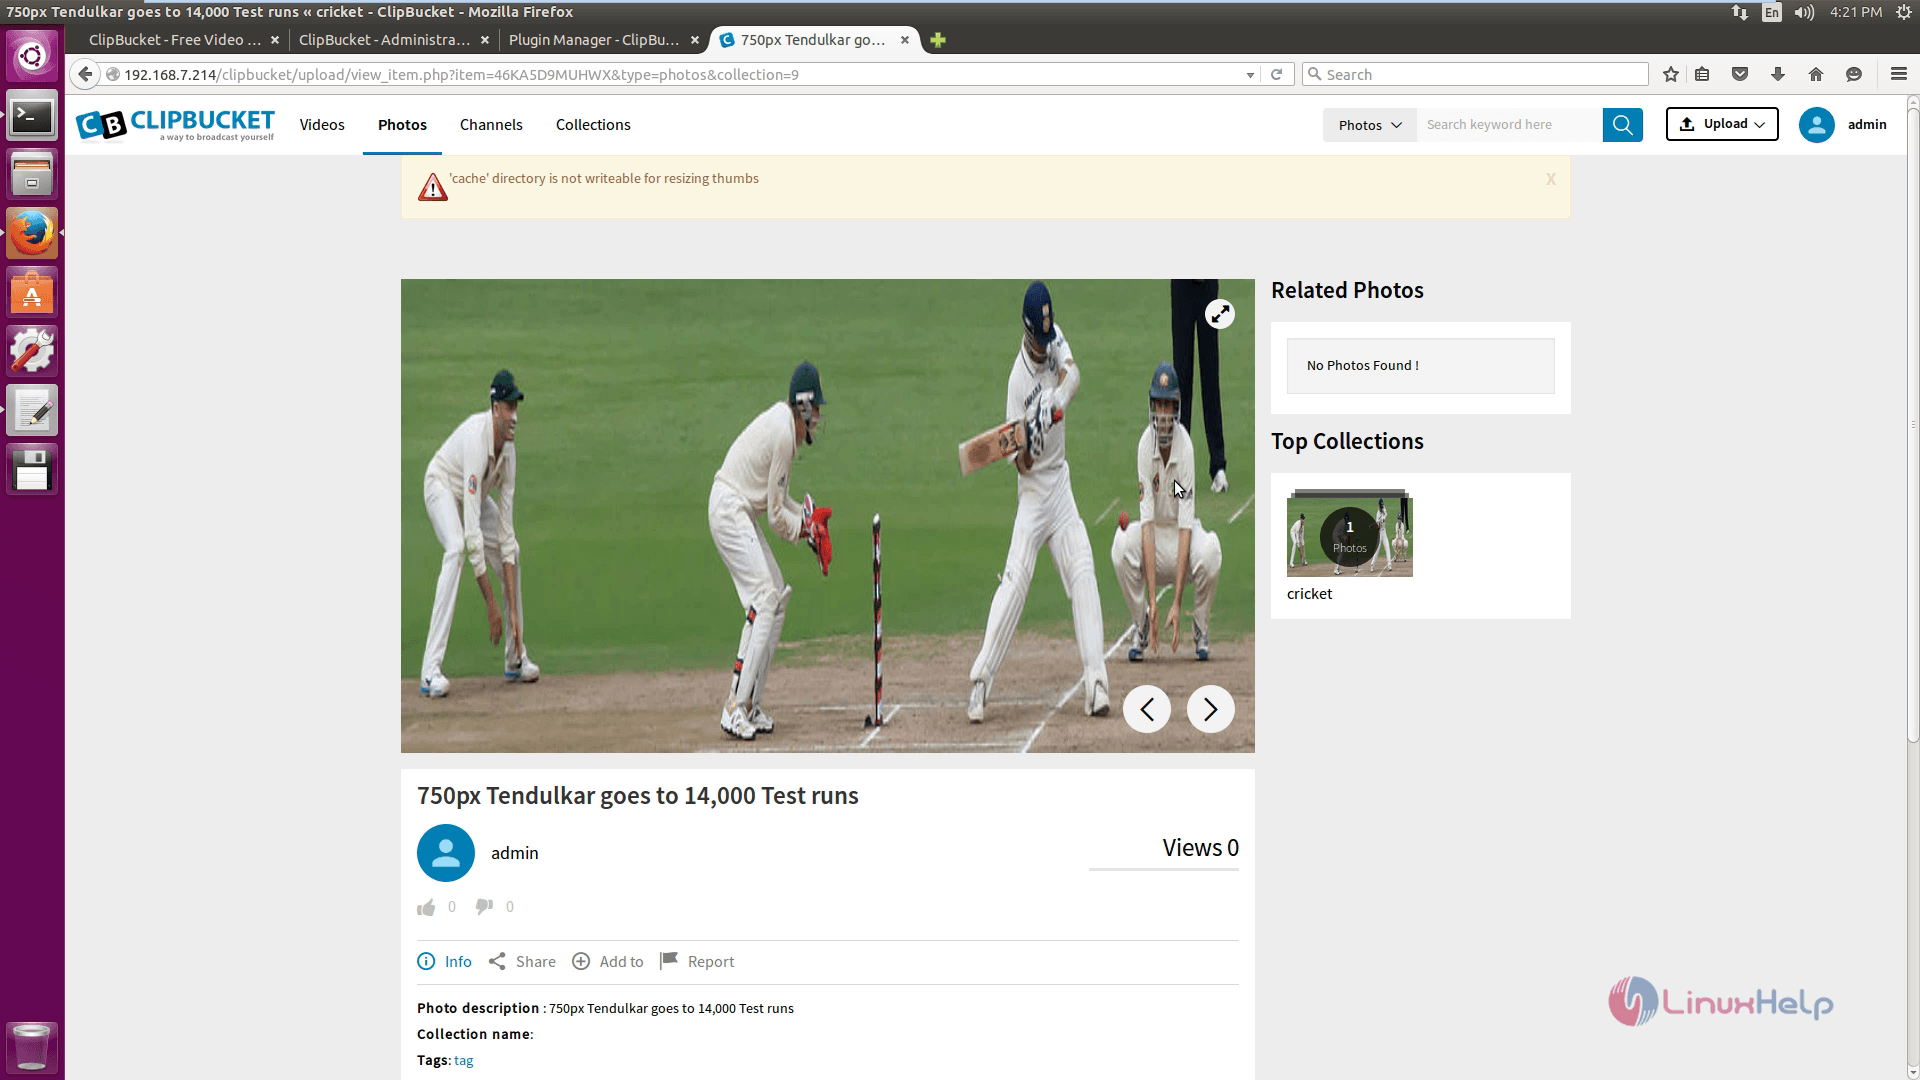
Enter the title, tags, caption and select collection option. Click save details option and see the uploaded photo on the screen.
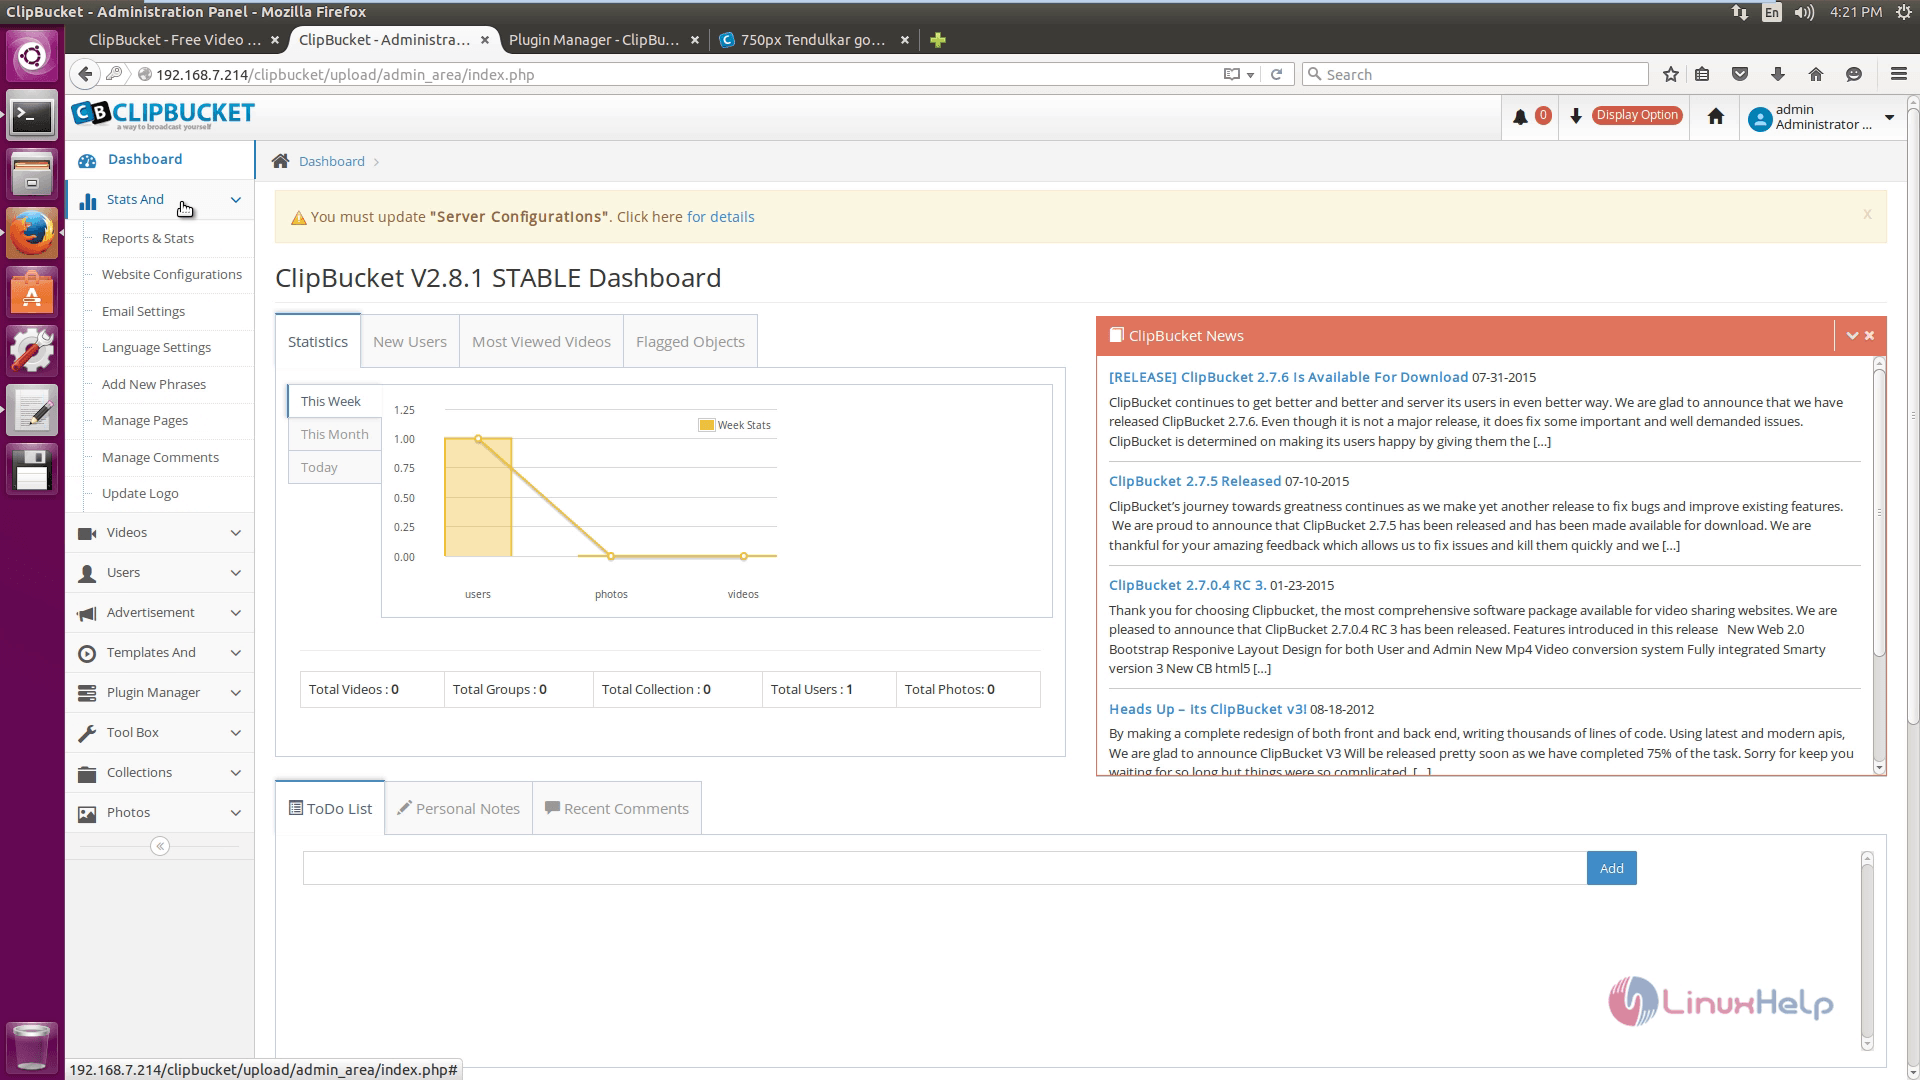
In this Admin page, Stats option shows the statistic details.
In videos option, you can edit the following video options.

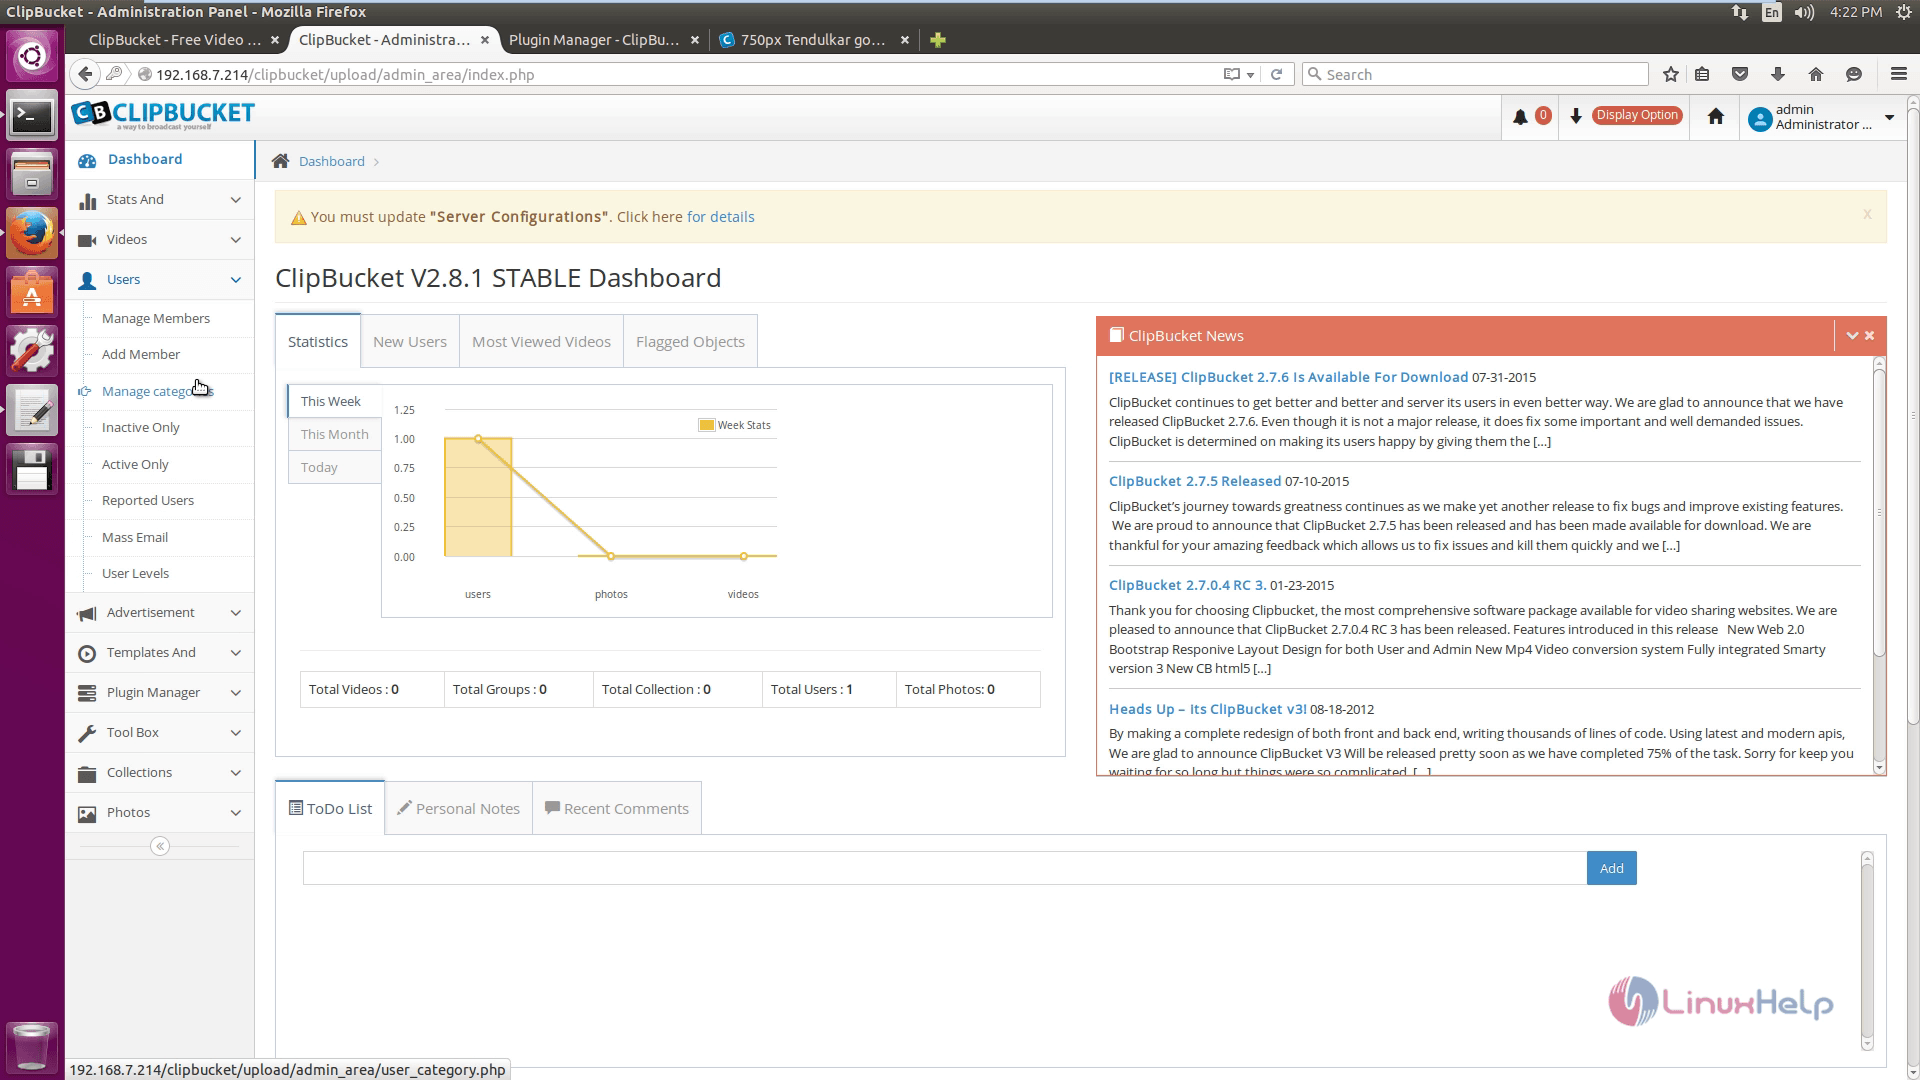
In users option, you can edit the users information.
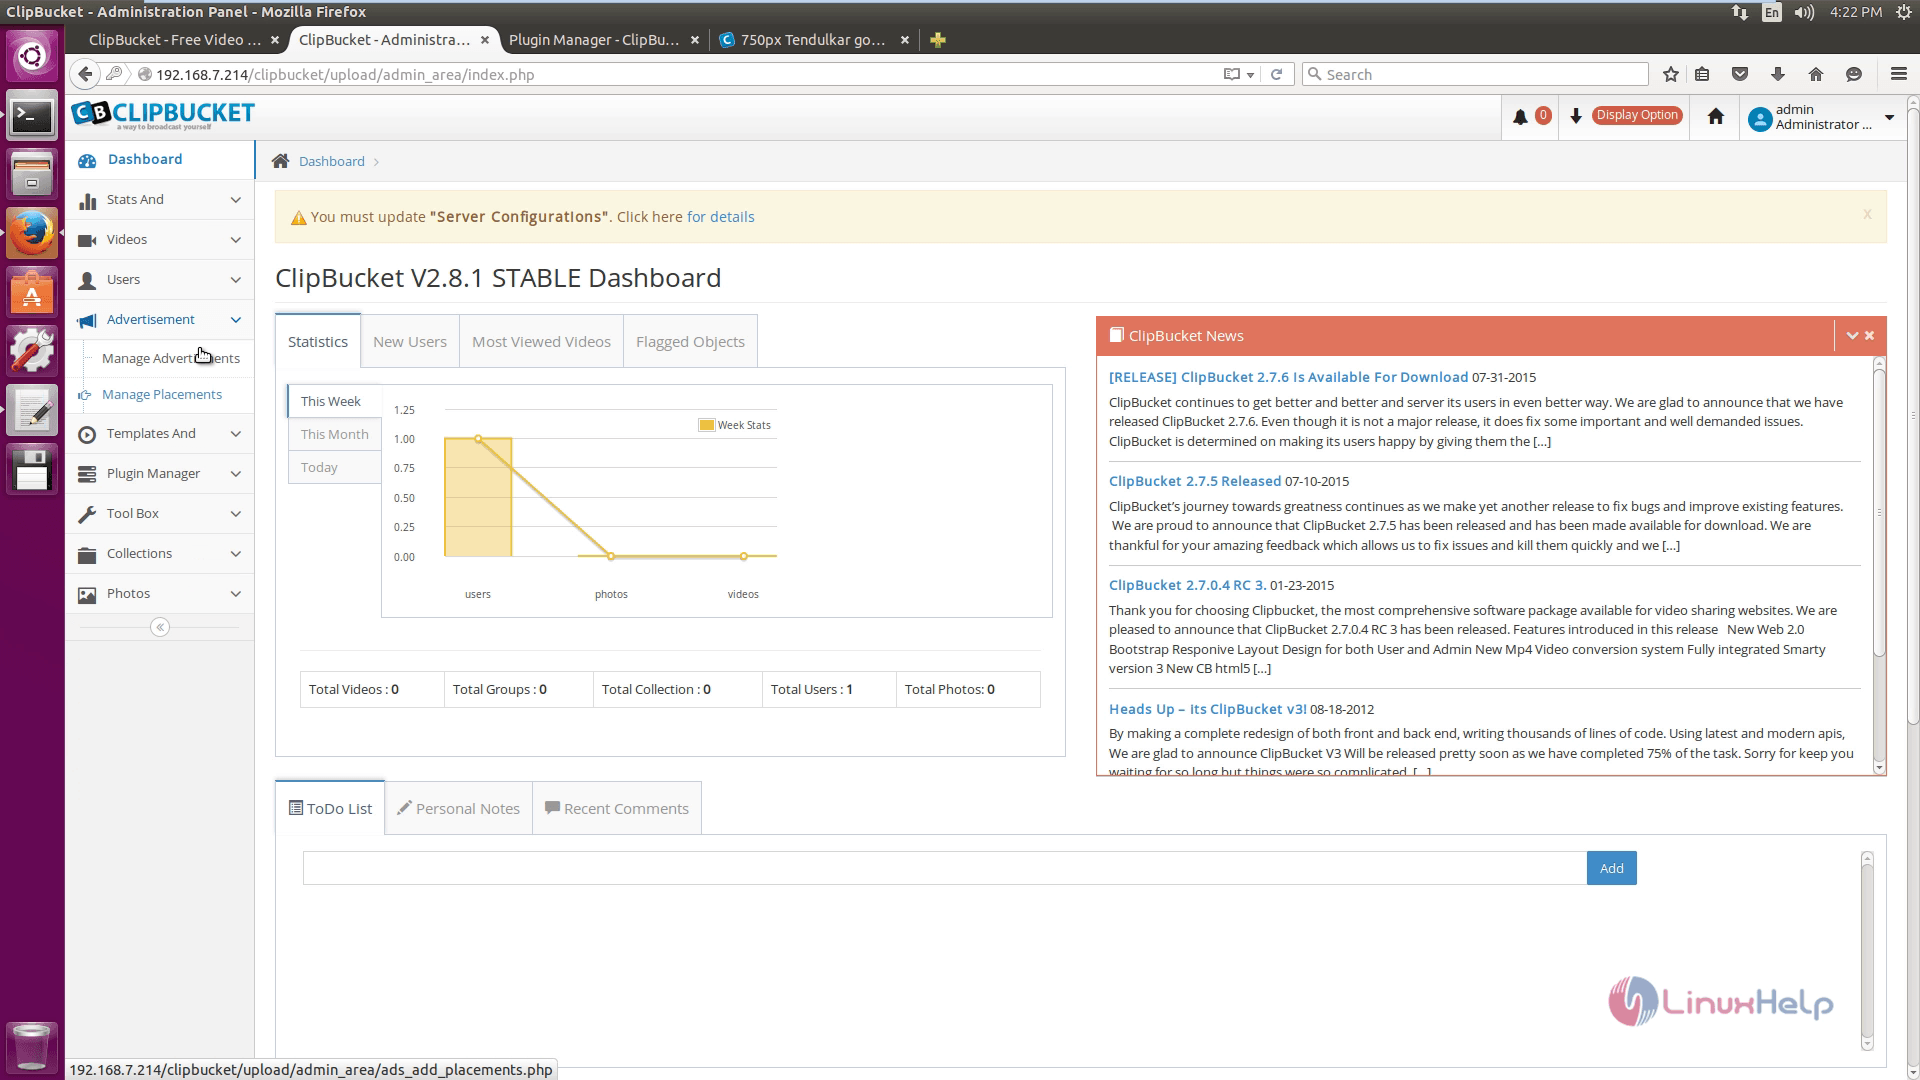
In Advertisement option, you can manage the Advertisement details.
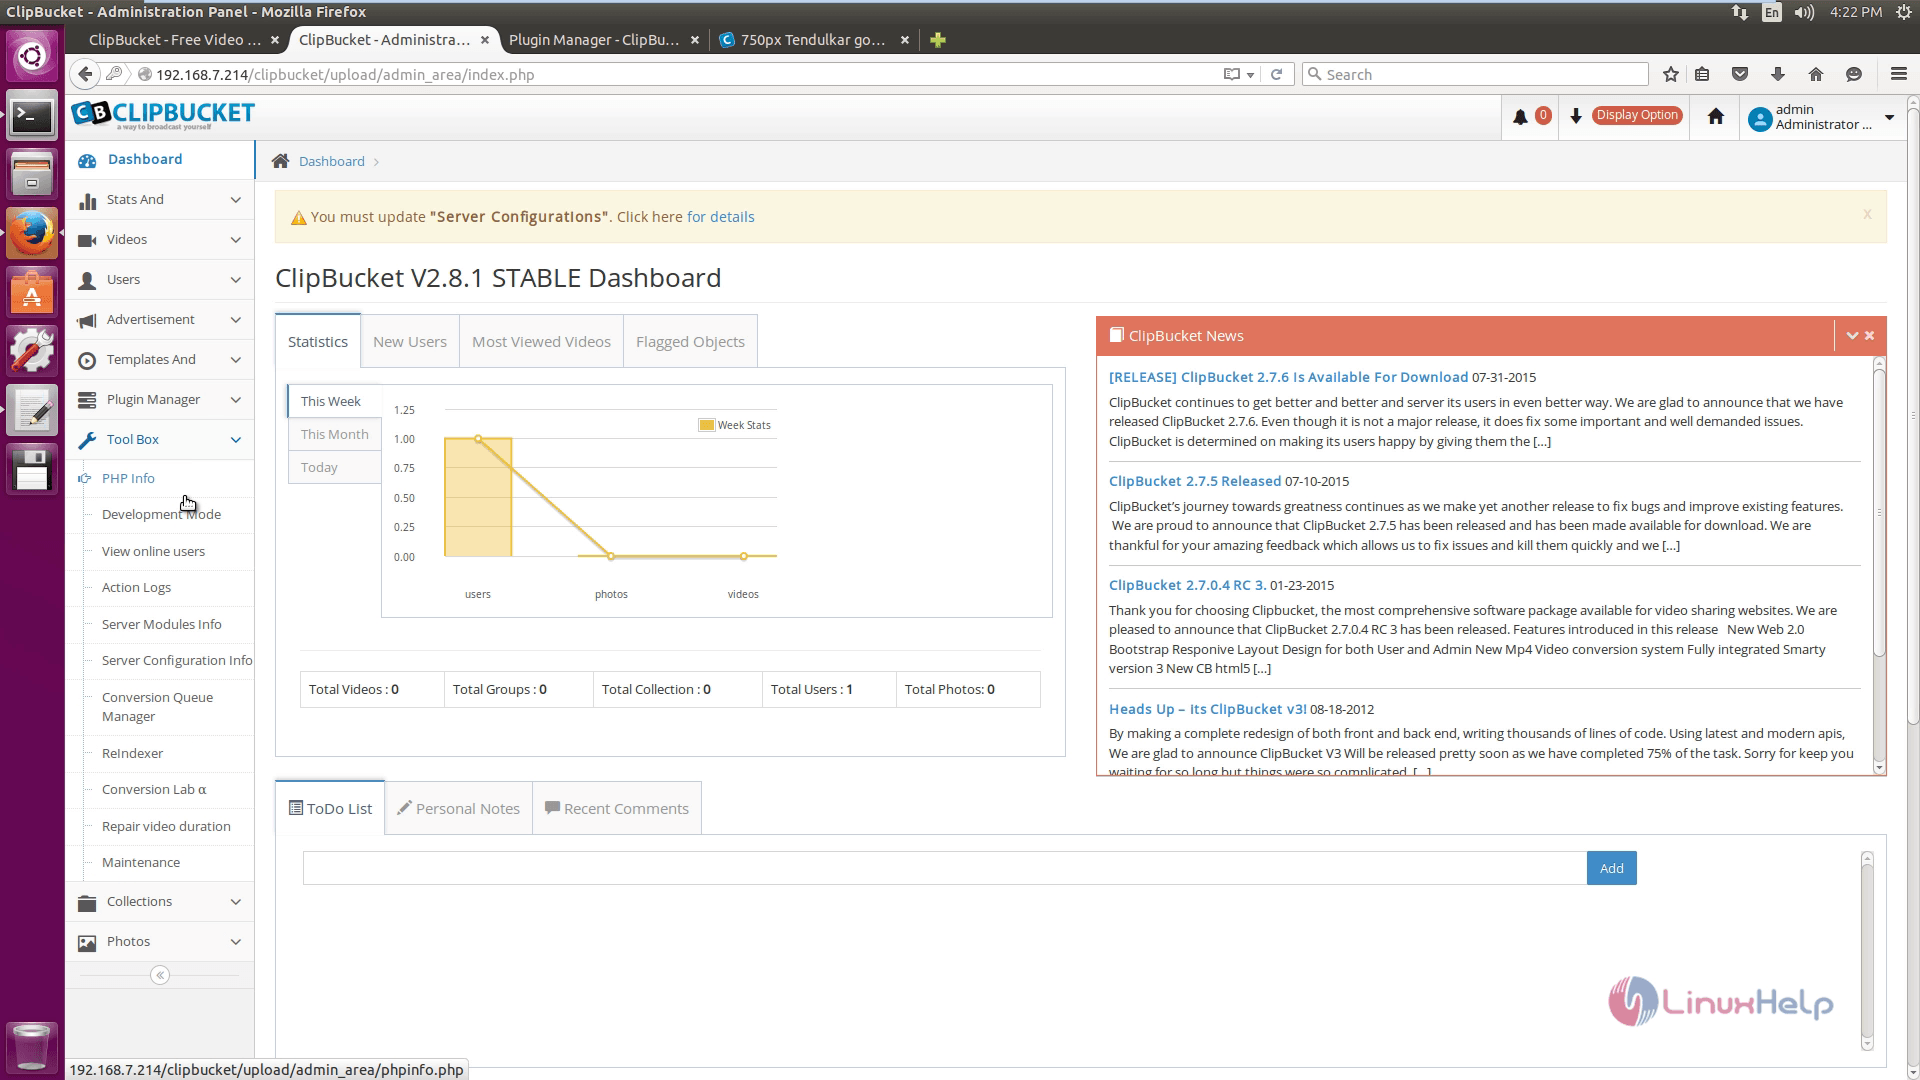
Below displayed toolbox option shows the tools.

Comments ( 0 )
No comments available