How to install Clipper CMS on Ubuntu 20.4.1
- 00:50 apt install apache2
- 01:21 apt install php php-xml php-mysql php-mbstring php-zip php-soap php-sqlite3 php-curl php-gd php-ldap php-imap php-common
- 01:38 apt install mysql-server
- 03:11 wget https://github.com/ClipperCMS/ClipperCMS/archive/clipper_1.3.3.zip
- 03:27 unzip clipper_1.3.3.zip
- 03:47 mv ClipperCMS-clipper_1.3.3/ /var/www/clipper
- 04:07 chown -R www-data.www-data /var/www/clipper/
- 04:40 vim /etc/apache2/sites-available/clipper.conf
- 05:12 a2dissite 000-default.conf
- 05:50 systemctl restart apache2
To Install Clipper CMS on Ubuntu 20.4.1
Introduction:
The Clipper Content Management System is a powerful open-source CMS released under the GPL license. It can be used to design websites, blogs, and create other complex web applications and dynamic applications.
Installation process:
Run lsb_release command to check the installed version of OS as follows.
root@linuxhelp:~# lsb_release -a
No LSB modules are available.
Distributor ID:	Ubuntu
Description:	Ubuntu 20.04.1 LTS
Release:	20.04
Codename:	focal
Install Apache:
root@linuxhelp:~# apt install apache2
Reading package lists... Done
Building dependency tree
Reading state information... Done
The following additional packages will be installed:
  apache2-bin apache2-data apache2-utils libapr1 libaprutil1 libaprutil1-dbd-sqlite3 libaprutil1-ldap liblua5.2-0
Start the apache by following command
root@linuxhelp:~# systemctl start apache2
Install PHP modules by using below commands:
root@linuxhelp:~# apt install php php-xml php-mysql php-mbstring php-zip php-soap php-sqlite3 php-curl php-gd php-ldap php-imap php-common
Reading package lists... Done
Building dependency tree
Reading state information... Done
The following additional packages will be installed:
  libapache2-mod-php7.4 libc-client2007e libonig5 libzip5 mlock php7.4 php7.4-cli php7.4-common php7.4-curl php7.4-gd
  php7.4-imap php7.4-json php7.4-ldap php7.4-mbstring php7.4-mysql php7.4-opcache php7.4-readline php7.4-soap php7.4-sqlite3
  php7.4-xml php7.4-zip
Install mysql by using below command:
root@linuxhelp:~# apt install mysql-server
Reading package lists... Done
Building dependency tree
Reading state information... Done
The following additional packages will be installed:
  libaio1 libcgi-fast-perl libcgi-pm-perl libevent-core-2.1-7 libevent-pthreads-2.1-7 libfcgi-perl libhtml-template-perl
  libmecab2 mecab-ipadic mecab-ipadic-utf8 mecab-utils mysql-client-8.0 mysql-client-core-8.0 mysql-server-8.0
  mysql-server-core-8.0
Suggested packages:
  libipc-sharedcache-perl mailx tinyca
The following NEW packages will be installed:
  libaio1 libcgi-fast-perl libcgi-pm-perl libevent-core-2.1-7 libevent-pthreads-2.1-7 libfcgi-perl libhtml-template-perl
  libmecab2 mecab-ipadic mecab-ipadic-utf8 mecab-utils mysql-client-8.0 mysql-client-core-8.0 mysql-server mysql-server-8.0
Create database for clipper CMS:
root@linuxhelp:~# mysql -u root -p
Enter password:
Welcome to the MySQL monitor.  Commands end with ; or \g.
Your MySQL connection id is 9
Server version: 8.0.22-0ubuntu0.20.04.3 (Ubuntu)
Copyright (c) 2000, 2020, Oracle and/or its affiliates. All rights reserved.
Oracle is a registered trademark of Oracle Corporation and/or its
affiliates. Other names may be trademarks of their respective
owners.
Type 'help;' or '\h' for help. Type '\c' to clear the current input statement.
mysql> create database cliper;
Query OK, 1 row affected (0.02 sec)
mysql> create user 'clipuser'@localhost identified by '123456';
Query OK, 0 rows affected (0.03 sec)
mysql> grant all privileges on cliper.* to 'clipuser'@localhost;
Query OK, 0 rows affected (0.02 sec)
mysql> flush privileges;
Query OK, 0 rows affected (0.00 sec)
mysql> exit
Bye
Download clipper cms by using below command:
root@linuxhelp:~# wget https://github.com/ClipperCMS/ClipperCMS/archive/clipper_1.3.3.zip
--2020-12-01 11:09:17--  https://github.com/ClipperCMS/ClipperCMS/archive/clipper_1.3.3.zip
Resolving github.com (github.com)... 13.234.176.102
Connecting to github.com (github.com)|13.234.176.102|:443... connected.
HTTP request sent, awaiting response... 302 Found
Location: https://codeload.github.com/ClipperCMS/ClipperCMS/zip/clipper_1.3.3 [following]
--2020-12-01 11:09:18--  https://codeload.github.com/ClipperCMS/ClipperCMS/zip/clipper_1.3.3
Resolving codeload.github.com (codeload.github.com)... 13.127.152.42
Connecting to codeload.github.com (codeload.github.com)|13.127.152.42|:443... connected.
HTTP request sent, awaiting response... 200 OK
Length: unspecified [application/zip]
Saving to: ‘clipper_1.3.3.zip’
clipper_1.3.3.zip                   [                         <=>                          ]   5.89M  1.11MB/s    in 5.3s
2020-12-01 11:09:23 (1.10 MB/s) - ‘clipper_1.3.3.zip’ saved [6173410]
Extract the Zip file by using below command:
root@linuxhelp:~# unzip clipper_1.3.3.zip
Archive:  clipper_1.3.3.zip
0ee9f2cb5bafc683fb7424d484669356c0662ac4
   creating: ClipperCMS-clipper_1.3.3/
  inflating: ClipperCMS-clipper_1.3.3/.gitignore
  inflating: ClipperCMS-clipper_1.3.3/README.md
   creating: ClipperCMS-clipper_1.3.3/assets/
   creating: ClipperCMS-clipper_1.3.3/assets/cache/
 extracting: ClipperCMS-clipper_1.3.3/assets/cache/.gitignore
Rename the directory:
root@linuxhelp:~# mv ClipperCMS-clipper_1.3.3/ /var/www/clipper
Give the Ownership and permissions to clipper directory
root@linuxhelp:~# chown -R www-data.www-data /var/www/clipper/
root@linuxhelp:~# chmod -R 755 /var/www/clipper/
Create a virtualhost for Clipper CMS:
root@linuxhelp:~# vim /etc/apache2/sites-available/clipper.conf
Disable default access
root@linuxhelp:~# a2dissite 000-default.conf
Site 000-default disabled.
To activate the new configuration, you need to run:
  systemctl reload apache2
Enable site access
root@linuxhelp:~# a2ensite clipper.conf
Enabling site clipper.
To activate the new configuration, you need to run:
  systemctl reload apache2
Enable rewrite module
root@linuxhelp:~# a2enmod rewrite
Enabling module rewrite.
To activate the new configuration, you need to run:
  systemctl restart apache2
Once it is completed, Restart the Apache Web Server by running the following command
root@linuxhelp:~# systemctl restart apache2
Once completed above step goto browser type URL
 Click Install Now
 Choose Language
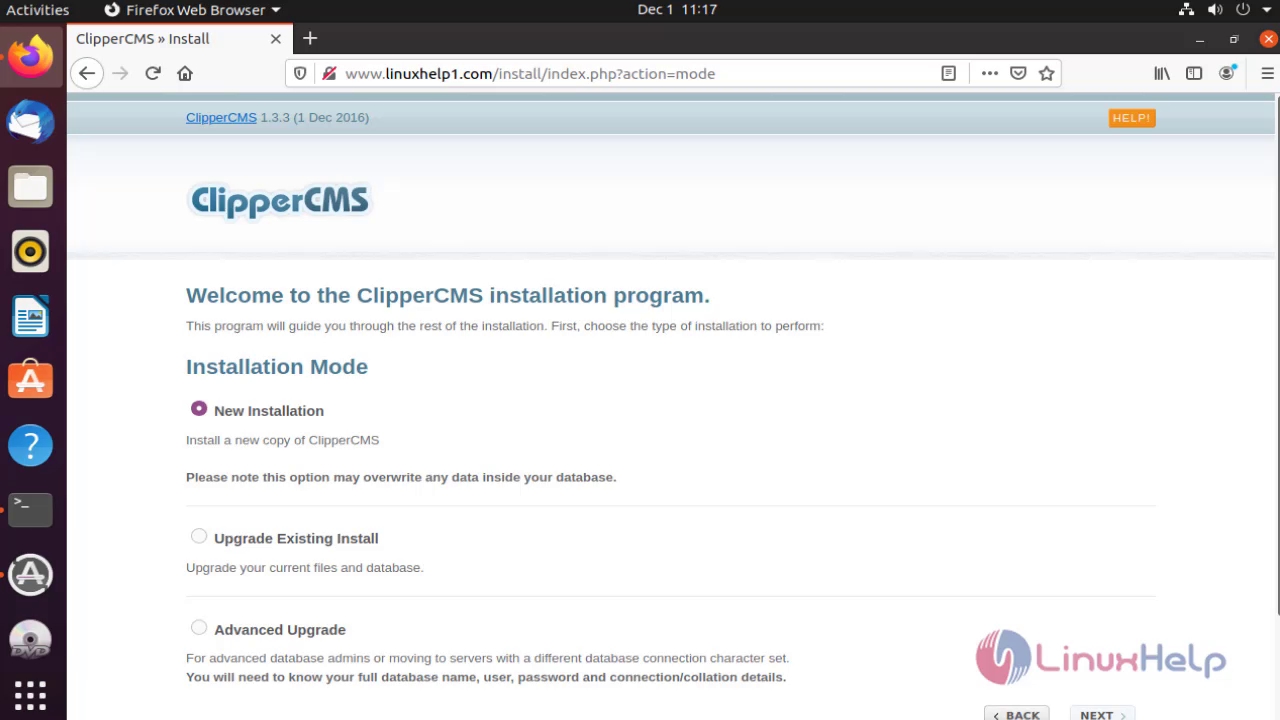
 Select Installation mode
 Give the database information
 Create a admin user
 Select time zone
 Accept the Lisence
 Close the page
 Login as Admin
 It will show the dashboard page of clipper CMS

With this installation of Clipper Cms on ubuntu comes to end.
Comments ( 0 )
No comments available