How to install Debian 8.3 using DNSMASQ Network Boot
To install Debian 8.3 using DNSMASQ Network Boot Server
Debian 8.3 installation using DNSMASQ network boot server is explained in this article. It is installed directly from the network location with the help of DNSMASQ. DNSMASQ is a lightweight network infrastructure server which provides network services like DNS, DHCP and Network Boot using build-in DNS, DHCP and TFTP server.
To Install DNSMASQ Server
After installation of Debian 8.3 Server make sure that your system uses a Static IP Address because network booting will also provide DHCP service for entire network segment. Run the following command after configuring the Static IP Address to install DNSMASQ server.
root@linuxhelp:~# apt-get install dnsmasq
Reading package lists... Done
Building dependency tree
Reading state information... Done
Suggested packages:
  resolvconf
The following packages will be upgraded
  dnsmasq
1 upgraded, 0 newly installed, 0 to remove and 106 not upgraded.
1 not fully installed or removed.
Need to get 15.8 kB of archives.
After this operation, 6,144 B disk space will be freed.
Get:1 http://ftp.de.debian.org/debian/ jessie/main dnsmasq all 2.72-3+deb8u1 [15.8 kB]
Fetched 15.8 kB in 0s (29.0 kB/s)
Reading changelogs... Done
(Reading database ... 158376 files and directories currently installed.)
Preparing to unpack .../dnsmasq_2.72-3+deb8u1_all.deb ...
Unpacking dnsmasq (2.72-3+deb8u1) over (2.62-3+deb7u3) ...
Processing triggers for systemd (215-17+deb8u3) ...
Setting up dnsmasq (2.72-3+deb8u1) ...
Processing triggers for systemd (215-17+deb8u3) ...
Now the installation of dnsmasq is completed successfully.
To Configure DNSMASQ
Before editing, rename ' dnsmasq.conf' file using the following command.
root@linuxhelp:~# mv /etc/dnsmasq.conf /etc/dnsmasq.conf.default
Create the ' dnsmasq.conf' file using nano editor.
root@linuxhelp:~# nano /etc/dnsmasq.conf
Add the following lines to DNSMASQ configuration file.
interface=eth0
domain=debian.lan
dhcp-range=192.168.10.3,192.168.10.253,255.255.255.0,1h
dhcp-boot=pxelinux.0,pxeserver,192.168.10.100
pxe-prompt=" Press F8 for menu." , 60
#pxe-service types: x86PC, PC98, IA64_EFI, Alpha, Arc_x86, Intel_Lean_Client, IA32_EFI, BC_EFI, Xscale_EFI and X86-64_EFI
pxe-service=x86PC, " Install Debian 8.3 Linux from network server 192.168.10.100" , pxelinux
enable-tftp
tftp-root=/srv/tftp
Explanation
interface &ndash The network interface
domain &ndash Replacing domain name.
dhcp-range &ndash Replacing network IP range defined by our network mask.
dhcp-boot &ndash Replace the IP statement with your server IP Address and leave it as default.
pxe-prompt &ndash Leave it as default. (Press F8 key to enter menu 60 with seconds wait time)
pxe=service &ndash Use x86PC for 32-bit/64-bit architectures and menu description prompt entered under string quotes. ( other values are PC98, IA64_EFI, Alpha, Arc_x86, Intel_Lean_Client, IA32_EFI, BC_EFI, Xscale_EFI and X86-64_EFI)
enable-tftp &ndash the build-in TFTP server is enabled.
tftp-root &ndash Use /srv/tftp location for Debian netboot files.
To Download Debian 8.3 Netboot Files and Open Firewall Connection
Change your current working directory path to TFTP Root location and start downloading debian 8.3 netboot files using the following command.
Here we are using 64-bit and the same procedure is used for other system architectures.
root@linuxhelp:~#  cd /srv/tftp/
root@linuxhelp:/srv/tftp# wget http://ftp.nl.debian.org/debian/dists/jessie/main/installer-amd64/current/images/netboot/netboot.tar.gz
--2016-05-09 19:56:44--  http://ftp.nl.debian.org/debian/dists/jessie/main/installer-amd64/current/images/netboot/netboot.tar.gz
Resolving ftp.nl.debian.org (ftp.nl.debian.org)... 130.89.149.21, 2001:67c:2564:a120::21
Connecting to ftp.nl.debian.org (ftp.nl.debian.org)|130.89.149.21|:80... connected.
HTTP request sent, awaiting response... 200 OK
Length: 19351686 (18M) [application/x-gzip]
Saving to: ‘ netboot.tar.gz’
netboot.tar.gz       100%[======================> ]  18.46M   316KB/s   in 2m 36s
2016-05-09 19:59:21 (121 KB/s) - ‘ netboot.tar.gz’  saved [19351686/19351686]
Extract the downloaded ' netboot.tar.gz ' file by running the following command.
root@linuxhelp:/srv/tftp# tar xfz netboot.tar.gz
Run the following command to download the dependency file.
root@linuxhelp:/srv/tftp# wget http://ftp.nl.debian.org/debian/dists/jessie/main/installer-amd64/current/images/SHA256SUMS
--2016-05-09 20:01:00--  http://ftp.nl.debian.org/debian/dists/jessie/main/installer-amd64/current/images/SHA256SUMS
Resolving ftp.nl.debian.org (ftp.nl.debian.org)... 130.89.149.21, 2001:67c:2564:a120::21
Connecting to ftp.nl.debian.org (ftp.nl.debian.org)|130.89.149.21|:80... connected.
HTTP request sent, awaiting response... 200 OK
Length: 72131 (70K) [text/plain]
Saving to: ‘ SHA256SUMS’
SHA256SUMS           100%[======================> ]  70.44K   176KB/s   in 0.4s
2016-05-09 20:01:01 (176 KB/s) - ‘ SHA256SUMS’  saved [72131/72131]
root@linuxhelp:/srv/tftp# wget http://ftp.nl.debian.org/debian/dists/jessie/Release
--2016-05-09 20:01:31--  http://ftp.nl.debian.org/debian/dists/jessie/Release
Resolving ftp.nl.debian.org (ftp.nl.debian.org)... 130.89.149.21, 2001:67c:2564:a120::21
Connecting to ftp.nl.debian.org (ftp.nl.debian.org)|130.89.149.21|:80... connected.
HTTP request sent, awaiting response... 200 OK
Length: 148398 (145K) [text/plain]
Saving to: ‘ Release’
Release              100%[======================> ] 144.92K   197KB/s   in 0.7s
2016-05-09 20:01:33 (197 KB/s) - ‘ Release’  saved [148398/148398]
Next download the ' Release.gpg' file using the below command.
root@linuxhelp:/srv/tftp# wget http://ftp.nl.debian.org/debian/dists/jessie/Release.gpg
--2016-05-09 20:02:01--  http://ftp.nl.debian.org/debian/dists/jessie/Release.gpg
Resolving ftp.nl.debian.org (ftp.nl.debian.org)... 130.89.149.21, 2001:67c:2564:a120::21
Connecting to ftp.nl.debian.org (ftp.nl.debian.org)|130.89.149.21|:80... connected.
HTTP request sent, awaiting response... 200 OK
Length: 2373 (2.3K) [text/plain]
Saving to: ‘ Release.gpg’
Release.gpg          100%[======================> ]   2.32K  --.-KB/s   in 0.001s
2016-05-09 20:02:01 (2.01 MB/s) - ‘ Release.gpg’  saved [2373/2373]
root@linuxhelp:/srv/tftp#
Run the following command to give readable access to all files in TFTP directory for TFTP server.
root@linuxhelp:/srv/tftp# chmod -R 755 /srv/tftp/
Now restart the DNSMASQ daemon and then run netstat command to get a list of ports.
root@linuxhelp:~# service dnsmasq restart
root@linuxhelp:~# netstat -tulpn | grep dnsmasq
tcp        0      0 0.0.0.0:53              0.0.0.0:*               LISTEN      2072/dnsmasq
tcp6       0      0 :::53                   :::*                    LISTEN      2072/dnsmasq
udp        0      0 0.0.0.0:4011            0.0.0.0:*                           2072/dnsmasq
udp        0      0 0.0.0.0:53              0.0.0.0:*                           2072/dnsmasq
udp        0      0 0.0.0.0:67              0.0.0.0:*                           2072/dnsmasq
udp        0      0 0.0.0.0:69              0.0.0.0:*                           2072/dnsmasq
udp6       0      0 :::53                   :::*                                2072/dnsmasq
udp6       0      0 :::69                   :::*                                2072/dnsmasq
Run the following command to open the required DNSMASQ port numbers: 67 (Bootps), 69 (TFTP), 53 UDP (DNS), 4011 (proxyDHCP) and 53 tcp (DNS).
root@linuxhelp:~# ufw allow 69/udp
Rules updated
Rules updated (v6)
root@linuxhelp:~# ufw allow 4011/udp
Rules updated
Rules updated (v6)
root@linuxhelp:~# ufw allow 53/udp
Rules updated
Rules updated (v6)
root@linuxhelp:~# ufw allow 67/udp
Rules updated
Rules updated (v6)
root@linuxhelp:~# ufw allow 53/tcp
Rules updated
Rules updated (v6)
The PXE loader is available on your client network interface. It will load pxelinux configuration files from ' /srv/tftp/pxelinux.cfg' directory in the following order.
MAC files
GUID files
Default file
To Configure client and to Boot from Network
Go to the system BIOS configuration to enable network boot for a client computer. Navigate to Boot menu and select Network boot as the primary boot device.
In some system you can also enter into BIOS config by pressing any key during BIOS setup.

After editing the boot in sequencial order, press F10 to save BIOS settings. press F8 key to move forward .
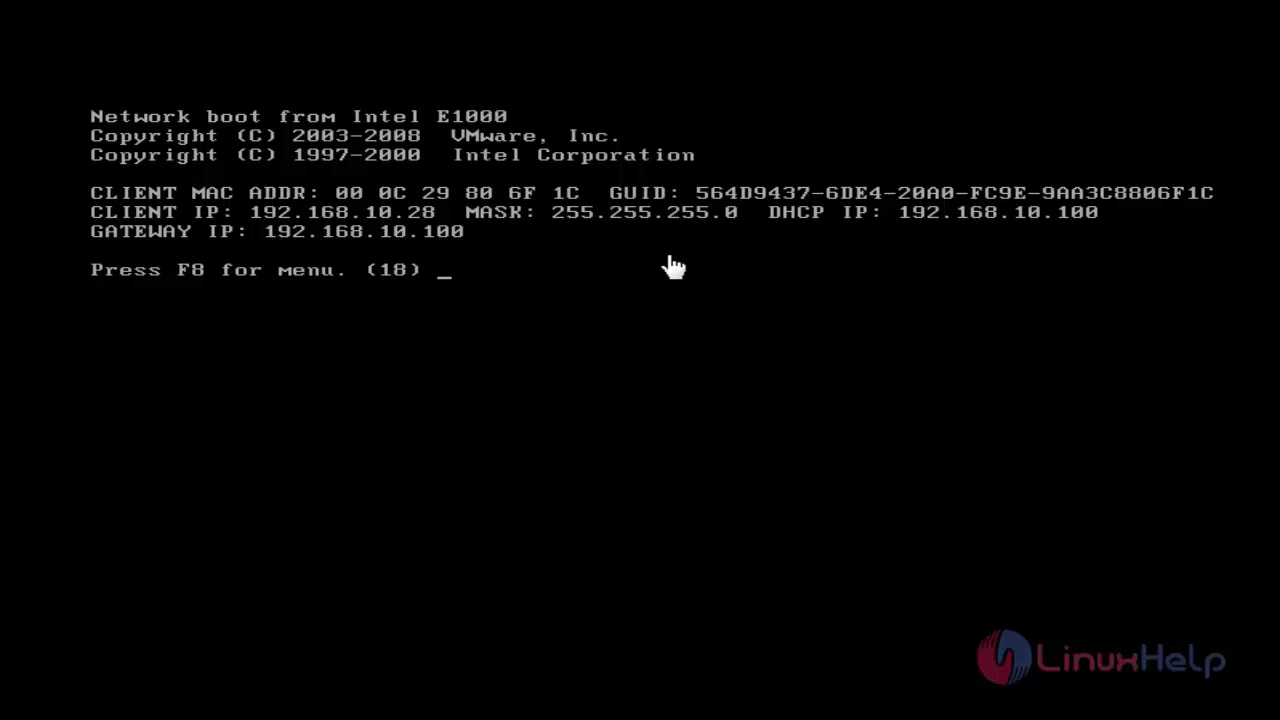
The Debian Installer prompt appears as shown below.
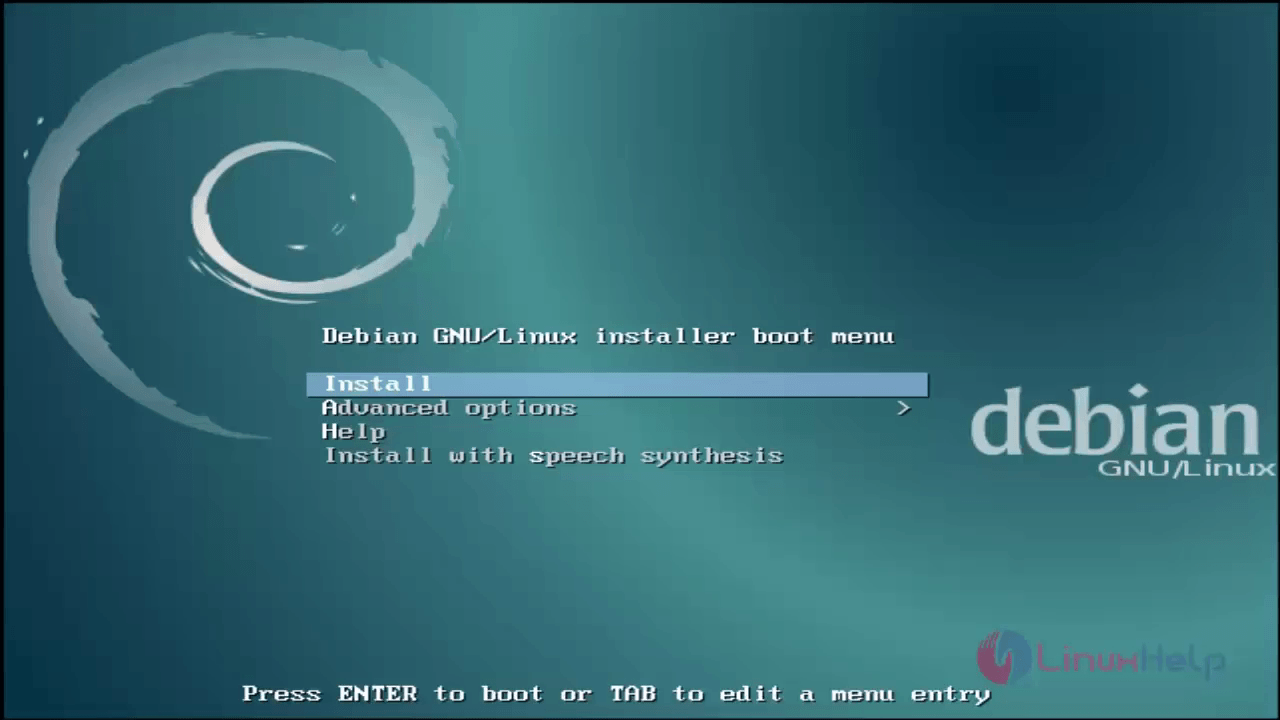
To continue Debian 8.3 installation, visit
https://www.linuxhelp.com/how-to-install-debian-8-3/
Comments ( 0 )
No comments available