How to Install Deluge in CentOS
How to Install Deluge in CentOS
Deluge is an open source multi-platform BitTorrent client often used to provide torrenting or seedbox functionality in Linux servers. It handles all the BitTorrent activity and can able to run the headless machines remotely with the user-interfaces from any other platform. Installation of Deluge in CentOS is explained in this article.
Installation of Deluge
Before installing Deluge, you need to enable EPEL and Nux repository.
[root@linuxhelp1 ~]# wget http://dl.fedoraproject.org/pub/epel/7/x86_64/e/epel-release-7-8.noarch.rpm
--2016-11-16 04:09:33--  http://dl.fedoraproject.org/pub/epel/7/x86_64/e/epel-release-7-8.noarch.rpm
Resolving dl.fedoraproject.org (dl.fedoraproject.org)... 209.132.181.26, 209.132.181.24, 209.132.181.27, ...
Connecting to dl.fedoraproject.org (dl.fedoraproject.org)|209.132.181.26|:80... connected.
HTTP request sent, awaiting response... 200 OK
Length: 14612 (14K) [application/x-rpm]
Saving to: ‘ epel-release-7-8.noarch.rpm’

100%[=========================================================> ] 14,612      59.5KB/s   in 0.2s

2016-11-16 04:09:34 (59.5 KB/s) - ‘ epel-release-7-8.noarch.rpm’  saved [14612/14612]

[root@linuxhelp1 ~]# rpm -ivh epel-release-7-8.noarch.rpm
warning: epel-release-7-8.noarch.rpm: Header V3 RSA/SHA256 Signature, key ID 352c64e5: NOKEY
Preparing...                          ################################# [100%]
Updating / installing...
   1:epel-release-7-8                 ################################# [100%]
Download the ' rpm' file of Nux repository and use the following command to install it.
[root@linuxhelp1 ~]# wget http://li.nux.ro/download/nux/dextop/el7/x86_64/nux-dextop-release-0-5.el7.nux.noarch.rpm
--2016-11-16 04:14:14--  http://li.nux.ro/download/nux/dextop/el7/x86_64/nux-dextop-release-0-5.el7.nux.noarch.rpm
Resolving li.nux.ro (li.nux.ro)... 217.19.15.108
Connecting to li.nux.ro (li.nux.ro)|217.19.15.108|:80... connected.
HTTP request sent, awaiting response... 200 OK
Length: 9908 (9.7K) [application/x-rpm]
Saving to: ‘ nux-dextop-release-0-5.el7.nux.noarch.rpm.1’

100%[=========================================================> ] 9,908       --.-K/s   in 0.007s

2016-11-16 04:14:14 (1.38 MB/s) - ‘ nux-dextop-release-0-5.el7.nux.noarch.rpm.1’  saved [9908/9908]

[root@linuxhelp1 ~]# rpm -ivh nux-dextop-release-0-5.el7.nux.noarch.rpm
warning: nux-dextop-release-0-5.el7.nux.noarch.rpm: Header V4 RSA/SHA1 Signature, key ID 85c6cd8a: NOKEY
Preparing...                          ################################# [100%]
Updating / installing...
   1:nux-dextop-release-0-5.el7.nux   ################################# [100%]
Now its time to install Deluge with ' yum' command.
[root@linuxhelp1 ~]# yum -y install deluge-web
Loaded plugins: fastestmirror, langpacks
base                                                                                 | 3.6 kB  00:00:00
epel/x86_64/metalink                                                                 | 5.5 kB  00:00:00
epel                                                                                 | 4.3 kB  00:00:00
extras                                                                               | 3.4 kB  00:00:00
nux-dextop                                                                           | 2.9 kB  00:00:00
updates                                                                              | 3.4 kB  00:00:00
.
.
.
  python-rencode.x86_64 0:1.0.2-3.20121209svn33.el7.nux      python-setproctitle.x86_64 0:1.1.6-5.el7
  python-twisted-core.x86_64 0:12.2.0-4.el7                  python-twisted-web.x86_64 0:12.1.0-5.el7_2
  python-zope-interface.x86_64 0:4.0.5-4.el7                 pyxdg.noarch 0:0.25-5.el7
  rb_libtorrent.x86_64 0:1.0.9-2.el7                         rb_libtorrent-python2.x86_64 0:1.0.9-2.el7

Complete!
Once the deluge web is installed successfully, then start and enable it as shown below,
[root@linuxhelp1 ~]# systemctl start deluge-web
[root@linuxhelp1 ~]# systemctl enable deluge-web
ln -s ' /usr/lib/systemd/system/deluge-web.service'  ' /etc/systemd/system/multi-user.target.wants/deluge-web.service'
[root@linuxhelp1 ~]# systemctl status deluge-web
deluge-web.service - Deluge Bittorrent Client Web Interface
   Loaded: loaded (/usr/lib/systemd/system/deluge-web.service  enabled)
   Active: active (running) since Wed 2016-11-16 04:27:45 IST  29s ago
 Main PID: 13486 (deluge)
   CGroup: /system.slice/deluge-web.service
           ??13486 deluge

Nov 16 04:27:45 linuxhelp1.com systemd[1]: Started Deluge Bittorrent Client Web Interface.
For security reason, add the deluge port number in the firewall.
[root@linuxhelp1 ~]# firewall-cmd --permanent --zone=public --add-port=8112/tcp
success
[root@linuxhelp1 ~]# firewall-cmd --reload
success
Deluge will be available on HTTP port 8112 by default. Users are recommended to change the default password.
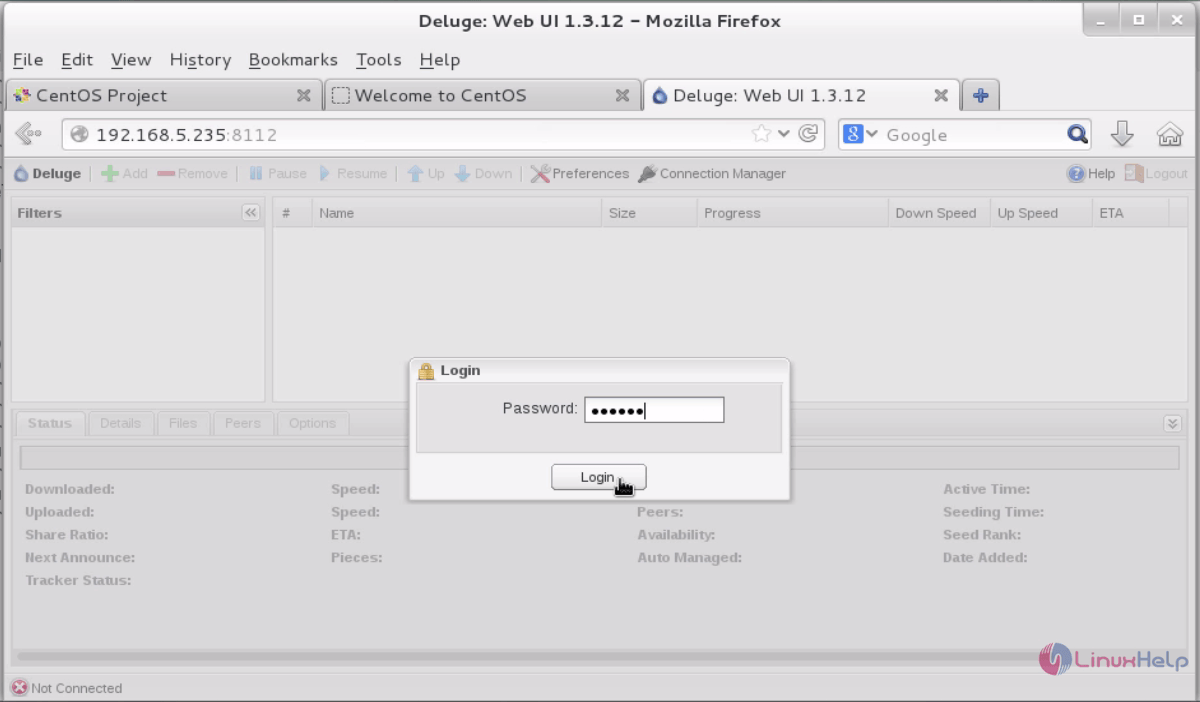
Now its time to access the Deluge in the web browser through IP address. Enter the default password and open the firewall to set access control.
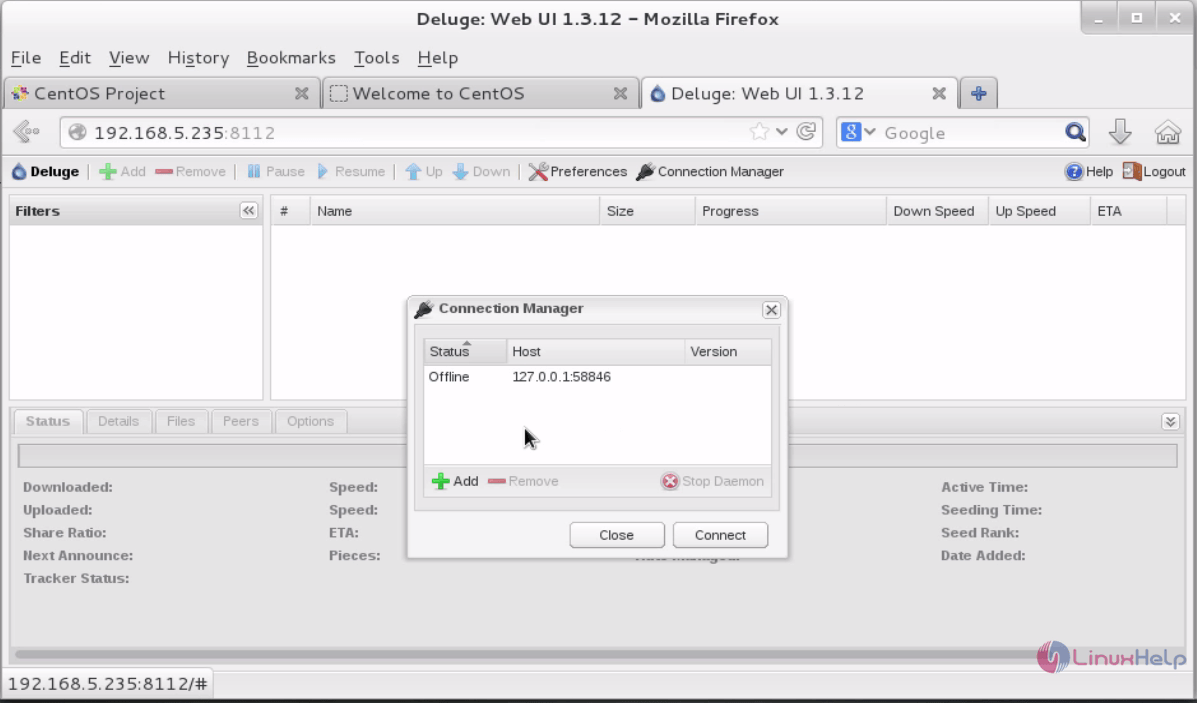
Home page of Deluge appears.

Comments ( 0 )
No comments available