How to install digiKam 5.6.0 on Ubuntu 17.04
To install digiKam 5.6.0 on Ubuntu 17.04
digiKam 5.6.0 recently released, is an advanced digital photo management application for KDE Linux, which makes importing as well as organizing digital photos a “ snap” . The photos are organized in albums which can be sorted chronologically, by folder layout or by custom collections. In this tutorial, you will learn about the method to install digiKam 5.6.0 on Ubuntu 17.04
Installing digiKam
The foremost step to be done before starting the installation of digiKam is to add the necessary dependency package into repository via ppa.
root@linuxhelp:~# apt-add-repository ppa:philip5/extra
 Ubuntu experimental rolling release repository.
Mainly assorted media apps and other programs that I use myself or by requests.
 More info: https://launchpad.net/~philip5/+archive/ubuntu/extra
Press [ENTER] to continue or ctrl-c to cancel adding it
.
.
gpg: Total number processed: 1
gpg:               imported: 1
OK
After that, update the machine by executing the apt-get update command.
root@linuxhelp:~# apt-get update
Hit:1 http://ppa.launchpad.net/mapeditor.org/tiled/ubuntu zesty InRelease
Hit:2 http://in.archive.ubuntu.com/ubuntu zesty InRelease
Hit:3 http://security.ubuntu.com/ubuntu zesty-security InRelease
Get:4 http://ppa.launchpad.net/philip5/extra/ubuntu zesty InRelease [15.4 kB]
.
.
Get:9 http://ppa.launchpad.net/philip5/extra/ubuntu zesty/main Translation-en [3,992 B]
Fetched 32.4 kB in 1s (18.3 kB/s)
Reading package lists... Done
You can now install the digiKam package. Run the following command to trigger its installation.
root@linuxhelp:~# apt-get install digikam
Reading package lists... Done
Building dependency tree
Reading state information... Done
The following additional packages will be installed:
  catdoc digikam-data digikam-private-libs ffmpegthumbs kdepimlibs-data kinit
  kio kwayland-data kwayland-integration libastro1 libavdevice57 libavfilter6
.
.
Setting up digikam-private-libs (4:5.6.0-zesty~ppa1) ...
Setting up digikam (4:5.6.0-zesty~ppa1) ...
Processing triggers for libc-bin (2.24-9ubuntu2) ...
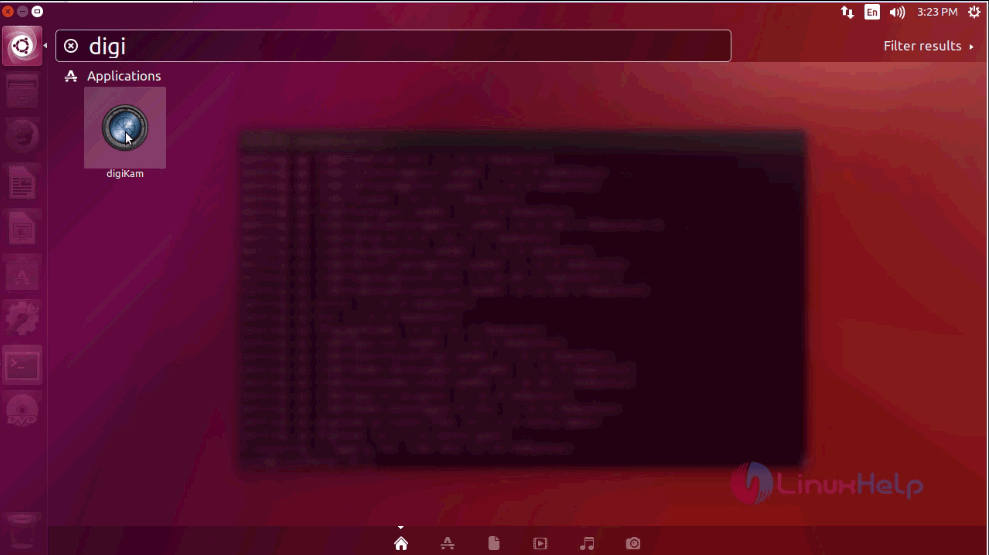
Once the installation is over, after go to your Ubuntu dashboard and type digikam, the application icon appears on your screen.
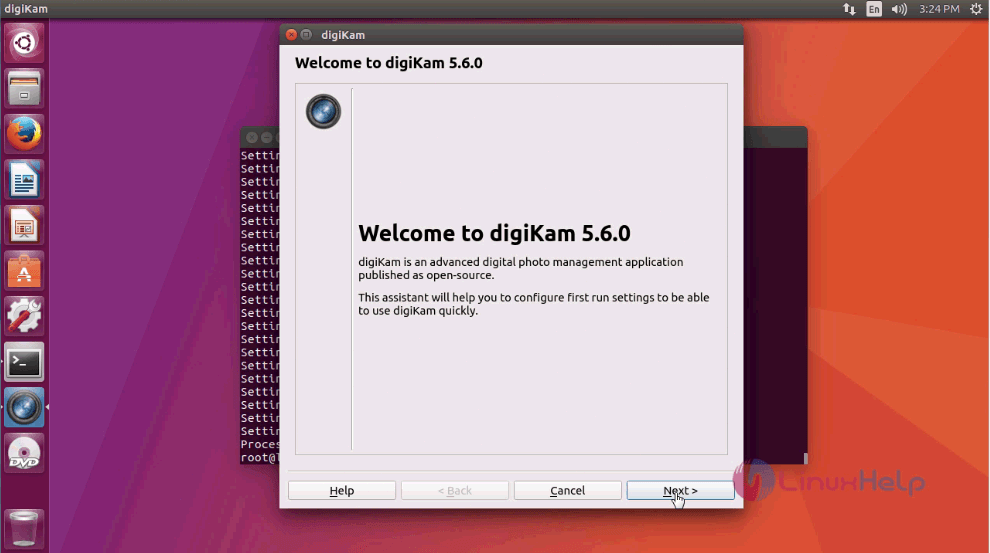
The Welcome page of the application appears on your screen, click next.
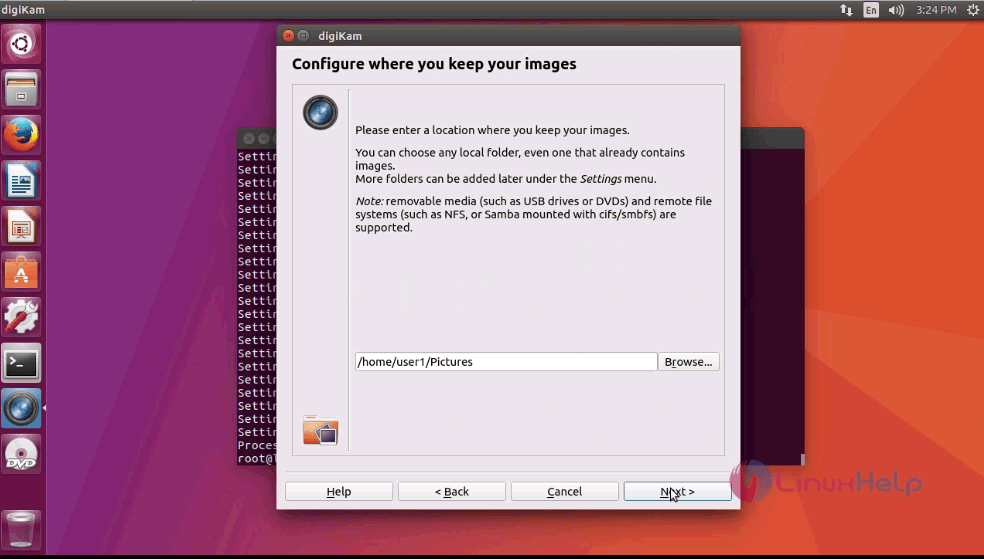
Choose the directory and click on next.
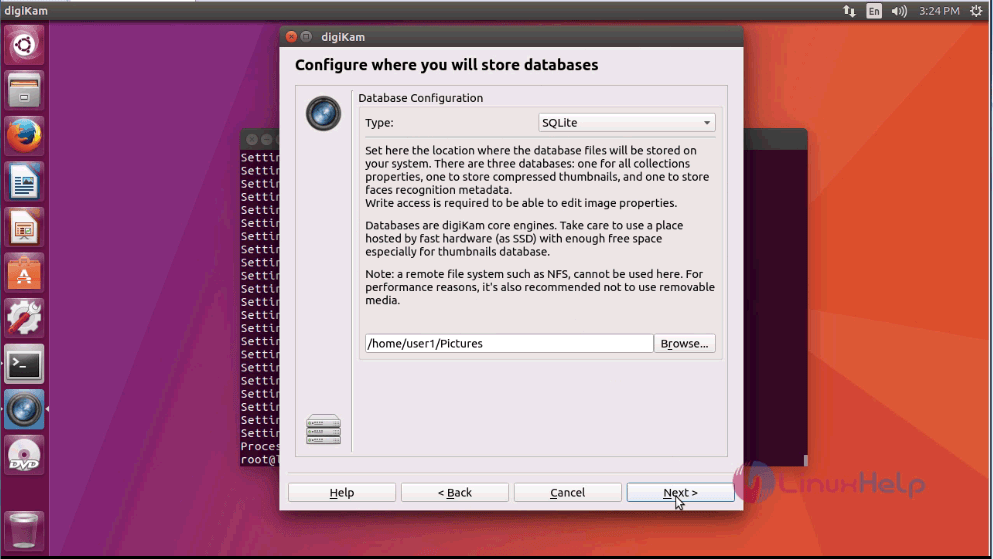
You need to choose the database directory now, click Next after choosing.
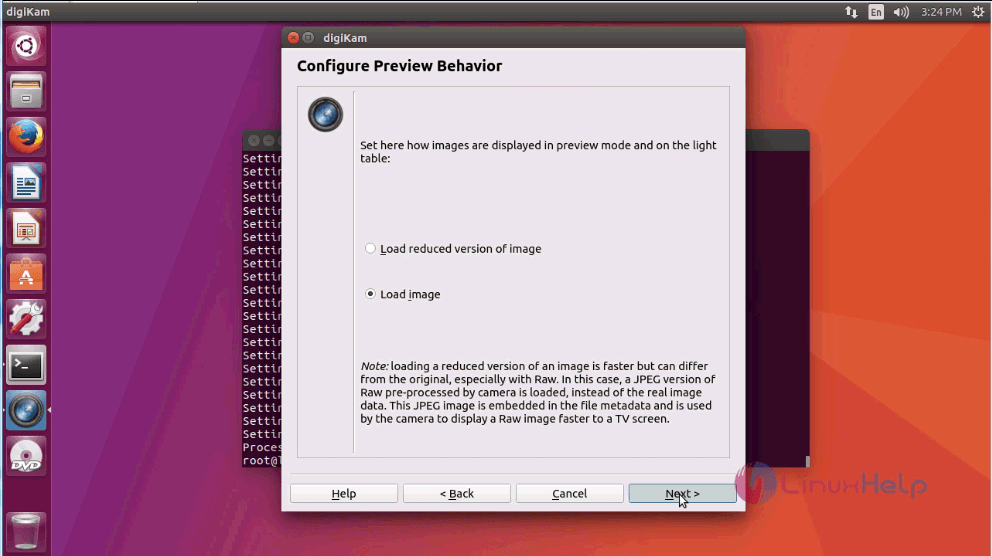
In this page, you need to select load image and click Next.
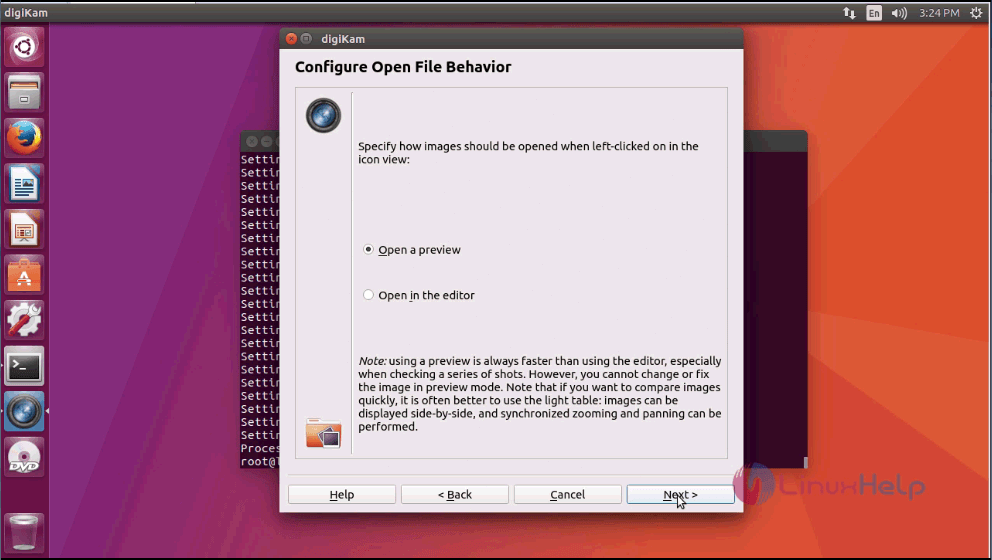
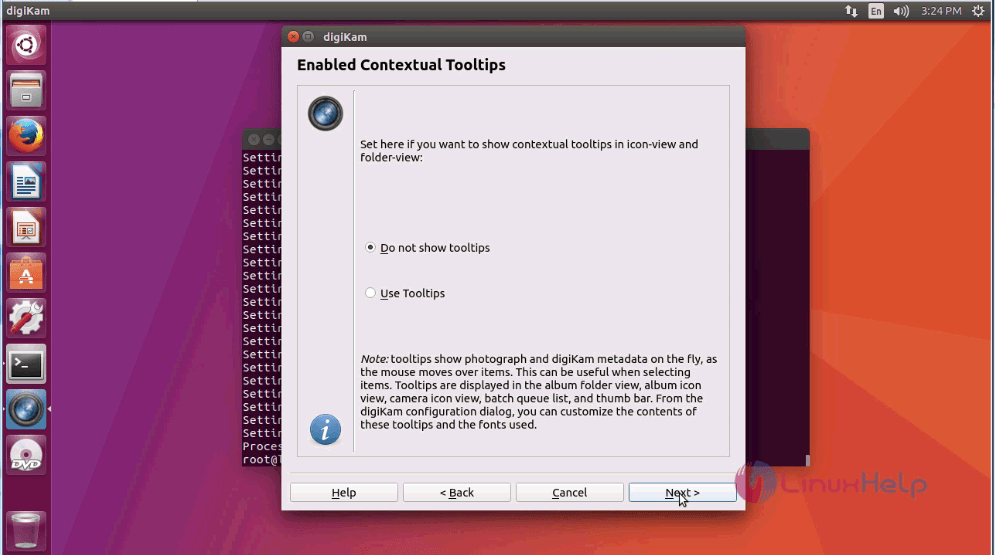
Click on next for the Next two consecutive pages.
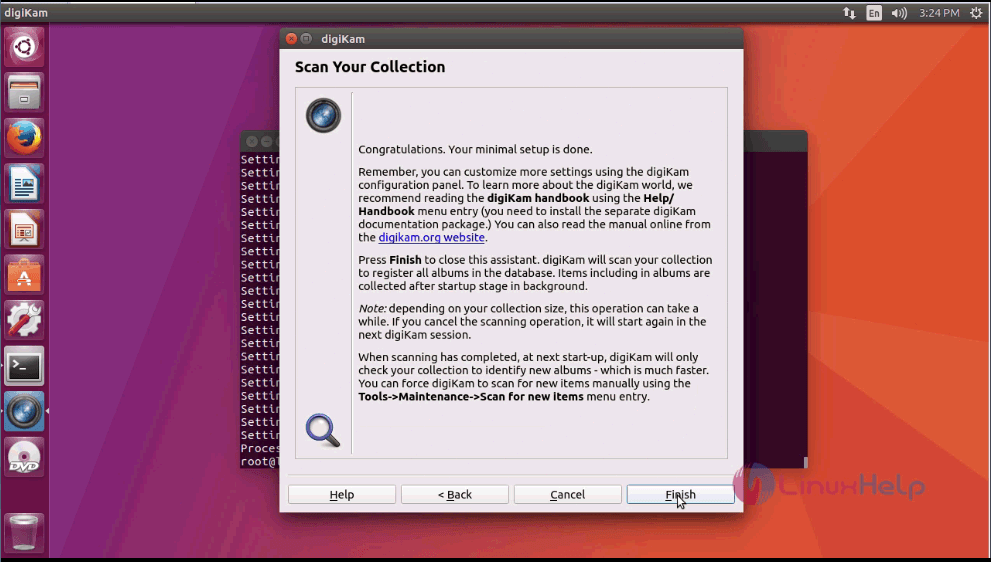
Finally click the Finish button to complete the whole process.
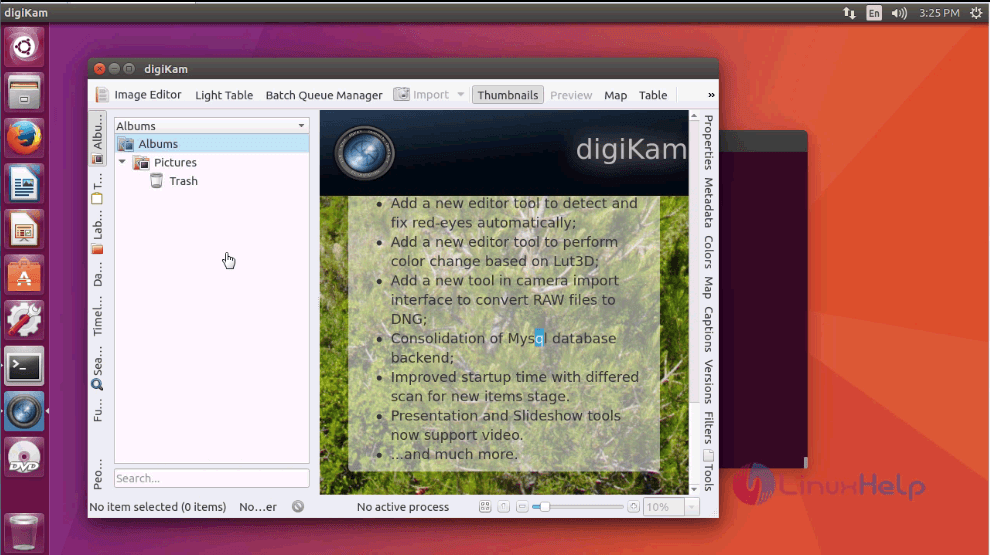
The application now opens on your screen.
With this, the whole installation process of digiKam is complete. Enjoy editing your pictures with digiKam.
Comments ( 0 )
No comments available